Have you ever caught a whiff of something unexpectedly delightful? That’s exactly what happened when we first stumbled upon chocolate mint at a local nursery. The aroma instantly reminded us of Nestlé After Eight—rich, sweet, and undeniably tempting. It sparked a debate: Does it really smell like dessert, or is it just our imagination?
This fragrant variety has become a favorite among garden enthusiasts. Whether you source it from nurseries or trusted suppliers like Burpee, its versatility makes it a standout. Some swear by its cocoa-like scent, while others detect only a hint. We’ll let you decide.
Ready to explore its charm? Let’s dive into what makes this plant so special and how it can elevate your outdoor space.
Key Takeaways
- Chocolate mint offers a unique, dessert-like fragrance.
- Its scent is often compared to Nestlé After Eight candies.
- Available at local nurseries or online through Burpee.
- Perfect for gardens, containers, or culinary use.
- Debate continues over the intensity of its chocolate aroma.
Introduction to Chocolate Mint
There’s a reason chocolate mint has taken herb gardens by storm. This vibrant plant blends function and beauty, making it a top pick for both chefs and landscapers.
Unlike ordinary mint varieties, its cocoa-like aroma elevates desserts and drinks. Yet, it’s just as happy sprawling across a sunny windowsill or patio pot.
Gardeners love its fast-spreading roots, but beware—it can overtake beds if unchecked. We recommend containers or barriers to keep its enthusiasm in check.
“Chocolate mint turns ordinary dishes into gourmet experiences,” notes a Seattle-based chef.
Compared to peppermint or spearmint, it’s sweeter and less pungent. Try it in mojitos, teas, or even homemade soaps for a fragrant twist.
Whether you’re crafting cocktails or designing a garden, this herb delivers. Its leaves shine in salads, while its scent alone can transform a space.
What Is Chocolate Mint?
Not all mint varieties are created equal—chocolate mint stands out. This hybrid, scientifically called Mentha × piperita f. citrata ‘Chocolate’, blends watermint and spearmint. Its dark green leaves with purple undersides hint at its unique lineage.
Unlike typical mints, it’s sterile and spreads only through cuttings. This keeps its growth in check, though it thrives in Zones 4–9. The scent? A sweet balance of cocoa and cool freshness.
Origins and Characteristics
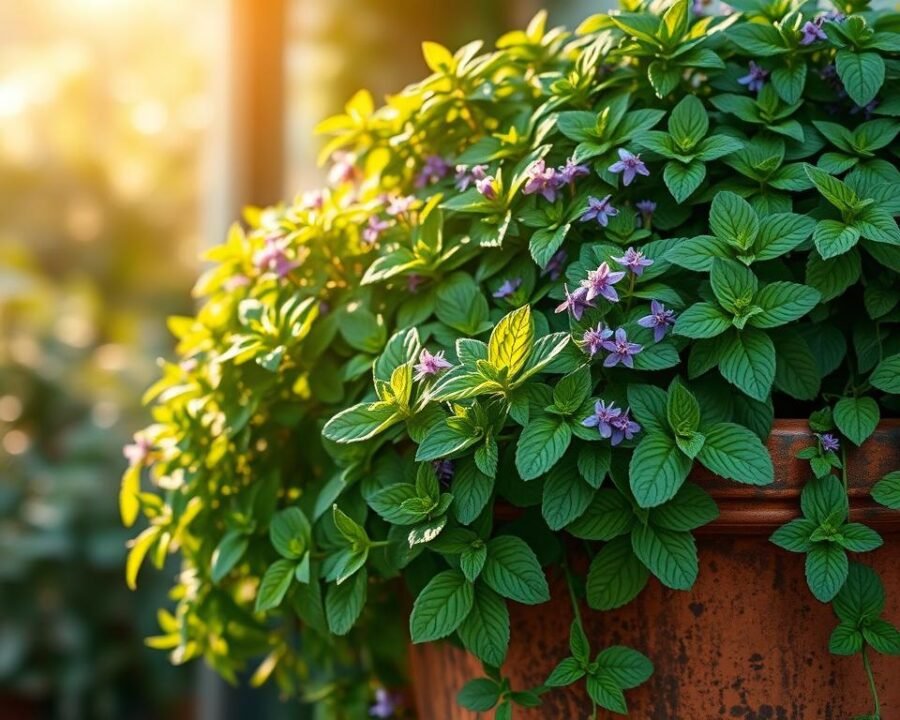
Born from a cross between watermint and spearmint, this variety surprises with its dessert-like aroma. The leaves are broader than peppermint’s, with a velvety texture. Purple stems add a pop of color to gardens or containers.
Fun fact: It’s part of the Lamiaceae family, sharing ties with basil and oregano. Yet, its flavor profile is entirely its own—less pungent than peppermint, sweeter than spearmint.
Chocolate Mint vs. Other Mint Varieties
How does it stack up against classics? Here’s a quick breakdown:
| Feature | Chocolate Mint | Peppermint | Spearmint |
|---|---|---|---|
| Flavor | Sweet, cocoa-like | Sharp, menthol-heavy | Mild, slightly sweet |
| Growth Habit | Spreads via cuttings | Aggressive runner | Moderate spreader |
| Best Use | Desserts, teas | Medicinal, candies | Savory dishes, drinks |
While peppermint dominates medicine cabinets, and spearmint flavors gum, chocolate mint shines in the kitchen. Its versatility makes it a garden favorite.
How to Grow Chocolate Mint Herb Plant Everyone Is Using
Finding the perfect spot for this fragrant herb makes all the difference. With the right balance of light and care, it thrives effortlessly. Let’s explore the essentials for robust growth.
Choosing the Right Location
Morning sun with afternoon shade keeps leaves lush. Aim for 5–14 hours of light daily. Too much heat scorches foliage, while too little weakens flavor.
Containers offer flexibility—move them to chase ideal conditions. Ground planting works if roots are contained. Here’s a quick comparison:
| Factor | Container | Ground |
|---|---|---|
| Sun Control | Easy to relocate | Fixed exposure |
| Root Spread | Limited naturally | Needs barriers |
| Drainage | Adjustable | Depends on soil |
Soil and Water Needs
Enrich soil with compost or Miracle-Gro for nutrients. Loose, well-aerated mixes prevent compaction. Check moisture by inserting a finger—damp, not soggy, is ideal.
Despite loving water, poor drainage causes root rot. Mulch helps retain hydration without waterlogging. For pots, ensure holes at the bottom.
“Overwatering kills more plants than neglect,” warns a Colorado master gardener.
Planting Chocolate Mint
Starting your chocolate mint journey begins with smart planting choices. Whether propagating cuttings or transplanting nursery starts, setup determines long-term success. Let’s explore the best methods.
From Cuttings or Nursery Plants
For cuttings, snip 4–6 inches of healthy stem. Remove lower leaves and place in water until roots form (about 10 days). Transplant into a pot with well-draining soil.
Prefer a head start? Burpee’s nursery plants arrive ready for soil. Their robust growth ensures quicker harvests. Either method thrives with consistent moisture.
Container vs. Ground Planting
Containers (10-inch minimum) offer control. Use pots with drainage holes and quality potting mix. For ground planting, submerge a bucket to curb invasive roots.
| Factor | Container | Ground |
|---|---|---|
| Root Spread | Confined to pot | Needs barriers |
| Mobility | Adjustable sunlight | Fixed location |
| Maintenance | Easy to prune | Regular checks |
“Containers are a lifesaver for mint lovers with limited space,” advises a Texas horticulturist.
In garden beds, space plants 18 inches apart. Mulch retains moisture and deters weeds. Both methods yield lush growth with proper care.
Care and Maintenance
Keeping your chocolate mint thriving requires simple but effective care. With the right techniques, it remains vibrant and productive year-round. Let’s break down the essentials.
Fertilizing and Mulching
An annual compost layer in spring fuels robust growth. Mix in 1–2 inches around the base, avoiding direct contact with stems. For an extra boost, add slow-release fertilizer pellets every 6–8 weeks.
Mulch retains moisture and suppresses weeds. Use straw or shredded leaves, maintaining a 3-inch depth. Replenish mid-season if it thins out.
“Compost is like a multivitamin for plants—it delivers nutrients without harsh chemicals,” shares an Oregon gardener.
Pruning and Controlling Growth
Follow the two-thirds rule: Never harvest more than ⅔ of the plant at once. This prevents stress and encourages regrowth. Snip just above leaf nodes to promote bushier stems.
Pinch back tips regularly to halt leggy growth. In peak season, trim weekly to maintain shape. For invasive roots, install underground barriers or opt for containers.
- Spring: Focus on vertical growth; prune lightly.
- Summer: Trim horizontally to prevent sprawl.
- Fall: Reduce watering; prep for dormancy.
Managing Pests and Diseases
Even the healthiest plants face challenges from unwelcome visitors. Pests and diseases can weaken your garden’s stars if left unchecked. Early detection and organic solutions keep problems under control.

Common Threats to Watch For
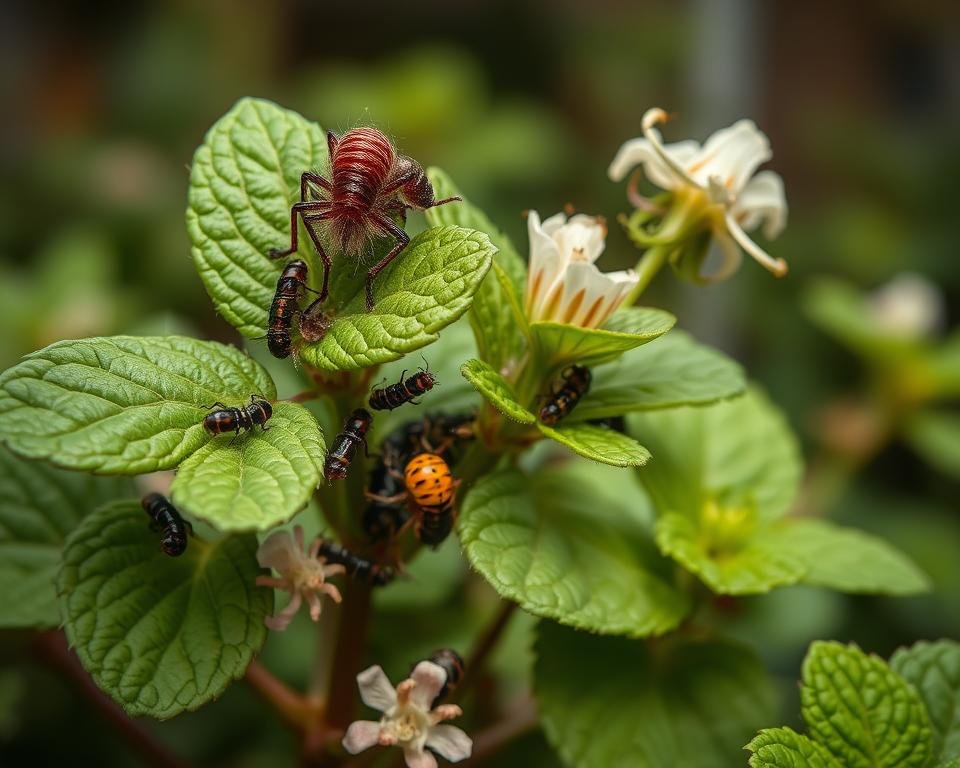
Spider mites leave tiny webs on leaves, while loopers chew irregular holes. Flea beetles create a “shotgun” pattern. Yellowing or wilting often signals mint rust, a fungal foe.
Inspect plants weekly. Focus on leaf undersides where pests hide. Remove infected leaves promptly to halt spread.
Organic Solutions That Work
Neem oil disrupts pest lifecycles without harsh chemicals. Mix 1 tsp with water and spray at dawn. For stubborn infestations, insecticidal soap suffocates bugs on contact.
Companion planting adds protection. Try marigolds or chives to repel invaders. Healthy roots resist diseases—divide overcrowded plants every 2–3 years.
“Prevention beats cure. A weekly neem spray keeps 90% of problems away,” shares a California organic farmer.
Harvesting Chocolate Mint
Timing is everything when gathering nature’s sweetest treats. For peak flavor, collect leaves just before flowering—typically late spring to early summer. Morning harvests capture essential oils at their strongest.
Optimal Techniques for Picking
Use sharp scissors to snip stems 1 inch above leaf nodes. This encourages bushier regrowth. Avoid tearing leaves, which damages the plant and reduces yield.
For small quantities, pinch individual leaves near the top. Always leave at least ⅓ of growth intact. This maintains the plant’s energy reserves.
Preserving Freshness
Extend your harvest with these kitchen-friendly methods:
- Freezing: Blanch leaves for 10 seconds, pat dry, and freeze in ice cube trays with water or olive oil.
- Drying: Hang bundles upside-down in a dark, ventilated area for 1-2 weeks. Store in airtight jars.
- Oil infusion: Pack clean leaves into jars, cover with neutral oil, and steep for 3 weeks.
“Frozen mint cubes revolutionize iced tea—just drop and stir,” suggests a Michigan home chef.
Each method retains flavor differently. Frozen lasts 6 months, dried up to a year, while infused oils peak at 3 months. Label containers with dates for best results.
Creative Uses for Chocolate Mint
From cocktails to crafts, this fragrant favorite offers endless possibilities. Its sweet, cocoa-like flavor and refreshing scent make it a star in and beyond the kitchen. Let’s explore innovative ways to enjoy this versatile herb.

In the Kitchen
Elevate everyday meals with a hint of sweetness. Blend leaves into brownie batter or dust them over molten chocolate cakes for a gourmet twist. Savory dishes shine too—try a rub for lamb or infused butter for cornbread.
Thirsty? Muddle leaves into mojitos or steep in hot cocoa. A barista tip: Freeze leaves in ice cubes for iced coffee garnishes.
- Desserts: Pair with berries or dark chocolate.
- Drinks: Infuse syrups for lattes or lemonades.
- Savory: Chop into tabbouleh or yogurt dips.
Beyond Cooking
This herb isn’t just for eating. Craft soothing foot soaks by steeping leaves in Epsom salts. Simmer sprigs with citrus peels for a home-freshening stovetop potpourri.
Gardeners swear by its pest-deterrent powers. Plant near aphid-prone roses or brew a spray: Steep leaves in water, strain, and spritz.
“My cats ignore catnip but go wild for dried chocolate mint sachets,” laughs a Portland pet owner.
- Beauty: Add to hair rinses for shine.
- Crafts: Embed leaves in homemade candles.
- Pests: Repel ants naturally with crushed leaves.
Seasonal Care Tips
Keeping your garden thriving year-round requires adapting to nature’s rhythm. Each season brings unique needs for maintaining vibrant, healthy plants. Let’s explore the best practices for spring, summer, and winter care.
Spring and Summer Growth
As temperatures rise, your plants enter their peak growth phase. Start by pruning old stems to encourage fresh shoots. Refresh the top layer of soil with compost for a nutrient boost.
Summer demands extra attention. Provide afternoon shade in scorching climates to prevent leaf burn. Maintain a consistent watering schedule—1-2 inches weekly keeps roots hydrated without waterlogging.
| Season | Key Tasks | Pro Tip |
|---|---|---|
| Spring | Prune dead growth, refresh soil | Space plants 2 feet apart for airflow |
| Summer | Monitor water, provide shade | Use organic mulch to retain moisture |
Winter Preparation
When frost threatens, preparation ensures survival. For ground plants in Zones 3-5, apply a 3-inch mulch layer. Straw or shredded bark insulates roots from freezing temperatures.
Potted specimens need special care. Move containers indoors near south-facing windows. Maintain humidity with pebble trays or occasional misting. According to The Spruce, proper drainage prevents root rot during dormant months.
- Fall transition: Gradually reduce watering to harden plants
- Zone variations: Adjust protection levels based on local frost dates
- Container care: Bring indoors or insulate with bubble wrap
“A little prep in fall prevents heartbreak come spring,” notes a Vermont nursery owner.
Troubleshooting Common Problems
Even robust plants occasionally show signs of distress. When leaves yellow or growth stalls, quick action restores vitality. We’ll guide you through diagnosing and fixing these issues effectively.

Yellowing Leaves or Wilting
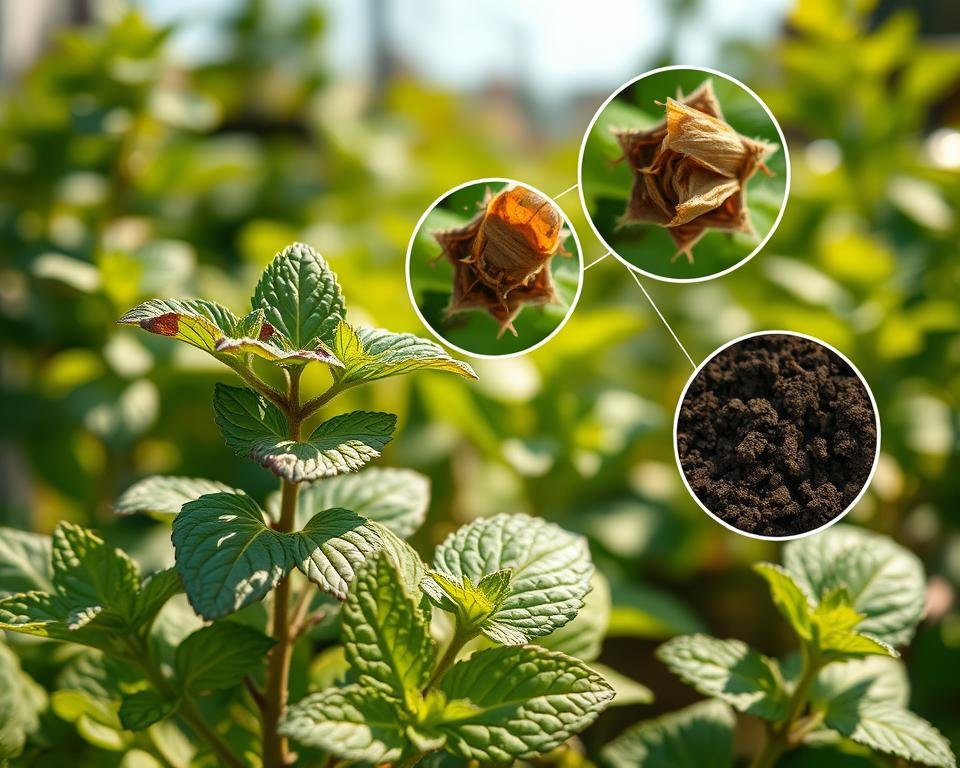
Overwatering often causes soggy soil and drooping stems. Check by inserting a finger—if the top inch feels wet, hold off on water. Underwatering? Crispy edges and dry soil signal thirst.
Nutrient deficiencies manifest differently. Nitrogen shortage yellows older leaves, while iron deficiency targets new growth. A simple soil test reveals imbalances. Amend with compost or balanced fertilizer.
| Symptom | Likely Cause | Solution |
|---|---|---|
| Yellow lower leaves | Overwatering or nitrogen lack | Reduce watering, add coffee grounds |
| Brown leaf tips | Underwatering or salt buildup | Flush soil, increase hydration |
| Curling leaves | Pests or heat stress | Inspect undersides, provide shade |
Slow Growth or Poor Flavor
Weak flavor often traces to insufficient sunlight. Ensure 5+ hours of direct light daily. Leggy stems stretching toward light sources confirm this issue.
For stunted growth, check root space. Container-bound roots need repotting. In gardens, compacted soil may require aeration. Mix in perlite or sand to improve texture.
- Boost flavor: Harvest in morning when oils peak
- Encourage growth: Apply fish emulsion every 3 weeks
- Prevent stress: Maintain consistent moisture levels
“My plants rebounded after switching to morning watering and afternoon shade,” shares a Florida gardener.
Remember—patience pays off. Most issues resolve within 2-3 weeks of corrective care. Track changes to identify what works best in your environment.
Conclusion
Few herbs blend beauty and utility like this cocoa-scented favorite. Its low-maintenance garden appeal and flavor versatility make it a standout. Yet, the debate lingers—does it truly evoke Nestlé After Eight, or is it just a whisper of sweetness?
We’ve seen it transform home kitchens and patio pots alike. Now, we’d love your take. Share your growth triumphs or scent theories below—let’s settle this delicious mystery together.
For more inspiration, explore Burpee’s growing guides or our seasonal care tips. Happy gardening!
