There’s something magical about plucking fresh leaves from your own herb garden. The aroma of basil, the crispness of mint—it transforms meals from ordinary to extraordinary. We remember the first time we snipped homegrown thyme for a recipe. The flavor was unmatched compared to store-bought options.
Urban living doesn’t have to mean sacrificing fresh flavors. A small container on a sunny windowsill can host a thriving garden. Whether you’re in an apartment or have limited outdoor space, growing your own supply is easier than you think.
Imagine stepping onto your balcony to harvest rosemary for dinner. No more wilted bundles from the grocery store. Just vibrant, fragrant herbs at your fingertips. Ready to dive in? Let’s explore the joy of cultivating your own green oasis.
Key Takeaways
- Fresh herbs elevate home cooking with unmatched flavor.
- Compact containers make gardening possible in small spaces.
- Basil, mint, and thyme thrive indoors with minimal care.
- Harvesting your own supply saves money and reduces waste.
- Even beginners can succeed with the right tips.
Why Grow Herbs in Pots? The Benefits You’ll Love
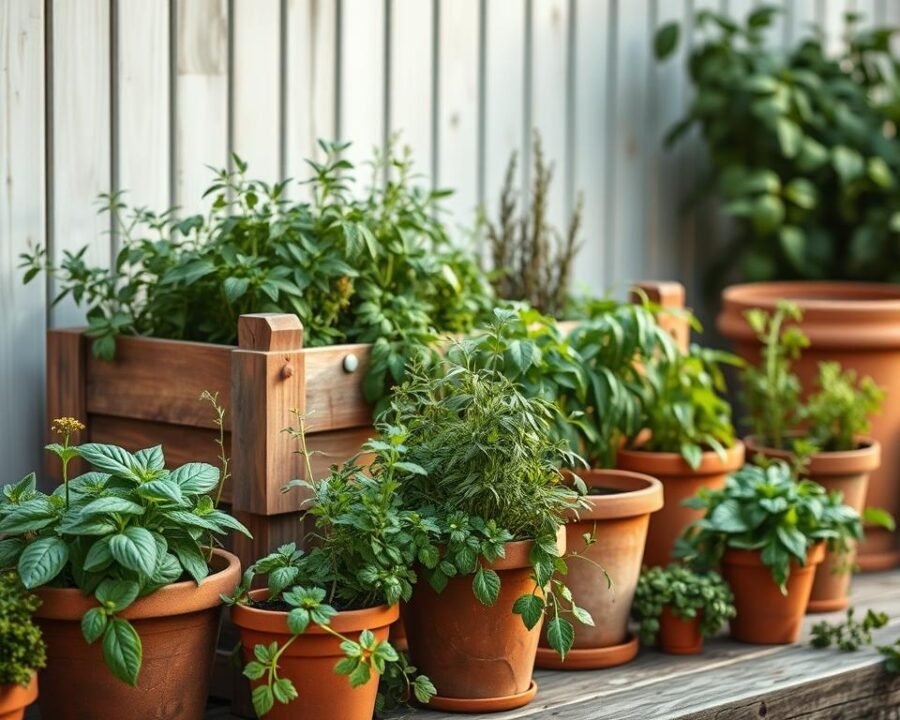
Fresh flavors at your fingertips—no backyard required. A container brimming with basil or thyme turns cramped spaces into productive gardens. Whether you’re in a studio apartment or a suburban home, potted greens adapt effortlessly.
Space Efficiency for Any Home
Traditional beds demand square footage. Potted herbs grow vertically on balconies, windowsills, or fire escapes. Their compact roots let you mix varieties—like rosemary and oregano—in one planter.
| Feature | Pots | Ground |
|---|---|---|
| Space Needed | 1 sq. ft | 10 sq. ft |
| Mobility | Move with sunlight | Fixed location |
| Soil Control | Custom mixes | Amend existing |
Easy Access to Fresh Flavors
No more wilted grocery bundles. Snip fresh herbs as needed—parsley for garnish, mint for tea. Studies show 90% regenerate after harvesting, offering endless yields.
- Economic win: Replace $3 clamshells with a $2 seedling.
- Sensory boost: Aromatherapy from lavender or vibrant basil foliage.
With pots, easy grow becomes reality. Even a tiny kitchen corner can host a thriving, flavorful oasis.
How to Grow Planting Herbs in Pots Everyone Is Using: Getting Started
Choosing the right varieties makes all the difference in a thriving mini-garden. Whether you crave fresh flavors for cooking or aromatic leaves for teas, matching herbs like basil or mint to your lifestyle ensures success.
Picking the Right Herbs for Your Lifestyle
Consider sunlight and cooking habits first. Sunny windowsills suit rosemary, while shady corners work for parsley. Fast-growing options like cilantro deliver quick harvests, while thyme offers year-round yields.
- For beginners: Chives—forgiving and low-maintenance.
- For small spaces: Compact varieties like dwarf basil.
- For teas: Lemon balm or mint (but keep them contained).
Herbs That Thrive Together (and Ones That Don’t)
Some plant pairings boost growth. Rosemary and thyme share similar conditions, while aggressive spreaders like mint dominate pots if not isolated.
Themed Pot Ideas:
- Italian blend: Basil + oregano + parsley.
- Tea garden: Chamomile + lemon verbena.
Warning: Anise hyssop and lemon balm can overtake neighbors. Give basil its own space—it grows large and dislikes crowding.
Selecting the Perfect Containers
The right container can make or break your herb-growing success. It’s not just about looks—function matters. Poor choices lead to waterlogged roots or cramped plants. Let’s pick winners.
Drainage Holes: Why They’re Non-Negotiable
No drainage holes? Prepare for trouble. Excess water drowns roots, inviting rot. A layer of broken pottery shards at the pot’s base boosts airflow. It’s a simple hack for healthier plants.
We learned this the hard way. A clogged saucer turned basil into mush overnight. Now, we elevate containers on wooden blocks to let water escape freely.
Pot Size and Material Matters
Small thyme thrives in 8″ depths, while rosemary demands 12″+. Crowding stunts growth—give each plant room to flourish.
| Material | Pros | Cons |
|---|---|---|
| Terracotta | Breathable, prevents overwatering | Dries out faster |
| Plastic | Retains moisture, lightweight | Poor airflow |
For mint, isolation is key. Its aggressive roots invade neighbors. Use a solo pot to avoid a takeover.
Style counts too. Sleek ceramic suits kitchens, while rustic terracotta shines outdoors. Match your space, but never sacrifice function.
Need more tips? Our herb container guide dives deeper into pairing plants with perfect homes.
Soil and Planting: Setting the Foundation
Great flavor starts from the ground up—literally. The right soil mix fuels vibrant growth, while poor choices stunt even the hardiest herbs. Let’s dig into what makes a winning foundation.

The Best Soil Mix for Healthy Roots
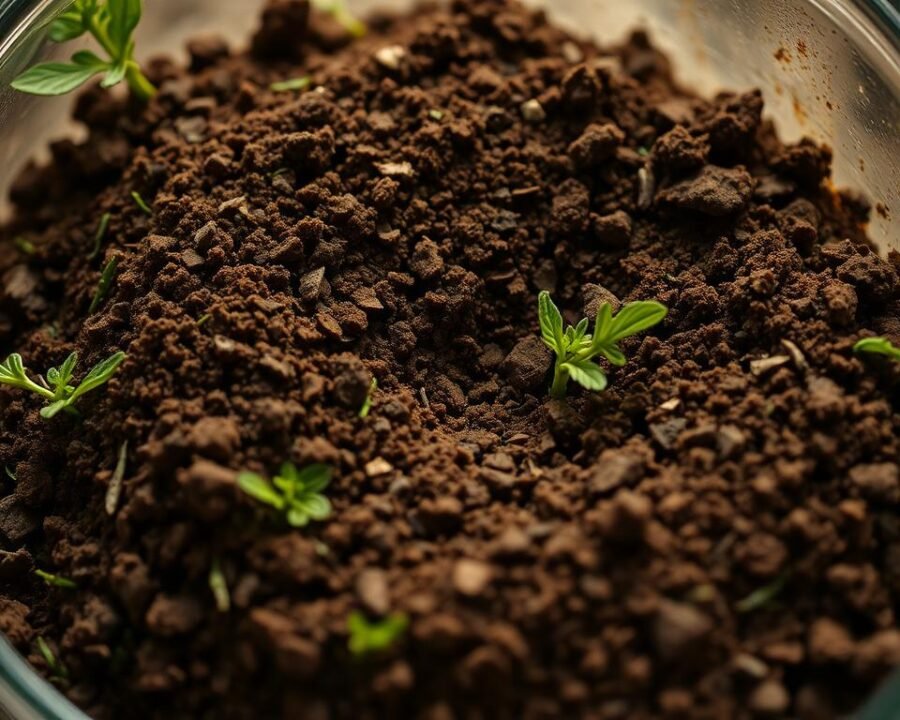
Forget the “dirt is dirt” myth. Herbs crave a pH of 6.0–7.0 and loose texture for roots to breathe. A DIY blend beats store-bought bags every time.
Recipe for Success:
- 60% potting soil (lightweight and sterile)
- 30% compost (nutrient-packed)
- 10% perlite (for drainage)
| Component | Role | Alternatives |
|---|---|---|
| Compost | Feeds plants | Worm castings |
| Perlite | Prevents compaction | Vermiculite |
Step-by-Step Planting Instructions
Overcrowding kills flavor. Space seedlings like coins—a quarter apart for thyme, a silver dollar for basil. Gently tease apart roots with your fingers before settling them into containers.
*Pro Tip*: Transplant in the *morning hours* to reduce shock. Water lightly afterward, then skip the afternoon sun for a day.
Feed monthly with organic herb food. Watch for tight roots—they signal it’s time to repot. Your herbs will thank you with bold, fresh flavors.
Sunlight and Location: Where to Place Your Pots
Sunlight transforms tiny seedlings into lush, flavorful harvests. But not all herbs like the same conditions. A south-facing window might thrill rosemary but scorch parsley. We’ve learned to match each plant’s needs to its spot—here’s how.
Full Sun vs. Partial Shade Herbs
Six hours of direct sunlight fuels basil and thyme, while parsley thrives in dappled shade. Track your space’s light patterns with a shadow check or app. Signs of trouble:
- Too much sun: Rosemary’s leaves turn brittle or yellow.
- Too little: Basil stretches tall, seeking light.
Balcony, Patio, or Windowsill?
Windy balconies dry out pot soil fast—choose sturdy oregano. Humid bathrooms? Try shade-loving mint. Rotate containers weekly for even growth. Compare options:
- South-facing windows: Intense light for Mediterranean varieties.
- East-facing: Gentle morning rays for delicate cilantro.
*Pro Tip*: Group herbs with similar needs. Sage and lavender bask together, while chives prefer cooler corners.
Watering Your Herbs the Right Way
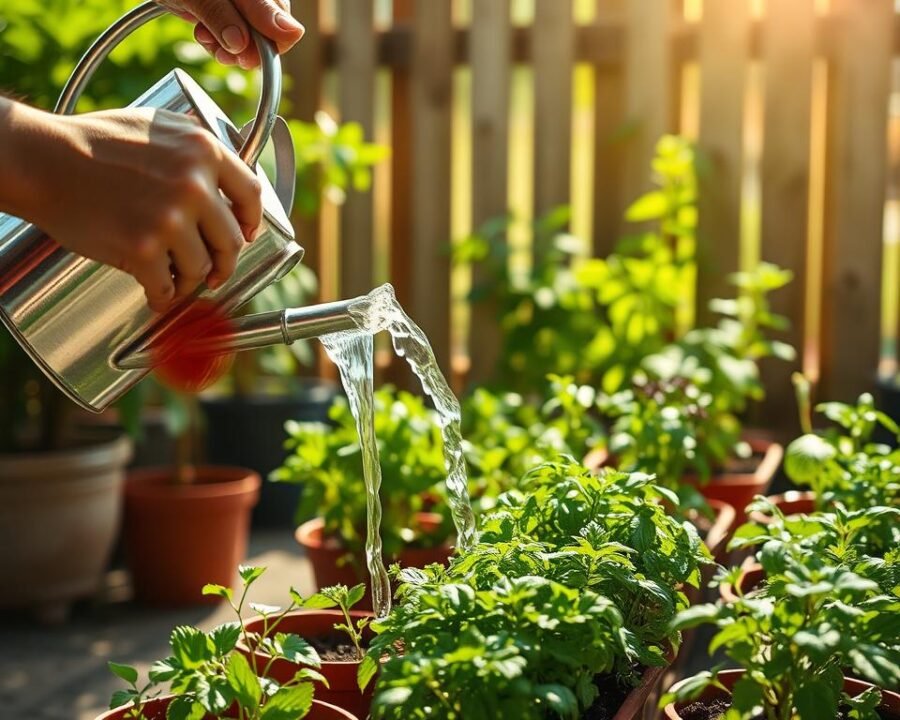
Mastering moisture levels unlocks vibrant flavors in every leaf. Too much water drowns roots, while too little stresses plants. We’ve found sweet spots for popular varieties through trial and error.

Finding the Perfect Watering Rhythm
Basil begs for damp soil, but rosemary prefers dryness. Try these tests:
- Knuckle check: Insert a finger—water if dry at 1″ depth
- Meter method: Devices measure exact moisture near roots
Our thyme thrives with weekly drinks, while mint demands twice-weekly attention. Seasonal shifts matter:
| Season | Frequency |
|---|---|
| Summer | Every 3-4 days |
| Winter | Every 10-14 days |
Reading Your Plants’ Signals
Signs of trouble appear quickly. Yellow leaves? Overwatering. Crispy edges? Underwatered. We saved leggy basil by switching to bottom-watering—placing pots in shallow trays for deep hydration.
Remember: Good drainage prevents most issues. Elevate containers on pebbles so excess water escapes freely. Your herbs will reward you with bold, fresh flavors.
Feeding and Fertilizing for Lush Growth
Nutrients fuel vibrant leaves and bold flavors in your mini-garden. Just like us, herbs need balanced meals to thrive. The right food makes the difference between sparse sprigs and bushy abundance.
Organic vs. Synthetic Herb Food
Natural options like fish emulsion feed plants gently over time. Synthetic pellets deliver quick bursts but risk salt buildup. We prefer organic for its steady nutrient release and soil-friendly benefits.
Key comparisons:
- Fish emulsion: Rich in nitrogen, ideal for fast-growers like basil
- Slow-release pellets: Convenient but may overwhelm delicate oregano
- Compost tea: Homemade boost from kitchen scraps—steep banana peels for potassium
Monthly Feeding Schedule
Most herbs flourish with monthly nourishment. Heavy feeders like parsley crave more, while thyme thrives on less. Seasonal adjustments matter:
| Season | Focus |
|---|---|
| Spring | Nitrogen for leaf growth |
| Summer | Balanced nutrients |
| Fall | Potassium for root strength |
Watch for signs of trouble. Yellow leaves may mean overfeeding—flush soil with water to remove excess salts. For detailed food recommendations, check our herb fertilizer guide.
Remember: Less is often more. A light hand with nutrients preserves the intense flavors we love in homegrown herbs.
Pruning and Harvesting Like a Pro
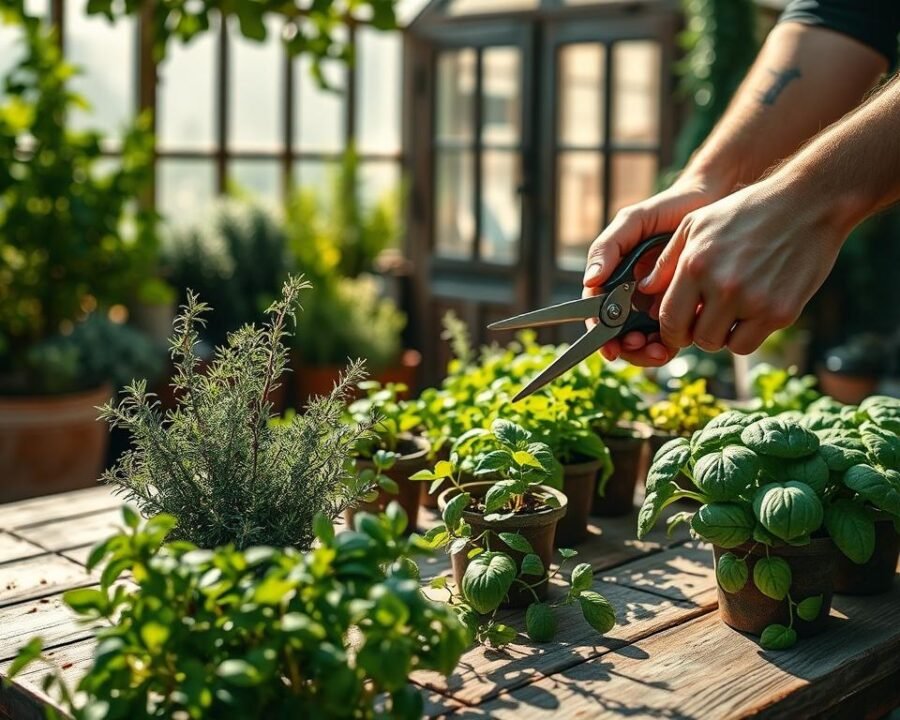
Timing is everything when plucking leaves at their flavorful peak. Morning harvests capture maximum essential oils—nature’s gift for intense taste. We’ve perfected techniques that boost yields while keeping plants thriving.

Encouraging Bushy Growth with Regular Trims
The Chelsea chop works wonders for perennial varieties like thyme. Around late May, cut back one-third of stems to prevent legginess. This forces branching for fuller herbs.
For basil, pinch stems just above leaf nodes. This simple trick:
- Doubles production compared to untrimmed plants
- Prevents premature flowering that ruins flavor
- Creates perfect cuttings for propagation
When and How to Harvest for Maximum Flavor
Dawn’s cool hours preserve volatile oils best. We’ve found these methods work wonders:
| Herb | Technique |
|---|---|
| Basil | Scissors for upper third leaves |
| Oregano | Finger-pinch woody stems |
| Cilantro | Succession planting every 3 weeks |
Preserve freshness by using leaves immediately or wrapping in damp towels. Our pesto batches shine when using only the topmost basil leaves—their oil concentration peaks there.
Remember: Frequent harvesting stimulates growth. A well-timed snip today means double the herbs tomorrow. Your kitchen will thank you.
Troubleshooting Common Herb Problems
Even the healthiest herb garden faces challenges—but solutions are simpler than you think. From tiny invaders to limp leaves, quick action keeps plants thriving. We’ve tackled every issue in our own kitchen garden and lived to share the fixes.
Pests: Natural Solutions to Keep Them Away
Aphids, spider mites, and whiteflies love tender herbs. Instead of chemicals, try these safe methods:
- Garlic spray: Blend 2 cloves with 1 cup water. Strain and spray—studies show it repels 80% of aphids.
- Companion planting: Marigolds deter beetles, while basil confuses whiteflies with its scent.
- Manual removal: A strong water jet knocks mites off leaves without harming roots.
Reviving Wilting or Leggy Plants
Leggy growth screams for more light. Move plants to brighter spots or use grow lights. For wilting:
- Epsom salt soak: Dissolve 1 tbsp in a gallon of water for rosemary—magnesium boosts chlorophyll.
- Propagation: Snip overgrown mint stems, root in water, and replant for bushier growth.
- Hardening off: Gradually expose indoor herbs to outdoor conditions over 7 days.
Watch for new growth—it means your fixes work. With these tricks, even struggling herbs bounce back fast.
Conclusion: Enjoy Your Thriving Herb Garden
Flavor-packed leaves await with minimal effort. Start simple—mint, basil, and chives adapt easily to any container. Share cuttings at herb-swap parties to diversify your garden for free.
Many fresh herbs return year after year if sheltered from frost. Freeze extras in olive oil for winter cooking. Ready for more? Explore hydroponics or edible flowers next.
Our favorite hack: Steep thyme in honey for a sweet, aromatic drizzle. Drizzle it over roasted veggies or toast.
You’ve got this! Whether snipping basil for pasta or brewing mint tea, you’re now a pot-and-spoon gardener. Let every harvest remind you—good flavors grow close to home.
