Our Top Pick: Best Pallet Herb Garden You Need to Try for Home Cooking
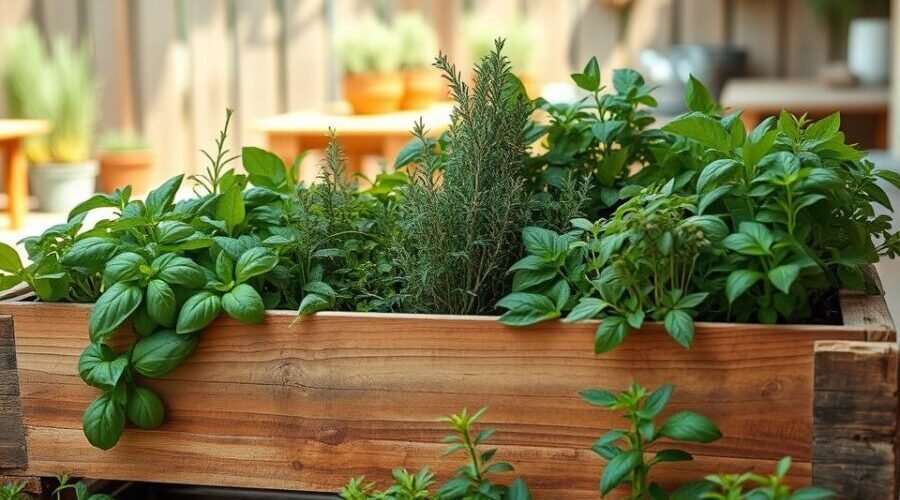
Nothing beats the satisfaction of plucking fresh herbs straight from your own garden. Imagine stepping into your backyard or balcony and snipping fragrant basil, rosemary, or cilantro for tonight’s meal. With a little creativity, even the smallest spaces can flourish with greenery.
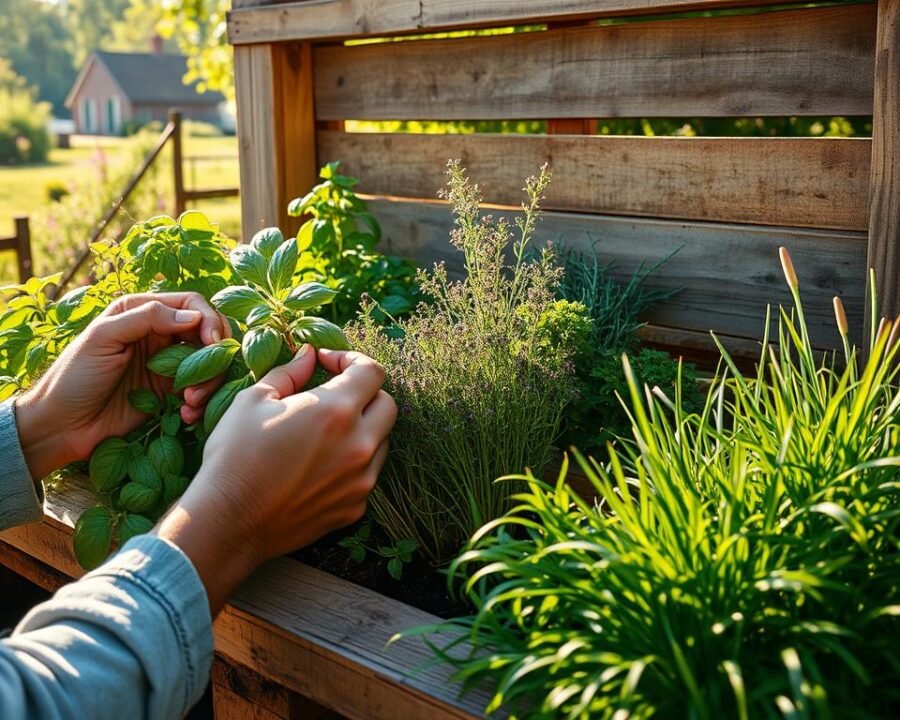
Repurposing wooden pallets into a vertical garden is a game-changer. It’s eco-friendly, budget-friendly, and perfect for tight areas. A simple staple gun and landscaping fabric are all you need to get started. The result? A charming, functional feature that elevates home cooking.
Many DIY enthusiasts have turned discarded pallets into thriving herb havens. Whether on a patio, balcony, or tiny yard, this project adapts effortlessly. Fresh flavors are now just an arm’s reach away.
Key Takeaways
- Upcycled pallets create a sustainable, space-saving garden.
- Fresh herbs enhance home-cooked meals with minimal effort.
- Basic tools like a staple gun and fabric make setup simple.
- Perfect for balconies, patios, or compact outdoor areas.
- Cost-effective compared to store-bought planters.
Why a Pallet Herb Garden is the Perfect DIY Project
Urban living doesn’t mean sacrificing fresh flavors at home. A vertical setup lets you grow basil, thyme, and mint without cluttering your balcony or patio. It’s a smart solution for tight spots.
Space-Saving and Stylish
Vertical designs fit 8–12 plants in just 4 square feet. Pallets double as privacy screens, perfect for city balconies. Add chalkboard labels or fairy lights for a personalized touch.
For example, one gardener turned a reclaimed pallet into a lush divider between patio seating areas. The wood’s rustic charm blends seamlessly with modern decor.
Eco-Friendly and Budget-Friendly
Upcycling keeps 40 pounds of wood out of landfills per pallet. That’s sustainability you can see—and taste. Costs drop sharply compared to store-bought alternatives:
| Option | Cost | Materials |
|---|---|---|
| DIY Pallet | $15–$30 | Reused wood, fabric, soil |
| Store-Bought Planter | $100+ | Plastic/metal, limited customization |
With minimal tools and creativity, anyone can build a thriving green space. Fresh herbs are just a snip away.
Materials You’ll Need for Your DIY Pallet Herb Garden
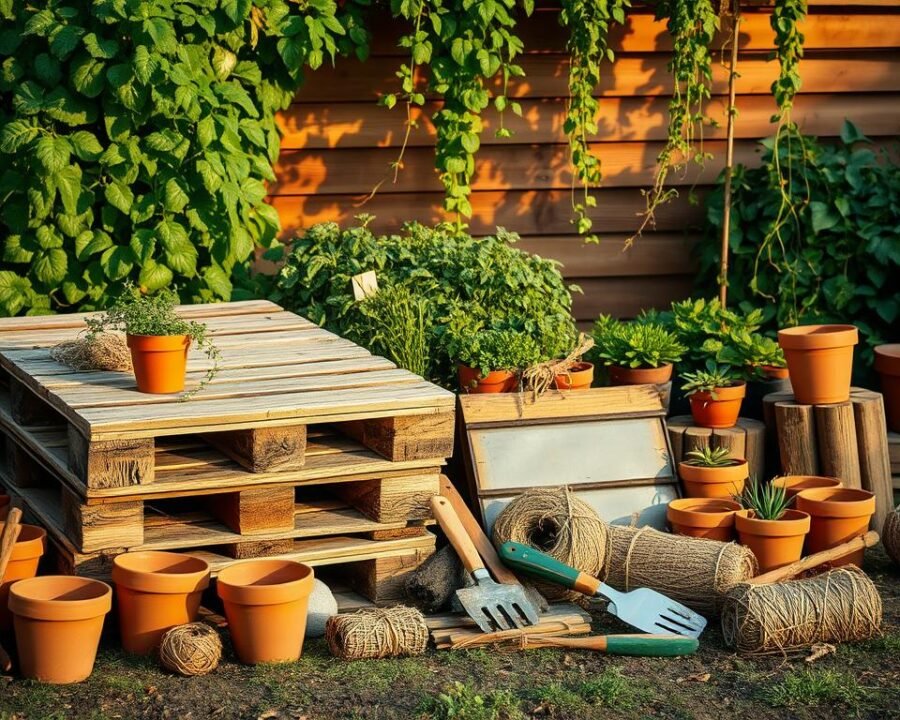
A successful DIY project starts with quality tools and safe materials. Whether repurposing a pallet or buying new supplies, the right choices ensure durability and plant health. Let’s break down the essentials.
Essential Tools and Supplies
Gather these items before building:
- Staple gun (3+ heavy-duty staples per inch for secure fabric)
- Crowbar for removing nails safely
- pH test kit to check soil acidity
- Landscaping fabric or pond liner scraps (for extra durability)
- 60% potting mix + 40% compost blend for drainage
Brands like Plantura Organic Herb Soil ($12.49/20L) offer nutrient-rich blends. Skip cheap soils—they compact easily and stunt growth.
Choosing the Right Pallet
Not all pallets are plant-safe. Follow this checklist:
- Look for HT stamps (heat-treated, not chemically treated with methyl bromide)
- Avoid cracked slats or wobbly beams—structural integrity matters
- Smooth surfaces prevent splinters during handling
“Heat-treated pallets are non-toxic and ideal for edible plants.”
For extra support, some builders add 2x4s and weed-blocking film between layers.
Step-by-Step Guide to Building Your Best Pallet Herb Garden
Ready to roll up your sleeves? Let’s build a functional vertical garden step by step. Each phase ensures stability and plant health, from prepping materials to arranging herbs.
Prep Your Pallet
Safety first. Sand all surfaces with 80-grit paper to prevent splinters. Remove loose nails using a crowbar—wobbly planks compromise stability.
Check for HT stamps (heat-treated wood). Avoid chemically treated pallets, as they can harm edible plants. Reinforce weak spots with 2x4s if needed.
Create Planting Sections
Space planks 6–8 inches apart. This allows room for root systems to expand. For deeper pockets, remove alternate slats and line gaps with netting hammocks.
*Pro tip*: Mark sections with chalk to visualize herb placement before securing fabric.
Add Landscaping Fabric and Soil
Staple double-layer fabric to the back, bottom, and sides. Overlap edges by 2 inches to prevent soil leakage. Use heavy-duty staples every 3 inches.
Fill pockets with a 60/40 soil-compost mix. Compact 4–6 inches deep—fist-sized handfuls ensure even distribution without overpacking.
Plant Your Herbs
Group herbs by sunlight needs. Rosemary and thyme thrive at the top (full sun). Parsley and mint prefer shade, so place them lower.
Water lightly after planting. Let roots settle for 48 hours before moving the pallet upright.
Tips for Maintaining Your Pallet Herb Garden
Keeping your vertical garden thriving requires simple but effective care. With the right balance of water, light, and seasonal adjustments, your plants will reward you with vibrant flavors all year.
Watering and Sunlight Essentials
Consistency is key. Give each herb about 1 cup of water every 2 days during summer. Clay pebbles at the base improve drainage, preventing soggy soil.
Place wind-sensitive varieties like basil in sheltered spots. Mediterranean herbs crave 6+ hours of sunlight, while shade-loving mint thrives with just 3–4 hours:
| Herb Type | Sunlight Needs | Water Frequency |
|---|---|---|
| Rosemary, Thyme | Full sun (6+ hours) | Every 3 days |
| Parsley, Mint | Partial shade (3–4 hours) | Every 2 days |
Seasonal Care and Harvesting
Wrap the structure in burlap during frost or move it to a south-facing wall. Never harvest more than 30% of foliage at once—this keeps plants productive.
Pair basil with rosemary to deter pests naturally. Avoid planting mint near parsley, as their growth habits clash. With these tips, your garden will flourish in any season.
Conclusion
Weekend projects don’t get more rewarding than this. For under $50 and just a few hours, a vertical pallet garden delivers year-round freshness. Customize with bold paint or mix herbs like basil and thyme for a personalized touch.
One parent shared, “My daughter’s cilantro thrived all summer.” Ready to expand? Try pairing your setup with a compost bin or strawberry planter.
Grab our free checklist and start building your small space oasis today. A vibrant garden wall is just a weekend away!
