We Show You How to Grow Herbs in Planter Boxes Everyone is Using
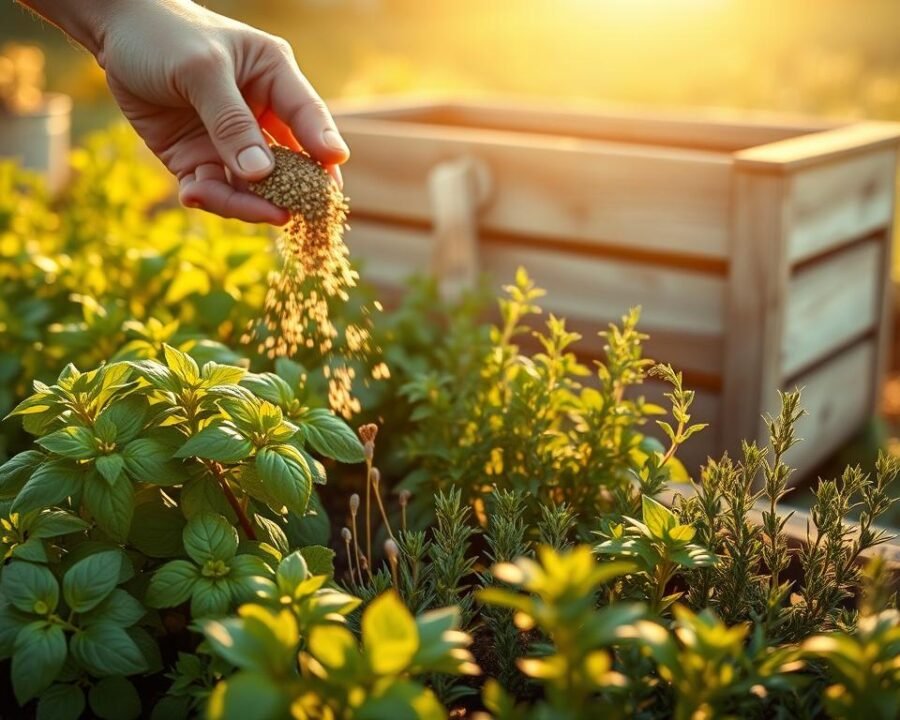
There’s something magical about snipping fresh herbs right from your own container garden. Whether you’re in a cozy apartment or have a sunny backyard, cultivating these fragrant greens brings joy—and flavor—to everyday meals.
Urban dwellers and small-space enthusiasts are embracing this trend, turning balconies and patios into lush, edible landscapes. With options like chives or basil, even beginners can enjoy success with minimal effort.
Why settle for store-bought when you can harvest your own? Beyond saving money, homegrown herbs add vibrant color and aroma to your space. Plus, they’re always within reach when inspiration strikes in the kitchen.
Key Takeaways
- Ideal for urban and small-space gardening
- Low-maintenance options perfect for beginners
- Enhances meals with fresh, homegrown flavors
- Cost-effective compared to store-bought varieties
- Adds decorative charm to any outdoor area
Why Grow Herbs in Planter Boxes?
Fresh flavors at your fingertips—that’s the magic of a compact container setup. Even a tiny balcony or sunny windowsill can host a thriving garden. No yard? No problem.
Urban dwellers love the efficiency. A single basil plant costs less than grocery-store packets but keeps producing all season. Snip what you need, and it grows back—like a renewable flavor bank.
Beyond savings, there’s joy in nurturing life. Studies show even small doses of gardening boost mindfulness. Plus, imagine mojitos with mint picked seconds before mixing.
- Space-smart: Fits apartments, patios, or fire escapes.
- Budget-friendly: $4 plant vs. $3 weekly store buys.
- Instant access: Steps from your kitchen to plate.
- Stress relief: Digging hands into soil melts tension.
One enthusiast raves:
“My rosemary lives by the grill—no more last-minute supermarket runs.”
Choosing the Right Planter Box
The right container makes all the difference for thriving plants. Whether you prefer rustic charm or modern practicality, material and size directly impact your garden’s health.
Material and Size Considerations
Terra cotta breathes well but dries quickly. Plastic retains moisture, while wood offers insulation. Match the pot size to your plant’s mature spread—cramped roots stunt growth.
| Material | Pros | Cons |
|---|---|---|
| Terra Cotta | Natural look, airflow | Heavy, breaks easily |
| Plastic | Lightweight, affordable | Less breathable |
| Wood | Durable, insulates | Can rot over time |
Drainage Holes: Why They Matter
Without drainage holes, water pools and rots roots. Tall, narrow containers dry faster than wide ones. Skip gravel at the bottom—it’s a myth! Instead, use broken pottery shards to prevent soil loss.
“Healthy plants start from the ground up—literally. Always prioritize drainage over aesthetics.”
For sun-loving varieties, lighter types prevent overheating. Balance water retention with airflow, and your greens will flourish.
Selecting the Best Soil for Herbs
Healthy roots start with the right foundation. The perfect blend ensures your greens stay vibrant and flavorful. Skip garden dirt—it’s too dense for container life.
Why Bagged Potting Mix Wins
Pre-mixed soil offers the ideal balance. Lightweight and fluffy, it lets roots breathe while holding moisture. Mediterranean varieties like rosemary thrive in slightly acidic blends (pH 6.0–7.0).
*Avoid the gravel myth.* A layer at the bottom creates a perched water table. Instead, opt for pots with proper drainage holes.
Smart Soil Choices
- Budget vs. premium: Mid-range mixes often perform as well as costly ones.
- Never reuse old soil: It may harbor pests or lack nutrients.
- Case in point: A gardener added gravel “for drainage”—her basil developed root rot within weeks.
“Invest in quality soil once, and your plants will thank you all season.”
Picking Your Herbs
Nothing beats the aroma of freshly picked leaves from your own garden. Whether you crave sweet basil for pasta or zesty cilantro for tacos, selecting the right varieties ensures success.

Start With These Easy Picks
New to gardening? These herbs forgive mistakes and flourish with minimal care:
- Basil: Sweet or Thai varieties add depth to dishes. Grows quickly in warm spots.
- Mint: Refreshing in drinks but needs containment (more on that below).
- Parsley: Biennial and versatile, perfect for garnishes.
Handle With Care: The Spreaders
Some plants, like mint, grow aggressively via underground runners. My backyard once turned into a mint jungle after one season! Try these tricks:
- Plant in solo containers to curb invasion.
- Harvest frequently to slow expansion.
- Swap with lemon balm for similar flavor without the takeover.
For slower growers like rosemary, give them space to thrive. Pair them with sage in separate pots to avoid competition.
How to Plant Herbs in Planter Boxes
Transform your space with vibrant greens by mastering the art of planting. Whether you’re starting from seeds or transplants, these steps ensure robust growth.
Step-by-Step Planting Guide
Step 1: Prep your container with well-draining soil. Fill it halfway, then gently rough up the roots of transplants to encourage spreading.
Step 2: Place the plant at the right depth. Basil thrives when buried up to its first leaves, while rosemary prefers shallow placement.
Step 3: Water until it drains from the bottom. This settles the soil and eliminates air pockets around roots.
Spacing and Arrangement Tips
Crowding stifles growth. Follow these spacing guidelines for a 12-inch pot:
| Herb | Spacing | Companion |
|---|---|---|
| Basil | 8–10 inches | Tomatoes |
| Thyme | 6 inches | Lavender |
| Parsley | 4 inches | Chives |
Prevent transplant shock by acclimating seedlings to outdoor light gradually. A shaded spot for 2–3 days works wonders.
“Proper spacing is like giving plants their own dance floor—they need room to groove.”
Sunlight and Location Tips
Sunlight fuels flavor—positioning your plants right unlocks their full potential. Whether on a balcony or kitchen sill, light dictates growth and taste. Most varieties crave 4–6 hours of direct sun daily.
Ideal Sun Exposure for Common Herbs
Basil thrives in bright spots, while mint tolerates shade. Mediterranean types like rosemary demand full-day sun. Watch for leggy stems—they signal light deprivation.
- South-facing windows work best for herbs indoors. Rotate pots weekly for even growth.
- Use a light meter: 2,000–3,000 lux keeps plants compact and flavorful.
- Summer tip: Filter intense afternoon rays with sheer curtains.
Growing Herbs Indoors vs. Outdoors
Indoor setups save space but need extra care. A kitchen basil near a window can outproduce store-bought bunches. Outdoors, adjust for seasons—shorter winter days may require relocating pots.
“My indoor thyme flourished under LED lights—no sunny window needed!”
Warning signs? Pale leaves or slow growth mean more light. Too much sun? Scorched edges appear. Balance is key.
Watering Your Herb Garden
Keeping your greens happy starts with mastering moisture control. Too little water, and leaves crisp up; too much, and roots suffocate. Finding that sweet spot ensures lush growth and intense flavors.
Smart Ways to Check Moisture
Forget guesswork—these methods never lie:
- Lift test: A light pot means thirsty plants. Heavier? Hold off.
- Finger check: Dive knuckle-deep—dry soil at fingertip needs hydration.
- Basil’s tell: Slight droop before wilting signals ideal watering time.
Clay pots dry faster than plastic. In Arizona, daily drinks might be necessary, while Seattle gardens may skip a day. Observe and adapt.
Rescuing Overwatered Plants
Soggy soil and yellow leaves scream “help!” Act fast:
“My mint turned yellow after a storm. I moved it to shade, skipped watering for three days, and added perlite to the mix—it bounced back stronger.”
Prevention beats cure. Consider self-watering systems with reservoirs for consistent moisture. Fine mist nozzles distribute water gently without disturbing delicate roots.
Fertilizing Herbs: Yes or No?
Nutrition matters—feeding your plants wisely makes all the difference. While some herbs flourish with occasional snacks, others rebel against extra attention. Knowing which types need help ensures vibrant growth without the guesswork.

When and How to Fertilize
Woody varieties like rosemary benefit from light feeding. Use these strategies:
- NPK ratios: 5-5-5 for Mediterranean herbs, 3-1-2 for leafy varieties.
- Organic options: Compost tea or fish emulsion every 4–6 weeks.
- Foliar sprays: Diluted seaweed extract boosts leaf production.
Timing is crucial. Early spring and mid-summer are prime times. Avoid late-season feeding—new growth won’t survive winter. One gardener learned the hard way:
“My oregano turned mushy after September fertilizing. Now I stop by Labor Day.”
Herbs That Don’t Need Fertilizer
Annual types like basil extract enough nutrients from fresh soil. Overfeeding burns delicate roots and dulls flavors. These thrive on neglect:
- Dill: Excess nitrogen causes limp stems.
- Cilantro: Rich soil speeds up bolting.
- Chives: Naturally resilient year-round.
For perennials, a single spring feeding sustains them all year. Remember: less is often more. Observe leaf color—deep green means no intervention needed.
Designing a Beautiful Herb Planter
Strategic plant placement turns ordinary containers into eye-catching displays. By combining different textures and heights, we create living arrangements that delight the senses. Even small spaces can showcase stunning garden artistry.
Thriller, Filler, Spiller Method
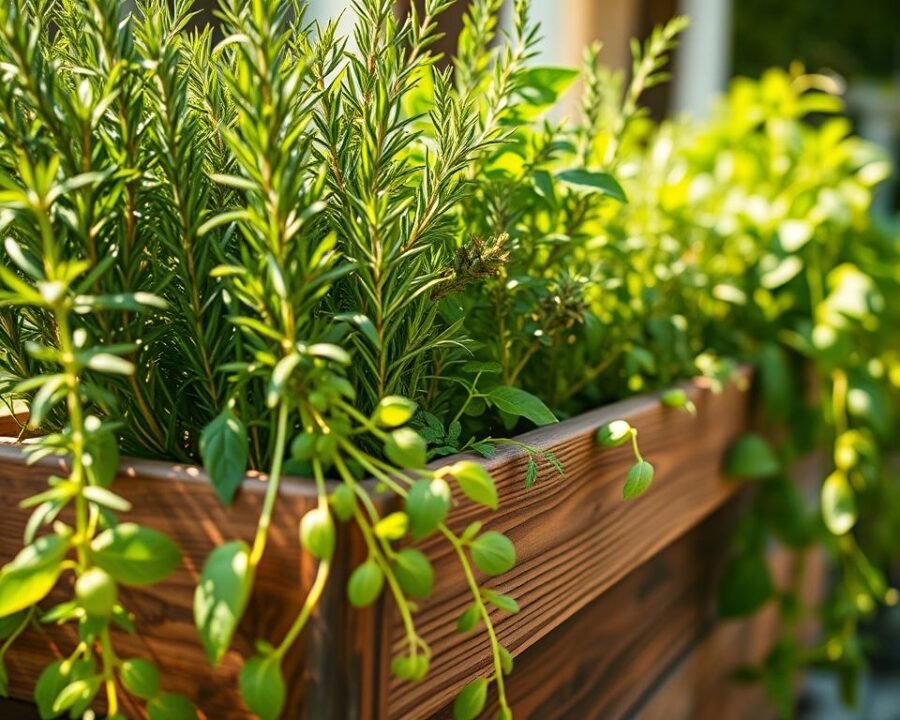
This classic approach guarantees balanced compositions. Tall plants like rosemary serve as thrillers, while thyme makes perfect filler. Let nasturtiums cascade over edges as spillers for dynamic movement.
Try these winning combinations:
- Vertical: Lavender (thriller) + sage (filler) + creeping thyme (spiller)
- Edible: Dill (thriller) + parsley (filler) + strawberries (spiller)
- Aromatic: Lemon verbena (thriller) + mint (filler) + sweet alyssum (spiller)
Grouping Herbs for Visual Appeal
Odd numbers create natural-looking arrangements. Cluster three or five pots together, varying heights for depth. Place taller specimens toward the back or center.
Color contrast adds drama:
- Purple basil against golden oregano leaves
- Variegated sage beside deep green chives
- Silver thyme paired with burgundy lettuce
Edible flowers like nasturtiums bring vibrant pops. Their peppery flavor complements salads while brightening the garden. Remember: petals are nature’s confetti!
“My balcony transformed when I grouped purple basil, lemon thyme, and calendula together—the bees agree!”
Scent combinations work the same way. Pair strong aromatics like rosemary with milder chamomile. This creates layered fragrance zones throughout your space.
Troubleshooting Common Herb Problems
Every gardener encounters setbacks, but quick action keeps plants thriving. From sneaky bugs to environmental stress, we’ll tackle issues before they escalate. Catching problems early is the best way to ensure a lush, productive garden.
Pests and Diseases to Watch For
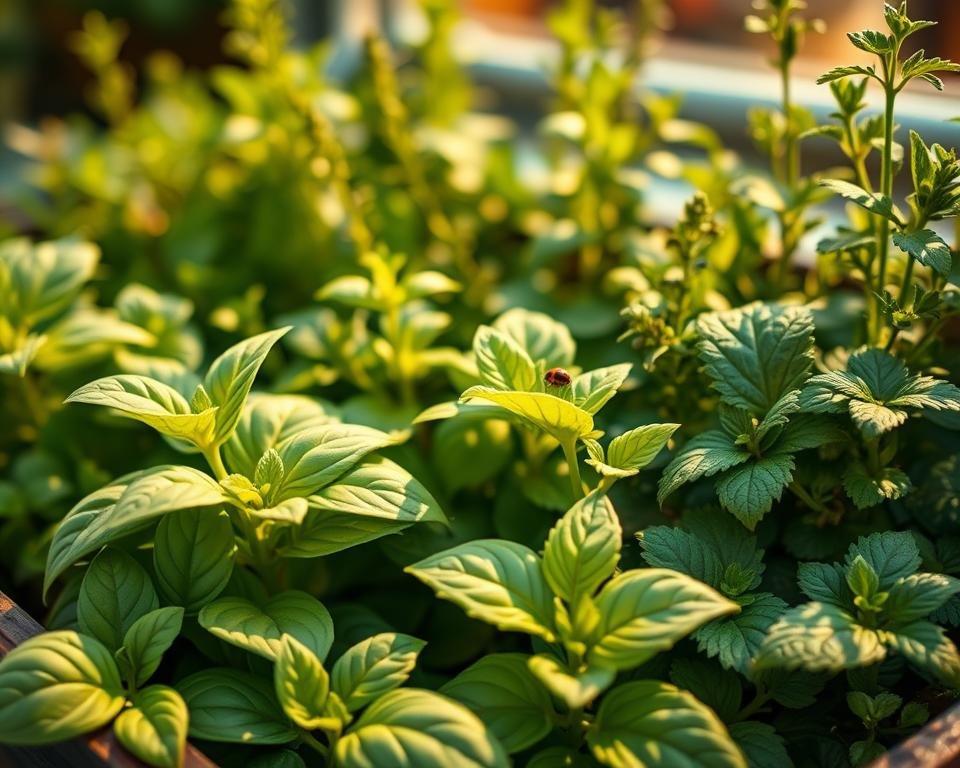
Tiny invaders can wreak havoc if ignored. Aphids cluster under leaves, while spider mites leave fine webs. A weekly leaf inspection helps catch infestations early.

- Neem oil spray: Mix 1 tsp oil + 1 quart water + few drops dish soap. Apply at dawn.
- Shower power: Rinse plants weekly to dislodge dust and pests.
- Mint containment: Prune runners aggressively—they spread faster than gossip.
Reviving Unhappy Herbs
When herbs struggle, these rescues often work:
“Over 300 gardeners voted: top challenges are overwatering (41%), insufficient light (29%), and aphids (18%).”
Emergency protocols:
- Root rot: Trim blackened roots, repot in dry soil, reduce watering by half.
- Sunburn: Move to shade; new growth appears in 7–10 days.
- Leggy stems: Prune back by one-third and rotate pots for even light.
For persistent issues, isolate affected plants to protect neighbors. Most recover with adjusted care—patience is key!
Conclusion
Small-space gardening unlocks big rewards with minimal effort. A container setup delivers fresh herbs year-round, saving money and elevating meals. No yard? No problem—balconies or windowsills work perfectly.
Start simple: basil, mint, and thyme thrive in most conditions. Share your progress with #HerbBoxProgress to inspire others. Seasonal shifts? Note these quick tips:
- Spring: Refresh soil and prune winter damage.
- Summer: Water early to avoid scorched leaves.
- Fall: Add mulch for root insulation.
This simple way to garden fits any schedule. Your garden-to-table journey begins today—those mojitos won’t make themselves!


