![How to Stop 1/4 Tubing from Popping Off Barbs [Troubleshooting]](https://thegardenhaven.com/wp-content/uploads/2026/02/how-to-stop-14-tubing-popping-off-barbs-troubleshooting.jpeg)
You’ve likely felt that sinking surprise: a fine bed of seedlings left dry while a sudden geyser soaks one corner of your garden. This short guide promises fast checks, simple repairs, and pressure tuning that work in real U.S. backyard setups.
I remember fixing my first drip line at dawn, hands chilled, learning that most blow-offs come from a tube not fully seated or a pressure spike. A “barb blow-off” is simply the tube sliding free from a ridged fitting under pressure, leaving a spray or a wet patch where plants expect steady water.
Start here: confirm the symptom, try quick mechanical fixes like reseating or recutting a stretched end, and then check pressure and worn parts. Keep typical garden drip at or below 40 PSI, aiming for a steadier 25–40 PSI when you can.
Shut off and depressurize before you handle fittings to avoid sudden sprays and protect seedlings. When connections hold, watering becomes predictable and seasonal care feels effortless. For a deeper walk-through of common part failures and reliable replacements, see this detailed guide on troubleshooting your drip system.
Key Takeaways
- Confirm a barb blow-off by spotting wet patches or a sudden spray.
- Reseat the tube fully, or cut back a stretched end and reconnect.
- Check pressure: keep garden drip ≤ 40 PSI, ideal 25–40 PSI.
- Inspect connectors, fittings, and tubing condition as common weak points.
- Always shut off and depressurize before handling any fitting.
- Secure connections make irrigation schedules and timers work reliably.
Quick symptoms check: confirming a barb blow-off vs. a leak in your drip irrigation system
A brief walk along the run will tell you whether the tube has fully detached or if a slow weep is hiding at a joint. Look for a sudden spray or puddle versus a steady drip that leaves wet soil but no gush.
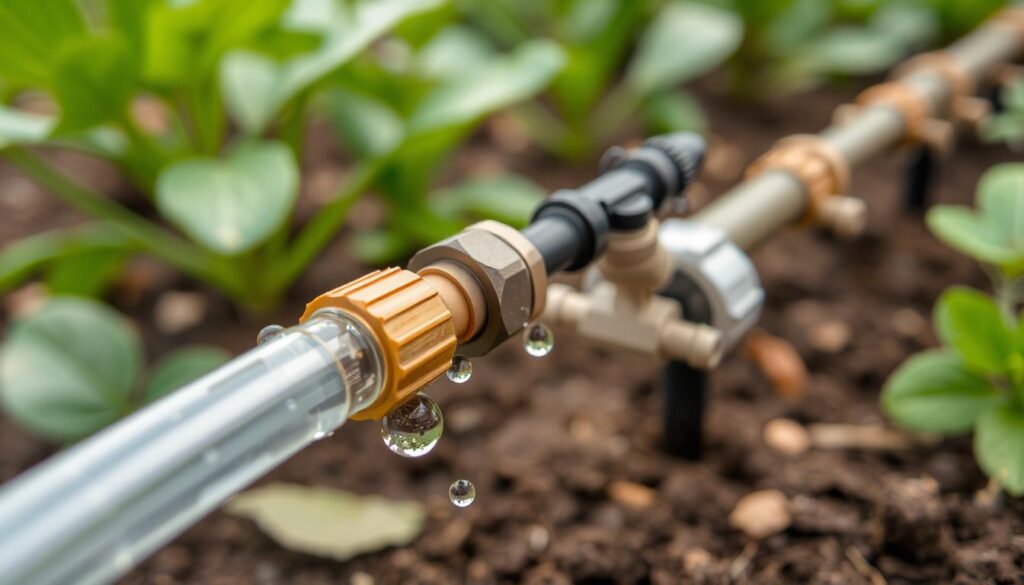
What a visible failure looks like at the fitting, emitter, and line end
The fitting often shows the tube no longer seated. You may see the opening gushing water and the connection ring looking stretched or shiny from slipping.
An emitter that popped loose will usually spurt or mist. A half-seated tube near an emitter causes erratic flow and a weak drip instead of steady output.
At the run end, dry plants signal water escaping earlier in the line. If a blow occurs near the supply, one patch can be soaked while the rest of the line runs weak.
Fast safety prep: shutoff, depressurize, and protect nearby plants and components
Shut off the spigot or hose bib, then open an end cap or emitter briefly to relieve pressure. Make sure the area is stable before nudging fittings back in place.
“Most failures are mechanical seating or spikes in pressure — a calm check and a quick reseat usually fix it.”
- Follow the line by hand, feeling for hissing or wet soil at fittings.
- Move mulch aside to expose joints and keep spray off delicate leaves.
- Avoid washing soil into emitters or the filter when you clear a leak.
| Symptom | Likely Cause | Quick Action |
|---|---|---|
| Sudden spray | Tube detached at fitting | Shut off, depressurize, reseat tube |
| Puddling near emitter | Loose or worn emitter | Remove, inspect, and replace emitter |
| Dry end plants | Leak earlier in line or clogged end cap | Walk the line, check fittings and end cap |
Keep calm and practical. Most issues in a backyard drip system are solved by checking seating, cleaning a small clog, or lowering a pressure spike. A few careful minutes now mean fewer surprises at watering time.
how to stop 1/4 tubing popping off barbs [troubleshooting]
![how to stop 1/4 tubing popping off barbs [troubleshooting]](https://thegardenhaven.com/wp-content/uploads/2026/02/how-to-stop-14-tubing-popping-off-barbs-troubleshooting-1-1024x585.jpeg "how to stop 1/4 tubing popping off barbs [troubleshooting]")
Reseat the tube: Remove the tube, inspect the inner lip for stretching, and push it straight onto the barb until it bottoms out. A fully seated connection shows no visible gap and resists twisting; if the tube spins, it likely isn’t engaged with the barbs.
Cut back to fresh material
Snip about 1/2″–1″ from the end if it looks stretched or whitened. Reconnect to a round, unstressed segment for a firmer grip on the fitting.
Warm the plastic for a tighter fit
In cold mornings, warm the tube end in sun or warm (not boiling) water so it slides over the barb. As it cools, the tubing contracts and grips more tightly.
Add retention when needed
For higher or spiky pressure near 40 PSI, add a small clamp sized for 1/4″ hose. Tighten until snug; avoid over-tightening which can cut into soft tubing.
Run a quick test cycle
Turn water on slowly and watch the fitting for 30–60 seconds. Then run the zone a few minutes and check the end for steady emitters and no pressure collapse from a hidden leak.
“A firm push, one clean cut, and a short test will save more time than a long search for a mystery leak.”
| Action | When to use | Result |
|---|---|---|
| Reseat tube fully | Loose, half-on connections | Immediate regain of grip and fewer sprays |
| Cut back 1/2″-1″ | Stretched or whitened end | Better seal and longer-lasting joint |
| Warm tubing | Cold weather installs | Easier fit, tighter as it cools |
| Add clamp | Frequent pressure spikes or bumped joints | Extra retention without redoing fittings |
Why 1/4-inch tubing blows off barbed fittings in the first place
Most garden blowouts trace back to one of four problems: pressure spikes, mismatched parts, poor seating, or worn or aged components. These forces work alone or together until a joint can no longer hold.
Excess pressure and sudden spikes
Pressure surges from valves, timers, or a nozzle change can expand the tube and loosen the grip on a barb.
For home drip, aim at or below 40 PSI. Higher psi raises expansion and cuts pull-off resistance quickly.
Incorrect size match
Not all “1/4-inch” products match. If tubing ID is large or the barb OD is small, the seal looks fine but is weak.
Barb shape — depth, slope, and number — matters as much as raw diameter for a secure connection.
Poor seating and twisted installs
A half-seated or twisted connection leaves a tiny channel that starts as a weep and ends as a spray.
Push the tube fully and straighten twists so the barb can bite evenly around the fitting.
Worn, damaged, or aging parts
Sharp or nicked barbs can score soft plastic, while rounded, worn barbs fail to hold. UV, heat cycles, and time make tubing brittle over the years.
Also check for kinks or blocked emitters — they create local backpressure in a pipe segment and stress nearby fittings.
- Quick tip: Inspect fittings for nicks and compare tube ID to barb OD before reinstalling.
- Watch pressure: Keep zones steady and under 40 PSI when possible.
Verify you’re using the right tubing and fitting sizes for a secure connection
Check fitment before pressure: a snug match cuts most repeat leaks. Choose the correct size, keep connection types consistent, and match materials for a long-lasting joint.
Measure and confirm compatibility
Measure the inner diameter of your tube and compare it to the barb OD. Barb fittings are sized by hose ID; the barb OD should be slightly larger or nearly the same for a tight grip.
Don’t mix connection systems on the same joint
Never combine barbed parts with push-to-connect on the same joint. Their sealing geometry differs and a mixed joint shortens life and invites leaks.
Material matters
Softer plastic or rubber can stretch and seal over a barb. Stiffer PE or PVC needs a closer size match. If a connector slides on too easily, it’s likely too loose.
- Compatibility checklist: match sizes, stick to one family of connections, and toss unknown off-brand components that lack clear specs.
- Keep fittings and tube labeled in a small bin so you don’t mix parts mid-season.
| Component | Fit cue | Action |
|---|---|---|
| Soft rubber tube | Stretches over barb | Use standard barb, test under pressure |
| PE distribution tube | Tighter fit required | Verify ID vs barb OD before forcing |
| Push-to-connect | Different seal geometry | Avoid mixing with barbed joints |
For more detailed installation tips on compatible fittings, see this guide on easy connector installation.
Pressure regulator and filter checks that prevent tubing blow-offs
A steady pressure line starts with a clean regulator and a clear screen. A healthy pressure regulator plus a rinsed filter screen calms flow and cuts sudden spikes that free fittings.
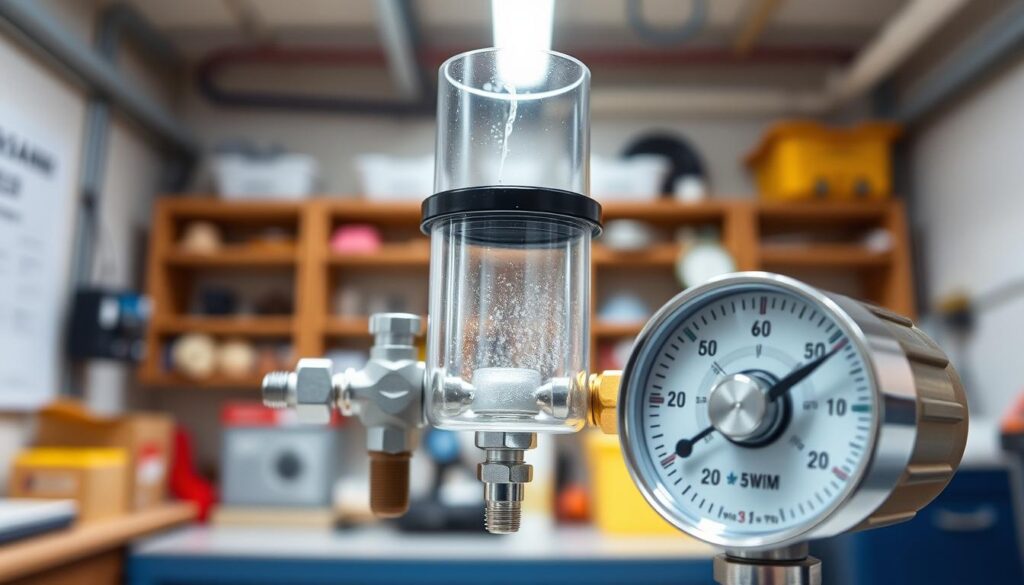
Regulator inspection and simple fixes
Check the regulator for sediment and confirm the arrow points the correct direction. If output swings or reads inconsistent values, replace the unit; worn internals cause pressure creep over time.
Filter screen care
Remove the screen, rinse debris, and reinstall. In peak season, clean every 2–4 weeks so the filter doesn’t cause odd pressure behavior across zones.
Pressure testing best practice
Add a gauge after the pressure regulator and read real psi at the irrigation system. Target 25–40 PSI for most home gardens and use a 150–200 mesh filter to protect emitters and steady flow.
Make sure fittings are seated before testing — a loose joint can mimic a bad regulator.
| Check | Action | Result |
|---|---|---|
| Regulator | Inspect, confirm direction, replace if unstable | Steady pressure |
| Filter screen | Rinse or replace every few weeks in season | Consistent water delivery |
| Pressure gauge | Install after regulator | True psi at the system |
For a complete small-plot install that pairs well with these checks, see this 30-pot DIY drip system.
Flow and zone sizing: when your system demands more water than your line can carry
Count demand, test supply, and split zones if capacity falls short. When a run asks for more flow than the mainline or source can deliver, pressure swings follow and connections face higher stress.
Quick math: list every emitter and device on a line, add their GPH ratings, and compare that total to the main pipe capacity.
Calculate total flow
A simple example: ten 1 GPH emitters = 10 GPH total demand. Add any inline valves or drip devices that draw extra flow.
Mainline capacity anchors
- 1/2″ mainline — up to 240 GPH
- 3/4″ mainline — up to 480 GPH
- 1″ mainline — up to 780 GPH
Source flow test and zoning
Run a bucket-and-stopwatch at the spigot for one minute to find available GPH at your source.
If available flow is lower than demand, split the run into zones and run one zone at a time. This prevents uneven watering, pressure swings, and connection failures.
Mixed symptoms — some devices drip while others gush — often mean a system is over-budget on flow and suffering pressure instability.
Practical note: steadier flow and fewer surges reduce moments when a barb joint might eject under sudden pressure. When you expand a bed, consider rezoning rather than stacking more emitters on the same line.
Repair tactics for recurring blow-offs at emitters, tees, couplers, and end caps
Recurring leaks at emitters, tees, couplers, and end caps usually point back to worn parts or trapped debris. These spots see the most stress from gardening traffic, pressure shifts, and sediment. A calm, systematic repair will stop most repeat failures.
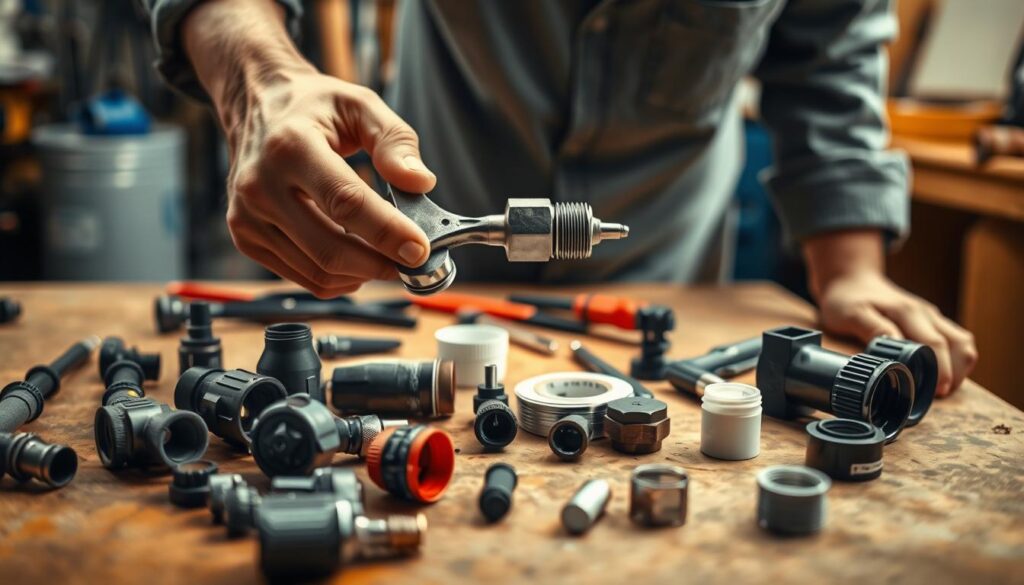
Emitter connection fixes
Remove the emitter and clean the adjustable cap. Inspect the barb and the tube end for whitening or stretch marks.
Cut a clean, square end and push the tube fully over the barb so it bottoms out. A fully seated emitter resists twisting and stops spurting at startup.
Replace brittle connectors and cracked fittings
If a connector feels stiff, shows cracks, or won’t hold after reseating, replace it immediately. Old plastic often fails again in days, so swapping the part saves time.
Check tees and couplers first — they take pulls and vibration during garden work and are frequent repeat offenders.
End-of-line flushing and neat repairs
Remove the end cap and run water until clear. This clears sediment that can create pressure swings and uneven drip patterns.
Keep cuts square, avoid stretching tube sideways when seating, and support the line near fittings so gardening activity does not tug connections.
After repairs, run the zone and watch for both obvious blow-offs and small leaks that can grow over a week.
| Problem | Likely cause | Immediate action | Result |
|---|---|---|---|
| Emitter spurting | Half-seated or dirty emitter | Clean cap, cut end, reseat over barb | Stable drip at startup |
| Repeat leak at tee | Brittle connector or tugging | Replace tee, secure nearby line | Longer-lasting joint |
| End line instability | Sediment in run | Remove end, flush until clear, reinstall | Steadier pressure and flow |
| Slow, uneven drip | Mini leak stealing flow | Reseat emitter or replace fitting | Even distribution across emitters |
For a deeper parts guide and reliable replacement tips, see a detailed drip system replacement guide. For quick-connect ideas that pair with neat repairs, check this hose fitting overview.
Preventive maintenance for drip systems in the United States: fewer leaks, fewer resets, better results
A short maintenance habit saves hours of sudden repairs and keeps gardens flourishing all season. Small, regular checks cut surprise resets and give steadier watering results for every bed.
Seasonal flush routine
Schedule a once-per-season flush from the end of each zone. Open the end and run water until it runs clear.
This purges sediment before clogs form and eases pressure quirks that stress parts and fittings.
Peak-season cleaning cadence
Rinse the filter and screen every 2–4 weeks during summer. Walk lines monthly to spot UV cracks or tiny leaks in tubing.
Smart spares and storage
Keep extra tubing, several emitters, couplers, and end plugs in a shaded bin. Sun-stored spares age faster under U.S. heat.
Controller and timer checks
Test the controller and replace the battery at season start. A weak battery or failing timer can cause on/off surges and odd schedule resets.
Proactive replacement of worn parts and monitoring of regulator and filter cuts mystery failures and gives steadier results.
| Task | When | Why |
|---|---|---|
| Flush from end | Once per season | Removes sediment that clogs emitters and shifts pressure |
| Clean filter/screen | Every 2–4 weeks in peak | Maintains steady flow and protects emitters |
| Inspect tubing | Monthly in season | Find UV damage and small leaks early |
| Spare parts kit | On hand year-round | Speeds repairs and avoids watering gaps |
| Controller battery | Season start | Prevents schedule loss and unexpected resets |
Conclusion
Wrap up by confirming each joint and watching the zone under real flow for a few minutes. Small fixes—reseat, trim, warm, or add a clamp—work best when you then verify pressure and flow at the source.
Follow the calm fix path: confirm the symptom, reseat or cut a worn end, warm snug ends, add a clamp if needed, then validate pressure and total flow so the repair lasts.
Remember the guardrails: keep garden pressure under 40 psi, aim for 25–40 PSI, and use roughly 150–200 mesh filtration. Split a run when demand exceeds the line capacity.
Quick if/then: if a barb won’t hold after trimming, replace that fitting; if several barbs fail, suspect spikes or a size mismatch. Run the zone and watch each connection, especially on the upstream side.
Keep a small drip kit in the garage (extra tubing, a couple fittings, an end cap) and you can fix a blow in minutes. For a handy garden adapter, see this garden hose adapter.
FAQ quick lines: Question—Why did this happen? Usually pressure or a half-seated joint. Question—What next? Share your fitting type and pressure and we’ll give targeted tips.
A small bit of preventive care now saves hours later and keeps every line delivering evenly. Your plants will thank you with faster, healthier growth.