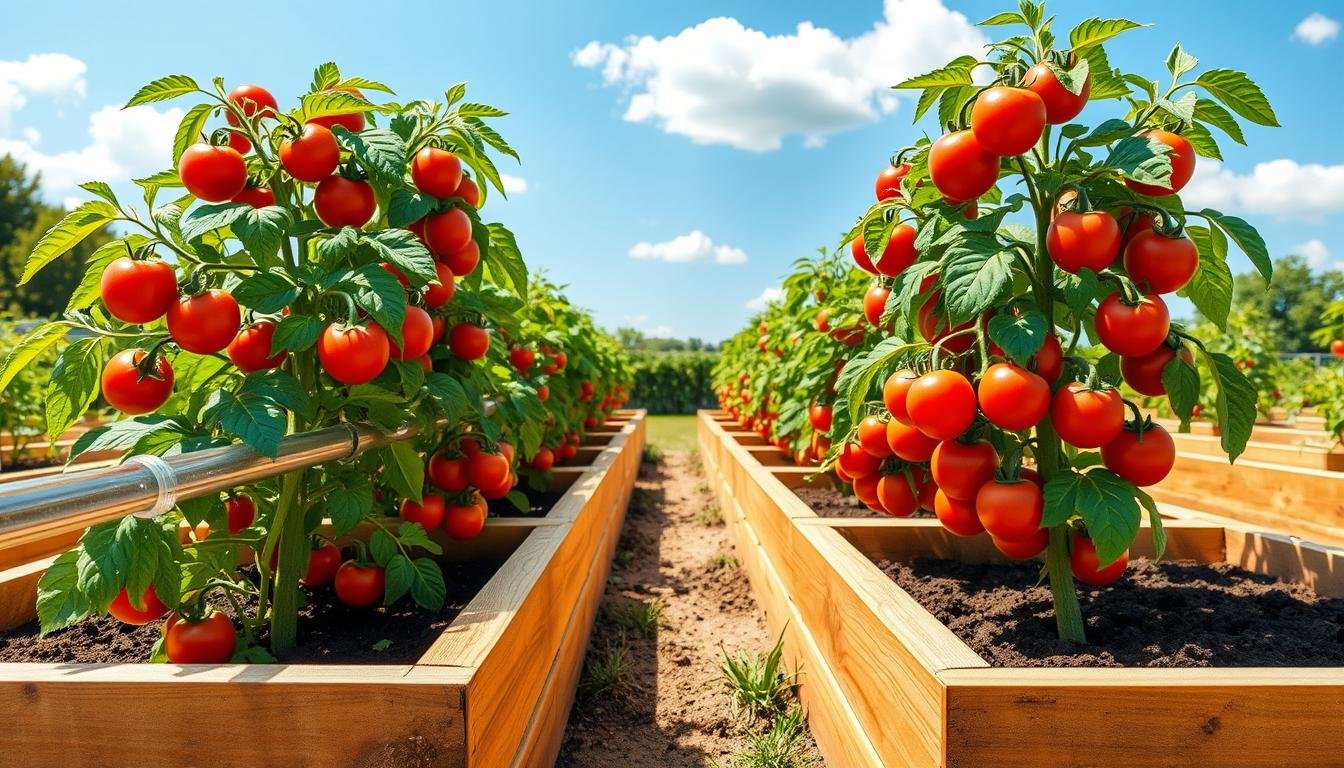
A raised bed tomato drip layout works best when the water lines match the way tomato roots actually spread through the bed. For most 3- to 4-foot-wide raised beds, a simple two-line layout is the easiest place to start.
Run two parallel drip lines the full length of the bed, place them near the tomato root zone, and use emitter spacing around 8 to 12 inches as a starting point. Then test the wetting pattern before you bury the system under mulch.
The goal is not to copy one fixed diagram. The goal is to build a layout that wets the active root area evenly, keeps leaves drier than overhead watering, and avoids mismatched parts that cause weak flow or leaks.
Quick answer
For a common 4-foot-wide raised bed, place two drip lines lengthwise through the bed, usually one on each side of the tomato row or between staggered tomato plants. Keep the lines close enough that the wet bands overlap after a test run.
Emitter spacing of 8 to 12 inches is a practical starting range for tomatoes in raised beds. Use closer spacing in sandy or fast-draining mixes, and consider a third line if the middle of the bed stays dry after testing.
Before buying parts, check tubing size, fittings, pressure requirements, filtration, backflow protection, and whether the kit includes the header or distribution tubing you need. Those small compatibility details matter more than a fancy layout drawing.
Key takeaways
- Two lines usually fit common 3- to 4-foot beds when tomatoes are planted in one row or staggered pairs.
- Start with 8- to 12-inch emitter spacing, then adjust after checking the wet soil pattern.
- Raised beds can dry faster than in-ground soil, so mulch and regular moisture checks matter.
- A useful setup usually needs tubing, fittings, end caps, a filter, a pressure regulator, backflow protection, and stakes.
- Drip irrigation can reduce leaf wetting, but it does not guarantee disease-free tomato plants.
Helpful products at a glance
These products are useful examples for gardeners who want a kit-based starting point. They still need to be matched to your bed size, water source, soil mix, and tomato spacing.
Best for a common 4-by-8 raised bed because it starts with raised-bed emitter tubing
- Convenient Drip irrigation kit has everything needed to water up to a 4’ x 8’ raised bed garden
- Ideal for all types of raised garden beds with professional-grade components that are built to last

Best for compatibility-aware garden box layouts because it shows why included tubing matters
- For efficient drip watering of a garden box of up to 64 square feet in size
- Fishbone pattern provides very uniform watering across the garden box

Basic two-line layout for a 4-foot raised bed
A two-line drip layout is simple: one supply run on the left side of the tomato root zone and one on the right side. In a 4-foot bed, the lines usually run lengthwise instead of across the bed, because long straight runs are easier to install, flush, and maintain.
If tomatoes are planted down the center, place each line a little to either side of the row. If tomatoes are staggered in two rows, place the lines so each plant sits close to at least one wet band.
The best drip layout is the one you test in your own bed before the plants are depending on it.
| Raised bed setup | Starting drip layout | What to check after testing |
|---|---|---|
| 3-foot bed with one tomato row | Two lines close to the root zone, one on each side of the row | Make sure wet bands meet under the plant canopy |
| 4-foot bed with one center row | Two lengthwise lines spaced wide enough to wet both sides of the row | Check the center and outer root area for dry strips |
| 4-foot bed with staggered tomatoes | Two lines running through the staggered planting area | Confirm each plant sits near a wet band |
| Fast-draining raised bed mix | Two lines with closer emitter spacing | Dig after watering to see if moisture spreads sideways enough |
| Wide bed or dry center strip | Two lines first, then add a third if needed | Do not add fertilizer before checking moisture depth |
Where to place the two lines
Place the lines where tomato roots will actually use the water. For many raised beds, that means keeping each line several inches away from the stem rather than pressed directly against it. The water should soak a wider root area, not only one narrow strip at the base of the plant.
In a single-row tomato bed, the two lines can sit on opposite sides of the row. In a staggered planting, they can run through the two planting lanes. The exact placement should follow the plants, not just the wooden edge of the bed.
Emitter spacing that usually makes sense
Use 8- to 12-inch emitter spacing as a practical starting point. Six-inch spacing may also appear in some raised-bed kits, which can help create a more even wet band in short beds or fast-draining soil mixes.
Do not assume closer spacing automatically means better watering. If the soil stays soggy near the surface but dry deeper down, the problem may be run time, pressure, soil texture, or zone length rather than emitter spacing alone.
How soil changes the layout
Sandy mixes often move water downward quickly and sideways less than expected. In that case, closer emitters or slightly closer drip lines may help. Heavier soil may spread water wider but absorb it more slowly, so long fast watering cycles can lead to surface pooling.
After a test run, dig a small inspection hole between the two lines. If the top looks damp but the soil 8 to 12 inches down is still dry, increase run time gradually or adjust the layout before the weather turns hot.
Parts you actually need before building
A raised bed drip system does not need to be complicated, but every part should match the rest of the system. Most problems come from weak pressure, missing filters, mismatched tubing, or fittings that were not made for the tubing size being used.
A basic setup usually includes a water connection, backflow protection, filter, pressure regulator, header or distribution tubing, two drip runs per bed, fittings, end caps, and stakes. A timer can help, but it should not replace regular checks for clogged emitters or dry soil.
For readers who want a kit-based starting point instead of buying every fitting separately, the Rain Bird GARDENKIT fits naturally into this kind of layout because it is listed for raised garden beds up to 4 feet by 8 feet and includes emitter tubing plus distribution tubing.
Even with a kit, the layout still needs to be adjusted to your tomato spacing and soil. A 4-by-8 listing is useful, but it does not mean every tomato bed will water perfectly without testing.
Shopping checklist
- Water-source connection for your hose bib or irrigation supply
- Backflow preventer if connected to potable water
- Filter to reduce clogging risk
- Pressure regulator matched to the drip tape or dripline
- Header or distribution tubing sized for the number of beds
- Two drip runs per tomato bed
- Compatible barbed or compression fittings
- End caps or flushable ends
- Stakes or landscape staples to keep lines in place
- Optional timer for more consistent scheduling
Drip tape vs. 1/4-inch dripline
Drip tape often works well for long, straight seasonal rows. It is common in vegetable beds, but it needs pressure control and careful handling. Small 1/4-inch dripline or soaker tubing can be easier to route through raised beds, especially where the layout is short and compact.
The tradeoff is run length. Smaller tubing can have more limitations over distance, so check the current product instructions before building a long zone from 1/4-inch tubing alone.
The Orbit 67527 Garden Box Drip Irrigation Soaker Watering Kit is a useful example of a garden-box style kit because it uses 1/4-inch laser-drilled soaker tubing and includes a filter, pressure regulator, and adapter. Its listing also notes that 1/2-inch drip blank distribution tubing is sold separately, which is exactly the kind of detail to check before buying.
What tubing size means in real use
Mainline or header tubing carries water to the bed. Dripline or drip tape distributes water inside the bed. If those roles get mixed up, the system can become harder to tune, especially when you add more than one bed.
Larger header tubing can support more beds and longer runs, but final sizing should follow the product’s stated capacity and your measured water supply. Avoid designing a system right at the edge of your water source. Leave some headroom for fittings, filters, elevation changes, and pressure loss.
Pressure, filters, and backflow protection
Most drip tape and dripline products have a recommended pressure range. Use a pressure regulator matched to the product rather than guessing. Too much pressure can stress fittings or tubing; too little can leave the far end weak.
A filter helps reduce clogged emitters, especially if your water source has sediment. It does not make the system maintenance-free. Flush the lines and clean the filter during the season.
If the system connects to a potable water supply, backflow protection matters. This becomes even more important if fertilizers or any chemical products are ever connected to the watering line.
| Part | Why it matters | Common buying mistake |
|---|---|---|
| Filter | Helps reduce emitter clogging | Skipping it because the water looks clean |
| Pressure regulator | Protects tubing and helps keep output steady | Buying one without checking the drip product’s pressure needs |
| Backflow preventer | Helps protect potable water supplies | Leaving it out on a hose-bib setup |
| Header tubing | Feeds multiple lines or beds | Using small tubing where a larger header is needed |
| Fittings | Connect tubing without leaks | Mixing parts from different tubing sizes |
| End caps | Allow closing and flushing the line | Burying them so maintenance becomes difficult |
Kit-based options and compatibility notes
Kits can save time when the included parts fit your layout. They can also create problems when the box looks complete but still requires a separate header, adapter, or tubing size you did not plan for.
The main question is simple: will the kit connect from your water source to your bed, and does it include the tubing style you want inside the bed? Check the current listing, instructions, tubing sizes, and required add-ons before ordering.
If you want to review a raised-bed kit that starts with emitter tubing and a common raised-bed size, you can check the current details on Amazon. Use the listing details as a parts check, not as a promise that the layout will fit every tomato spacing.
- Convenient Drip irrigation kit has everything needed to water up to a 4’ x 8’ raised bed garden
- Ideal for all types of raised garden beds with professional-grade components that are built to last
- Waters at low volume near roots for healthier plants, higher yields and up to 80% water-savings
- Pressure-compensating emitters deliver even watering throughout garden beds
For a soaker-style garden box setup, the Orbit 67527 kit may suit readers who are comfortable checking compatibility and adding the right distribution tubing if needed. The important detail is that the listing notes 1/2-inch drip blank distribution tubing is sold separately.
That makes it a better fit for gardeners who already understand the difference between header tubing and in-bed soaker tubing. If you want to compare the current included parts before deciding, you can view the Orbit 67527 Garden Box Drip Kit on Amazon.
- For efficient drip watering of a garden box of up to 64 square feet in size
- Fishbone pattern provides very uniform watering across the garden box
- 3-in-1 filter pressure regulator keeps system clean and protects equipment
- Note: 1/2" drip blank distribution tubing (sold separately) is not included in this kit
Build the layout in the garden
Start with the header line at the head of the bed. This gives you one clear place to connect, label, flush, and troubleshoot the system.
Step 1: Lay the header
Run the header along the bed head or along the outside edge where it will be easy to reach. Keep it neat and visible until the system has been tested.
Step 2: Connect the two drip runs
Cut two drip runs to length and connect them to the header with fittings made for that tubing size. Push tubing fully onto barbed fittings or use the compression fittings specified for the product.
Step 3: Add valves where they help
A shutoff valve per bed is useful when beds have different sun exposure, soil mixes, or crops. It also makes repairs easier because one bed can be isolated without turning off the whole system.
Step 4: Cap, flush, and anchor the lines
Keep end caps accessible above the mulch. Open them during setup to flush debris before the final test. Then anchor the lines with stakes or landscape staples so they do not shift as the soil settles or the tubing warms in the sun.
- Lay the header first.
- Connect two lengthwise drip runs per bed.
- Test for leaks before mulching.
- Flush the ends before the first real watering cycle.
- Anchor lines loosely enough for normal movement.
Dial in flow, zones, and watering time
A neat layout still needs testing. Flow rate, zone size, and run time decide whether the water reaches the root zone or only wets the surface.
Measure your water source
Use a bucket test at the spigot. Fill a known container, time it, and convert the result to gallons per minute or gallons per hour. Then compare that number with the total demand of the emitters or tape in the zone.
Do not design to the absolute maximum flow from the spigot. Filters, regulators, fittings, long runs, and elevation changes can all reduce usable flow.
Plan zones before adding more beds
A zone is the amount of dripline or tape you can run at once while still getting usable pressure at the far end. If far-end emitters look weak or the bed waters unevenly, split the system into smaller zones instead of forcing everything through one valve.
Set the first run time by digging
Run the system, wait briefly for water to settle, then dig between emitters and near the center of the bed. For tomatoes, a good test is whether moisture reaches the deeper active root area rather than stopping at the top inch or two.
If moisture reaches roughly 8 to 12 inches and the wet bands connect, your starting run time is close. If the middle stays dry, increase time gradually, move the lines, tighten emitter spacing, or add another line.
Adjust by weather and plant size
Young tomato plants need less water than full-size plants carrying fruit. Hot, windy weather can dry raised beds quickly. Sandy mixes may need shorter, more frequent cycles, while heavier soil may need slower watering so water can move down instead of pooling at the surface.
Mulch helps once the wetting pattern is right. Add it after testing so you can see what the system is doing, then use 2 to 4 inches of organic mulch to reduce evaporation and soften moisture swings.
Maintenance that keeps the system reliable
Drip irrigation is easier than hand watering once it is tuned, but it is not fully hands-off. Small checks prevent most bigger problems.
Flush and inspect regularly
Flush the lines at the start of the season, after repairs, and periodically during heavy use. Clean the filter as needed and inspect fittings for leaks.
Watch for clogging
If one plant wilts while others look fine, check the emitter before changing fertilizer or watering the entire bed more. A clogged emitter or kinked line can mimic a plant problem.
Prepare for freezing weather
In freezing climates, drain or winterize the system according to the product instructions. Water trapped in tubing, filters, regulators, or timers can damage parts when it freezes.
FAQ
Are two drip lines enough for tomatoes in a raised bed?
Two lines are often enough for common 3- to 4-foot raised beds, but the soil test matters most. If the wet bands do not meet or the bed center stays dry, adjust spacing or add another line.
How far apart should emitters be for tomato drip irrigation?
Start with 8 to 12 inches between emitters. Closer spacing may help in fast-draining mixes or short raised beds where even wetting is hard to achieve.
Should drip lines go beside the tomato stem or between plants?
Place lines near the root zone, not pressed directly against the stem. In staggered plantings, the lines should run where they can serve the most roots evenly.
Does drip irrigation prevent tomato disease?
No. Drip irrigation can reduce leaf wetting compared with overhead watering, which may lower some disease pressure, but it does not prevent disease by itself.
Do I need a pressure regulator for a raised bed drip system?
Yes, in most drip setups. Use a regulator matched to the drip tape or dripline you choose, because pressure needs vary by product.
Do I need a filter if I use city water?
A filter is still useful. It reduces clogging risk from small particles, but you should still flush the system and check emitters during the season.
When should I use a timer?
A timer is useful once you know the right run time for your bed. Do the moisture-depth test first so the timer repeats a schedule that actually wets the root zone.
Should I mulch before or after testing drip lines?
Test first, then mulch. Once the wetting pattern looks right, mulch helps reduce evaporation and keeps the raised bed moisture more stable.
What is the biggest buying mistake with raised bed drip kits?
The biggest mistake is assuming every kit includes every part from the faucet to the bed. Check tubing size, required distribution tubing, fittings, pressure regulation, and backflow protection before buying.
Final verdict
A two-line raised bed drip layout is a strong starting point for tomatoes because it is simple, serviceable, and easy to test. For most 3- to 4-foot beds, run two lengthwise lines near the root zone, start with 8- to 12-inch emitter spacing, and check the soil before making final adjustments.
The best results come from matching the layout to your bed, not from copying a fixed diagram. Test the wetting pattern, protect the system with the right filter and pressure regulator, keep fittings compatible, and use mulch after the layout is working.
If the bed still has dry strips, do not guess. Dig, inspect, and adjust the system. A small layout change early in the season can save a lot of tomato stress later.