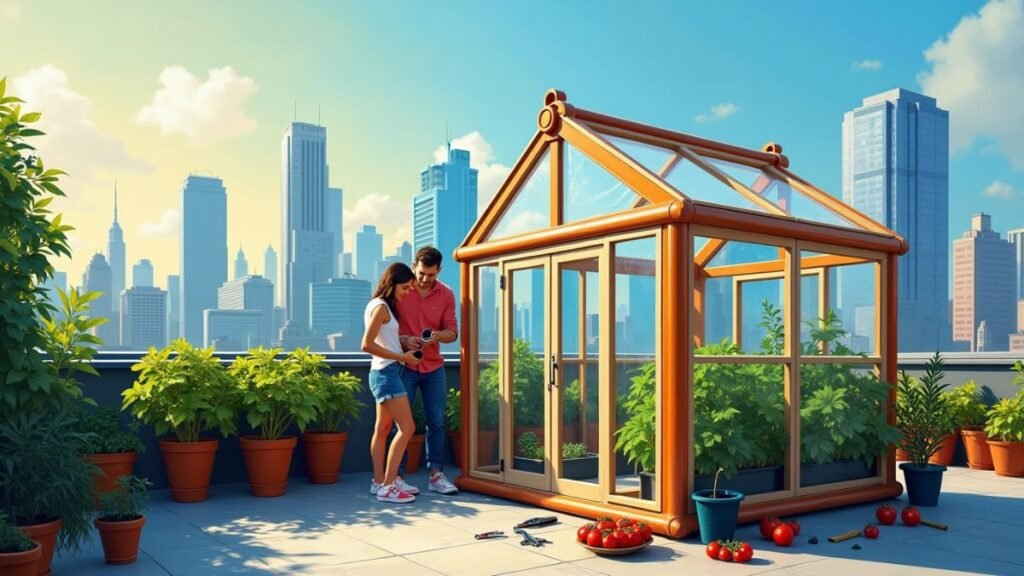
Dreaming of a garden overflowing with sun-warmed tomatoes and fresh, crisp lettuce, but stuck with a concrete patio or a tiny balcony? What if you could build a productive, year-round green space for less than a weekend’s getaway, even without a traditional yard?
We’ve all felt that pang of disappointment when an unexpected late-spring frost nips our tender seedlings, or when we realize our growing season is just too short. It’s a common frustration for passionate gardeners who are short on space. Here at The Garden Haven, we believe that a lack of a sprawling yard should never be a barrier to the joy of growing your own food.
That’s why we’ve developed this comprehensive guide. I once struggled with limited space in my own apartment until I built this exact greenhouse. It’s a game-changer. This isn’t just a set of instructions; it’s your complete roadmap to building a sturdy, beautiful, and highly productive urban greenhouse for under $499. Forget flimsy kits that blow over in the first strong wind. This DIY project is designed for durability and success, turning any sun-drenched nook into a thriving garden oasis.
You can absolutely do this. Let’s get building.
Why Build an Urban Greenhouse? More Than Just a Box
Before we grab the tools, let’s talk about the why. What makes a dedicated greenhouse structure so much better than just placing a few pots on the balcony? A well-designed small space greenhouse is an investment that pays you back in flavor, freshness, and peace of mind.

- Season Extension is Your Superpower: This is the biggest benefit. A greenhouse traps solar energy, creating a microclimate that’s warmer than the outside air. This means you can start seed starting weeks, or even months, earlier in the spring and continue harvesting long into the fall. For many, it makes winter gardening a real possibility.
- Total Weather Protection: Your plants are shielded from the elements. No more worrying about torrential rain, hail, or damaging winds. This protection is crucial for delicate seedlings and fruit-bearing plants.
- Pest and Critter Defense: A physical barrier is your best defense against common garden pests, from aphids to squirrels. You’ll spend less time troubleshooting pest problems and more time enjoying your harvest.
- Optimal Growing Conditions: You control the environment. With a greenhouse, you can manage humidity and temperature more effectively, creating the perfect conditions for plants like tomatoes, peppers, and cucumbers that crave warmth.
- A Beautiful, Organized Garden Space: Let’s be honest, it looks fantastic. A well-built greenhouse adds structure and beauty to a patio or balcony, transforming it into an intentional, organized garden space. It’s a piece of functional architecture for your home.
“The best time to plant a tree was 20 years ago. The second best time is now. The same is true for building your dream garden.”
Materials and Cost Breakdown: Your $499 Shopping List
Transparency is key to any successful DIY project. We’ve designed this plan to be both robust and affordable. Prices are estimates based on current averages at major home improvement stores and may vary slightly by location. The key to staying on budget is planning your purchases.
| Item | Quantity | Estimated Cost | Notes |
|---|---|---|---|
| Framing: Cedar Boards | $220 | ||
| 2×4 in x 8 ft | 10 boards | $90 | For the base frame and vertical supports. Cedar is naturally rot-resistant. |
| 2×2 in x 8 ft | 15 boards | $130 | For rafters, purlins, and cross-bracing. Lighter but still strong. |
| Glazing: Polycarbonate | $160 | ||
| 4mm Twin-Wall Polycarbonate | 2 sheets (4×8 ft) | $160 | This is the magic. It provides excellent insulation and light diffusion. |
| Hardware & Fasteners | $75 | ||
| 3-inch Exterior Wood Screws | 1 lb box | $15 | For assembling the main 2×4 frame. |
| 2-inch Exterior Wood Screws | 1 lb box | $10 | For attaching 2×2 components. |
| Rafter Ties / Joist Hangers | 12 | $20 | For securing the roof rafters to the frame. Makes it much stronger. |
| Hinges & Latch for Door | 1 set | $15 | A simple, sturdy set is all you need. |
| Polycarbonate Screws w/ Gasket | 1 bag (50 ct) | $15 | Crucial! These prevent cracking and seal out water. |
| Miscellaneous | $44 | ||
| Weather-stripping Tape | 1 roll | $12 | For sealing the door and any potential gaps. |
| Clear Silicone Sealant | 1 tube | $8 | For waterproofing the polycarbonate panel seams. |
| Sandpaper (Medium Grit) | 1 pack | $6 | To smooth any rough cuts. |
| Small Vents (Optional) | 2 | $18 | Highly recommended for greenhouse ventilation. |
| Grand Total | ~$499 |
A Note on Materials:
- Cedar vs. Pine: While pressure-treated pine is cheaper, we strongly recommend cedar. It’s safer for edible plants (no harsh chemicals) and its natural resistance to rot and insects means your greenhouse will last for many years.
- Polycarbonate Panels: Don’t be tempted by cheap plastic sheeting. Twin-wall polycarbonate is what makes this greenhouse work. It’s essentially two sheets of plastic connected by an inner wall, creating an air gap. This provides insulation far superior to single-pane glass or plastic. According to a study by the University of Florida Extension, 6mm twin-wall polycarbonate can retain heat over 40% more effectively than single-pane glass.
Step-by-Step Building Instructions
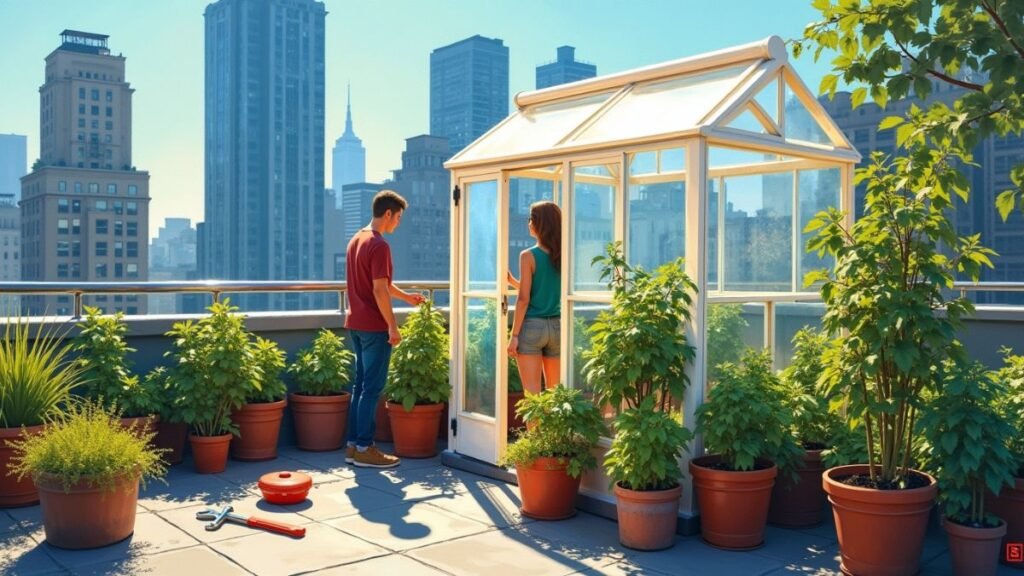
This plan creates a greenhouse with a footprint of approximately 4 ft wide by 6 ft long, an ideal size for a patio greenhouse or large balcony. Always measure your space first!

Before You Begin: The Prep Work
- Find the Sun: Locate the sunniest spot you have. Most fruiting vegetables need at least 6-8 hours of direct sunlight per day. An east-facing location gets gentle morning sun, while a south-facing spot gets the most intense light.
- Level Ground: Ensure the area is flat and level. You don’t want your greenhouse rocking back and forth.
- Gather Your Tools: You don’t need a professional workshop.
- Tape Measure
- Pencil
- Safety Glasses
- Power Drill/Driver
- Circular Saw or Miter Saw
- Speed Square
- Utility Knife (for scoring polycarbonate)
- Caulking Gun
Step 1: Build the Base Frame
The foundation needs to be square and strong.
- Cut Your Base Pieces: From your 2×4 boards, cut two pieces at 6 ft long and two pieces at 3 ft 9 inches long. (Why 3’9″? Because when you add the width of the two 6 ft boards (1.5″ + 1.5″ = 3″), the total width will be exactly 4 ft).
- Assemble the Rectangle: Arrange the pieces on a flat surface to form a rectangle. The shorter pieces should fit inside the longer pieces.
- Check for Square: Use your tape measure to measure diagonally from corner to corner. Now measure the other diagonal. The measurements should be identical. If they’re not, adjust the frame until they are. This is the most critical step for a stable structure.
- Fasten the Frame: Drive two 3-inch exterior screws through the 6 ft boards into the ends of the 3 ft 9 inch boards at each corner.
Step 2: Erect the Wall Framing
Now, we’re going vertical.
- Cut the Corner Posts: Cut four 2×4 boards to your desired wall height. A height of 5 ft is great for accessibility without making the structure too imposing.
- Attach the Posts: Place one post at the inside corner of your base frame. Ensure it’s perfectly vertical (plumb) using a level. Attach it to the base frame from the outside with 3-inch screws. Repeat for all four corners.
- Create the Top Frame: Build a second frame identical to your base frame (two 6 ft pieces, two 3 ft 9 inch pieces).
- Lift and Secure the Top Frame: This is easier with a helper. Lift the top frame and place it on top of the four corner posts. Secure it by driving 3-inch screws down through the top frame into each post. You now have a sturdy box.
Step 3: Frame the Roof
A simple pitched roof will shed rain and capture light effectively. We’ll use a 45-degree angle for our cuts, which is easy to do with any miter or circular saw.
- Cut the Rafters: From your 2×2 boards, cut 10 rafters. Each rafter will have a 45-degree angle cut at one end (the peak) and a 45-degree “bird’s mouth” cut where it will rest on the top frame. There are many online tutorials for cutting a simple bird’s mouth.
- Install the Rafters: Attach the rafters in pairs using rafter ties for a secure connection to the top wall frame. Space them every 24 inches along the 6 ft length of the greenhouse.
- Add the Ridge Purlin: Cut a 6 ft long 2×2 board. This will run along the very peak of the roof, connecting the tops of all the rafter pairs. Screw it into place.
Step 4: Install the Polycarbonate Panels
This is the part where your structure starts to look like a real greenhouse!
- Measure and Cut: Carefully measure each opening in your frame (walls and roof sections). Transfer these measurements to your polycarbonate sheets.
- Scoring and Snapping: The best way to cut polycarbonate is to score it deeply with a sharp utility knife along a straight edge, and then snap it cleanly along the line.
- Attach the Panels: Lay a bead of clear silicone sealant on the frame where the panel will sit. Press the panel into place. Use the special polycarbonate screws with rubber gaskets to fasten the panel to the wood frame. Do not overtighten, as this can damage the panel. The gasket creates a waterproof seal.
Step 5: Build and Hang the Door
A simple door provides easy access.
- Frame the Door: Use 2×2 boards to build a simple rectangular frame for your door opening.
- Attach Polycarbonate: Cut and attach a piece of polycarbonate to the door frame.
- Hang the Door: Use the hinges to mount the door to one of the 2×4 wall studs. Attach the latch to keep it securely closed.
- Seal the Gaps: Apply weather-stripping tape around the door frame to create a snug, draft-free seal.
Step 6: Finishing Touches and Ventilation
The final details make all the difference.
- Seal All Seams: Go over every seam where polycarbonate meets wood or another panel and apply a thin bead of silicone sealant. This is key for insulation and waterproofing.
- Install Vents: A greenhouse can get too hot, even in cooler weather. Passive ventilation is essential. Install one vent low on one wall and another high on the opposite wall. This creates a natural convection current, drawing cool air in and pushing hot air out.
- Add Shelving: Your urban farming setup is almost complete! Install simple shelves made from leftover 2x2s or wire racks to maximize your growing space. This is where vertical gardening techniques shine.

Key Takeaways: Your Cheat Sheet for Success
- Choose the Right Materials: Rot-resistant cedar and twin-wall polycarbonate are the core components that make this design durable and effective. Don’t compromise here.
- Measure Twice, Cut Once: Accuracy is everything. Ensuring your base is perfectly square and your cuts are precise will save you major headaches later.
- Seal Everything: Your greenhouse’s ability to hold heat depends on it being as airtight as possible. Use silicone and weather-stripping generously.
- Don’t Skip Ventilation: Plants need to breathe. Proper airflow prevents overheating and fungal diseases. It is not an optional step.
Conclusion: Your Urban Oasis Awaits
There you have it—a complete, step-by-step guide to building a high-performance urban greenhouse that will last for years. You’ve moved beyond just dreaming of a garden and have the blueprint to create a thriving, productive green space, no matter where you live.
This project is more than just a structure; it’s an empowerment tool. It’s proof that with a little planning and a weekend of work, you can take control of your food source, extend your connection to nature through the seasons, and experience the unparalleled joy of harvesting something you grew yourself. We hope this guide has left you feeling inspired and, most importantly, confident. You’ve got this.
Frequently Asked Questions (FAQ)
1. How much sun does this greenhouse really need? For best results with fruiting plants like tomatoes, peppers, or strawberries, you need a minimum of 6 hours of direct, unobstructed sunlight per day. If you have less sun (4-6 hours), you can still have great success growing leafy greens like lettuce, spinach, and kale, as well as many herbs.
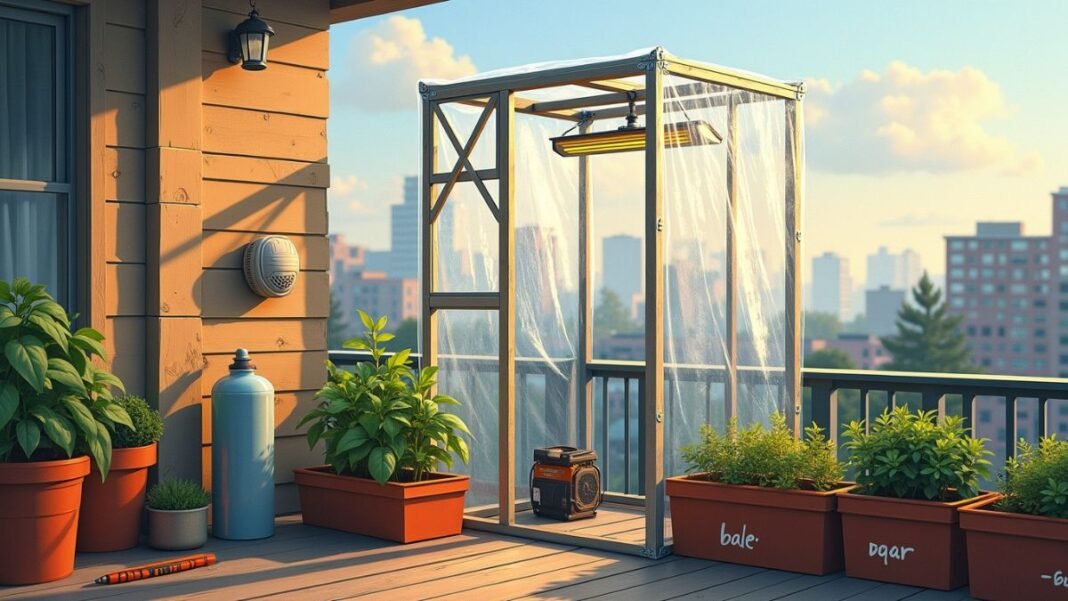
2. Can I actually grow in it during the winter? This depends on your climate. In mild climates (USDA Zones 8-10), you can grow cool-season crops like carrots, kale, and chard all winter long. In colder climates (Zones 4-7), it will function more as a cold frame, protecting plants from wind and frost, but it won’t stay warm enough for active growth without a small heater. However, it’s perfect for overwintering dormant plants and getting a very early start on spring seeds.
3. How do I secure it on a windy balcony? Safety first! If your greenhouse is in an exposed, windy location, you must secure it. The easiest way is to use metal L-brackets to anchor the base frame directly to the wall of your building or the floor of your balcony. You can also add weight by placing heavy bags of sand or gravel on the floor inside the base frame.
4. What can I grow in this greenhouse? Almost anything! In the spring and summer, it’s ideal for heat-lovers: tomatoes, cucumbers, peppers, and eggplant. It’s also a perfect environment for seed starting. In the cooler months of fall and early spring, it excels for growing salads, spinach, radishes, and herbs. With container gardening and vertical gardening techniques, you can fit a surprising amount of food in this small footprint.
Sources
- University of Florida, IFAS Extension. “Greenhouse Glazing.” Publication AE253.
- PennState Extension. “Greenhouse Structures and Coverings.”
- Colorado State University Extension. “Passive Solar Greenhouses.”


