Discover How to Grow Live Herb Plants Everyone Is Using
There’s something magical about snipping fresh herbs from your own garden. A simple supermarket purchase can turn into a flourishing green oasis with just a little care. We’ve all seen those potted basil or rosemary plants labeled as “disposable,” but what if they could thrive for months—or even years?
Our journey began with a grocery store basil plant. What started as a single pot soon multiplied into a vibrant collection. The secret? Simple techniques like root division and proper transplant timing. Now, our kitchen is always stocked with fragrant rosemary, mint, and thyme.
Reviving these plants isn’t just cost-effective—it’s rewarding. Whether you have a sunny windowsill or a backyard plot, anyone can enjoy homegrown flavors. Let’s explore how to give these herbs a second life.
Key Takeaways
- Supermarket herbs can thrive long-term with proper care.
- Transplanting at the right time boosts growth.
- Root division helps expand your herb collection.
- Basil, rosemary, and mint adapt well to home gardens.
- Fresh herbs enhance meals without repeated store trips.
Why Grow Your Own Live Herb Plants?
Fresh herbs elevate every dish, but store-bought ones fade fast—here’s why homegrown wins. Imagine plucking basil leaves bursting with flavor, or rosemary that actually lasts beyond a week. The difference starts in the soil and ends on your plate.
The Benefits of Fresh Herbs at Home
Flavor is just the beginning. Homegrown varieties pack a punch store-bought herbs can’t match. A single herb clump, like basil or thyme, releases more aroma and taste when grown in nutrient-rich soil.
Economically, it’s a no-brainer. A $3 grocery store purchase might seem cheap, but compare that to a $15 nursery starter that yields harvests for years. Over time, your windowsill garden pays for itself.
“Store herbs are like sprint runners—meant for short bursts. Homegrown ones? Marathon champions.”
Why Grocery Store Herbs Don’t Last
Those lush supermarket plants are traps. Grown in sterile potting mix, they lack nutrients needed for long-term survival. Most contain 6+ seedlings crammed into tiny pots, starving each other’s roots.
| Factor | Grocery Store Herbs | Homegrown Herbs |
|---|---|---|
| Lifespan | 1-2 weeks | Months to years |
| Root Space | Severely rootbound | Room to expand |
| Flavor | Mild | Intense |
| Cost Over Time | $$ (repeated buys) | $ (one-time investment) |
Living conditions matter. Fluorescent lights and cramped quarters stunt growth. Transplanting gives these herbs a fighting chance—if you act before their roots strangle each other.
How to Grow Live Herb Plants Everyone Is Using
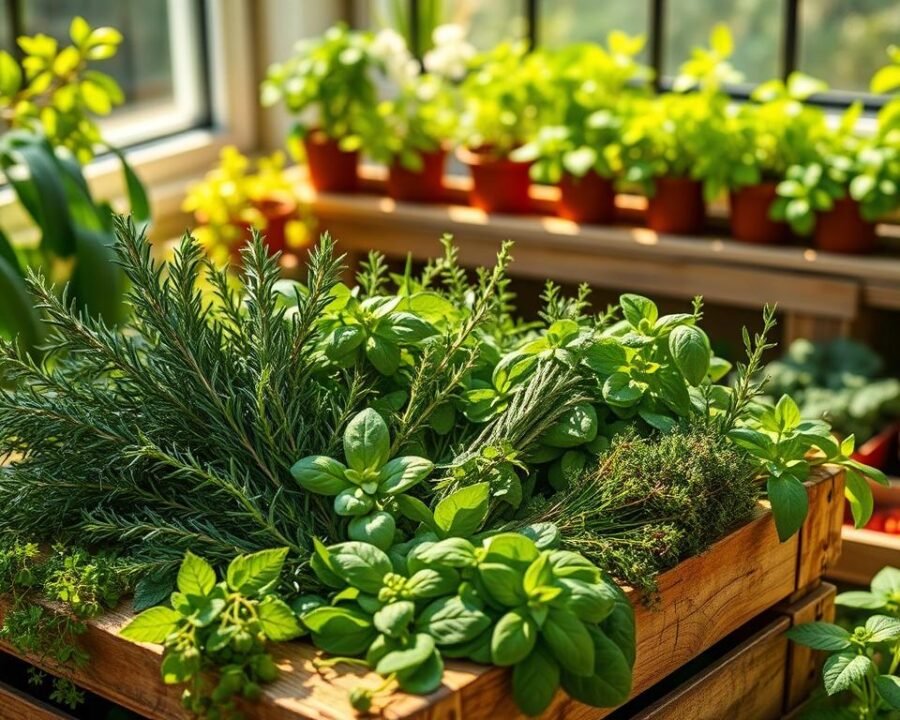
Not all herbs thrive equally—pick wisely to match your environment. Sunlight, space, and soil quality dictate which varieties will flourish. Start with hardy options like rosemary or thyme for low-maintenance wins.
Choosing the Right Herbs for Your Space
Light is non-negotiable. Basil demands 6+ hours of direct sun, while parsley tolerates shade. South-facing windows work best for sun-lovers like oregano.
Mint grows vigorously but invades other plants. Keep it solo in a container to prevent takeover. Compact herbs like thyme fit small spaces, making them ideal for urban kitchens.
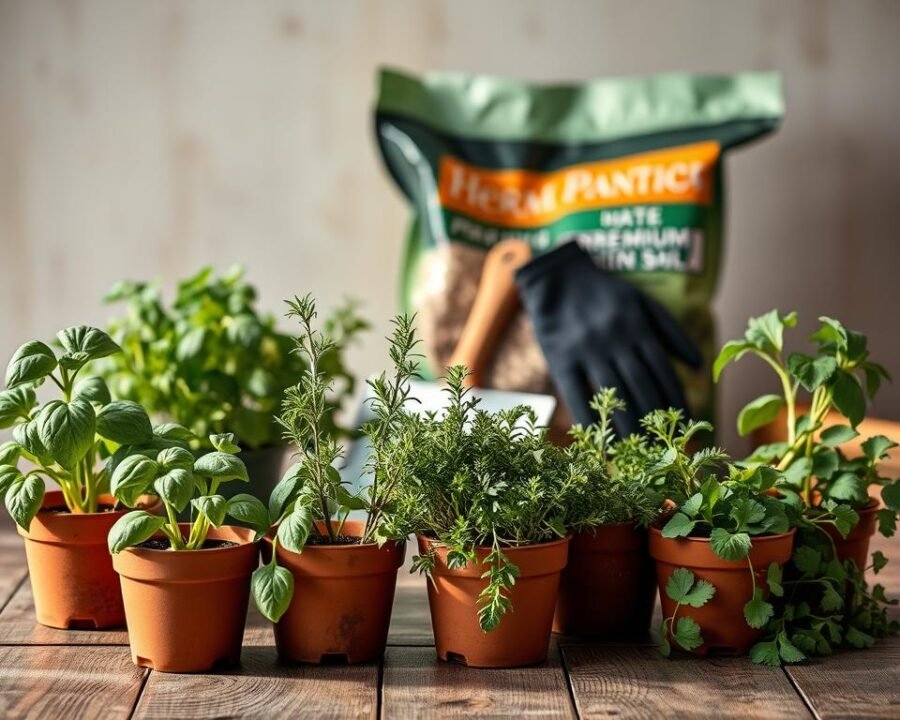
Essential Supplies for Your Herb Garden
Terra cotta pots excel for moisture control, while plastic retains water longer. Whichever you choose, ensure 8-inch diameters for root development. Drainage holes are critical—layer stones at the bottom to prevent soggy soil.
- Tools: Pruning shears for tidy harvests, a watering can with a narrow spout, and organic fertilizer.
- Companions: Pair basil with tomatoes or rosemary with sage for mutual benefits.
“The right container and soil turn grocery store herbs into perennial staples.”
Preparing Your Herbs for Transplanting
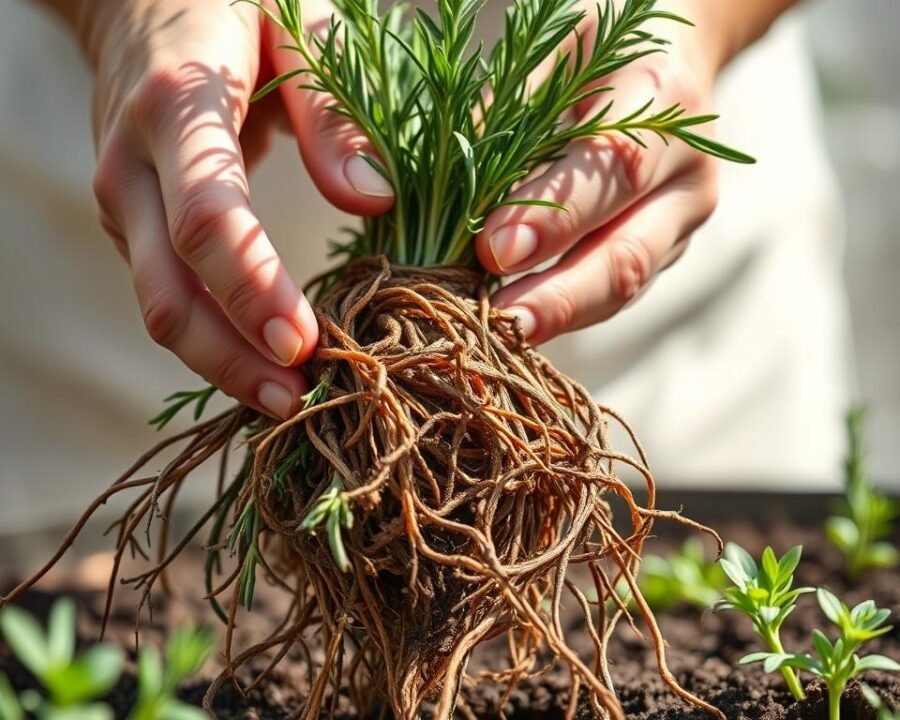
Supermarket herbs often arrive rootbound—rescuing them starts with division. Crowded roots struggle to absorb nutrients, but a little patience and technique can revive them. We’ll guide you through splitting clumps and acclimating them to outdoor life.

Dividing Supermarket Herb Clumps
Soak before separating. Submerge the rootball in water for 10 minutes to loosen tangled roots. Gently tease apart seedlings, keeping 2–3 per clump for stability. Torn roots recover faster in moist soil.
Use thinned seedlings as microgreens—toss them into salads for a peppery kick. For hydroponic herbs, transition slowly by mixing water with soil over a week to avoid transplant shock.
Hardening Off for Outdoor Planting
Indoor herbs need gradual exposure to sunlight. Start with 2 hours of morning light, increasing by an hour daily. A shaded patio works perfectly for this 7-day process.
| Day | Sun Exposure | Location |
|---|---|---|
| 1–2 | 2 hours | Shaded patio |
| 3–4 | 3–4 hours | Dappled sunlight |
| 5–7 | 6+ hours | Full sun |
“Hardening off is like training for a marathon—sudden intensity harms more than helps.”
For basil stems, place cuttings in water until roots sprout a couple inches long. Then transfer to a pot with well-draining soil. This method doubles your harvest without extra cost.
Planting Your Herbs for Success
The right foundation turns struggling herbs into thriving kitchen staples. Whether in a container or garden bed, strategic placement and soil prep make all the difference. Let’s ensure your transplants thrive from day one.

Selecting the Perfect Pot or Garden Spot
Sun mapping saves effort. Track direct sunlight in your space for 2–3 days. Basil and rosemary need 6+ hours, while mint tolerates shade. South-facing windows or raised beds work best for sun-lovers.
Choose a container with drainage holes—terra cotta breathes better than plastic. For basil, bury stems up to the lowest leaves to encourage stronger roots. Upcycle colanders or mason jars for quirky planters, but drill holes in the bottom first.
Soil and Drainage Tips for Healthy Roots
Test soil pH before planting; most herbs prefer 6.0–7.0. Heavy clay? Add perlite to the mix for aeration. A simple blend of compost, coco coir, and sand keeps roots happy.
| Warning Sign | Quick Fix |
|---|---|
| Yellowing leaves | Check for soggy soil—add sand or repot |
| Stunted growth | Upgrade to a larger pot |
| Mold on surface | Reduce watering; sprinkle cinnamon |
“Healthy roots need room to dance. Crowd them, and they’ll suffocate.”
For garden planting, space herbs 12–18 inches apart. Rosemary and thyme need deeper beds, while parsley thrives in shallow containers. Remember: nutrients flow freely in well-drained setups.
Caring for Your Live Herb Plants
Keeping herbs thriving requires mastering two key elements: hydration and light. Each variety has unique preferences, but simple routines prevent common pitfalls. Watch for clues—perky leaves signal happiness, while drooping stems cry for attention.
Watering Do’s and Don’ts
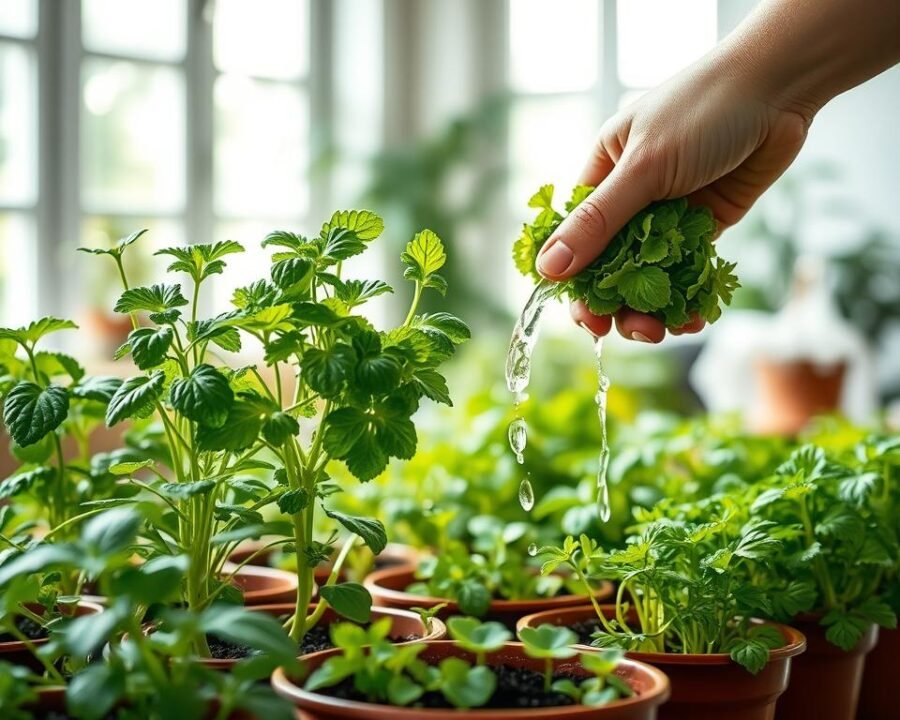
Timing is everything. Check soil moisture with the finger test—water only when the top inch feels dry. Morning hydration gives plants time to drink before cooler nights reduce evaporation.

Basil guzzles water like lemonade in summer, while rosemary prefers occasional sips. Clay pots help prevent overwatering by allowing evaporation. For vacation care, self-watering spikes maintain perfect moisture levels.
“Roots need oxygen as much as water. Soggy soil drowns them slowly.”
Sunlight Needs for Different Herbs
Mediterranean natives like thyme demand 6+ hours of direct sunlight. South-facing windows or raised beds work best. Rotate pots weekly to prevent leggy, uneven growth.
| Herb | Daily Light Needs | Signs of Stress |
|---|---|---|
| Basil | 6–8 hours | Yellowing lower leaves |
| Mint | 4–6 hours | Small, pale leaves |
| Rosemary | 8+ hours | Woody, brittle stems |
Adjust for seasons—winter light is weaker, so move herbs closer to windows. Humidity trays combat dry indoor air during heating months. With these basics, your green allies will flourish year-round.
Harvesting and Using Your Fresh Herbs
The moment you snip fresh sprigs from your garden marks the real reward of herb growing. Those vibrant leaves hold concentrated flavors no store-bought version can match. With proper techniques, each cut encourages more growth while preserving your plant’s health.
When and How to Harvest
Timing affects potency. Morning harvests capture peak essential oils before heat evaporates them. Use sharp scissors to cut above leaf nodes—this triggers bushier regrowth. For basil, never remove more than ⅓ of the plant at once.
Different favorite herbs need special approaches:
- Mint: Pinch stems between fingernails to prevent woody growth
- Rosemary: Harvest 4-inch sprigs from newer growth
- Thyme: Snip whole stems rather than individual leaves
| Herb | Best Harvest Stage | Frequency |
|---|---|---|
| Basil | Before flowering | Weekly |
| Oregano | When stems are 6″ tall | Biweekly |
| Chives | After blooms fade | Monthly |
Creative Ways to Use Your Homegrown Herbs
Transform your bounty beyond the kitchen. Freeze chopped mint or basil in olive oil cubes for instant flavor bursts. Steep rosemary sprigs in vinegar for a cleansing hair rinse—the ultimate zero-waste beauty hack.
For culinary magic:
- Toss chive blossoms into salad for oniony crunch
- Infuse thyme honey for sore throat relief
- Blend cilantro stems into vibrant pesto
“Homegrown herbs are nature’s multivitamin—packing flavor and nutrients in every leaf.”
Preserve extras by hanging bunches upside-down in a dark, dry space. Or layer leaves between parchment paper before freezing. Your future self will thank you when winter cravings strike.
Troubleshooting Common Herb Growing Problems
Yellow leaves or wilted stems? Quick action can reverse most common herb problems. Early diagnosis prevents minor issues from becoming plant catastrophes. We’ll explore visual clues and proven recovery methods.
Diagnosing Leaf Discoloration
Patterns reveal root causes. Uniform yellowing often signals nitrogen deficiency—a balanced fertilizer solves this. Spotty yellowing with brown edges suggests overwatering or poor drainage.
Make sure to check soil moisture first. Dry soil plus yellow leaves means thirst, while soggy soil indicates drowning roots. For fungal issues, cinnamon powder works as a natural antifungal—dust it on affected areas.
| Symptom | Likely Cause | Fix |
|---|---|---|
| Lower leaves yellow | Nitrogen deficiency | Fish emulsion fertilizer |
| Black spots | Root rot | Repot with fresh soil |
| Curling edges | Heat stress | Move to partial shade |
Rescuing Waterlogged Plants
Drowned herbs need emergency care. Gently remove from soggy soil and trim blackened roots. Repot in fresh mix with extra perlite for drainage. Water sparingly until new growth appears.
Prevent future issues:
- Use the finger test—only water when topsoil feels dry
- Add sand to heavy potting mixes
- Choose terra cotta pots over plastic
“Roots breathe too. Proper drainage gives them oxygen alongside moisture.”
For severe cases, take cuttings as backups. Basil stems root easily in water, while rosemary prefers soil propagation. Sometimes starting fresh beats battling advanced decay.
Conclusion
Watching rescued supermarket herbs flourish brings unmatched joy. That first harvest of fresh herbs proves even small efforts yield delicious rewards.
Start with one variety—basil or mint work well. Soon, your home will smell like an Italian kitchen. We’ll share winter care tips next season to keep your garden thriving.
Join our #HerbRescueChallenge on social media. Share your progress and inspire others. Imagine homemade pesto or mojitos with leaves picked minutes before.
Your caprese salad awaits! Dive in, get your hands dirty, and taste the difference.


