There’s something deeply rewarding about nurturing a versatile perennial right in your backyard. Whether tossed into a savory dish or brewed into a soothing tea, fresh sage elevates flavors and remedies alike. Its silvery-green leaves carry an earthy aroma, making it a favorite among home cooks and herbal enthusiasts.
This resilient plant thrives with minimal effort, perfect for beginners and seasoned gardeners. With proper care, it returns year after year, offering a steady supply of fragrant leaves. Our comprehensive guide walks you through each step—from planting to harvest—ensuring success.
Imagine stepping outside to snip a few sprigs for tonight’s dinner. No store runs, no wilted bundles—just vibrant, homegrown flavor at your fingertips. Let’s get started.
Key Takeaways
- Sage is a hardy perennial with culinary and medicinal uses.
- It requires minimal maintenance once established.
- This guide covers planting, care, and harvesting techniques.
- Homegrown sage enhances meals and homemade remedies.
- Ideal for gardeners of all experience levels.
Why Grow Sage in Your Garden?
Few herbs offer the dual benefits of flavor and wellness like sage. Its silvery leaves pack a punch in the kitchen and medicine cabinet, making it a must-have for any garden.
Versatility in Cooking and Medicine
Sage elevates roasted meats, stuffings, and even desserts with its earthy aroma. Beyond the kitchen, it supports digestion, soothes sore throats, and boosts immunity. Over 15 traditional remedies rely on its antimicrobial properties.
Low Maintenance and Perennial Benefits
This perennial herb thrives for 3–4 years with minimal care. Drought-tolerant and happy in full sun, it’s ideal for busy gardeners. Plus, its roots deepen over time, requiring less watering.
Attracting Pollinators
When sage blooms, its flowers draw bees and butterflies. Bonus: it repels pests like cabbage moths naturally. Perfect for USDA zones 5–9, it’s a win for ecosystems and harvests alike.
Popular Varieties of Sage to Grow
The world of sage offers flavors, colors, and fragrances for every gardener. Whether you crave bold flavor or eye-catching foliage, there’s a type to match your needs. Let’s explore the standout options.
Common Sage (Salvia Officinalis)
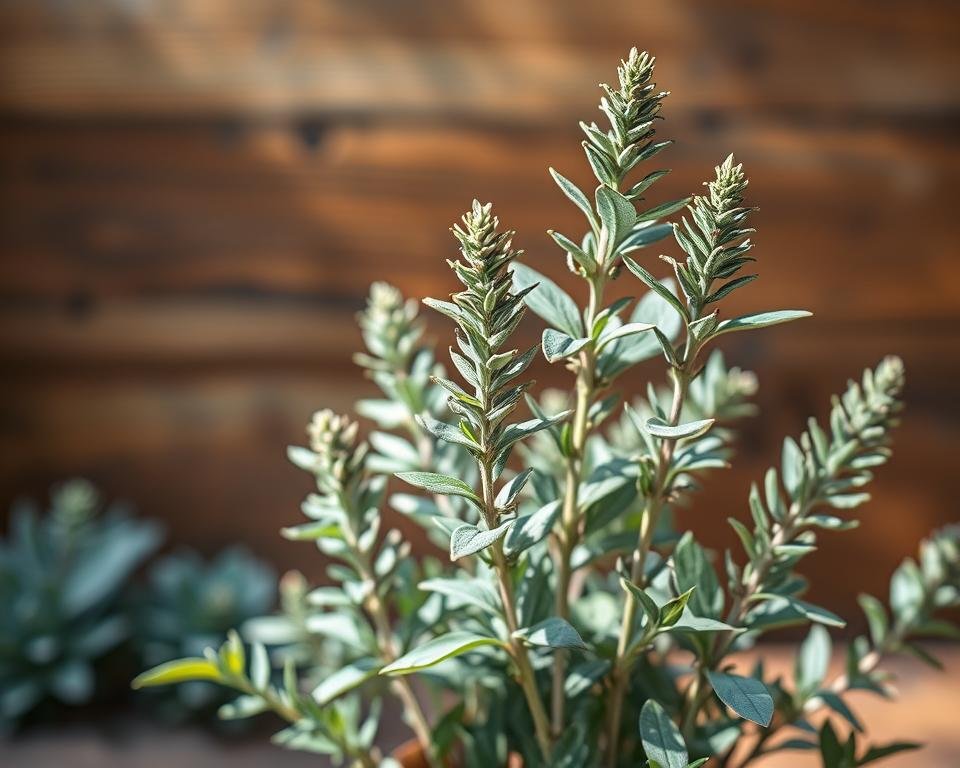
This classic garden sage features velvety gray-green leaves and a robust earthy taste. Perfect for USDA zones 5–9, it grows 2 feet tall and thrives in dry conditions. A kitchen staple, it’s ideal for roasts and stuffings.
Purple and Tricolor Sage
Purple sage boasts deep violet leaves, while tricolor mixes green, white, and pink. Both add decorative flair to dishes and borders. Compact growth makes them excellent for container gardens. Zones 6–10 suit them best.
“Tricolor sage turns herb gardens into living art.”
Pineapple and White Sage
Pineapple sage surprises with red flowers and a fruity aroma. White sage, sacred in smudging rituals, has silvery leaves and thrives in arid climates. Pair them for sensory contrast in zones 8–11.
- For cooking: Common or purple sage.
- For looks: Tricolor or pineapple sage.
- For dry climates: White sage.
How to Grow Sage Herb Plant Everyone Is Using
Sunlight and soil lay the foundation for thriving sage. Whether in beds or pots, strategic planning ensures vigorous growth and aromatic leaves. Let’s break down the essentials.
Choosing the Right Location
Sage demands 6–8 hours of direct sunlight daily. In hotter climates, afternoon shade prevents leaf scorch. Coastal areas benefit from windbreaks to protect delicate stems.
For containers, pick spots with morning sun and afternoon dappled light. Rotate pots weekly for even exposure.
Soil Preparation and pH Levels
Well-draining soil prevents root rot. Mix garden beds with compost and coarse sand (30% volume). Aim for a pH of 6.0–7.0—test kits are affordable and precise.
“Amending clay soil with perlite transformed my sage’s growth. The roots spread twice as fast!” — Maria K., Utah gardener
For containers, use a 12-inch depth minimum. Combine potting mix with 20% perlite for drainage.
Starting from Seeds vs. Transplants
Seeds offer variety but require patience. Germination takes 10–20 days at 65–70°F. Keep soil moist, not soggy, under grow lights.
Transplants accelerate harvests. Look for sturdy stems and no yellowing leaves. Harden off nursery plants for 7 days before planting.
| Method | Timeline | Best For |
|---|---|---|
| Seeds | 60–90 days to harvest | Gardeners wanting rare varieties |
| Transplants | 30–45 days to harvest | Quick results or short growing seasons |
Tip: For transplants, dig holes twice the root ball’s width. This encourages lateral growth.
Planting Sage: Step-by-Step Instructions
A well-placed sage plant transforms gardens and kitchens alike. Whether in beds or pots, proper technique ensures robust growth and easy harvests. Follow these steps for success.

In-Ground Planting
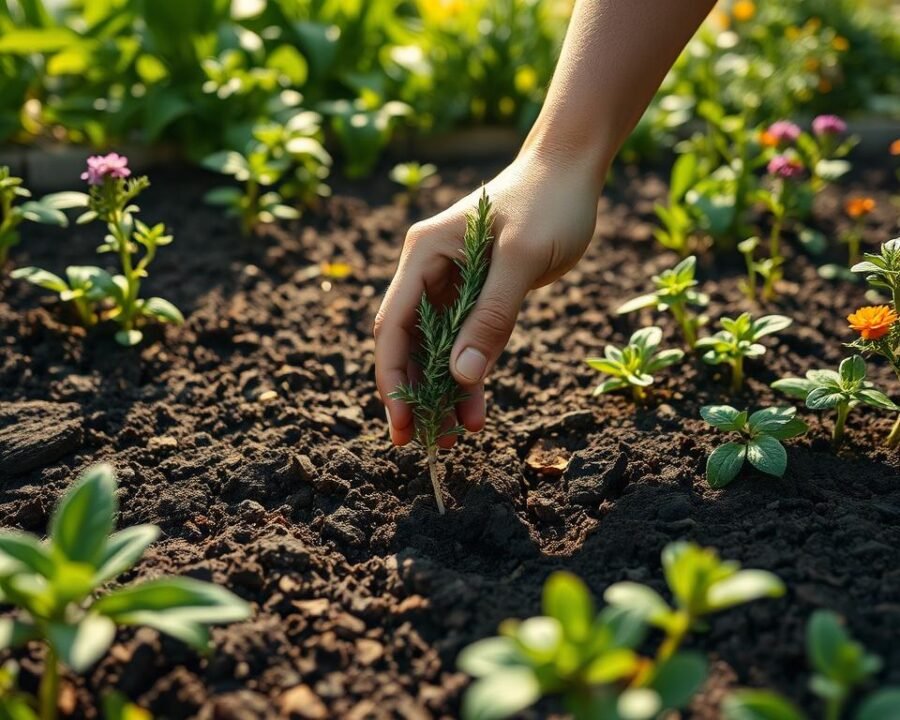
Start with a hole twice the width of the root ball. Mix compost into the soil for nutrients. This prevents compaction and encourages deep roots.
Place the plant at the same depth as its nursery pot. Backfill gently, pressing soil to eliminate air pockets. Water thoroughly to settle the roots.
Container Planting for Small Spaces
Choose pots with drainage holes—12 inches deep minimum. Blend potting mix with 20% perlite for airflow. Sage hates soggy feet!
“My balcony sage exploded with growth after switching to a terracotta pot. The extra drainage made all the difference.” — Liam R., urban gardener
Spacing and Companion Planting
Allow 12–18″ of space between plants. Crowding invites mildew and stunts growth. In rows, offset plants for better airflow.
Companion planting boosts yields and deters pests. Sage pairs perfectly with:
- Tomatoes: Repels whiteflies.
- Strawberries: Enhances flavor.
- Rosemary: Shares similar sun/water needs.
| Planting Type | Spacing | Best Companions |
|---|---|---|
| In-Ground | 18″ apart | Brassicas, carrots |
| Containers | 12″ apart | Thyme, oregano |
Avoid cucumbers and onions—they compete for resources. Sage thrives when its neighbors play nice.
Caring for Your Sage Plant
Proper maintenance ensures lush, aromatic leaves all season. With minimal effort, your sage will flourish, offering abundant harvests. Let’s dive into the essentials—watering, pruning, and feeding.
Watering and Drought Tolerance
Established sage thrives on neglect. Water deeply once weekly, letting soil dry between sessions. Use the finger test—insert a finger up to the second knuckle. If dry, it’s time to water.
Overwatering causes yellow leaves and limp stems. Improve drainage with sand or perlite. In summer, mulch with gravel to retain moisture and reflect heat.
Pruning for Bushier Growth
Trim after the first flowering in late spring. Cut back one-third of the stem length to encourage branching. Avoid woody sections—focus on tender green growth.
“Pruning transformed my sparse sage into a dense, leafy bush. Harvests doubled!” — Carlos T., Arizona gardener
Fertilizing and Mulching Tips
Feed with compost tea every 4–6 weeks for robust flavor. Avoid high-nitrogen fertilizers—they reduce oil concentration in leaves.
| Season | Mulch Depth | Material |
|---|---|---|
| Spring/Fall | 2 inches | Straw or shredded leaves |
| Summer | 1 inch | Gravel or pebbles |
Winter mulching? Skip it—sage prefers dry roots in cold months.
Harvesting Sage for Maximum Flavor
The moment your sage reaches peak flavor is worth the wait. Timing and technique make all the difference between bland and bold. Let’s explore how to pick, dry, and store leaves for year-round use.

When and How to Harvest
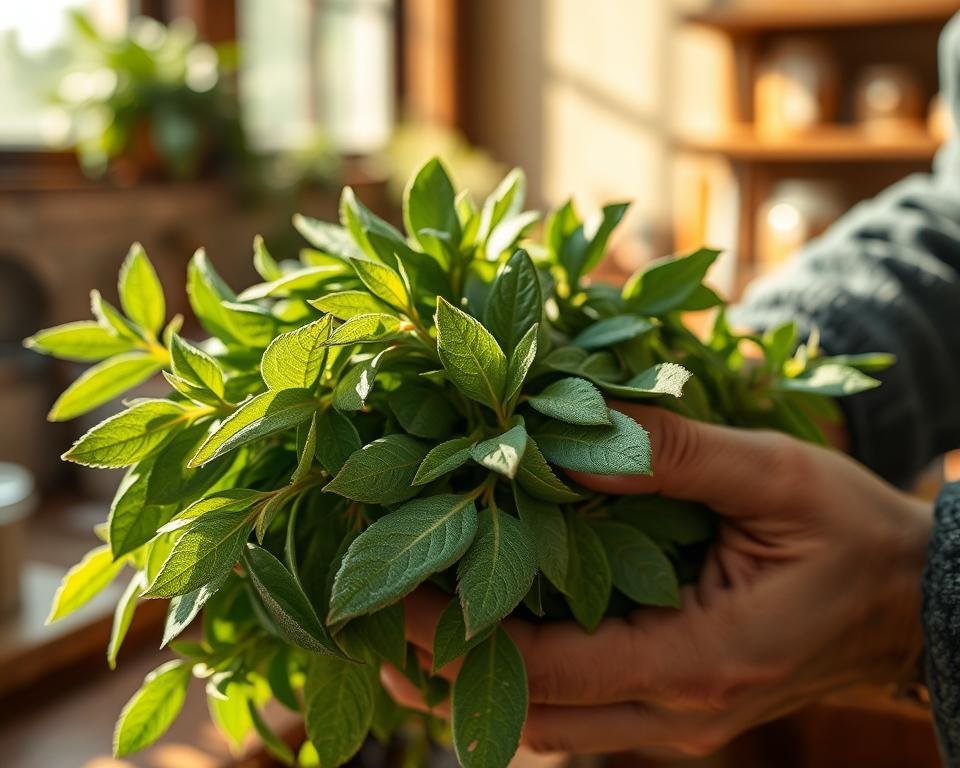
Morning or evening is ideal—avoid midday heat to prevent wilting. Look for mature sage leaves (2–3 inches long) with a deep green-gray hue. Snip stems just above a leaf node to encourage regrowth.
For drying, harvest before flowering for the highest oil content. Use sharp scissors to avoid bruising tender stems.
Drying and Storing Sage Leaves
Air-drying preserves flavor best. Bundle 5–6 stems, hang upside down in a dark, ventilated space for 2 weeks. Crinkle a leaf—if it cracks, it’s ready.
“I store dried sage in amber jars—light degrades the oils faster than air!” — Elena P., herbalist
| Method | Time | Flavor Retention |
|---|---|---|
| Air-Drying | 14 days | 90% |
| Dehydrator | 4–6 hours | 85% |
| Oven (Low Heat) | 2–3 hours | 75% |
Freezing for Long-Term Use
Freeze whole sage leaves on a tray before transferring to airtight bags. They’ll last 6 months without clumping. For pastes, blend leaves with olive oil and freeze in ice cube trays.
- Pro tip: Label bags with dates—frozen herbs lose potency after a year.
- Use frozen sage directly in soups or roasts—no thawing needed.
With these preserving tricks, your herbs will elevate dishes even in winter. Happy harvesting!
Overwintering Sage for Year-Round Growth
Cold weather doesn’t have to end your sage harvests. With a few simple steps, this hardy perennial can survive winter and rebound stronger in spring. Let’s explore how to shield it from frost, transition indoors, and prepare for the next growing season.
Preparing Sage for Cold Weather
Before the first frost, mulch the base with 3 inches of straw. This insulates the root zone and prevents freeze-thaw damage. In USDA zones 5–6, wrap plants with burlap for extra protection.
For container-grown sage, move pots to a sheltered spot near the house. Elevate them on bricks to avoid ground chill. Reduce watering to once monthly—dormant plants need less moisture.
Indoor Overwintering Techniques
Dig up garden sage and transplant it into pots with fresh soil. Keep it near a sunny window at 40–50°F. A cool basement or garage works too—just ensure indirect light.
“My windowsill sage thrived all winter. The key? A humidifier to combat dry air.” — Devin S., Michigan gardener
- Windowsill vs. greenhouse: South-facing windows suit small plants; greenhouses maintain steady humidity.
- Check for pests weekly—aphids love indoor herbs.
Reintroducing Sage to the Garden in Spring
Acclimate plants outdoors over 7–10 days. Start with 2 hours of morning sun, increasing daily. This prevents shock and encourages sturdy growth.
| Day | Sun Exposure | Action |
|---|---|---|
| 1–3 | 2 hours | Morning only |
| 4–7 | 4 hours | Add afternoon shade |
| 8–10 | Full day | Monitor for wilting |
Revive stressed plants with diluted compost tea. Trim dead stems to stimulate new shoots. By mid-spring, your sage will be ready for another productive year.
Common Pests and Diseases to Watch For
Healthy sage starts with spotting trouble early. While generally hardy, these aromatic leaves sometimes attract unwanted visitors. Quick action prevents minor issues from becoming major headaches.

Aphids and Spider Mites
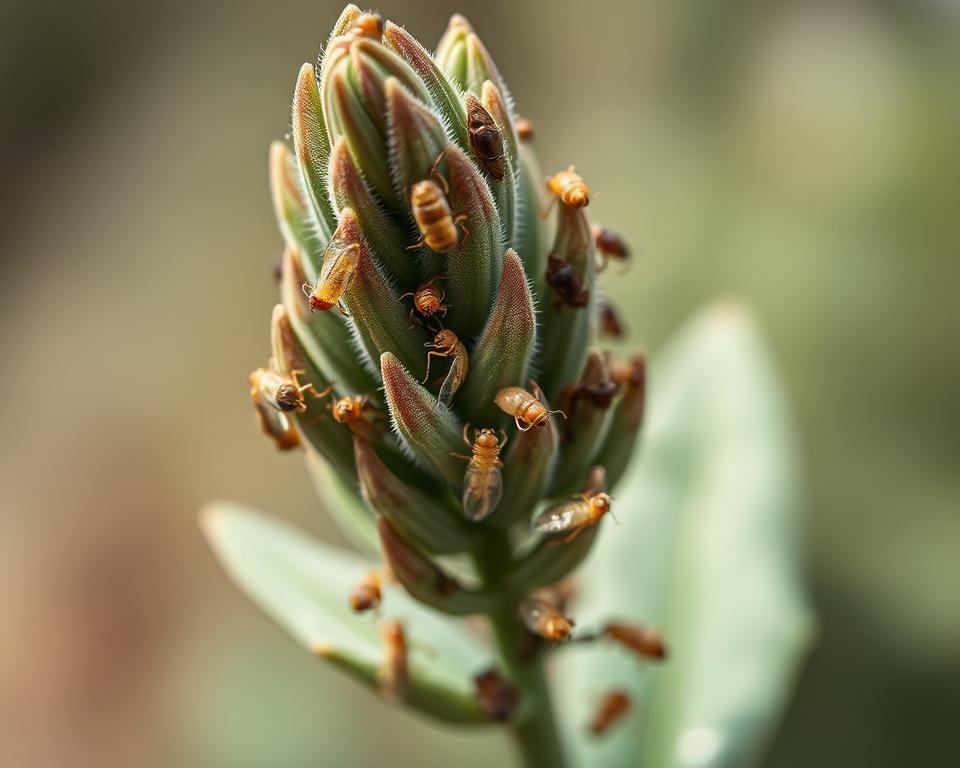
Tiny green aphids cluster under leaves, while spider mites leave fine webbing. Both suck sap, causing yellow spots. Blast them off with a strong water spray or apply insecticidal soap weekly.
- Early signs: Curled leaves or sticky residue (honeydew)
- Homemade spray: 1 tsp dish soap + 1 quart water
- Natural predators: Ladybugs eat 50+ aphids daily
Preventing Powdery Mildew
This white fungal disease thrives in humid conditions. Improve airflow by spacing plants properly. For active cases, mix 1 tbsp baking soda + ½ tsp liquid soap + 1 gallon water. Spray leaves every 7 days.
“Morning watering prevents overnight moisture buildup—my sage hasn’t had mildew since switching.” — Ryan L., Oregon
Natural Pest Control Methods
Companion planting works wonders. Garlic repels aphids, while chives deter spider mites. For severe infestations, introduce lacewing larvae—they devour 200 pests weekly.
| Problem | Solution | Frequency |
|---|---|---|
| Aphids | Neem oil spray | Every 5 days |
| Mildew | Milk spray (1:9 ratio) | Weekly |
| Spider mites | Peppermint oil mist | Biweekly |
Healthy soil equals resilient plants. Test drainage annually and amend with compost to boost natural defenses against pests and diseases alike.
Culinary and Medicinal Uses of Sage
Sage transforms meals and wellness routines with its bold aroma and healing properties. This fragrant herb shines in kitchens and medicine cabinets alike, offering endless possibilities.
Enhancing Savory Dishes and Desserts
Fresh or dried, sage adds depth to recipes. Rub leaves on roasted meats or infuse butter for pasta. Its earthy flavor pairs perfectly with sweet treats too—try crumbled leaves in shortbread dough.
- 5-Minute Sage Butter: Melt ½ cup butter with 10 chopped leaves.
- Apple Sage Stuffing: 2 cups breadcrumbs + ¼ cup minced leaves.
- Honey Sage Glaze: Simmer 1 cup honey with 5 leaves for 10 minutes.
Digestive and Oral Health Benefits
Steeped leaves make a potent antiseptic mouthwash. Swish daily to reduce gum inflammation. For indigestion, sip tea post-meals—it stimulates bile production naturally.
“Sage tea with lemon soothes my acid reflux better than OTC meds.” — Naomi T., herbalist
| Remedy | Preparation | Frequency |
|---|---|---|
| Sore Throat Gargle | 1 tbsp dried leaves + 1 cup boiling water | 3x daily |
| Digestive Aid | Fresh leaves chewed after meals | As needed |
Making Sage Tea and Home Remedies
For tea, steep 5 fresh leaves in hot water for 5 minutes. Add honey for cough relief. Combine with lavender for a calming blend. Always test small doses first—sage is potent.
Native traditions use white sage in smudging rituals. Modern home remedies adapt these practices for stress relief. Burn dried bundles in well-ventilated spaces.
Conclusion
Our journey through sage cultivation highlights its resilience and versatility. From selecting the right varieties to mastering harvest techniques, each step brings rewards. This guide equips you with the essentials for thriving plants.
Experiment with different types—common, purple, or pineapple sage—to discover your favorite. Each offers unique flavors and visual appeal. Sustainable practices ensure long-term yields without exhausting your garden.
Ready for more? Explore advanced propagation like stem cuttings in our indoor growing guide. Share your success stories—we’d love to hear how your sage thrives!
With patience and care, this aromatic plant becomes a home staple. Whether for cooking or remedies, its value is undeniable. Happy gardening!
