![How to Fix Drip Line Clogs Caused by Hard Well Water [Troubleshooting]](https://thegardenhaven.com/wp-content/uploads/2026/02/what-causes-drip-line-clogs-with-hard-well-water-troubleshooting.jpeg)
This short guide greets gardeners who wake to uneven beds and weak emitters. It promises calm, step‑by‑step fixes that protect roots and restore steady flow for healthier plants.
I remember finding a raised bed half dry and half soggy — a single blocked emitter had made a mess of weeks of care. That moment taught me how small passages in an irrigation system make big differences.
In the next pages you’ll learn to spot symptoms, isolate the trouble, test flow and pressure, then pick the right fix: flush, clean, descale, sanitize or replace. We name three clog families you’ll meet — physical (debris), chemical/mineral (limescale), and biological (biofilm and algae) — and note root intrusion as a frequent extra offender.
This piece targets backyard drip irrigation systems for beds, shrubs, and small lawns. The same small‑passage physics applies across systems, so practical maintenance like filters, flush points, and emitter choices will help you keep even watering and cut runoff.
Key Takeaways
- Uneven flow often signals a blocked emitter or section; check for dry patches and puddles.
- Clogs fall into debris, mineral scale, or biological buildup; roots add another layer.
- Follow a clear path: spot symptoms → isolate area → test flow/pressure → apply the right fix.
- Routine care — filters, flush points, and suitable emitters — prevents repeat clogging.
- Most problems are fixable with calm, steady steps; this guide is aimed at U.S. backyard gardeners.
Why hard well water is rough on a drip irrigation system
Hard well water carries dissolved minerals that can turn into stubborn deposits inside drip components.Those deposits narrow the water path, so your system loses uniformity long before it “fails.”Understanding this helps you choose the right fix—flushing alone won’t dissolve limescale.
Mineral-rich supplies mean more calcium and magnesium in every gallon. When conditions favor precipitation—higher pH, warm temperatures, or evaporation at the emitter—those minerals form solid deposits like calcium carbonate.
An emitter that once gave a steady stream can shrink to a weak trickle as deposits constrict the channel. You may see one pot dry while another floods; the main tubing can appear fine because its bore is much larger than the tiny emitter maze.
How minerals change flow through small passageways?
- Mineral buildup reduces the effective opening, lowering flow and raising local pressure.
- Warm weather plus alkaline pH speeds calcium precipitation at the outlet.
- The result is uneven delivery: some zones feel strong, others are starved.
Think of scale like plaque in an artery: the narrowing is quiet until a plant suddenly looks thirsty. For compact emitter paths, mechanical flushing often won’t remove limescale; acids or replacement may be needed. For a practical planter setup that avoids many of these headaches, see this DIY dripper layout.
Signs your system is clogged (before plants get stressed)
Most drip clogs announce themselves subtly—small dry patches, uneven growth, or a “not quite right” flow. Catching these signs early protects your plants and saves you from a weekend of repairs.
A quick walk during a run cycle will reveal small mismatches in wetting that signal a developing problem. Watch the whole zone for a full on/off cycle.
Uneven wetting and dry patches
One side of a bed may stay dusty while neighboring areas look evenly moist. Use a simple moisture meter or push a finger into the soil to compare spots.
Reduced flow rate and pressure changes
Clogged emitters often drop from a steady output to an intermittent trickle. Time how long a suspect emitter takes to fill a cup and compare the rate to a healthy emitter.
Listen for hissing or sputtering; those pressure hints can point to a blocked filter or upstream restriction.
Puddling, backflow, and wet spots
Pooling near an outlet can mean the outlet is restricted and water is escaping at a joint or along tubing. Check fittings and short runs around that wet area.
Tip: Run a quick output comparison across a few emitters each month. If you want deeper reading on common emitter issues, see this common causes of emitter clogging.
what causes drip line clogs with hard well water [troubleshooting]</h2>
A few simple observations will tell you whether minerals, grit, microbes, or roots are at fault. Spotting the type narrows your tools: flushing, acid treatment, sanitation, or replacement.
![what causes drip line clogs with hard well water [troubleshooting]](https://thegardenhaven.com/wp-content/uploads/2026/02/what-causes-drip-line-clogs-with-hard-well-water-troubleshooting-1-1024x585.jpeg "what causes drip line clogs with hard well water [troubleshooting]")
Chemical / mineral buildup (limescale)
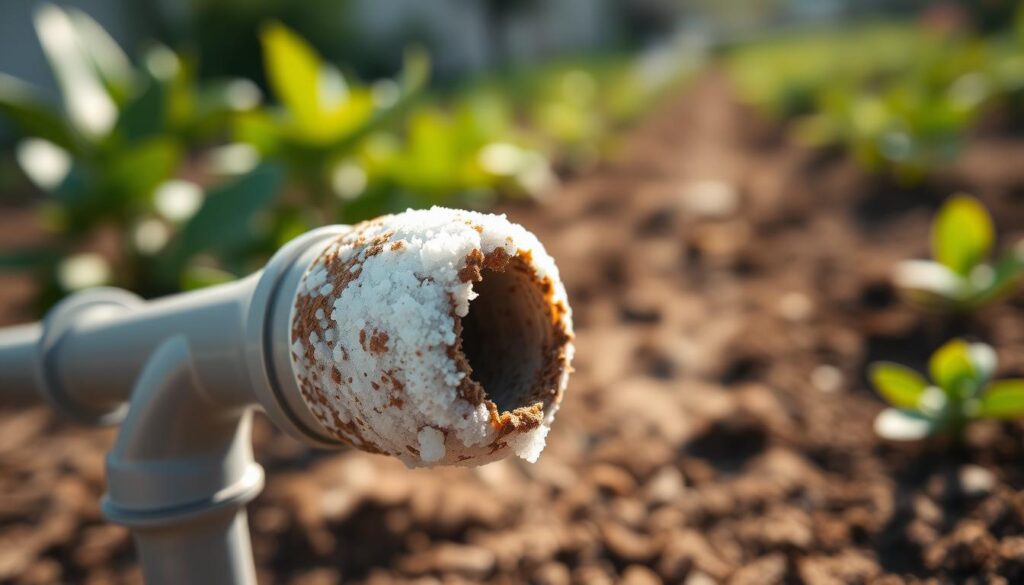
Limescale forms when calcium carbonate and some magnesium precipitate inside tiny passages. It grows faster at higher pH and in warm sun-warmed runs.
Signs: brittle white crust, slower emitters, and repeat blockages after flushing. Fertigation can accelerate deposit formation.
Physical blockages: sand, silt, and debris
Grit enters from a sandy well, a ruptured tube, or missing/undersized filters. Particles lodge in narrow tubing and around emitters.
Signs: sudden loss of many emitters, gritty residue in filters, or visible sediment when flushing.
Biological fouling: algae, bacteria, and biofilm
Biofilm is a slimy film that traps particles like Velcro. It thrives in warm, nutrient-rich runs—especially after fertilizer dosing.
Signs: slimy tubing walls, repeated re-growth after simple flushing, and emitters that reblock quickly.
Root intrusion
Roots seek moisture and can invade cracks or open emitter ports. These blockages return until the source is removed or the emitter replaced.
Signs: roots inside fittings, sudden localized failure, and regrowth after partial repairs.
“Match the repair to the problem—flush grit, descale scale, sanitize slime, and replace when roots win.”
System performance also tracks seasonal quality shifts. If you want to reduce mineral load at the faucet, consider a calcium filter as a preventive step.
Before you clean anything, locate the clog—because “the system is clogged” can mean three very different problems. A quick isolation test helps you fix the right spot without pushing debris deeper.
Pinpointing the trouble saves time—find whether the restriction lives in the main supply, a distribution run, or at an emitter.
Quick isolation test: main supply, distribution runs, end-of-run output
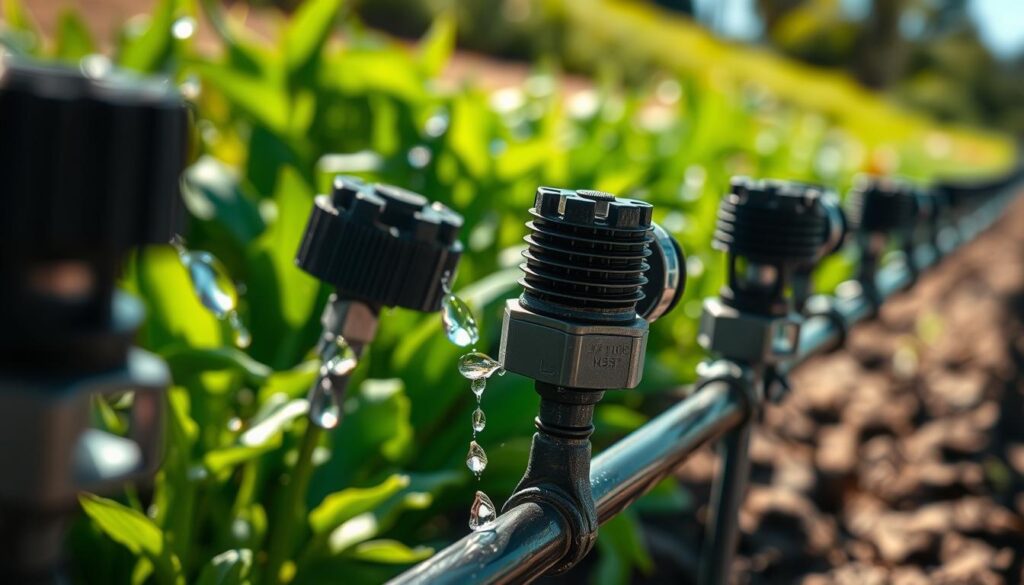
Turn the source on and watch the end-of-line outlet. A healthy end-of-line flow looks like a strong flush stream. A weak dribble means the restriction is upstream.
Check each distribution branch. If one branch is weak but others run well, the issue sits downstream of that split.
Emitter-by-emitter inspection for blocked outlets and damaged parts
Walk the beds and examine each emitter. Look for crusting, slime, cracked housings, or leaking fittings. Leaks can mimic low pressure and hide the real problem.
- Decision point: strong end-of-line flow + weak spots in the bed = emitter-level trouble (replace or clean emitters).
- Weak end-of-line flow = a blocked supply, a dirty filter, or a restricted distribution run.
- Damaged tubing—kinks, crushed runs under mulch, or broken parts—acts like a blockage and needs repair, not cleaning.
If you have little experience, use basic tools: a short hose to flush a run, a small screwdriver to open emitters, and a visual check to spot damage. Call a pro if the supply or mainline shows pressure loss despite clear filters.
Step-by-step diagnosis tools and checks (no guesswork)
A little measurement beats a lot of guessing. Pressure and flow checks tell you whether a filter problem, a run restriction, or an emitter issue is to blame — and they confirm when a fix worked.
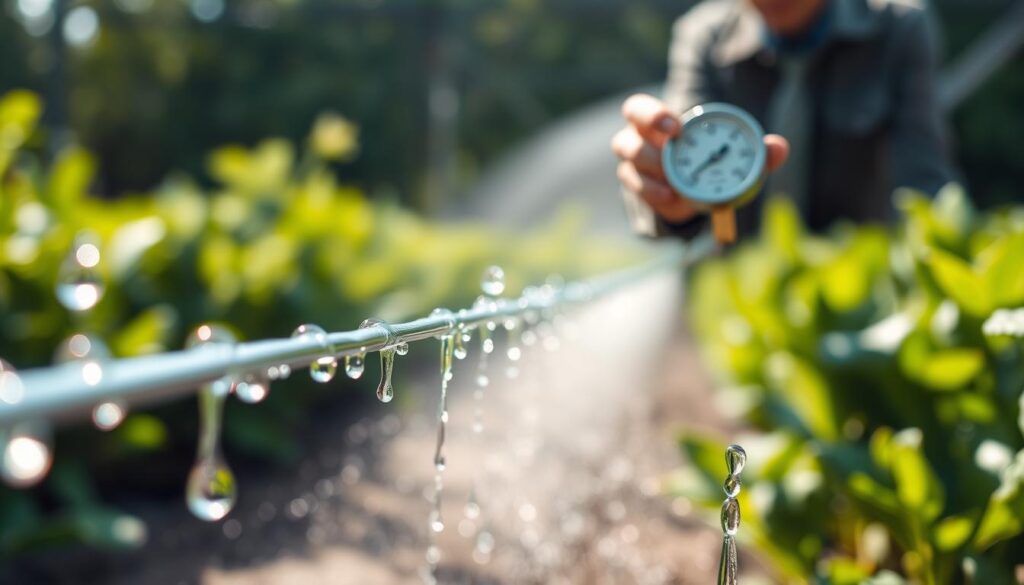
Before you touch fittings, gather simple tools: a pressure gauge, a flow meter or a cup and stopwatch, and a flashlight for visual checks.
Visual inspection checklist: filters, tubing, emitters, and tanks
- Filters: check disc or screen buildup and cracked housings.
- Tubing: look for kinks, crushes, and algae in clear runs.
- Emitters: inspect for crust, slime, or broken ports.
- Tanks: peek for sludge or biofilm; clean storage if needed.
Pressure gauges across filters
Install gauges on the high and low side of the filter. A rising pressure difference shows the filter is loading up and needs service or replacement.
Flow checks and simple output tests
If you lack a meter, time how many ounces a representative emitter delivers per minute. Compare to the expected rate or to a healthy emitter. This confirms reduced water flow without fancy gear.
Recent changes to consider
Ask whether fertilizers, pH adjustments, heat waves, or recent installation work may have altered quality. Fertigation shifts and new injectors can speed buildup—see a recovery guide for overfeeding if that fits: fertilizer overfeed recovery.
Diagnose first, then clean or flush — it saves time and stops you repeating the same job.
For routine filter care and general maintenance tips, check a short maintenance guide here: drip irrigation maintenance.
Fix physical clogs fast: debris, sediment, and particles</h2>
Begin at the source and work downstream. Stop the supply, open the filter housing, and inspect for visible debris or sand. If you skip the filter, cleaning emitters only repeats the job.
Clean or replace filters and correct sizing
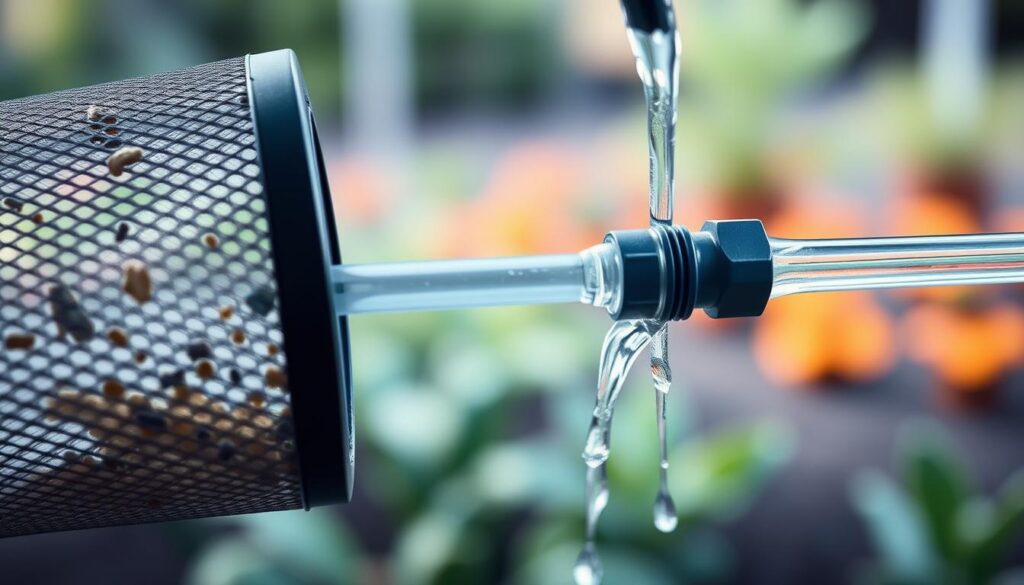
Clean filters regularly. Remove screens or cartridges, rinse trapped particles, and reassemble. If the screen loads in minutes, the filter is undersized—upgrade to a larger model to protect the rest of the system and improve filtration.
Flush irrigation lines using end caps or flush valves
Always flush from the end of runs. Open end caps or flush valves and run the tap until the flowing water runs clear. This pushes grit out of tubing instead of through emitters, keeping tiny passages safe.
Disassemble and clean cleanable emitters; replace non-cleanable clogged drip emitters
Turn off water, remove the emitter cap, and flush the emitter body. Soak stubborn bits briefly and rinse. If a non-cleanable emitter stays weak after cleaning attempts, replace it — new drip emitters often cost less than repeated repairs.
| Action | When to use | Result |
|---|---|---|
| Filter service | Dirty screen, visible grit | Stops more debris reaching emitters |
| Flush runs | After filter service or sand detection | Removes particles from irrigation lines |
| Emitter cleaning/replacement | Individual restricted outputs | Restores even wetting and steady output |
Quick after check: run a zone, sample several emitters, and confirm even wetting before re-burying tubing or re-mulching. Small attention now prevents big repairs later.
Remove mineral buildup safely: calcium carbonate and other deposits</h2>
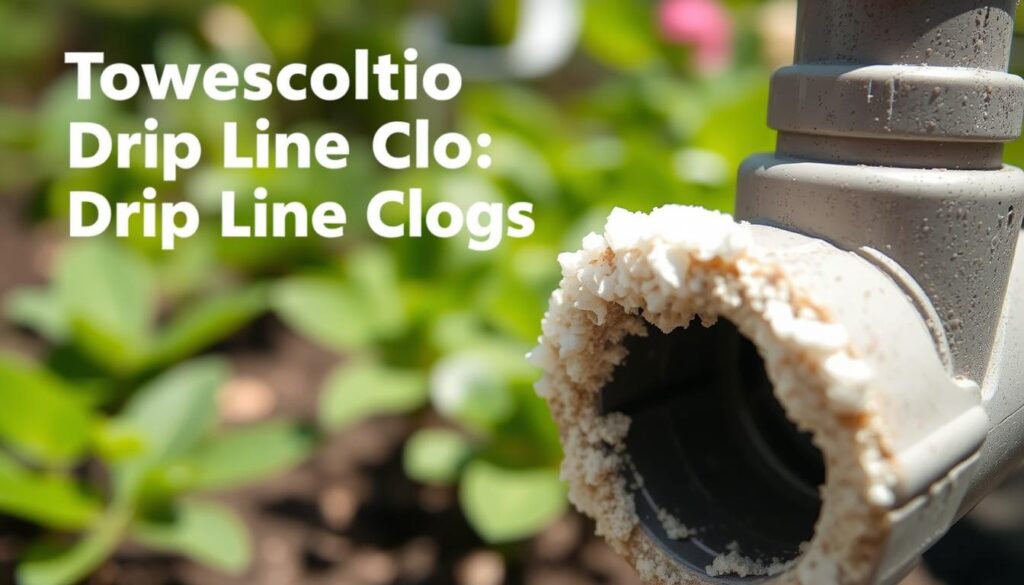
When your supply runs alkaline and warm, minerals can settle out and narrow tiny outlets. Look for white or chalky crust at emitters, a steady decline in output, or repeat blockages even after routine cleaning.
Why heat and pH matter
Warm temperatures and pH above seven reduce calcium and magnesium solubility. Those ions then form calcium carbonate and stick to plastic surfaces. Over time, the effective opening shrinks and system pressure shifts, so some parts run weak while others stay normal.
Safe acid descaling for homeowners
Use an irrigation‑rated descaler or a mild acid product made for garden systems. Follow label directions exactly, wear eye and skin protection, and work in small batches.
Inject or circulate the solution through affected runs, let it sit as directed, then perform thorough flushing through end caps or flush valves so dissolved deposits exit via the big outlets—not the tiny emitters.
When to replace instead of clean
If emitters reblock repeatedly, or if plastic parts show brittleness, cracking, or discoloration, replacement often saves time. New parts restore uniform output faster than repeated chemical treatments.
| Issue | Homeowner action | Expected outcome |
|---|---|---|
| White crust at emitters | Descale run, then flush thoroughly | Restored flow; fewer repeat blockages |
| Repeat clogging after cleaning | Replace emitters and brittle fittings | Stable, predictable output |
| System pressure drop after descaling | Check filters and flush points; clean filter | Normal pressure and cleaner lines |
Practical rule: if a part needs descaling more than twice in a season, replace it. For broader prevention and maintenance tips, see this clogging prevention guide.
Stop biological clogging: algae, bacteria, and slime in drip systems</h2>
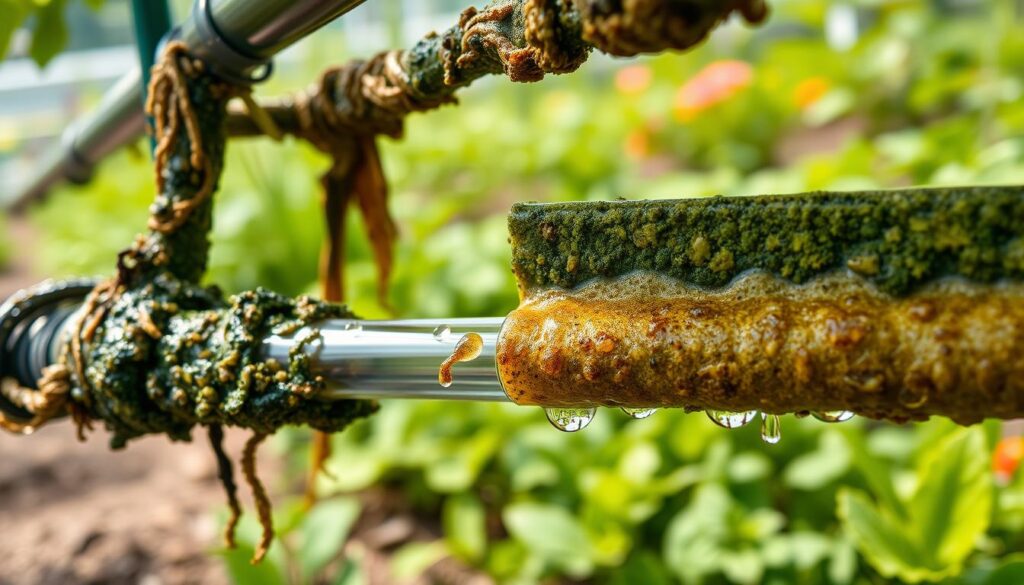
A slimy film inside tubing quietly traps grit and minerals, then shrinks the path until flow falters. This thin biofilm lines emitters and fittings, raising viscosity and catching debris that would otherwise pass.
How biofilms form and why they grab particles
Warm runs and nutrient-rich supply—especially after fertilizers—feed microbes. They produce a sticky matrix that anchors to plastic and easily captures suspended minerals and debris.
Cleaning options and sequence
Choose an irrigation-safe sanitizer or an enzyme cleaner designed for organic buildup. Follow label directions: treat, allow dwell time, then perform thorough flushing via end caps or flush valves so loosened matter exits through larger openings, not emitters.
Reduce microbial load for steady performance
- Keep storage tanks clean and covered.
- Avoid stagnant pockets; purge low-use runs periodically.
- Consider inline UV sterilization for persistent quality issues.
Clear lines keep even irrigation and steady flow, so routine sanitation and simple habits prevent mid-season surprises.
Conclusion</h2>
Keep a short, steady rhythm of checks and fixes; it protects plants and saves time.Match a clear troubleshooting chain—symptom → location → clog type → targeted fix → prevention—and you’ll solve problems faster.
Quick summary: spot a symptom, isolate the run, identify whether mineral, particle, or bio buildup blocks flow, then clean, descale, sanitize, or replace the part. This chain restores even water flow and stable pressure across beds.
Adopt a simple maintenance rhythm: a monthly emitter check, service filters when pressure or flow drops, and flush lines seasonally. Treat your supply as variable—test and watch during hot months when deposits and bio growth rise.
Most issues are fixable. Small habits—good filters, timely flushing, and gentle cleaning—cost less than rescue repairs and keep your irrigation system running evenly for years.