
Can a compact shelf, a few lights, and simple timers turn your apartment into a reliable plant nursery?
This short guide shows a clean, affordable path to pro-level results in a small garden space. You’ll see how a wire rack, linkable LED or T5 shop lights at 6500K, USB fans, digital timers, and bottom-watering trays form a tidy system that controls light, heat, and moisture.
Keep lights 2–3 inches above seedlings and run them about 14–16 hours. Aim for daytime temps near 70–78°F and nights around 60–65°F. In cool rooms, add a heat mat and thermostat to speed germination.
This setup beats a windowsill by offering steady light intensity, adjustable height, and airflow that cuts mildew and damping-off. For a low-cost germination chamber example, see this practical build on low-cost germination setups.
Key Takeaways
- Use a wire rack and linkable lights for compact, modular growth.
- 6500K LEDs, 14–16 hours daily, and 2–3 inches from the canopy give strong seedlings.
- Maintain steady temps; add a heat mat if your room runs cool.
- USB fans and timers improve airflow and automate the system.
- This low-cost approach yields better germination and earlier harvests than windowsills.
Why build a seed starting station now: bigger harvests, better control
A small indoor rack can shift your whole gardening calendar forward by weeks. A compact setup gives consistent light and gentle heat so seeds sprout faster and seedlings grow sturdy.
Use a dedicated system to get a head start by sowing indoors weeks before the last frost. Transplants move to the garden ready, and crops like tomatoes or peppers can finish up to a month earlier.
Precise light and steady warmth raise seed germination rates. Warm, moist trays under controlled light beat a sunny window. Overhead LEDs prevent leggy stems that stretch toward glass.
Place the rack anywhere that stays above 50°F at night — a spare room, garage, or basement. With timers and gentle heat, you keep day length and intensity steady so seedlings respond predictably.
- Flexible: a couple of shelves handle many starts without crowding space.
- Durable: wire racks last decades; only bulbs or fans need occasional replacement.
- Consistent: spring and fall starts both improve, extending your season.

Key performance requirements: light, temperature, moisture, and airflow
Nail the basics and the rest follows: steady light, correct warmth, and moving air create predictably strong seedlings. These settings act together so trays respond the same way every day.
What lighting specs matter?
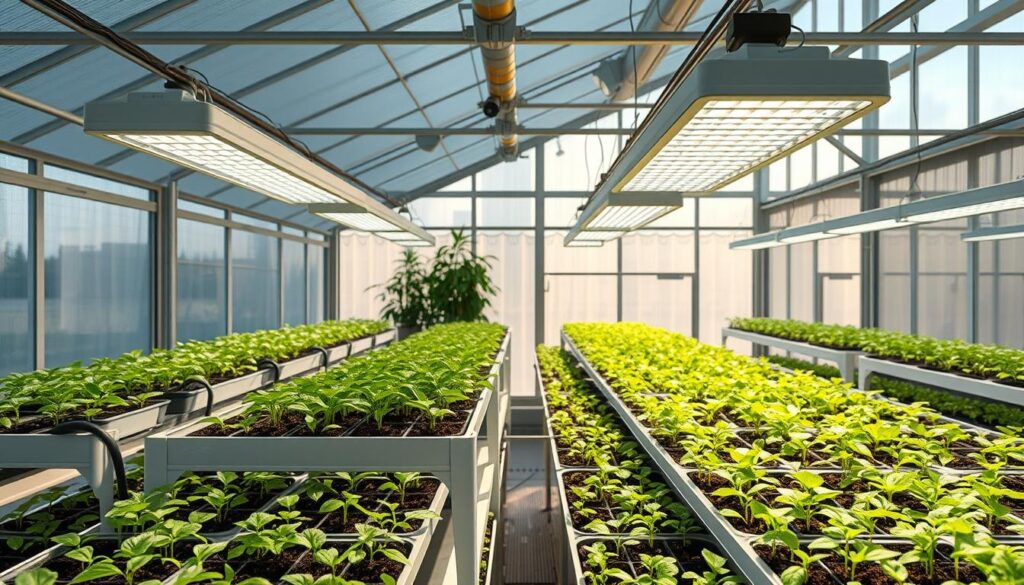
Light quality: aim for ~2,000–3,000 lumens per shelf and a 6500K daylight spectrum to favor leafy growth. Keep fixtures about 2–3 inches above the canopy and raise them as the plants grow.
Daily schedule: use a timer for 14–16 hours on and 8 off to stabilize responses and prevent legginess.
What temperature should you target?
Hold ambient daytime temperature near 70–78°F and let nights dip to 60–65°F. For germination, a heat mat set to 80–85°F soil temps helps warmth-loving seeds; step down to 70–75°F as seedlings emerge.
How do you manage moisture and airflow?
Keep relative humidity around 45–55% and vent domes once most seeds sprout. Bottom watering keeps foliage dry and gives even moisture to roots.
Run small USB fans for gentle airflow to cut mildew and damping-off. Watch stems and leaf edges; they tell you if light, heat, or moisture needs an adjustment.
For extra tips on compact systems and greens, see the best hydroponic herb garden.
What you need for a budget-friendly seed starting system
Pick a few reliable parts and you can run a tidy, low-cost system that gives strong seedlings. These items balance price and performance so your plants get steady light, airflow, and moisture control.
Rack and trays: durable, adjustable, and tidy
Choose a sturdy wire rack with adjustable shelves. Models like IKEA OMAR or Amazon Basics fit small footprints and let you set shelf heights as plants grow.
Add durable bottom-watering trays and 10×20 inserts to keep starts organized and reduce mess. Labels and a waterproof marker help you track varieties easily.
Lights and timers: even coverage with simple scheduling
Select linkable LED or T5 lights in 6500K daylight. Two fixtures per shelf give even coverage. Use digital timers so the system runs the same hours each day and keeps seedlings steady.
Fans, power strips, and small extras
Mount a power strip with USB ports on the rack to run timers and USB fans cleanly. Use zip ties to secure cords and fixtures for safety and neatness.
Keep an 8″ USB fan for gentle airflow and consider a small heat mat plus a thermostat if your room runs cool. With sales or secondhand parts, you can hit a low cost and build a reliable starting station.

How built complete, high-performance seed starting station step by step
Follow a clear sequence and you’ll have a safe, stable setup that gives predictable germination and sturdy seedlings.
Start by assembling the wire rack square and level, following the manufacturer’s directions. Plan shelf spacing with about 18 inches of vertical clearance for light plus plant height so trays and lights don’t crowd young plants.
Assemble the rack and plan shelf spacing
Place the lowest shelf for trays and leave room above for taller seedlings. Mark inches on a post to track your initial light height and future raises. This makes routine adjustments fast and consistent.
Mount and link lights; set adjustable height or shelf positioning
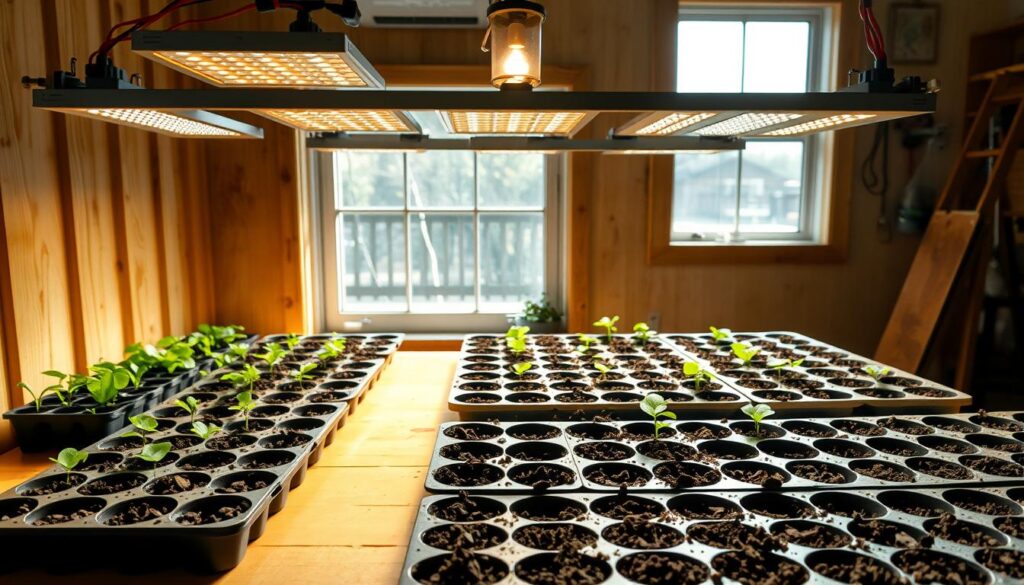
Attach fixtures in parallel for even coverage and daisy-chain linkable lights across each shelf. Secure with zip ties or hangers and set fixtures about 2–3 inches above the canopy at the start. Note the inch marks so you raise lights uniformly as plants grow.
Set up power, timers, and cable management for safety
Mount a power strip on a vertical post and plug lights into a digital timer set for 14–16 hours. Route cables along posts, add drip loops, and separate the heating mat circuit from lights if possible. Keep plugs accessible for quick service.
Add trays, labels, and optional heat mats/thermostats
Stage bottom-watering trays and pre-moisten soil before sowing. Place a heat mat under trays if germination needs extra warmth and plug it into a thermostat set to 80–85°F for sprouting, then lower the setting after emergence.
| Step | Action | Quick tip |
|---|---|---|
| Rack | Assemble level; plan 18″ clearance | Mark inches on post for repeatable raises |
| Lights | Mount parallel, daisy-chain across shelf | Start 2–3 inches above canopy |
| Power | Install strip on post; use timers | Create drip loops; separate circuits for mat |
| Trays & heat | Set bottom-watering trays; add mat/thermostat | Pre-moisten soil; label rows at sowing |
- Test everything before sowing: timer, fan, and heating cycles.
- Label each tray; tracking varieties saves time later.
Dial in your setup: light cycles, distances, and temperature control
Set a consistent daily rhythm and the rest of your work becomes easier. Precise hours, lamp height, and mild warmth produce even, stocky growth for transplants.
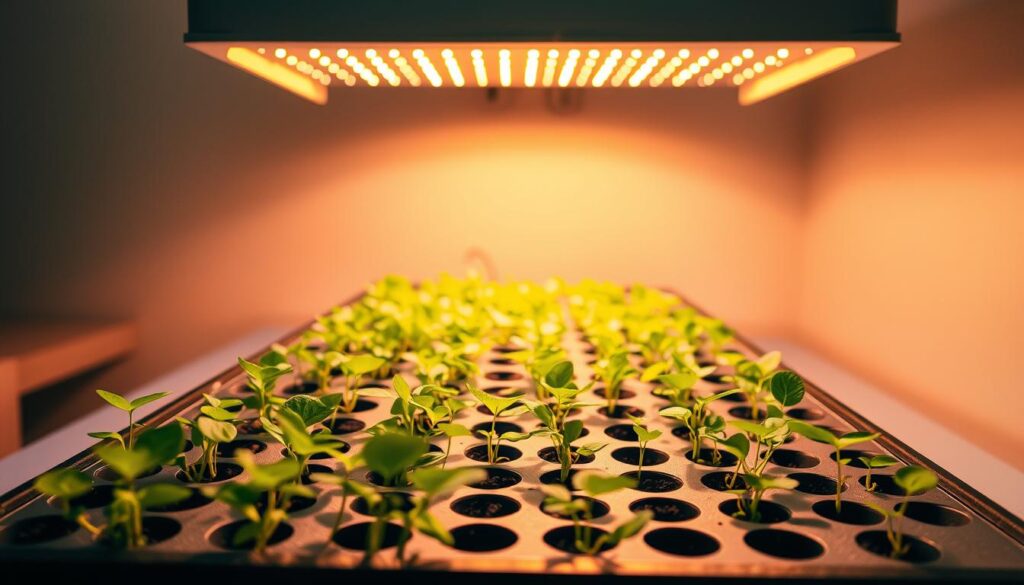
A bright, repeatable daily routine is the single best tweak for stronger seedlings. Program a digital timer for 14–16 hours on and 8 hours dark so young plants complete photosynthesis and recovery each day.
Keep fixtures about 2–3 inches above the canopy at first. Raise lights as seedlings grow to maintain intensity. If stems stretch, lower the lights a bit and add airflow to firm stems.
Delay lights until the cotyledons open; during germination, prioritize steady warmth and moisture. After most sprouts appear, hold ambient temperature in the low-to-mid 70s (around 70–75°F) and reduce heat-mat output to avoid soft growth.
Watch water needs closely: strong light and gentle warmth increase transpiration. Bottom-water trays to keep foliage dry and check media daily. If leaves pale, verify timer settings and light distance.
- Tip: heavier light won’t damage seedlings; they regulate intake. Your job is consistent hours, distance, and conditions.
- Note: tweak by crop—cool greens accept slightly lower temps; fruiting plants prefer steadier warmth.
- Record: keep a log of timer hours, temperature tweaks, and visual notes for quick improvements.
For deeper guidance on lamp selection and schedules, see this grow lighting guide: grow lighting mastery.
Optimize growth and avoid common pitfalls
Quick fixes to stop weak starts and keep plants vigorous.
A few quick fixes stop leggy growth and keep young plants sturdy. Lower lights to about 2–3 inches above the canopy, run a small fan for gentle movement, and confirm your timer gives full daily hours. These steps help seedlings grow into stocky transplants.
Balance moisture by bottom watering and checking the soil—moist but not soggy. Use humidity domes only until most seeds sprout. Vent and then remove domes to cut mildew and encourage strong leaf and root development.
To scale smoothly, add shelves or another light pair and match bulb spectrum to purpose. Use bluer “daylight” bulbs for compact transplant growth, and a fuller mix for leafy greens. In cool rooms, heat mats aid germination; reduce heat after emergence to avoid soft growth.
Quick action checklist
- Lower light if stems stretch; add airflow.
- Bottom-water; check media daily for proper moisture.
- Vent domes once most seeds show true leaves.
- Thin crowded cells early to keep healthy seedlings.

| Problem | Action | Result |
|---|---|---|
| Leggy stems | Lower light to 2–3″ | Firmer, compact growth |
| Wet media | Bottom-water; dry top layer | Stronger roots; less rot |
| Crowded trays | Thin or transplant early | Better air, faster growth |
Cost, lifespan, and ROI: build under $100 and use for years
Want clear answers on money and longevity? Smart substitutions and a few durable buys let a simple seed starting setup return value for many years. This short section shows realistic paths under $100 and what parts you’ll replace over time.
Smart substitutions to hit the sub-$100 target
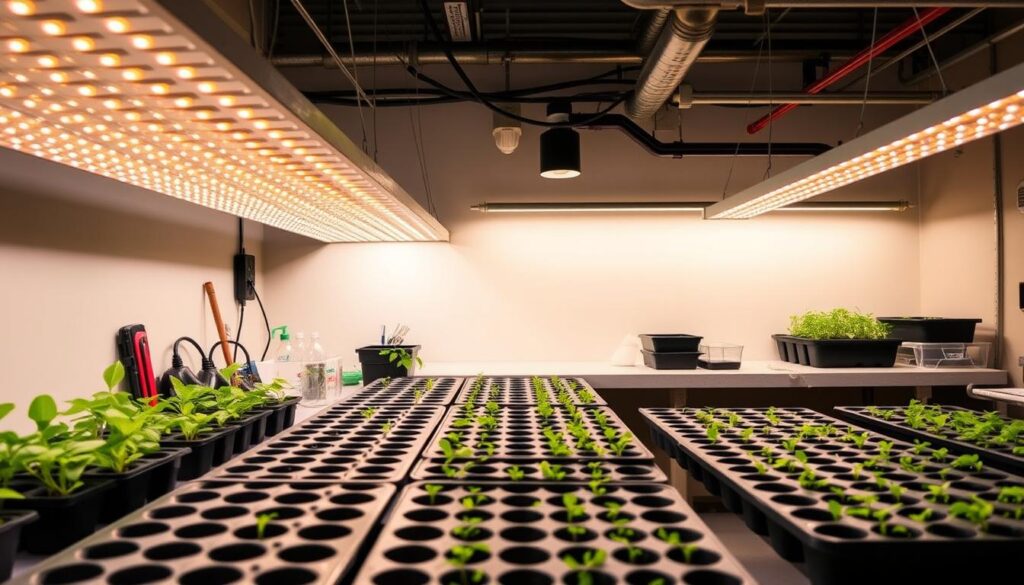
Start small and upgrade. A used wire rack, a 4-pack of sale-priced 6500K lights, a basic timer, and a USB fan get you growing for under $100. Buy one shelf now and add another later.
- Stretch dollars: one fixture per shelf for shade-tolerant crops; add a second fixture as you expand.
- Prioritize: timers and correct spectrum lights outperform many pricey extras.
- Local deals: watch classifieds for restaurant racks and shop lights to save a couple dozen dollars.
What lasts, what wears: bulbs, LEDs, and fans over time
Wire racks often last decades. Fluorescent bulbs run ~20,000 hours; LEDs claim longer life but vary by brand. Fans, power strips, and cheap timers are the consumables you’ll replace most.
Tip: log bulb run time and swap spares before big sowing windows to avoid downtime. In cool basements, a heat mat with a thermostat is worth the extra cost for faster germination.
| Item | Upfront cost (typical) | Lifespan | Note |
|---|---|---|---|
| Used wire rack | $15–$40 | 10+ years | Durable; one-time buy |
| LED/T5 lights | $20–$60 (sale) | 2–7 years (brand dependent) | Replace bulbs by logged hours |
| USB fan & timer | $10–$20 | 1–3 years | Low cost; keep a spare |
| Heat mat + thermostat | $20–$45 | 3–5 years | Optional unless you need extra heating |
ROI: one season of homegrown transplants and salad greens often offsets the initial cost. Linkable fixtures and a single timer save daily effort and lower energy use, making the system pay back in time and plants. Keep a small kit of spares and log run hours to keep your setup serving you for years.
Conclusion
Start small and learn fast: a single wire rack, daylight light, and a reliable timer give you predictable results each season.
The blueprint works. Use steady hours, 2–3 inch lamp distance, and mindful moisture to grow sturdy seedlings and stronger transplants than a windowsill can deliver.
Add one shelf at a time as your garden plans grow. The same simple method scales without extra fuss, and core parts last for years with small swaps of bulbs or fans.
Take a practical next step: gather parts this week, assemble in an afternoon, and sow two trays to dial in settings. For a quick parts list and kit ideas, see this useful guide: best seed starter kit.
Keep cables tidy, check drip loops, and clean trays now and then. Share results with neighbors—small notes on soil, light height, and timing pay off the next day and the next season.