Have you ever watched a storm roll in, a knot tightening in your stomach as you pray your precious garden structures will survive the night? I’ve been there. For years, every gust of wind felt like a threat, a battle between my passion for gardening and the raw power of nature. After losing one too many flimsy greenhouses to a vicious nor’easter, I knew I had to do something different. I decided to design and build a greenhouse that wouldn’t just survive, but thrive in high winds.
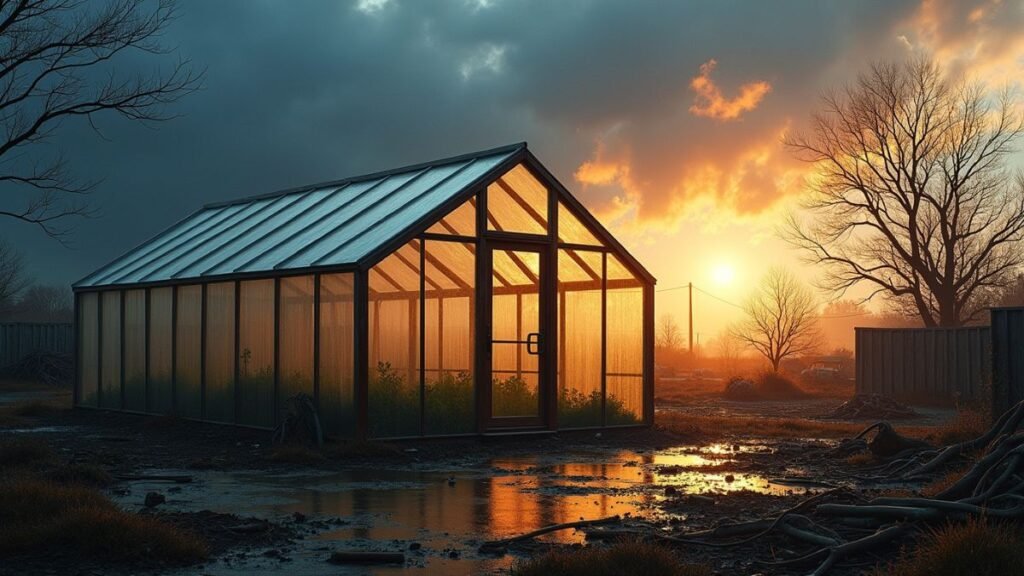
The real test came last fall. A storm, so fierce it tore ancient oaks from the ground, barreled through our area. The wind howled with a fury I’d never witnessed. The next morning, as I walked through the debris-littered yard, my heart was in my throat. But there it was, standing tall and completely unscathed amidst the chaos. My $480 DIY windproof greenhouse hadn’t just held on; it had won.
And you know what? You can build one, too. I’m going to walk you through exactly how I did it, step-by-step. This isn’t about a complicated kit or expensive materials; it’s about smart design and building a strong greenhouse with your own two hands.
The Problem: Why Most Greenhouses Can’t Handle the Wind
Most affordable greenhouse kits you find online or at big-box stores have a critical flaw: they are designed for an idealized, calm environment. They prioritize low cost and easy assembly over structural integrity. Their lightweight aluminum frames and thin, clip-in panels essentially turn them into giant kites at the first sign of a serious gale.
The main failure points are almost always:
- Inadequate Anchoring: Many kits come with flimsy stakes that offer little resistance to uplift forces created by high winds.
- Weak Framing: Lightweight frames can twist, bend, or buckle under sustained pressure.
- Panel Failure: Thin plastic sheets or poorly secured polycarbonate panels can be easily ripped out or shattered by wind and flying debris.
Here at The Garden Haven, we know how devastating storm damage can be. That’s why this high-wind greenhouse design focuses on overcoming those exact weaknesses from the ground up.
The Solution: A Step-by-Step Guide to Your Storm-Proof Sanctuary
This guide will show you how to build a robust 8×10 foot greenhouse. The principles, however, can be adapted to different sizes. The key is in the combination of a sturdy, pressure-treated wood frame and durable polycarbonate panels, all securely anchored to the earth.

Materials and Cost Breakdown
One of the best parts of this DIY greenhouse is the cost. I built the entire structure for just under $480 by being smart with materials. Your costs may vary slightly based on location and suppliers, but this should be a very close estimate.
| Material | Quantity | Estimated Cost | Notes |
|---|---|---|---|
| 6mm Twin-Wall Polycarbonate Panels (4’x8′) | 7 sheets | $245 | The most important investment for durability. |
| 2×4 Pressure-Treated Lumber (8 ft) | 25 boards | $150 | For the entire frame structure. |
| 4×4 Pressure-Treated Lumber (8 ft) | 2 posts | $20 | For the foundation anchors. |
| 3-inch Exterior Wood Screws | 1 box (5 lbs) | $25 | For frame assembly. |
| 1-inch Galvanized Roofing Screws with Washers | 1 box (250 ct) | $18 | To secure the polycarbonate panels. |
| Galvanized Steel Hurricane Ties/Brackets | 12 | $12 | For reinforcing joints. |
| Concrete Mix | 1 bag (80 lbs) | $5 | To set the foundation anchor posts. |
| Total Estimated Cost | $475 |
Step 1: Building the Foundation and Anchoring
This is the most critical step for wind resistance. A house is only as strong as its foundation, and the same is true for your greenhouse. We are creating a foundation that the wind simply cannot lift.
- Site Selection: Choose a spot that gets at least 6-8 hours of sunlight per day. Ensure the ground is relatively level.
- Mark Your Corners: Lay out the 8×10 foot perimeter.
- Dig the Anchor Holes: At the two corners on the side you expect to face the most wind, dig two holes, each about 2 feet deep and 10 inches wide.
- Set the Posts: Cut your 4×4 posts into 4-foot lengths. Place one post in each hole.
- Pour the Concrete: Mix your concrete according to the package directions and pour it into the holes, filling them completely. Use a level to ensure the posts are perfectly plumb (vertically straight) as the concrete sets. Allow it to cure for at least 24-48 hours.
Expert Tip: “According to research from the University of Florida, proper anchoring is the single most important factor in greenhouse wind resistance. A concrete pier foundation, like the one we’re building, can increase uplift resistance by over 50% compared to ground stakes.”
Step 2: Assembling the Frame
Now we’ll build the skeleton of your greenhouse using the pressure-treated 2x4s. Think of it as building a series of strong, rectangular boxes.
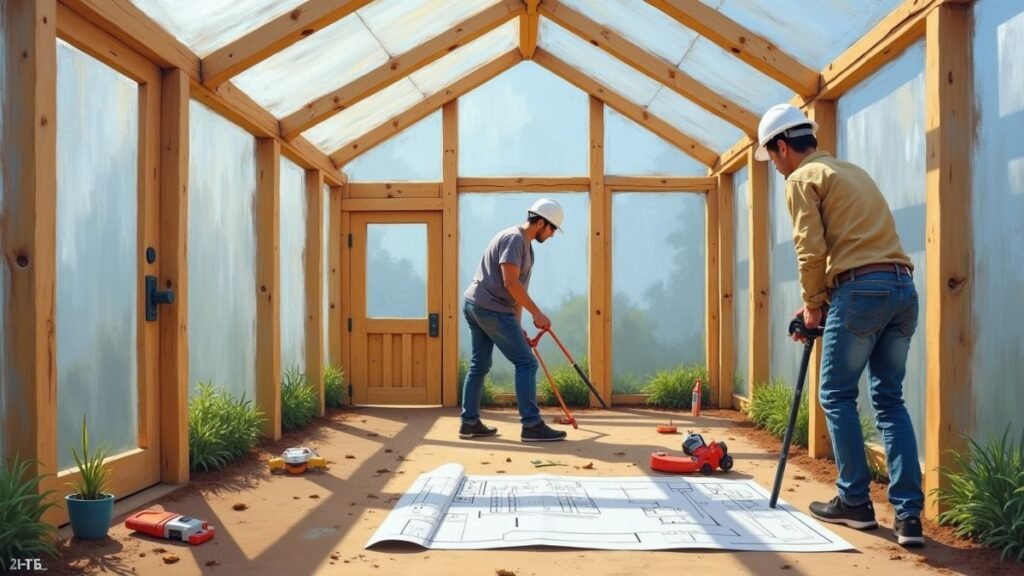
- Build the Floor Frame: Create an 8×10 foot rectangle on the ground using your 2x4s. Screw the corners together with your 3-inch exterior screws. Square it up by measuring diagonally from corner to corner; the measurements should be equal.
- Attach to Anchors: Securely bolt the completed floor frame to the concrete-set 4×4 posts.
- Construct the Walls: Build each of the four walls flat on the ground. For the 10-foot walls, I recommend vertical studs every 24 inches. This spacing provides excellent strength and aligns perfectly with the 4-foot width of the polycarbonate panels. Frame out a space for your door on one of the 8-foot walls.
- Raise the Walls: With a helper, lift each wall section into place on the floor frame and screw it securely in place. Screw the adjacent walls to each other at the corners.
- Add the Rafters: The roof pitch is up to you, but a 4/12 or 5/12 pitch is great for shedding rain and provides good strength. Cut your 2×4 rafters with the appropriate angles (a miter saw is a huge help here) and install them every 24 inches.
- Install Bracing: This is a key storm-proofing step. At each corner where the walls meet the rafters, install galvanized steel hurricane ties. These small metal brackets dramatically increase the structure’s ability to resist racking and twisting forces from the wind.

Step 3: Installing the Polycarbonate Panels
This is where your greenhouse starts to look like a greenhouse! The polycarbonate greenhouse panels are your armor against the elements.
- Cut to Size: If needed, carefully cut your panels to size using a fine-toothed circular saw blade or a utility knife for thinner panels.
- Seal the Edges: It’s a good idea to seal the open flutes on the top and bottom of the panels with a special breather tape. This prevents moisture and insects from getting inside.
- Attach the Panels: Lay the first panel on the frame. Use the 1-inch galvanized roofing screws with the built-in rubber washers to secure it. The washer is key—it creates a waterproof seal and prevents you from over-tightening and cracking the panel.
- Spacing is Key: Place screws about every 12 inches along the frame. Don’t skimp here! Every screw is a point of strength.
- Overlap and Continue: Overlap panels as needed and continue until the entire structure, including the roof, is covered.
Key Windproofing Features: The Secret Sauce
Let’s summarize the specific design choices that make this a truly DIY windproof greenhouse:
- Concrete Pier Anchoring: This makes the structure a permanent, immovable part of your landscape.
- Pressure-Treated Wood Frame: Wood has a natural flexibility that allows it to absorb gusts of wind, while its heft provides superior resistance compared to lightweight aluminum.
- Strategic Bracing: Hurricane ties and stud spacing of 24 inches create a rigid, interconnected frame that distributes wind load across the entire structure.
- 6mm Twin-Wall Polycarbonate: This material is incredibly impact-resistant (it can handle hail and flying debris) and its cellular structure provides excellent insulation.
- Proper Fasteners: Using an ample number of galvanized roofing screws with washers ensures the panels are held securely to the frame and won’t be peeled off by the wind.
Key Takeaways
- Don’t Skimp on the Foundation: Concrete anchors are non-negotiable for a high-wind area.
- Wood is Good: A pressure-treated 2×4 frame offers the best combination of strength, flexibility, and affordability.
- Bracing is Your Best Friend: Use metal brackets to reinforce every major joint.
- Panels Matter: Invest in quality twin-wall polycarbonate and secure it properly. It’s the skin that protects your plants.
Conclusion: More Than Just a Greenhouse
Building this greenhouse was one of the most rewarding projects I’ve ever tackled. It’s more than just a place to grow tomatoes in January; it’s a symbol of resilience. It’s peace of mind. When the weather forecast turns ugly, I no longer worry. I know the little sanctuary I built with my own hands is strong enough to handle whatever nature throws at it.

You don’t have to be a master carpenter to do this. You just need a plan, the right materials, and a little bit of determination. Follow these steps, and you won’t just be building a greenhouse—you’ll be making a long-term investment in your garden and your own confidence as a builder. You can absolutely do this.
Frequently Asked Questions (FAQ)
1. How long did it take you to build this greenhouse? Working mostly by myself, it took me about three full weekends. The first weekend was for the foundation and letting the concrete cure. The second was for framing, and the third was for installing the panels and building the door. With a helper, you could likely do it faster.
2. Can I substitute other materials to lower the cost? You can, but be careful where you cut corners. You could use a thinner, 4mm polycarbonate, but the 6mm offers significantly more rigidity and insulation. I would not recommend substituting the pressure-treated lumber or the concrete anchoring, as those are the core of its storm-proof design.
3. Does this design allow for good ventilation? Yes. I framed in a window on the back wall and the door on the front, which allows for excellent cross-ventilation. You can also install an automatic, solar-powered vent opener on the roof for hands-free temperature regulation, which is a fantastic upgrade.
Sources
- University of Florida IFAS Extension: “Considerations for Building a Greenhouse”
- PennState Extension: “Greenhouse Structures and Coverings”


