There’s something magical about snipping fresh herbs from your own garden. The aroma of basil, the crispness of mint—it transforms meals and connects us to nature. Whether you’re a seasoned gardener or just starting, cultivating these flavor-packed plants is simpler than you think.
Imagine stepping outside to harvest thyme for tonight’s dinner or garnishing drinks with homegrown mint. No more wilted store-bought bundles! With the right soil, seeds, and a sunny spot, you’ll enjoy a thriving herb garden all spring and summer long—even on a tiny balcony.
We’ll share practical tips to help you succeed. From choosing hardy varieties to mastering watering routines, our guide makes it easy. Let’s dig in!
Key Takeaways
- Fresh herbs elevate meals and reduce grocery trips.
- Even small spaces can support a productive garden.
- Quality soil and sunlight are essential for healthy plants.
- Spring and summer are ideal for planting most varieties.
- Homegrown herbs save money and taste better.
Why Growing Your Own Herbs Is a Game-Changer
Nothing beats the burst of flavor from just-picked herbs in your kitchen. Unlike store-bought options, homegrown varieties pack intense aromas and vibrant tastes. They’re the secret ingredient that turns simple meals into memorable feasts.
Fresh Flavors at Your Fingertips
Compare limp supermarket basil to leaves snipped moments before cooking. The difference is staggering. Homegrown herbs like coriander or mint retain essential oils, amplifying soups, cocktails, and salads.
Cost-Effective and Sustainable
A $3 mint plant yields 100+ servings—versus $3 clamshells weekly. You’ll slash grocery bills and plastic waste. Plus, avoiding synthetic fertilizers makes your garden kinder to the planet.
Health Benefits of Homegrown Herbs
Studies link gardening to lower stress levels. Nutrient density also peaks in chemical-free herbs. Think vitamin-rich thyme or digestion-aiding fennel, all from your home soil.
How to Grow Best Herbs to Plant Everyone Is Using: Getting Started
Starting your herb journey begins with smart choices. Whether you pick seeds or starter plants, each option has unique benefits. Let’s explore how to set up for success.

Seeds vs. Starter Plants: What’s Right for You?
Seeds cost less and offer variety—try Baker Creek or Botanical Interests for quality options. They’re ideal for fast-growers like cilantro and dill. Starter plants, like rosemary or thyme, skip the wait and thrive faster.
Finding Quality Herbs Locally
Skip big-box stores with chemical-treated stock. Local nurseries often carry healthier, organic plants. Ask: “Are these grown nearby?” and “What fertilizers were used?”
Must-Have Tools for Beginners
Gather these essentials:
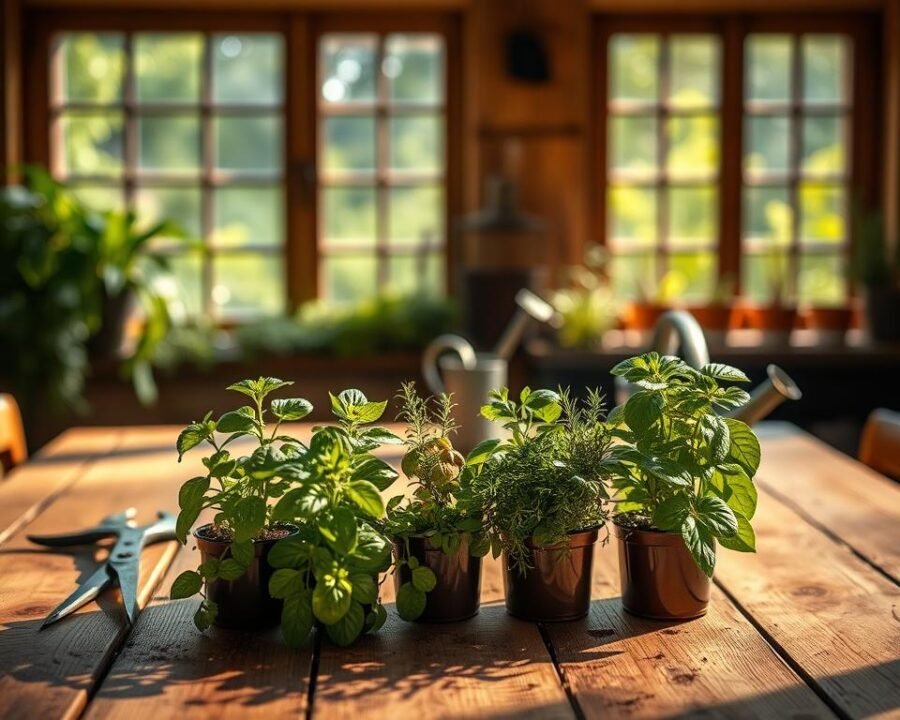
- Containers: 6-inch pots with drainage holes.
- Soil: Organic potting mix for strong roots.
- Pruning shears and a water-resistant tray.
For budget-friendly starts, repurpose egg cartons as seed trays.
Selecting the Right Herbs for Your Garden
The right herbs can transform your garden into a fragrant, flavorful oasis. Whether you crave fresh basil for pasta or mint for teas, picking the best varieties ensures success. Let’s explore top picks for beginners, small spaces, and long-term growth.

Top Beginner-Friendly Herbs
New to gardening? These hardy herbs thrive with minimal fuss:
- Basil: Grows quickly from seeds; perfect for sunny spots.
- Mint: Resilient but invasive—plant solo in containers.
- Chives: Cold-tolerant with edible flowers that attract bees.
Herbs for Small Spaces and Containers
Limited room? Compact varieties like lemon thyme or dwarf rosemary excel in pots. Avoid sprawling oregano (needs 2+ sq ft) and opt for upright plants like cilantro.
Perennial vs. Annual Herbs
Plan for seasons ahead:
- Perennials: Rosemary, sage—return yearly with proper care.
- Annuals: Basil, coriander—sow every 3 weeks for continuous harvests.
Pro tip: Keep aggressive mint away from delicate herbs—it’ll take over!
Preparing the Perfect Growing Environment
Healthy herbs start with smart soil and sunlight choices. Whether you’re working with pots or a backyard garden, tailoring conditions to each plant’s needs ensures robust growth. Let’s break down the essentials.
Ideal Soil Composition for Herbs
Mediterranean herbs like rosemary thrive in well-drained soil. A DIY mix works wonders: 60% potting mix, 30% perlite, and 10% worm castings. This blend prevents soggy roots while feeding plants.
Avoid heavy garden soil—it compacts easily. For leafy herbs like parsley, add extra compost to retain moisture.
Sunlight Requirements by Herb Type
Basil and sage crave 6+ hours of direct sunlight. Partial shade (4 hours) suits parsley and chervil. Rotate pots weekly for even exposure.
Watch for leggy stems—they signal insufficient light. South-facing windows or balconies are prime real estate.
Container Gardening vs. In-Ground Planting
Containers offer control. Terracotta pots breathe better, while plastic retains water. Use them for invasive mint or to customize soil per herb.
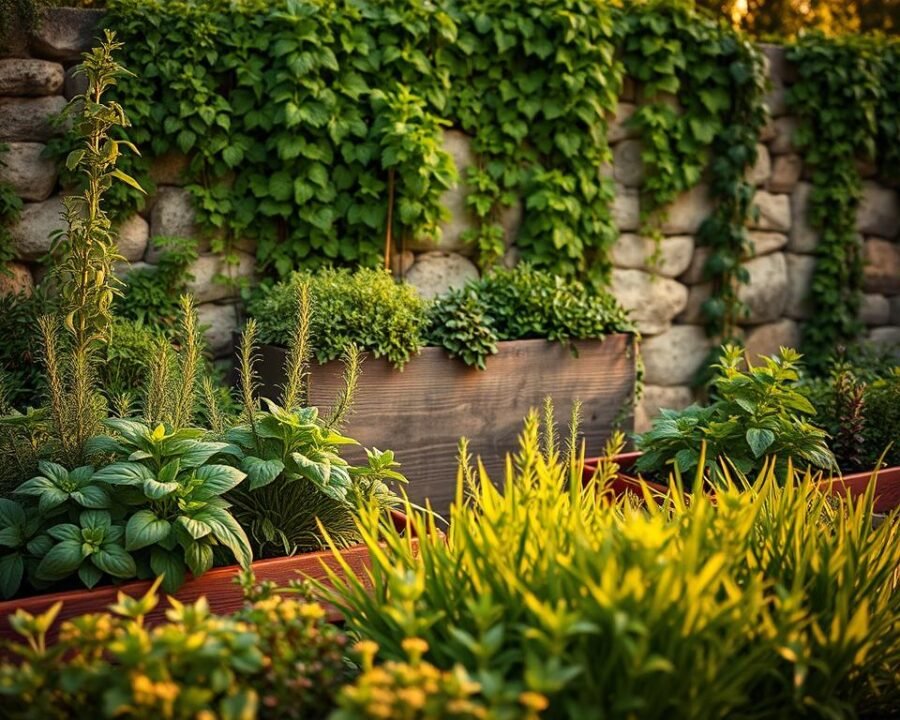
In-ground planting? Build raised beds with cedar planks. They improve drainage and deter pests.
Troubleshooting Common Issues
- Yellow leaves: Overwatering—let soil dry slightly between drinks.
- Dry edges: Boost humidity with a pebble tray.
Planting Your Herbs Like a Pro
Mastering herb planting techniques unlocks a world of fresh flavors. Whether you’re sowing seeds or transplanting nursery plants, the right approach ensures vigorous growth. Let’s dive into methods that set your garden up for success.

Step-by-Step Seed Starting Guide
Begin basil seeds indoors 6 weeks before the last frost. Use biodegradable pots to avoid disturbing delicate roots. Coriander thrives when sown every 3 weeks—stagger planting for nonstop harvests.
Keep soil moist but not soggy. A spray bottle prevents over-watering. Once sprouts appear, move them to a sunny window or under grow lights.
Transplanting Nursery-Bought Herbs
Hardening off is crucial. Acclimate plants to outdoor conditions over 7 days. Start with 2 hours of shade, gradually increasing sun exposure.
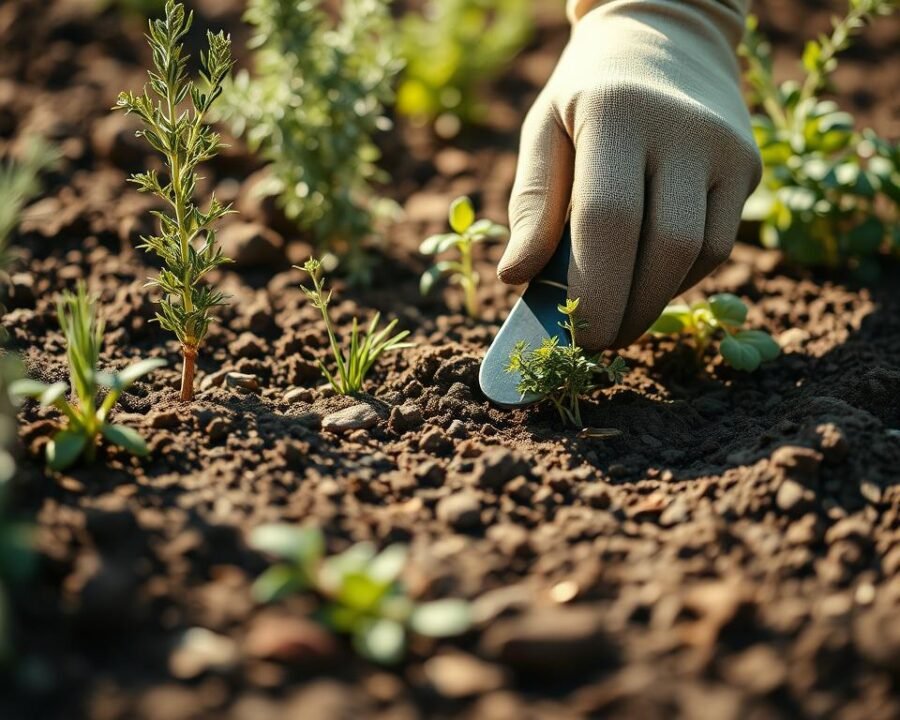
Gently loosen roots before placing them in a pot or bed. Water deeply to reduce transplant shock. Avoid fertilizing for the first week—let roots settle first.
Companion Planting Tips for Herbs
Pair rosemary with sage—both love dry soil and full sun. Basil enhances tomato flavor and repels pests naturally. For moist areas, group mint and parsley.
Avoid planting dill near carrots. Cross-pollination alters flavors. Instead, use thyme as a living mulch around peppers to save space.
Caring for Your Growing Herb Garden
Keeping your herb garden thriving requires simple yet effective care techniques. Focus on three pillars: smart watering, organic feeding, and strategic pruning. With these routines, your plants will reward you with vibrant leaves and robust flavors all season.
Watering Do’s and Don’ts
Mediterranean herbs like thyme prefer dry soil—overwatering leads to root rot. For leafy basil, check moisture with the knuckle test: if the top inch feels dry, it’s water time. Avoid soggy roots by ensuring pots have drainage holes.
| Method | Best For | Frequency |
|---|---|---|
| Knuckle Test | All herbs | Every 2–3 days |
| Moisture Meter | New gardeners | When meter reads “dry” |
| Bottom Watering | Delicate leaves | Weekly |
Organic Fertilization Methods
Skip synthetic options. Banana peel tea boosts potassium, while coffee grounds enrich soil with nitrogen. Apply compost tea monthly for steady growth. Fish emulsion works wonders for woody herbs like rosemary.
- Homemade recipes: Steep banana peels in water for 48 hours.
- Timing: Fertilize in early morning to avoid leaf burn.
Pruning and Maintenance Techniques
Regular trimming encourages bushier plants. Use the “cut-and-come-again” method: snip just above a leaf node. For woody herbs, spring pruning revitalizes old growth. Watch for pests—aphids love basil, while spider mites target indoor parsley.
“A well-pruned herb yields twice the harvest.”
Rotate pots occasionally for even sun exposure. Crispy leaves? Boost humidity with a pebble tray. With these tips, your garden will flourish year after year.
Harvesting and Using Your Homegrown Herbs
The moment you snip your first homegrown sprig marks a culinary milestone. Those vibrant leaves hold more than flavor—they represent your care and patience. Now comes the rewarding part: transforming them into kitchen magic.
Optimal Harvest Times and Techniques
Morning harvests capture peak essential oils, especially for mint and basil. Snip leaves before flowering for maximum sweetness—use scissors to avoid stem damage. For thyme and rosemary, harvest sprigs that are 4-6 inches long.
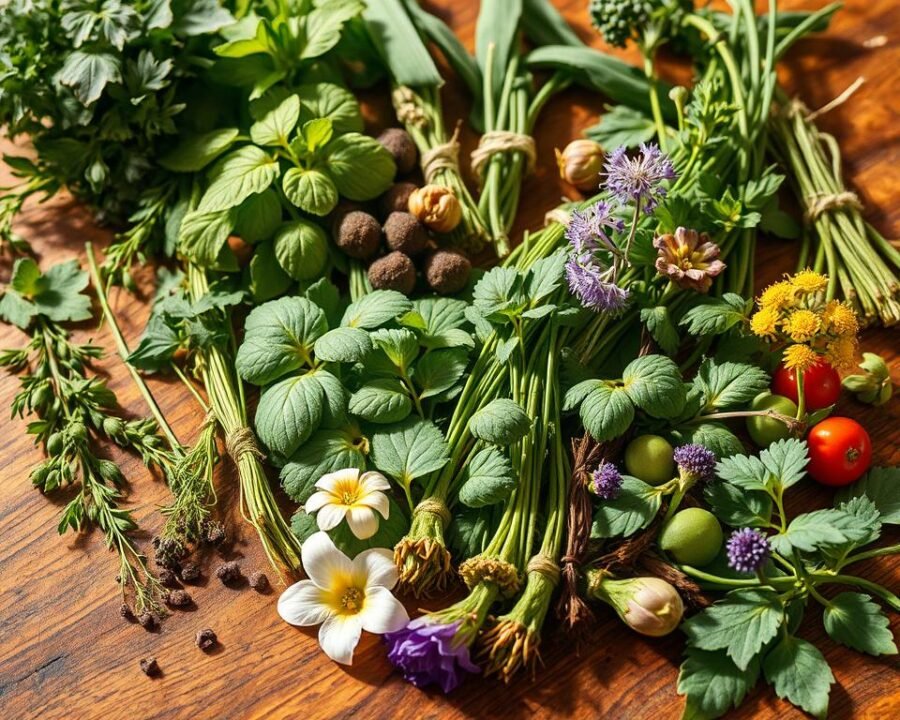
Edible flowers like chive blossoms make colorful salad toppings. Always leave ⅓ of growth so plants rebound quickly. This ensures continuous summer harvests.
Preserving Your Bounty
Extend your harvest into winter with these methods:
- Freezing: Pack chopped leaves in olive oil cubes
- Drying: Hang bunches upside-down in paper bags
- Infusing: Create herb vinegars for dressings
Label everything with dates—most preserved fresh herbs last 6-12 months. Glass jars beat plastic for maintaining flavor.
From Garden to Table
Try this crowd-pleaser: lemon-thyme roasted chicken with ½ cup fresh herbs. Combine chopped thyme, rosemary, and garlic under the skin. The leaves crisp while keeping meat juicy.
For winter projects, grow microgreens from saved seeds in a pot by your sunniest window. Turn excess mint into mojito kits or lavender into soothing bath salts. Every part of your garden can find purpose.
“Preserved herbs are summer sunshine in a jar.”
Whether you’re garnishing cocktails with homegrown mint or gifting rosemary-infused olive oil, these fresh herbs elevate everyday moments. Your home harvests make ordinary meals extraordinary.
Conclusion
Growing your own herbs brings joy and flavor to everyday meals. Start small with local plants, master watering routines, and watch your garden thrive. Whether you have a sunny balcony or a backyard plot, fresh basil or mint is within reach.
Join the 30-day challenge to kickstart your herb garden. Our planting calendar simplifies timing for spring and summer success. Even in winter, grow lights keep the harvest going.
Your home-grown pesto awaits! With quality soil and a little care, each snip delivers vibrant taste. Let’s turn that first harvest into a celebration.
