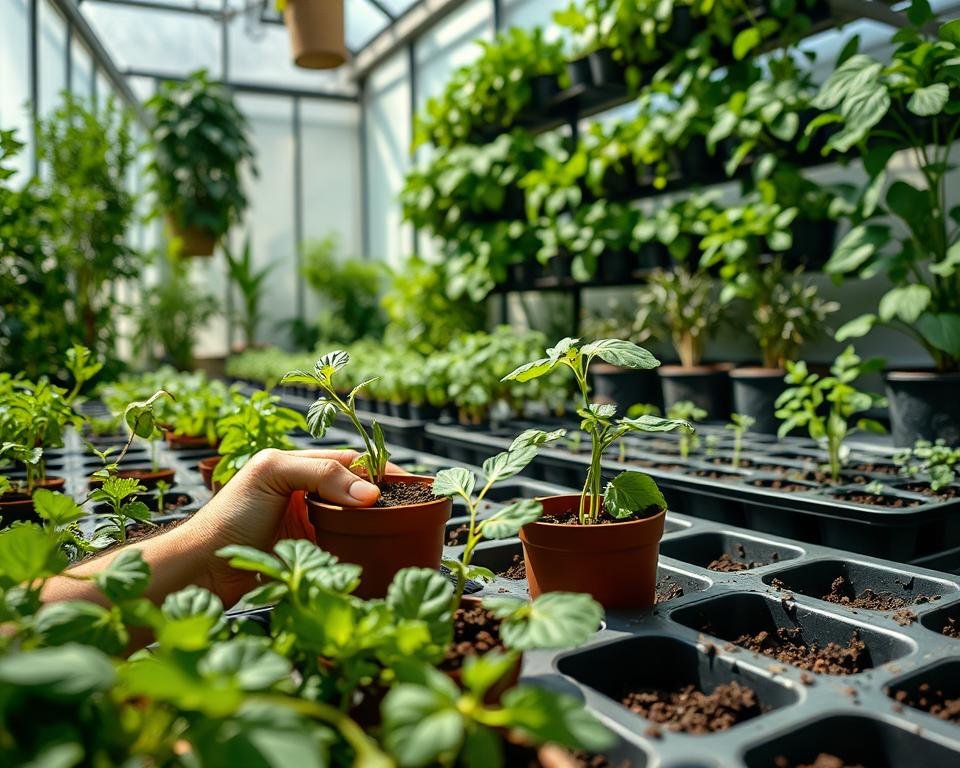
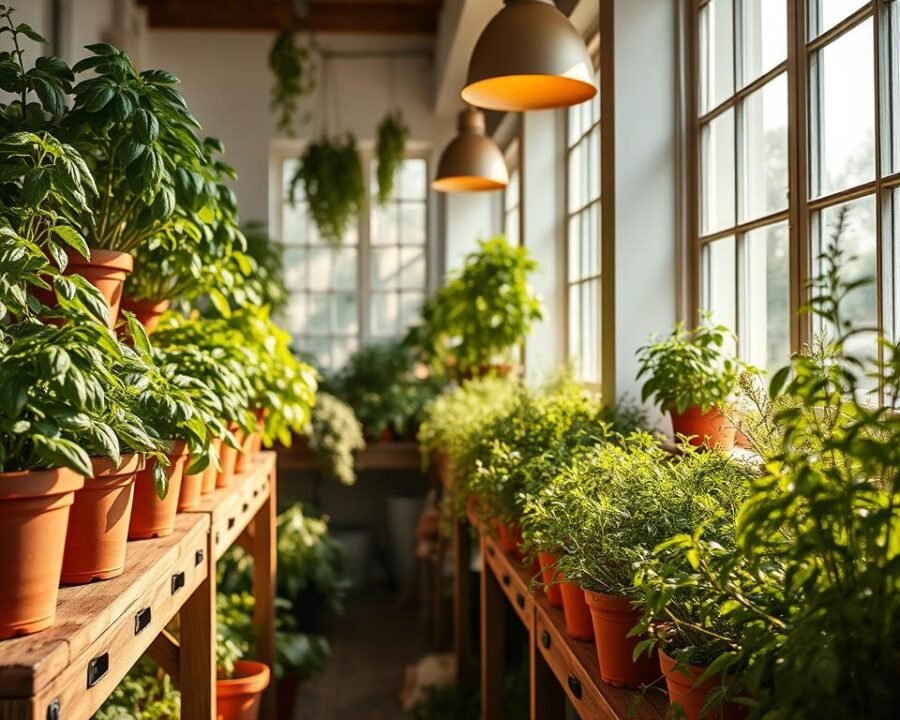
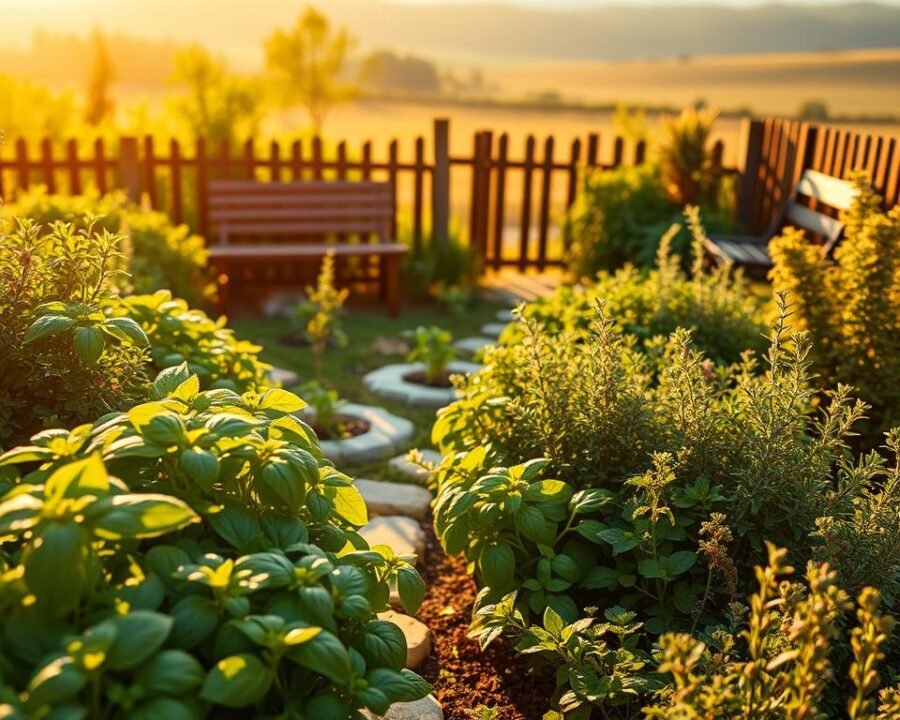
There’s something magical about plucking fresh herbs right from your garden or windowsill. The aroma, the flavor, and the satisfaction of nurturing life—it’s a small joy that transforms meals and routines.
More people are discovering the perks of having a herb garden at home. Whether in a container on your balcony or a sunny corner indoors, these little greens offer big rewards. No fancy tools or expertise needed—just simple care and patience.
This guide breaks down the basics, from choosing beginner-friendly varieties to mastering indoor and outdoor care. Save money, skip store runs, and enjoy flavors at their peak—all year long.
Key Takeaways
- Homegrown herbs enhance meals and wellness effortlessly.
- Ideal for beginners, with options for indoor and outdoor spaces.
- Cost-effective compared to store-bought bundles.
- Year-round cultivation is possible with proper care.
- Start with easy-to-grow varieties for quick success.
Why Growing Your Own Herbs Is Worth It
Nothing beats the vibrant taste of just-picked leaves from your own space. Homegrown herbs pack 3x more flavor than store-bought, turning simple dishes into culinary masterpieces. Supermarket bundles often arrive wilted, while your garden delivers crisp, aromatic leaves on demand.
Customization is another perk. Prefer extra-zesty basil or mild cilantro? You control the flavor profile. One urban gardener transformed her tiny apartment into a lush herb wall, saying,
“It’s like having a farmers’ market at my fingertips.”
The benefits extend beyond the kitchen. Studies show 68% of herb gardeners report reduced stress and improved focus. The act of nurturing plants—whether in a backyard or windowsill—becomes a therapeutic ritual.
Let’s talk savings. Frequent cooks spend $200+ yearly on store-bought bundles. A $3 packet of seeds yields months of harvests. Economical? Absolutely. Rewarding? Even more so.
From boosting meals to calming minds, a personal herb garden is a small investment with outsized returns. Ready to taste the difference?
How to Source the Best Herbs for Your Garden
Quality starts at the source—choosing the right herbs makes all the difference. Whether you’re buying seeds or starters, knowing where to look saves time and ensures healthier plants.
Avoiding Big-Box Store Pitfalls
Mass-produced herb starters often come with hidden issues. Many are treated with synthetic fungicides or arrive root-bound, struggling to thrive. Watch for yellow leaves or compacted soil—these signal stressed plants.
Where to Find Quality Seeds and Plants
Trusted brands like Baker Creek and Southern Exposure offer organic, non-GMO seeds with higher germination rates. Local farmers’ markets or specialty nurseries provide robust starters grown naturally.
Questions to Ask Your Local Nursery
Don’t hesitate to dig deeper. Ask, “What natural fertilizers do you use?” or “Are these acclimated to our region?” A reputable nursery will gladly share details.
- Red flags: Wilting stems, visible pests, or chemical odors.
- Pro tip: Compare seed packets—discount options often yield weaker herbs.
Best Herbs to Grow for Beginners
New to gardening? These beginner-friendly herbs deliver quick wins. They adapt to containers, resist pests, and flourish with basic care. Start with these forgiving varieties for a thriving garden.
Basil: The Versatile Favorite
Basil loves sunshine—6+ hours daily—and well-drained soil. Try pest-resistant types like ‘Genovese’ or ‘Sweet Thai’. Plant every 3 weeks for continuous harvests.
Pair it with tomatoes or peppers. These plants repel flies while enhancing flavor.
Mint: Hardy but Invasive
Mint thrives anywhere but spreads aggressively via underground roots. Confine it in buried pots or solo containers. Harvest weekly to encourage bushiness.
Perfect for teas and cocktails, it grows faster than basil—just keep it contained.
Parsley and Cilantro: Easy from Seed
Soak parsley seeds overnight to speed up germination (14–21 days). Cilantro bolts in heat; plant in partial shade for longer harvests.
Both flourish in cooler temps. Use parsley as a garnish or cilantro in salsas.
- Growth rates: Basil (6 weeks) vs. parsley (8 weeks).
- Companions: Basil with tomatoes, mint with cabbage, parsley with asparagus.
How to Grow Herbs Plants Everyone Is Using
Starting your own herb collection begins with two simple methods—seeds or cuttings. Each has unique perks, whether you crave variety or quick results. Let’s explore the best approach for your space.
Starting from Seeds vs. Cuttings
Basil and parsley flourish from seeds, needing warmth (70°F+) to sprout. Soak parsley overnight to speed up germination. For faster results, snip mint stems and place them in water—roots emerge in days.

Timing matters. Start basil indoors 6 weeks before frost ends. Cuttings? Perfect for cloning favorites like rosemary—no soil needed initially.
Ideal Soil and Container Choices
Herbs demand well-draining soil with a pH of 6.0–7.5. Mix organic potting soil with compost for nutrients. Avoid dense garden dirt—it suffocates roots.
Choose containers wisely. Terra cotta pots breathe better than plastic, preventing soggy soil. Aim for 8″ depth to accommodate root growth. Pro tip: Add pebbles at the base for extra drainage.
- Seed starting: Basil (70–75°F), cilantro (60–70°F).
- Pot materials: Terra cotta for airflow, plastic for moisture retention.
- Soil hacks: Test pH with a kit; adjust using lime (raise) or sulfur (lower).
Planting Herbs Outdoors: Tips for Success
Strategic placement in your garden ensures herbs reach their full potential. Whether in raised beds or directly in the ground, two factors dominate: sunlight and spacing. Nail these, and your plants will reward you with lush growth and intense flavors.
Sunlight and Spacing Requirements
Most herbs crave 6–8 hours of direct sun daily. Oregano and rosemary thrive in hot spots, while mint tolerates partial shade. Crowding stifles airflow—allow 12–18 inches of space between plants.
| Herb | Sun Needs | Spacing (inches) |
|---|---|---|
| Basil | Full sun | 12–16 |
| Thyme | Full sun | 10–12 |
| Parsley | Partial shade | 8–10 |
One gardener shared:
“Grouping sun-lovers together simplified watering and doubled my harvest.”
Companion Planting Do’s and Don’ts
Some plants enhance each other’s growth. Basil improves tomato flavor, while thyme deters pests from flowers like roses. Sage protects cabbage, but avoid pairing dill with carrots—they stunt each other’s stems.
- Do: Plant chives near apples to prevent scab fungus.
- Don’t: Grow fennel near most herbs—it inhibits their roots.
Rotate crops yearly to prevent soil depletion. A simple sketch of your garden layout avoids overcrowding and maximizes sun exposure.
Growing Herbs Indoors Year-Round
Fresh flavors don’t have to stop when winter arrives—herbs thrive indoors too. With a sunny window and minimal care, you can enjoy basil, thyme, and more regardless of the season. No garden? No problem. A container on your countertop works just as well.
Best Herbs for Windowsill Gardens
Not all varieties need blazing sun. These five adapt well to indoor light conditions:
- Mint: Tolerates shade and grows aggressively.
- Parsley: Slow but steady in low light.
- Chives: Resilient and perfect for garnishes.
- Oregano: Compact and aromatic.
- Thyme: Prefers drier soil—ideal for forgetful waterers.

Managing Light and Temperature
South-facing windows deliver the brightest light (6+ hours daily). Rotate pots weekly for even growth. In darker spaces, LED grow lights are energy-efficient alternatives to fluorescent bulbs.
Keep temperature consistent—50–60°F at night avoids stress. Pebble trays under pots boost humidity, mimicking outdoor conditions.
| Herb | Light Needs | Ideal Temp (°F) |
|---|---|---|
| Basil | Full sun | 65–75 |
| Thyme | Partial sun | 60–70 |
| Parsley | Low light | 55–70 |
Pro tip: Acclimate outdoor herbs gradually before bringing them inside. Sudden changes shock plants.
Watering and Feeding Your Herbs
Keeping herbs thriving comes down to two essentials—proper hydration and nutrition. Too much or too little of either can make the difference between vibrant flavor and lackluster growth. Let’s break down the smart way to nourish your garden.
Finding the Right Water Balance
Not all herbs have the same thirst. Mint craves consistently moist soil, while rosemary prefers drying out between drinks. The finger test never fails—insert it two inches deep. If dry, it’s time to water.
Seasonal changes matter. In summer, water early morning to reduce evaporation. Winter calls for sparing sips—overdoing it risks mold or yellow leaves. One urban gardener noted:
“My basil thrived once I switched from a schedule to checking the soil daily.”
| Herb | Water Needs | Frequency (Summer) |
|---|---|---|
| Basil | Moist | Every 2–3 days |
| Rosemary | Dry | Weekly |
| Parsley | Evenly damp | Every 4 days |
Organic vs. Synthetic Nutrition
Fertilizers boost growth, but type matters. Organic options like compost tea enrich soil microbes without harsh salts. Synthetic blends work faster but may dull flavors if overused.
Try Miracle-Gro Performance Organics for balanced nutrition. Apply monthly, focusing on growth phases. Key signs you’re overfeeding:
- Leaves turning brown at tips
- Excessive leggy stems
- Reduced aroma in herbs
For DIY fans, steep compost in water for 48 hours—a nutrient-packed “tea” for roots. Strain and dilute to avoid burning delicate systems.
Pruning and Harvesting for Maximum Growth
Smart trimming techniques can double your herb yields with minimal effort. Regular harvesting not only keeps plants tidy but stimulates 40% more growth. The key? Knowing when and how to cut—without stressing your greens.

When and How to Trim
Morning is prime time for harvesting. Leaves retain peak oils and moisture after dawn. For tender basil, snip just above leaf nodes—this encourages branching. Woody stems like rosemary need sharp shears to avoid tearing.
One gardener swears by the “one-third rule”:
“Never remove more than a third of the plant at once. It rebounds faster and stays productive.”
Encouraging Bushy, Productive Plants
Frequent light pruning beats occasional heavy cuts. Pinch back stems weekly to prevent legginess. Mint thrives after aggressive trimming, while thyme prefers gentle shaping.
Preserve extras for later:
- Freezing: Chop leaves into ice cubes with olive oil.
- Drying: Hang bundles in a dark, ventilated spot.
- Creative uses: Blend trimmings into herb butter or pesto.
Most plants regrow within 2–4 weeks after major pruning. Track progress—healthy new leaves signal success.
Common Mistakes to Avoid
Even experienced gardeners make simple errors that stunt their herbs’ potential. From cramped containers to missed seasonal cues, these oversights are easy to fix—once you spot them.
Overcrowding Containers
Packing too many plants into one pot stresses roots and invites disease. Research shows overcrowding raises infection risks by 70%. Give each herb room—a 12-inch pot suits one mature basil or two thyme plants.
Pro tip: Use this formula: Pot diameter = mature plant width + 4 inches. For mixed containers, pair herbs with similar water needs (e.g., rosemary and sage).
Neglecting Air Circulation
Stagnant air breeds mildew, especially for dense herbs like rosemary. Space pots 6+ inches apart or use stakes to prop up trailing stems. One gardener shared:
“A small fan near my indoor setup reduced mold by 80%.”
- Staking: Supports tall varieties (e.g., dill) while improving airflow.
- Pruning: Thin crowded leaves weekly to boost air circulation.
Ignoring Seasonal Needs
Winter demands less water and more light, while summer calls for shade cloths in hot climates. Acclimate outdoor plants gradually—move pots indoors for 2-hour increments over a week.
| Season | Adjustment |
|---|---|
| Winter | Reduce watering by 50%; use grow lights |
| Summer | Mulch soil to retain moisture |
Urban gardens? Monitor microclimates—balconies may need windbreaks or reflective surfaces to balance heat.
Conclusion
Transform your meals with fresh, homegrown goodness. Whether you’re snipping basil for pasta or garnishing with chives, a small garden delivers big flavor.
Start simple with three easy herbs—basil, mint, and parsley. Master their care, then expand your green collection. Ready for more? Explore hydroponics or vertical setups next.
Grab our quick-reference care chart to troubleshoot common issues. From yellow leaves to leggy stems, we’ve got you covered.
Your kitchen deserves the best. Plant a pot today—it’s the first step to a tastier, fresher home.
