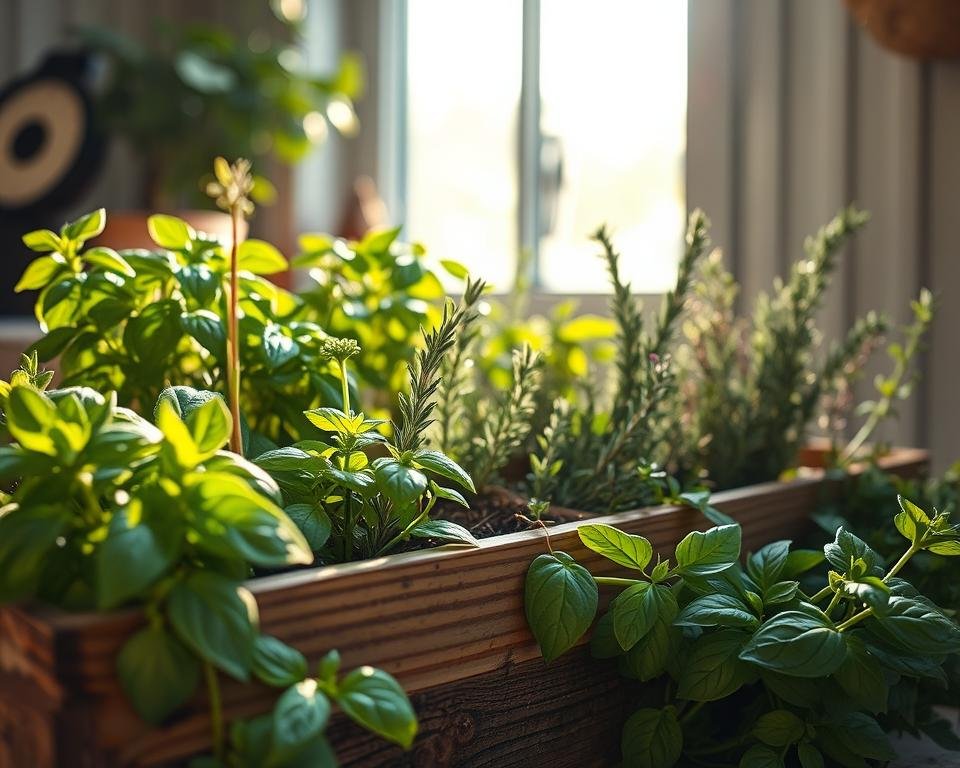
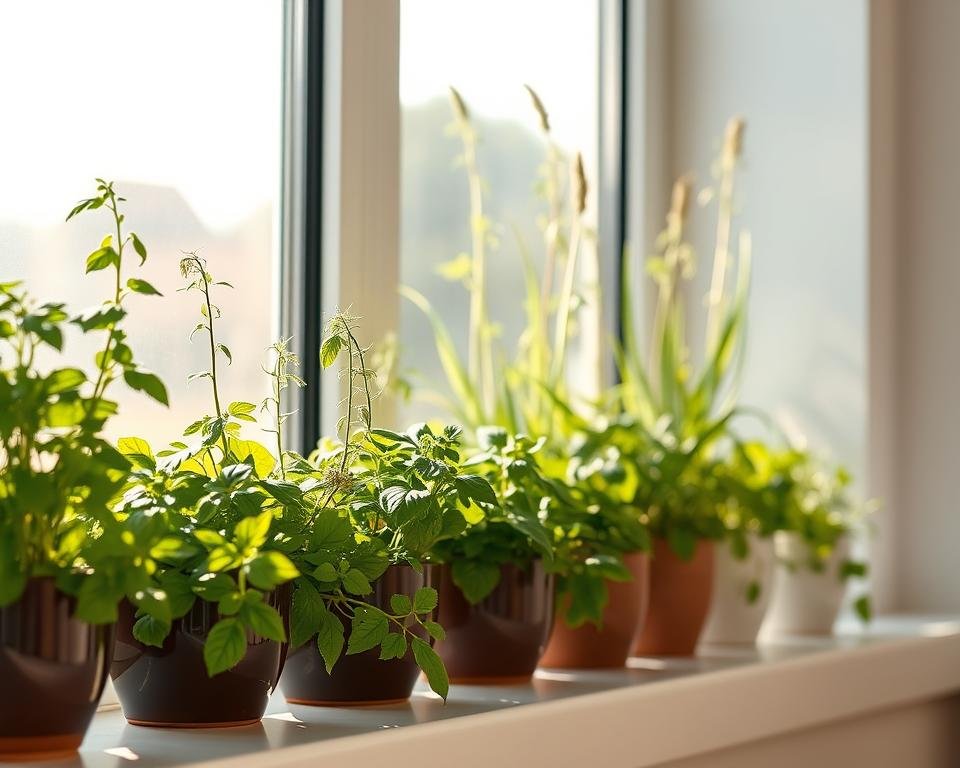
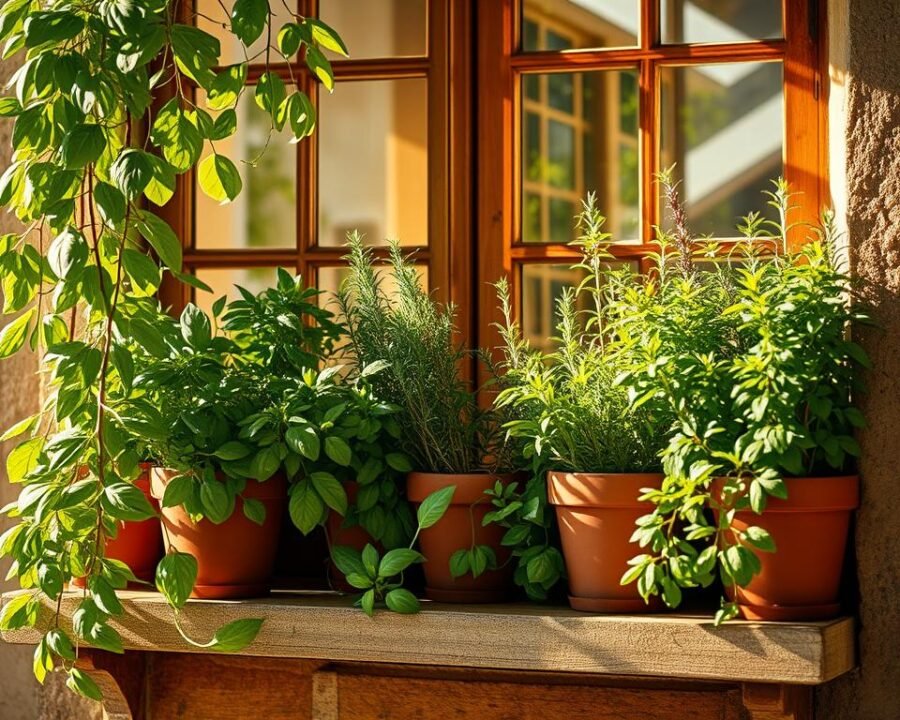
Fresh flavors at your fingertips—that’s the magic of a well-placed herb garden. Imagine snipping basil for pasta or mint for tea without stepping outside. These compact setups bring nature indoors, turning any kitchen space into a vibrant, aromatic retreat.
We’ve handpicked designs that blend style and function. Whether you’re a seasoned gardener or just starting, our selection suits all skill levels. Compact yet productive, these setups maximize space efficiency while purifying the air.
From basil to thyme, each plant offers culinary rewards. No backyard? No problem. A sunny sill is all it takes to start a herb garden that thrives year-round. Let’s explore how to choose the right greens and care for them effortlessly.
Key Takeaways
- Fresh herbs enhance meals and require minimal space.
- Indoor setups purify air and fit small kitchens.
- Ideal for beginners with easy-to-follow care tips.
- Year-round access to homegrown flavors.
- Select herbs based on light and usage preferences.
Why You Should Start a Window Herb Garden
Transform your kitchen into a fragrant oasis with homegrown herbs. These compact plants deliver big rewards, from vibrant flavors to cleaner air. Whether you’re a cooking enthusiast or a wellness seeker, a kitchen garden fits seamlessly into daily life.
The Benefits of Growing Herbs Indoors
Growing herbs indoors isn’t just practical—it’s transformative. Here’s why:
- Save money: Harvest basil, oregano, or rosemary year-round, cutting grocery trips.
- Breathe easier: Natural air purification from leafy plants reduces toxins.
- Elevate meals: Pesticide-free leaves add peak freshness to dishes.
- Reduce stress: Tending to greenery creates a calming, therapeutic ritual.
Fresh Flavors at Your Fingertips
Sunlight is the secret to robust flavors. Most herbs thrive with 4–6 hours of daily light. South-facing sills are ideal, but grow lights work wonders in darker spaces.
No sprawling yard? Vertical planters maximize small areas. Imagine plucking thyme for roasted veggies or mint for iced tea—without stepping outside.
Choosing the Best Herbs for Your Window Garden
Not all greens flourish indoors, but these picks deliver robust growth with minimal fuss. Prioritize varieties that tolerate lower light and compact spaces for a lush, productive setup.

Herbs That Thrive Indoors
Basil and parsley outperform in kitchens with limited sunlight. Their resilience makes them ideal for beginners. For brighter spots, consider oregano or chives, which add punch to dishes while purifying the air.
Seed vs. Starter Plants: What Works Best
Some varieties adapt better when started from herb seeds, while others thrive as transplants. Here’s a quick guide:
| Start from Seeds | Buy as Starter Plants |
|---|---|
| Cilantro (adapts well indoors) | Rosemary (slow germination) |
| Dill (hardy in containers) | Thyme (finicky seedlings) |
Where to Buy Quality Plants and Seeds
Avoid big-box stores—their plants often carry synthetic treatments. Instead, visit a local nursery for organic rosemary or thyme. For seeds, trusted brands like Baker Creek offer non-GMO options.
- Check for organic certifications on mint or lemon balm.
- Red flags: yellowing leaves or root-bound starters.
- Explore herbs for growing on a windowsill for light-specific recommendations.
Understanding Light Requirements for Your Herbs
Bright, thriving greens start with one key factor—proper light. Just like us, plants have preferences, and matching them ensures robust growth. Whether your sill faces south or north, here’s how to optimize conditions.

South- or West-Facing Windows: Ideal for Sun-Loving Herbs
Rosemary and sage crave intense sunlight. Place them within 3 inches of a south-facing ledge for compact, bushy growth. Rotate pots weekly to prevent lopsided stems.
- Thyme thrives with 6+ hours of direct light daily.
- Use sheer curtains to diffuse harsh afternoon rays.
North- or East-Facing Windows: Best for Shade-Tolerant Herbs
Mint and chives excel in softer light. East-facing spots offer gentle morning sun, while north-facing ones suit low-light varieties. Watch for leggy stems—a sign to adjust placement.
Using Grow Lights for Winter Months
When days shorten, herbs need a boost. Full-spectrum LED panels mimic natural sunlight. Position them 6–12 inches above plants for 12–14 hours daily.
- Look for stunted leaves—a cry for more light.
- Adjustable stands help tailor intensity.
Selecting the Perfect Containers
The right container makes all the difference for thriving indoor greens. Whether you prefer sleek modern designs or rustic charm, functionality should guide your choice. Let’s explore how to match pots to your plants’ needs.

Size and Depth Considerations
Roots need room to stretch. Shallow-rooted chives flourish in 4-inch-deep pots, while rosemary’s taproots demand 6–8 inches. Always measure your sill space before buying.
| Herb | Minimum Depth |
|---|---|
| Basil, Parsley | 5 inches deep |
| Thyme, Oregano | 4 inches deep |
| Rosemary, Sage | 8 inches deep |
The Importance of Drainage Holes
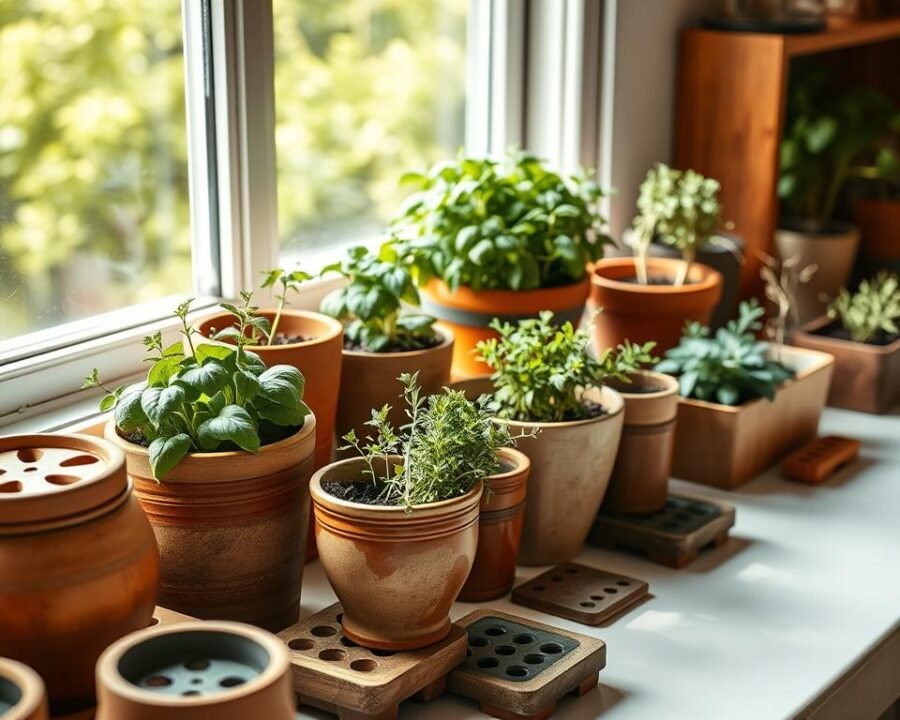
Without proper drainage, roots drown. Terra cotta pots with holes are ideal—they wick away excess moisture. For decorative pots lacking holes, layer pebbles at the base.
- Drill holes in repurposed tins using a diamond-tip bit.
- Silicone saucers protect surfaces from water stains.
- Stackable vertical planters save space.
Creative Container Ideas for Your Kitchen
Upcycle vintage teacups or mason jars for a whimsical touch. Wooden troughs with drilled drainage holes add farmhouse flair. Just ensure materials are food-safe and non-toxic.
Pro tip: Group pots on a tiered stand to maximize light exposure. Rotate them weekly for even growth.
Best Soil Blend for Your Window Herb Garden
Healthy roots start with the right mix of nutrients and texture. Unlike outdoor beds, container plants rely entirely on what we provide. The perfect soil blend balances moisture retention with quick drainage—key for preventing root rot.
Why Potting Mix Beats Potting Soil
Dense garden soil suffocates roots in containers. Premium potting mixes contain perlite or vermiculite for air pockets. These lightweight amendments help excess water flow through while retaining essential moisture.
For Mediterranean herbs like rosemary, we recommend a 1:4 ratio of perlite to standard mix. This creates the fast-draining conditions these plants crave. Test your blend—ideal mixes drain completely within 30 seconds when watered.
| Component | Benefit | Best For |
|---|---|---|
| Coconut coir | Retains moisture | Basil, parsley |
| Worm castings | Slow-release nutrients | All herbs |
| Vermiculite | Lightens texture | Seed starting |
How to Ensure Proper Drainage
Even the best soil blend fails without adequate drainage. Always choose pots with holes at the bottom. For decorative containers, add a 1-inch gravel layer before adding soil.
Refresh your mix every 8 months to maintain nutrient levels. Compacted soil starves roots of oxygen. Avoid outdoor garden dirt—it often harbors pests and becomes concrete-like in containers.
Pro tip: Elevate pots on feet or a rack to prevent waterlogging. This simple step mimics natural hillside conditions many herbs prefer.
Planting Your Herbs the Right Way
Success with indoor greens begins with proper planting techniques. Whether transplanting starters or sowing seeds, precision ensures robust growth. We’ll guide you through each step to avoid common pitfalls.
Step-by-Step Guide to Transplanting Starter Plants
Gently turn starter pots upside-down and tap to release the plant. This prevents root damage. Sterilize scissors with vodka before trimming any tangled roots—it kills pathogens without harsh chemicals.
Place each plant at the same depth as its original container. Firm the soil lightly around the stem to eliminate air pockets. Water thoroughly to help roots settle.
Tips for Sowing Herb Seeds
Parsley thrives when seeds are buried ¼” deep with a cinnamon dusting—a natural antifungal. Use a chopstick as a dibber for consistent hole depth. This trick ensures even germination.
Basil prefers warmth. Cover seeded pots with plastic wrap until sprouts appear. Remove it immediately to prevent mold. Most seeds germinate best in 65–75°F temperatures.
Avoiding Overcrowding in Your Containers
Give basil seedlings 3″ of space using a hexagonal pattern. This maximizes light exposure. For vertical planters, follow the “one plant per pocket” rule to prevent competition.
Watch for leggy stems—they signal insufficient space or light. Thin seedlings early to let the strongest thrive. Crowded plants attract pests and stunt growth.
Watering Your Herbs for Optimal Growth
Keeping greens vibrant indoors requires mastering moisture balance. Too little water causes wilted leaves, while too much invites root rot. We’ll share pro techniques to hit the sweet spot every time.
Finding the Right Watering Rhythm
Most plants prefer deep, infrequent drinks over daily sprinkles. Check weight—light pots signal thirsty roots. Mediterranean varieties like rosemary thrive on weekly watering, while basil enjoys slightly damp soil.
- Program smart spikes for consistent moisture during trips
- Filtered water at room temp prevents leaf shock
- Revive drooping stems with diluted hydrogen peroxide
The Finger Test Method
Forget guesswork. Insert a finger up to the first knuckle—if dry, it’s time to water. This technique works for 90% of indoor greens. Exceptions include moisture-loving mint, which prefers slightly damp topsoil.
| Herb | Soil Dryness Indicator |
|---|---|
| Thyme, Oregano | Top 1.5″ dry |
| Parsley, Cilantro | Top 0.5″ dry |
| Basil, Mint | Surface slightly dry |
Preventing Waterlogged Roots
Yellow lower leaves and musty odors scream overwatering. Make sure containers have proper drainage—add perlite to soil if needed. For severe cases, repot with fresh mix and trim dark roots.
Wicking systems offer self-regulation, pulling water as plants need it. This mimics natural groundwater access while preventing excess water buildup. Pair with moisture meters for precision care.
Discover more about plant hydration techniques that promote vibrant growth without risking root health.
Harvesting and Using Your Homegrown Herbs
Nothing beats the satisfaction of plucking just-picked leaves for culinary creations. With the right techniques, your indoor setup becomes a year-long flavor hub. Let’s explore how to harvest smartly and savor the results.
Timing and Techniques Matter
Always snip older leaves first to encourage new growth. Use sharp scissors for clean cuts—45° angles above leaf nodes prevent damage. Morning harvests capture peak essential oils for intense flavors.
| Herb | Optimal Harvest Time |
|---|---|
| Basil | When stems have 6+ sets of leaves |
| Mint | Before flowering for sweetest taste |
| Rosemary | Spring through fall, sparingly in winter |
Boost Regrowth After Harvesting
Overharvested plants rebound with kelp fertilizer tea. Trim no more than ⅓ of growth at once. Rotate pots weekly so all sides receive equal light for even regrowth.
- Pinch back thyme stems to promote bushiness.
- Water deeply after harvesting to reduce stress.
- Skip feeding for 2 days post-trim to avoid burn.
Creative Ways to Enjoy Your Bounty
Preserve excess herbs for summer garden flavors in winter. Oregano frozen in olive oil cubes elevates soups. Blend chives into butter logs for savory toast toppings.
“Dried rosemary stored in paper bags retains potency for months—perfect for roasted potatoes.”
For fresh use, try:
- Basil: Layer with peaches and mozzarella for a sweet-savory salad.
- Mint: Muddle into lemonade or chop into grain bowls.
- Thyme: Infuse honey for drizzle over baked brie.
Conclusion
Cultivating fresh flavors indoors brings joy to every meal. Imagine snipping basil for pasta or rosemary for roasted veggies—minutes before serving. That’s the magic of a herb garden within arm’s reach.
Ready to start herb garden adventures? Our rosemary starter kit simplifies the process. Watch for our upcoming guide on propagating cuttings to expand your collection effortlessly.
Share your kitchen triumphs with #WindowsillHarvest. We’d love to see how your plants thrive. For seasonal care, grab our free calendar—tailored reminders keep herbs flourishing year-round.
