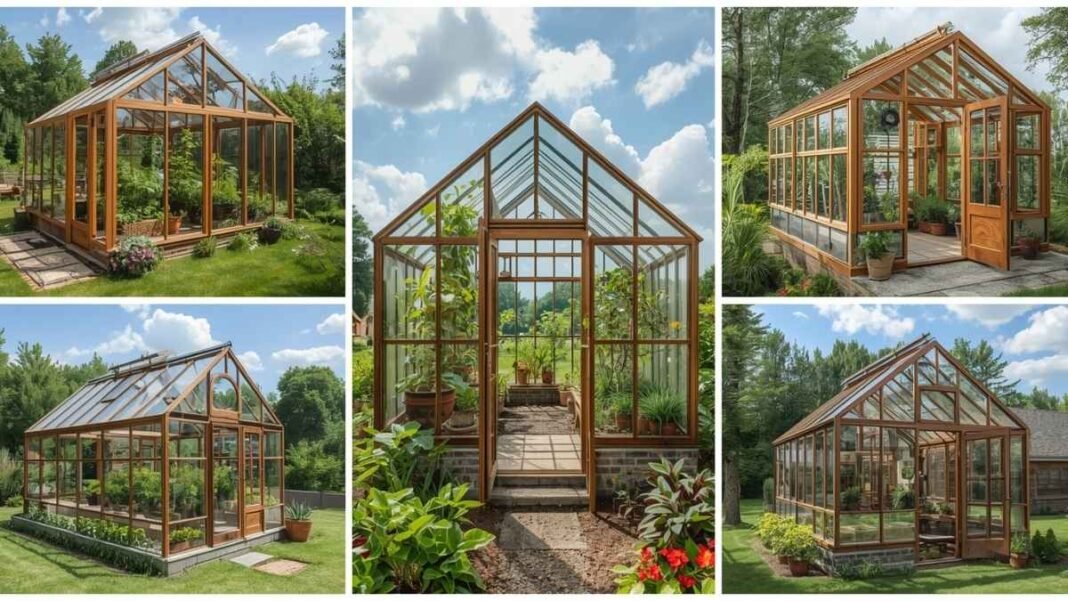
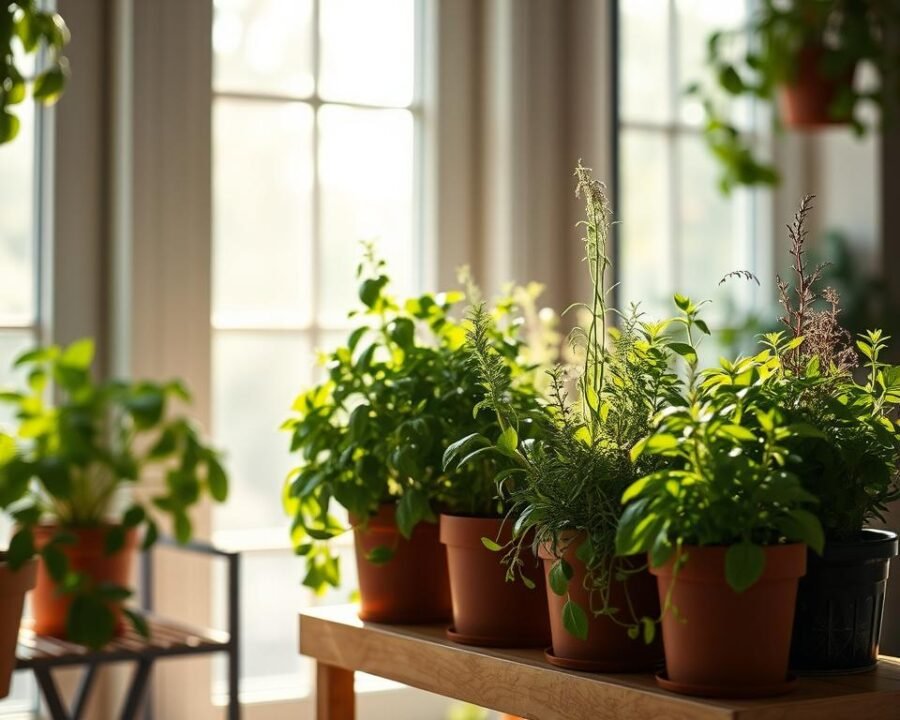
Have you ever dreamed of harvesting sun-warmed tomatoes in early spring or protecting your tender herbs from the first frost of fall? What if you could build that dream right in your backyard for less than the cost of a new smartphone? It might sound like a huge undertaking, but building an affordable, functional greenhouse is one of the most rewarding homesteading projects you can tackle.
Here at The Garden Haven, we believe that extending your growing season shouldn’t break the bank. That’s why we’ve put together this guide to our top five favorite DIY greenhouse designs, all of which you can build for under $500. We’ll walk you through the pros, cons, and basic materials for each, so you can choose the perfect affordable greenhouse design for your space and skill level. We’re in this together, and you can absolutely do this!
1. The Classic PVC Hoop House 🔨
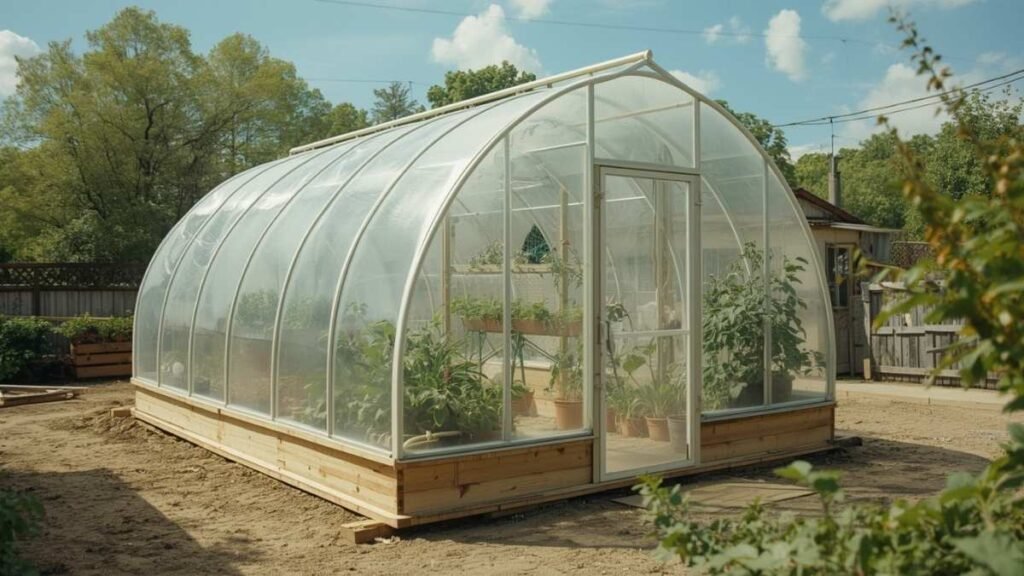
This is the go-to design for a reason. A PVC hoop house is one of the simplest and most cost-effective cheap greenhouse plans available. The frame is made from inexpensive PVC pipes that are bent into hoops and attached to a simple wooden base. It’s a fantastic weekend project, even for beginners.
- Pros:
- Extremely affordable and easy to source materials.
- Simple construction that doesn’t require advanced skills.
- Lightweight and can be moved if needed.
- Great for season extension in spring and fall.
- Cons:
- Less durable in heavy snow or high winds.
- PVC can become brittle over time with UV exposure.
- Offers less insulation than more permanent structures.
Estimated Cost Breakdown: Frame: ~$120, Greenhouse Plastic Cover: ~$80, Hardware & Base: ~$75
Key Materials:
- PVC pipes (Schedule 40 is a good choice)
- Pressure-treated lumber for the base frame
- Rebar stakes to anchor the hoops
- UV-stabilized greenhouse plastic (6-mil is standard)
- Screws, pipe straps, and wiggle wire or snap clamps for securing the plastic
Build Difficulty: Beginner-friendly. If you can use a drill and a saw, you can build this.
2. The Sturdy Cattle Panel Hoop House 🐄
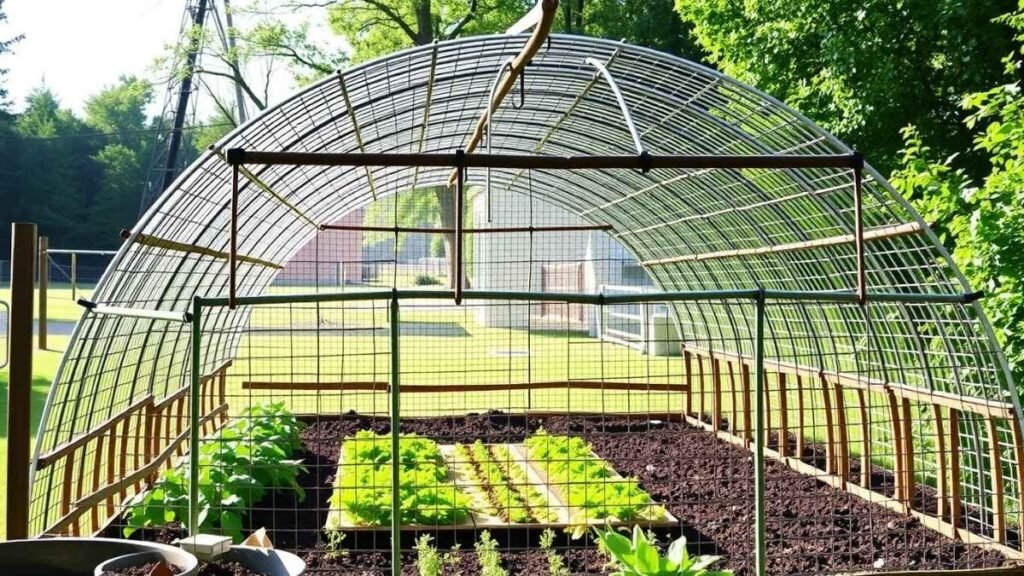
For a bit more strength and durability, the cattle panel hoop house is a brilliant step up. This design uses rigid, pre-welded wire cattle panels, bending them into an arch to form the structure. It’s a favorite among homesteaders for its ruggedness and simplicity. I built a similar one last year and found that its sturdy frame stood up to our windy days much better than I expected.
- Pros:
- Significantly stronger and more wind-resistant than PVC alone.
- Very fast to assemble the main structure.
- The built-in lattice is perfect for trellising crops like peas and cucumbers.
- Cons:
- Cattle panels can be heavy and awkward to transport and bend into place.
- The fixed width of the panels (typically 50 inches) limits your design flexibility.
Estimated Cost Breakdown: Panels: ~$150, Cover: ~$100, Lumber & Hardware: ~$125
Key Materials:
- Cattle or hog panels (4-gauge wire is ideal)
- Lumber for the base and end walls
- Greenhouse plastic sheeting
- Staples, screws, and other fasteners
Build Difficulty: Requires some muscle, but the carpentry skills needed are still basic.
3. The Space-Saving Lean-To Greenhouse 🏠
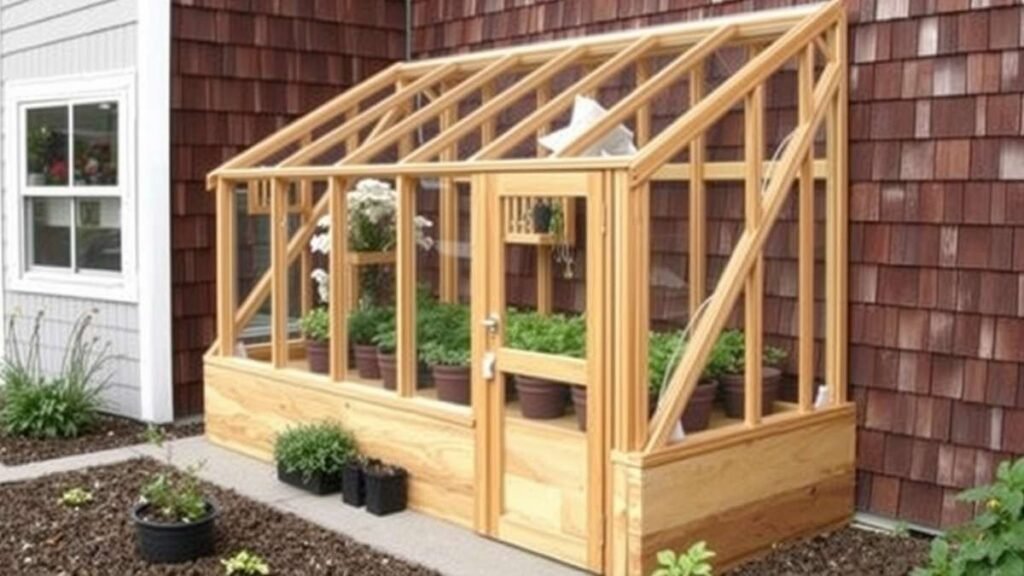
If you’re short on yard space, a lean-to greenhouse is the perfect solution. This design attaches directly to an existing wall of your home, garage, or shed. This not only saves on materials but also allows the greenhouse to benefit from the heat radiating from the building, making it more efficient to keep warm.
- Pros:
- Excellent use of limited space.
- Benefits from the thermal mass of the adjoining wall, reducing heating costs.
- Convenient access from your home.
- Can be very aesthetically pleasing.
- Cons:
- Requires careful flashing and sealing to prevent water damage to the main building.
- The size is limited by the available wall space.
- May require more advanced carpentry skills to ensure a proper build.
Estimated Cost Breakdown: Frame & Glazing: ~$250, Foundation/Base: ~$100, Hardware: ~$75
Key Materials:
- Lumber (2x4s are common) or a metal frame
- Polycarbonate panels or greenhouse plastic for the covering
- Screws, lag bolts, and flashing material
- A simple foundation option, like concrete blocks or a treated wood base
Build Difficulty: Intermediate. Requires some basic carpentry skills and confidence in attaching a structure to your home.
4. The Upcycled Window Cold Frame Greenhouse ♻️
This design is for the resourceful gardener! By sourcing old windows from salvage yards, online marketplaces, or home renovations, you can create a beautiful and functional greenhouse with tons of character. It’s a fantastic way to give old materials new life while building a truly unique garden structure.
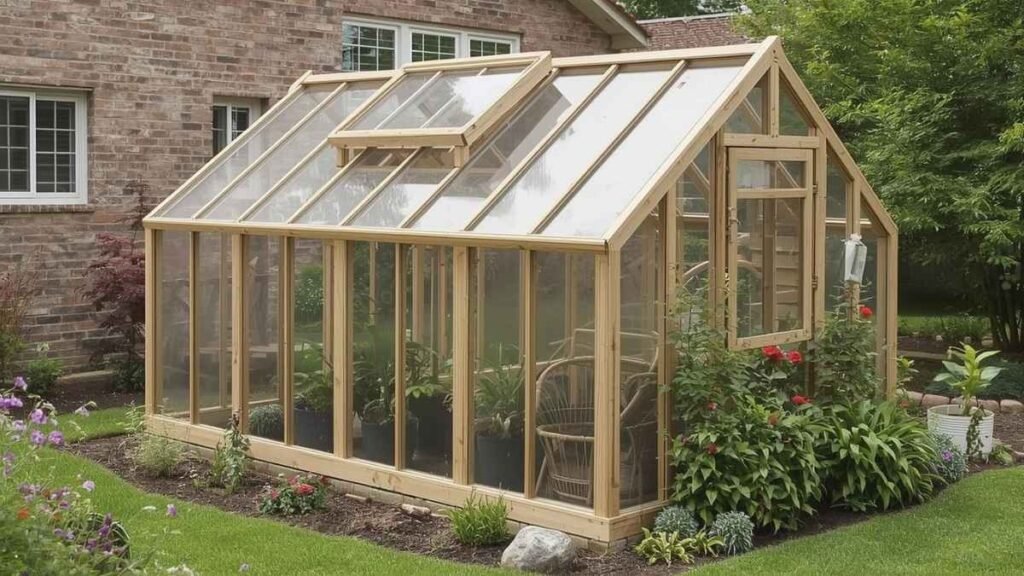
- Pros:
- Can be incredibly cheap if you find free or low-cost windows.
- Environmentally friendly.
- Glass provides excellent light clarity and longevity.
- Cons:
- Finding matching windows can be a challenge.
- Glass is heavy and fragile, making construction more difficult.
- Requires a custom frame built to fit your specific collection of windows.
- This is often more of a cold frame vs greenhouse, offering less headroom but excellent plant protection.
Estimated Cost Breakdown: Windows: ~$0 – $150, Lumber: ~$150, Hardware: ~$50
Key Materials:
- Old single-pane windows
- Lumber for the frame (often 2x4s and 4x4s)
- Hinges for opening windows for ventilation
- Caulk and sealant to weatherproof the gaps
Build Difficulty: Intermediate to Advanced. Success depends on your creativity and carpentry skills.
5. The Geodesic Dome Kit 🌐
While building a geodesic dome from scratch can be complex, there are many small greenhouse kits available online that fall under the $500 mark. These kits provide a stunningly beautiful and incredibly strong structure that excels at shedding snow and wind. They also provide optimal light exposure throughout the day.
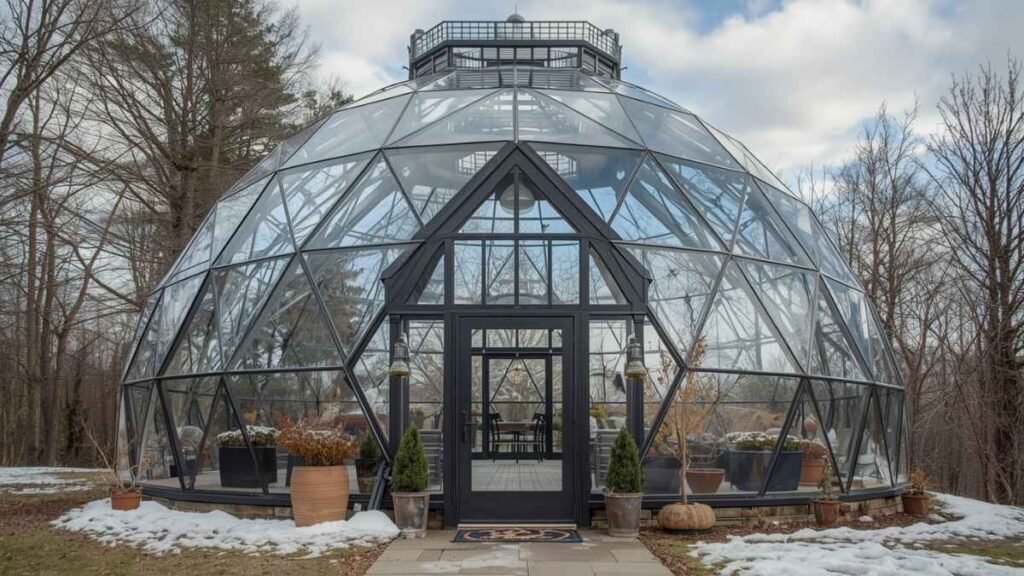
- Pros:
- One of the strongest designs for its weight.
- Excellent light distribution for happy plants.
- Often comes with pre-cut and pre-drilled parts, simplifying assembly.
- Cons:
- The kits can have many small parts, making assembly feel like a puzzle.
- The shape can lead to some wasted space around the edges compared to a rectangular design.
- Covering the many triangular faces can be tedious.
Estimated Cost Breakdown: Kit (Frame & Hardware): ~$350 – $450, Cover (if not included): ~$100
Key Materials:
- Typically a kit with metal or PVC struts and connectors
- Polycarbonate panels or a fitted plastic cover
- A level foundation area
Build Difficulty: Beginner to Intermediate. It’s more about patient assembly than complex building skills.
Summary Comparison Table
| Design | Estimated Cost | Build Difficulty (1-5) | Durability | Best For… |
|---|---|---|---|---|
| PVC Hoop House | $200 – $300 | 1 | Low-Medium | Beginners, season extension, and those on a tight budget. |
| Cattle Panel Hoop House | $300 – $425 | 2 | Medium | Homesteaders wanting a sturdy, multi-use structure. |
| Lean-To Greenhouse | $350 – $475 | 3 | High | Gardeners with limited space who want thermal efficiency. |
| Upcycled Window | $150 – $350 | 4 | Medium-High | Creative DIYers and eco-conscious gardeners. |
| Geodesic Dome Kit | $450 – $550 | 2 | High | Those wanting strength, beauty, and optimal light. |
Key Takeaways for Your DIY Greenhouse Project ✨
- Budgeting is Key: The biggest costs are the frame and the covering. You can save significantly by using reclaimed materials or choosing cost-effective greenhouse plastic over polycarbonate panels.
- Location Matters: Choose a spot that gets at least 6-8 hours of direct sunlight per day, especially in the winter. Ensure it has good drainage and is protected from high winds if possible.
- Don’t Forget Ventilation: Even in cool weather, a sealed greenhouse can overheat quickly. Plan for doors, windows, or roll-up sides to allow for adequate airflow. This is crucial for preventing disease and keeping your plants healthy.
- Start Small: It’s better to build a small, functional greenhouse you’ll actually use than to get overwhelmed by a massive project. You can always expand later!
Conclusion
Building a functional backyard greenhouse doesn’t have to be a distant dream or a major expense. With a bit of planning and some sweat equity, you can create a space that allows you to grow more, extend your seasons, and connect with your garden on a whole new level.
“Ultimately, the best greenhouse is the one you actually build. Choose the design that fits your space, budget, and ambition, and get ready to enjoy a longer, more productive gardening season. At The Garden Haven, we believe everyone deserves to grow smarter and happier.”
Frequently Asked Questions (FAQ) 🤔
1. Do I need a building permit for a small greenhouse? In most areas, small, non-permanent structures under a certain size (often 100-200 sq. ft.) do not require a building permit. However, rules vary widely. It is always best to check with your local municipal building department before you start.
2. What’s the best type of plastic for a greenhouse cover? For a budget-friendly DIY build, a 6-mil, UV-stabilized polyethylene greenhouse plastic is the standard. It’s affordable and should last 3-5 years. If your budget allows, twin-wall polycarbonate panels offer superior insulation, durability, and light diffusion.
3. How do I anchor my greenhouse to the ground? This depends on the design. For hoop houses, driving rebar stakes into the ground and sliding the PVC or panel ends over them is common. For structures with a wood base, options include simple ground spikes, concrete deck blocks, or a more permanent concrete pier foundation. The key is to ensure it can withstand strong winds.
Sources
- “Options for Hobby Greenhouse Structures” – University of Massachusetts Amherst, Center for Agriculture, Food and the Environment.
- “Building a Cattle Panel Greenhouse” – North Carolina State University Extension.
- “Hobby Greenhouses” – Oklahoma State University Extension.
- “Lean-to Greenhouse Construction” – University of Georgia Extension.
- “Greenhouse Glazing” – PennState Extension.
