
I remember a summer when my garden rows looked fine by eye, then ran weak once the faucet opened. That pinched-flat line of plastic felt like a tiny betrayal after hours of care.
If your irrigation line flattens or certain sections starve for water, it often signals a PSI and flow balance issue rather than a bad roll.
Start simple: test for steady PSI with gauges at the spigot and at the far end of the line. Consistent readings mean the system moves water evenly; a big drop points at filters, leaks, or long runs losing flow.
In this guide I’ll walk you through quick checks and gentle fixes: verify source pressure, inspect filters, flush ends, and right-size zones before buying parts. For hands-on ideas about common supply fixes and layout tips, see this helpful overview from how to solve common problems with water, and a creative setup example at a DIY drip system that waters.
Key Takeaways
- Flattening lines usually mean uneven flow or PSI loss, not just bad material.
- Measure at the faucet and end of line with gauges to spot drops.
- Check filters, leaks, and run length before replacing parts.
- Maintain consistent PSI (often 10–30 PSI for many garden systems).
- Simple fixes—flushing, right-sizing zones, or a regulator—restore even delivery.
How to Tell Drip Tape Collapse Is a Low-Pressure Problem
Drip tape “collapse” often shows up as weak, uneven watering—not a clean on/off failure. By spotting the pattern early, you can fix the pressure or flow problem before plants get stressed. This section helps you separate low-pressure symptoms from clogs and damaged parts.
Collapse vs. clogged emitters: what the symptoms look like in the garden
Look for patterns, not single misses. When a whole stretch of line underperforms, the irrigation system likely has a flow or pressure drop along the run. Random dry spots or single missing streams usually point at clogged emitters or local damage.
Uneven watering, weak drips, and dry patches as early warning signs
Common signs include uneven water distribution, weak drips, dry patches, and water only reaching part of the lines. A typical tell: the first 10–20 feet drips fine while the far end fades.
Plants may wilt in heat or show patchy growth when their root zones lack steady moisture. Note if watering looks fine in cool mornings but fails mid-day when demand rises.
Why consistent PSI matters for drip irrigation performance
Emitters and tape are built to release a set amount of water only inside a narrow pressure window. Swings in water pressure cause big swings in flow and distribution.
Quick benchmark: most home setups work best around 10–30 PSI, and many checks target roughly 20 PSI at the point of use. If you see uneven delivery across a zone, assume a pressure or flow problem until you prove otherwise.
“If the line fills near the spigot but sags at the end, check for friction loss, leaks, or restrictions before replacing parts.”
| Symptom | Likely cause | Quick check |
|---|---|---|
| Whole stretch weak | Pressure/flow drop along run | Measure PSI at start and end |
| Random emitters dry | Clogs or debris in emitters | Remove and flush suspect emitters |
| Drips fade on hot days | Supply not meeting peak demand | Run a zone test at midday |
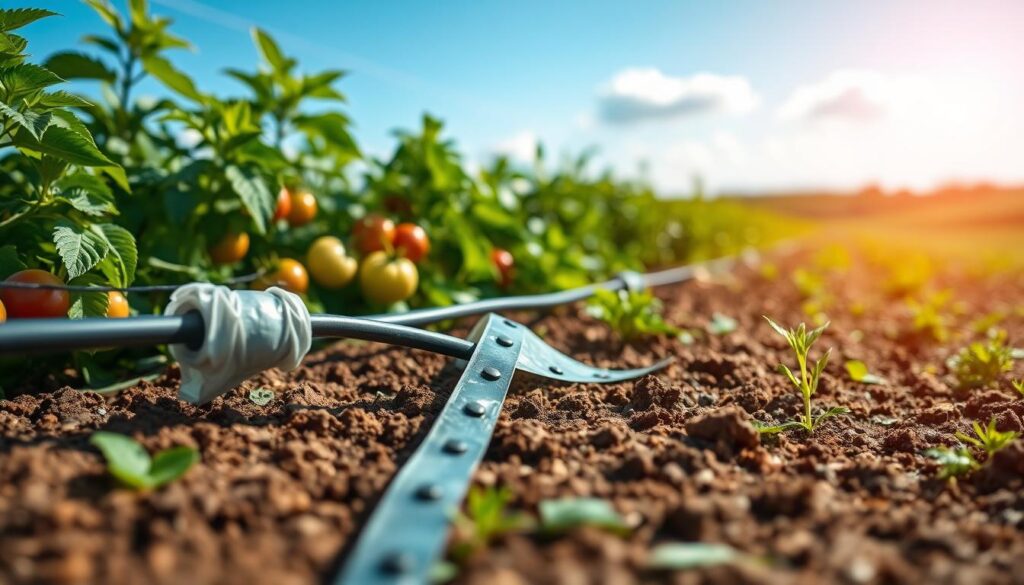
what causes drip tape to collapse under low pressure [troubleshooting]
Drip tape collapses when the zone can’t hold enough usable pressure and flow to keep water moving evenly. The problem most often starts upstream—at the source, layout friction, filters, leaks, or an overloaded zone.
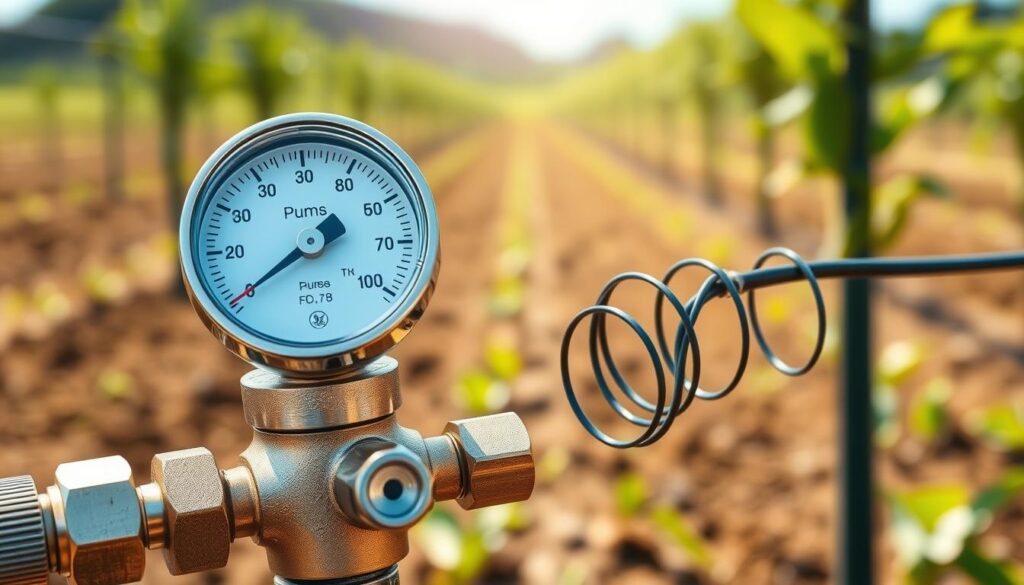
Insufficient supply at the spigot or tank
Begin by checking whether the zone can hold steady flow and usable PSI from the source. Real-life examples include weak municipal flow during peak hours, well pumps that cycle, or gravity-fed barrels that sit too low.
Quick note: every foot of elevation equals about 0.43 PSI, so raise barrels or add a small pump when needed.
Friction loss from long runs and small tubing
The longer and narrower the path, the more pressure gets used pushing water through. Long beds, too many fittings, and thin supply tubing make the far end starve first. Looping lines so water feeds from both ends often evens out distribution.
Filters, mineral buildup, and blocked emitters
Dirty filters and sediment choke flow and shrink usable PSI. Mineral deposits narrow passages and create backpressure that starves sections of the lines. Removable emitters can be soaked in a 50/50 water and white vinegar mix, then rinsed, as simple maintenance.
Leaks, wrong regulator fit, and overloaded zones
Small leaks or cracked tubing quietly steal flow—look for spurting fittings and mystery wet spots. A regulator placed before a clogged filter, the wrong PSI rating, or an undersized unit can choke a zone. Also, too many emitters on one zone will exceed the available flow rate and drop delivery across the run.
For ideas on saving and reusing captured rain as a supplemental supply, see this greenhouse rain barrel system.
Quick Diagnostics: Check Pressure, Flow, and Blockages Before You Replace Parts
A fast diagnosis saves money: measure pressure, then look for the simplest restrictions—leaks, clogs, and dirty filtration. Most low-pressure problems show up as a pressure drop from the source to the line end. These checks help you act with confidence before replacing tape or hardware.
Measure PSI at two points
Do a two-point test: attach a gauge at the faucet or source, then at the far end near the last emitter. If water pressure is healthy at the source but low at the end, suspect friction loss, obstructions, or leaks along the run. If both readings are low, check the supply first.
Walk the line for leaks and damage
Turn the zone on and listen for hissing or spurting. Feel fittings and look for wet areas that don’t match emitter locations. Mark any leaks and loose connectors for repair.
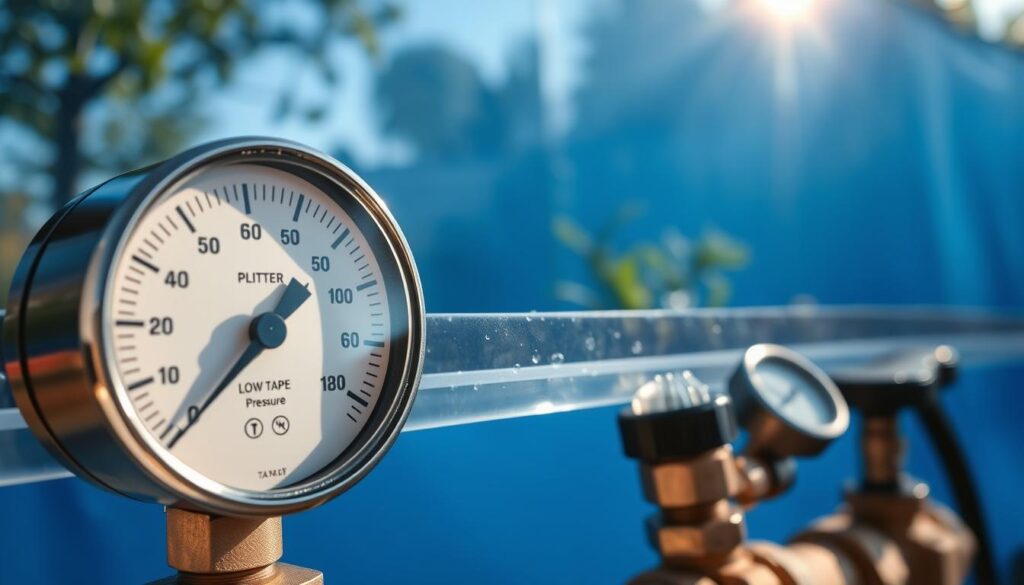
Flush the system and check filters
First step: open end caps or flush valves and run water until it clears. If debris returns, clean or upgrade filters to match your water quality. After flushing, re-check water flow and pressure readings.
Spot-check emitters and document results
Test emitters near the beginning, middle, and end of a line. If several emitters underperform, the problem is likely pressure or flow; single blocked emitters need cleaning or replacement. Write down PSI readings and section notes so fixes are targeted.
| Check | What it shows | Action |
|---|---|---|
| Gauge at source vs. end | Pressure drop along run | Inspect layout, fittings, and leaks |
| Walk-the-line | Spurts, wet spots, loose parts | Repair or replace fittings |
| Flush end caps | Clears sediment | Clean filters and repeat |
For handy hose connectors and setup help, consider installing quick hose fittings for faster testing and repairs.
Fixes That Restore Water Flow and Keep Drip Tape From Collapsing
Once you know where pressure is being lost, you can fix collapse with a few targeted upgrades—often in one afternoon. The best solutions stabilize PSI, reduce friction loss, and protect the system from debris. These fixes aim for even watering from the first emitter to the last.
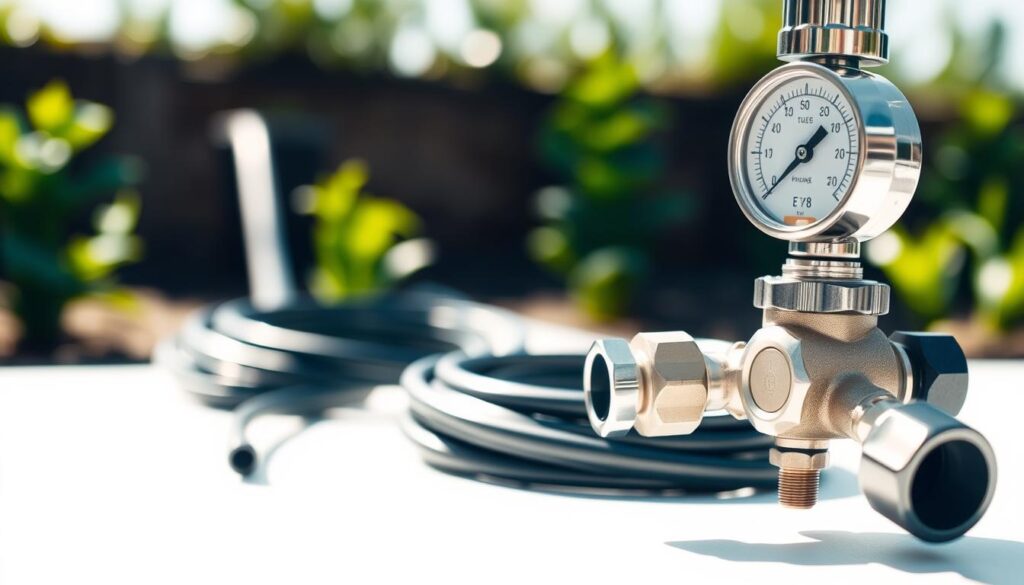
Right-size and set the pressure regulator for typical operating ranges
Choose a pressure regulator rated for 10–30 PSI and sized for the zone’s flow demand. An undersized regulator will bottleneck the water flow and harm distribution.
Make sure the regulator sits after the filter and before the tubing so the whole zone benefits.
Install or upgrade filtration based on water quality
Match filters to your supply: sediment-heavy sources need stronger screens. Hard water needs routine cleaning to stop mineral buildup on components and emitters.
Install filter models that are easy to service and sized for your flow rate.
Break the garden into smaller zones and shorten or loop lines
Smaller zones cut total emitters per run and keep pressure steadier. Loop long rows into rectangles so water feeds from both ends and reduces end-of-line starvation.
Adjust tubing diameter and use pressure-compensating emitters
Use larger mainline tubing when needed: 1/2″ carries ~240 GPH; 3/4″ about ~480 GPH. Bigger supply lines lower friction loss and improve water flow.
Where PSI varies across runs, use pressure-compensating emitters to hold output steady for plants on slopes or mixed-length beds.
Consider a booster pump or raised tank height
For a weak source, raise a tank (gain ~0.43 PSI per foot) or add a small booster pump to meet the zone’s flow rate.
“After upgrades, re-test PSI at the end of each line and confirm even distribution before setting run times.”
| Fix | Why it helps | Quick action |
|---|---|---|
| Right-size regulator | Stabilizes usable PSI for emitters | Pick 10–30 PSI unit; place after filter |
| Upgrade filters | Prevents clogging and component wear | Match filter to water quality; clean regularly |
| Loop or shorten runs | Reduces friction loss and end starvation | Feed from both ends or split into zones |
| Increase main tubing | Delivers higher flow with less loss | Use 1/2″ or 3/4″ based on GPH needs |
Quick tips: re-test PSI at the far end, verify even water distribution, then adjust run times only after flow is steady. For practical connector options and setup gear, see a helpful guide on fixing common tape problems and explore retractable hose reels for easier maintenance here.
Conclusion
Finish the job by locking in a few simple habits that keep your garden watering evenly year‑round. Healthy flow starts with a system‑level check: measure source and end gauges, hunt for leaks, and clear filters before changing run times.
Quick repeatable loop: check source pressure → compare end‑of‑line readings → inspect for leaks → flush lines → verify filtration → confirm emitter output. Run this step when you add beds or extra emitters.
Right now, fix leaks, clean the filter, and re‑test gauges. These actions save water and cut frustration faster than swapping parts.
Seasonal maintenance saves future work: flush in spring, check for leaks in summer, drain and protect lines in fall, and store removable parts in winter.
Keep an eye on pressure and flow over time and re-test after layout changes. For a practical setup guide and seasonal tips, see the guide to drip tape irrigation.