Can a simple kitchen batch boost your garden faster than store products?
You’ll learn how to make an easy, low-cost, organic liquid “tea” at home that feeds plants for steady growth and resilience. This guide promises clear steps to gather materials, steep and aerate safely, and dilute properly so roots and leaves stay healthy.
We’ll explain what these DIY teas are, why they act as a fast-acting fertilizer, and the best times to use them in your garden. Expect plain instructions on handling smell, straining, and storage, plus simple warnings about water choice and seed heads.
By the end you’ll have a repeatable routine—brew, dilute, apply, refresh—so making liquid feeds feels natural and dependable. This approach keeps costs low and supports steady seasonal growth in beds and containers.
Key Takeaways
- Learn a simple, safe brew you can make at home for healthy plants.
- Follow clear steeping and aeration steps to boost nutrient availability.
- Dilute properly to protect roots and avoid burn.
- Use common garden scraps and dynamic accumulator plants for value.
- Store and apply with routines that scale to any garden size.
Why Liquid Fertilizer Teas Work for Garden Growth and Soil Health
A brewed plant tea supplies immediately available nutrition, speeding recovery and leafy push in beds and pots. These gentle feeds deliver a quick nutrient lift while supporting longer-term soil life when used with mulch and compost routines.
What do N-P-K and nutrients do for plants?
Nitrogen drives leafy growth. Phosphorus helps roots and blooms. Potassium and other nutrients strengthen whole-plant vigor. Homemade teas don’t show exact analysis, but they give readily available food that plants absorb fast.
Which plants concentrate minerals and trace elements?
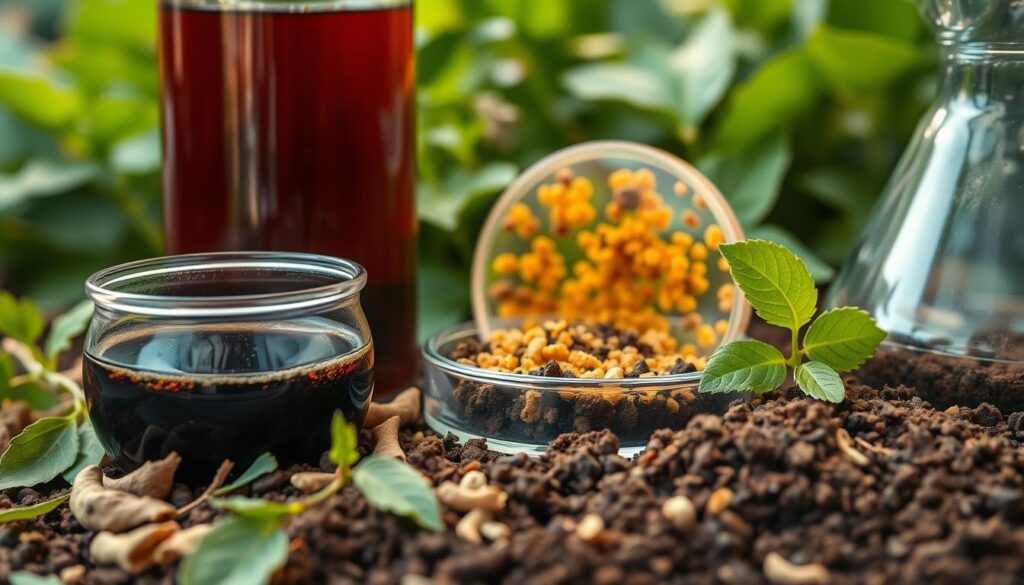
Dynamic accumulators like comfrey, stinging nettle, yarrow, and dandelion pull up deep minerals and trace elements. Their extracts make a rich brew that feeds beds quickly and supports resilient root systems in your garden.
How do grass and common weeds help?
Fresh grass clippings and many common weeds leach soluble nutrients into water. Turning yard trimmings into a feed recycles cleanup into real benefits for soil life. Use modest, regular feeds so plants get steady energy without burn.
“A steady, gentle fertilizer keeps energy even through stress and transplanting.”
For a practical deep dive, read this guide on weed tea fertilizer.
How to Make Compost, Weed, and Kitchen-Scrap Liquid Fertilizer at Home
Start simple: a clean bucket and non-chlorinated water make the base. Follow a clear pack‑steep‑strain routine so you get a safe, usable fertilizer that supports soil life.
A small bucket and a handful of garden greens can turn waste into a powerful plant tonic in days. Use a rinsed plastic barrel or a 5‑gallon bucket as your main container. Add rain or spring water; chlorine will harm beneficial microbes and reduce nitrogen availability.
What materials and ratios work best?
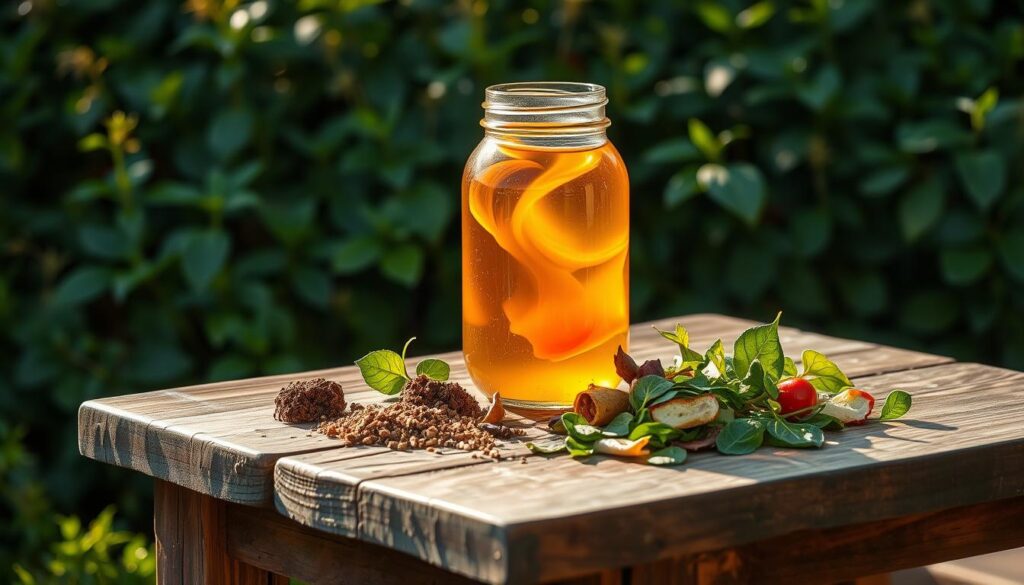
Pack greens halfway to full: deep‑rooted weeds (thistle, dock), dynamic accumulators like comfrey and nettles, fresh grass clippings, and chopped kitchen scraps. If using manure, soak at roughly 1:3 (manure:water).
How long should you steep and how do you aerate?
Steep 3 days for a mild tea, or up to several weeks for a stronger fertilizer. Stir daily or pour between buckets to add oxygen and reduce foul odors.
When dark and rich, strain solids and return them to your compost pile or bury them to recycle minerals. Replace materials every 4–6 months in large barrels. If you find seed heads or viable weed material, remove and destroy to avoid spreading.
Keep first applications light on young plants and always use chlorine‑free water to protect the biology that makes this method effective.
DIY liquid fertilizers from compost, weeds & leftovers: dilution ratios, application, and use cases
A clear ratio plan keeps feeds predictable and protects tender roots. Use time-based dilutions so you apply the right strength for your plants and soil.

What ratios should I follow?
Follow simple rules: use the concentrate straight at about three days; dilute 1:8 after a week; dilute 1:15 at two weeks or more. Many gardeners adopt a classic 15:1 with water for weekly feeds.
Soil drench or foliar spray — which to choose?
Use a soil drench to feed roots and build biology. Apply around the base and water in gently.
Use a foliar spray for fast uptake during active growth or recovery. Spray in the cool morning or evening to avoid scorch.
Which garden scenarios benefit most?
For transplants, start with a light 15:1 and increase after a few weeks. Fruit and flowering plants respond well to slightly richer feeds when setting buds.
For grass and lawns, dilute around 10:1 and apply evenly. In a paddock test, a 10:1 mix was applied to grass; livestock stayed off for ten days to allow regrowth and safety. If you include manure, favor soil drenches and avoid foliar spray near harvest.
How should I store and manage fermentation?
Keep stored batches in a vented container with a loose-fitting lid. Fermentation continues and can improve availability. Stir before use so sediments and minerals mix evenly.
“Start gently, record what works, and adjust ratios for each crop and season.”
| Timing | Suggested Ratio | Best Use |
|---|---|---|
| ~3 days | Straight (no dilution) | Strong concentrate for heavy feeders (test first) |
| 1 week | 1:8 | Balanced feed for active growth |
| 2+ weeks | 1:15 | Routine weekly feeding for most crops |
| Lawns / Paddock | ~10:1 | Even application to grass; keep livestock off ~10 days |
Conclusion
A steady, small-batch feed habit preserves soil life and keeps plants resilient through the season.
You now have a repeatable way to turn yard trimmings and kitchen waste into an effective organic liquid tea that feeds plants and supports soil life.
Keep it simple: pack a clean bucket, add chlorine-free water, steep, strain, and dilute. Regular, light fertilizer feeds beat heavy doses.
Reuse solids in your compost and lean on dynamic accumulators like comfrey to replenish nutrients and trace minerals.
Match strength to the plant stage, favor soil drenches near harvest, and note results so you can tweak mixes. For more small-space ideas, check this potted herb garden guide.
FAQ
What are the basics of making garden tea using compost, weeds, and kitchen scraps?
Start with a sturdy bucket or barrel, non-chlorinated water (rain or spring), and a mix of green materials like comfrey, nettles, grass clippings, and kitchen vegetable scraps. Pack the container about halfway, cover with water, and loosely lid it or use a mosquito screen. Steep for 3 days to 3 weeks depending on strength, stirring or aerating occasionally. Strain before use and return solids to the compost pile or bury them in soil.
Why do nutrient-rich teas help plants and soil?
A well-made infusion releases water-soluble nitrogen, minerals, and trace elements quickly, feeding microbes and encouraging leafy growth and soil life. The liquid boosts plant uptake faster than raw compost, supports beneficial bacteria, and improves overall soil structure when used regularly as a drench or spray.
Which plants are best to use as “dynamic accumulators” for nutrient-rich brews?
Comfrey, stinging nettle, yarrow, and dandelion are excellent choices. They pull up deep minerals and store useful nutrients in their leaves, which brew into a concentrated feed that benefits vegetables, fruiting plants, and heavy feeders.
How should I dilute and apply the brewed concentrate?
Use stronger ratios for established plants and gentler ones for seedlings. A common guide: straight at 3 days for robust plants, 1:8 after one week, 1:15 after two weeks, and a classic 15:1 for regular weekly feeds. Apply as a soil drench for roots and as a foliar spray for quick foliar uptake—avoid foliar sprays in hot sun and on very young seedlings.
How long does the tea need to steep, and how do I aerate it?
Steep anywhere from 3 days to 3 weeks. Shorter times give a greener, milder brew; longer times yield darker, stronger liquid. Stir daily or transfer between two buckets to oxygenate. Aeration reduces bad smells and helps beneficial microbes flourish.
Is it safe to use kitchen scraps like vegetable peels in the brew?
Yes—fruit and vegetable scraps, coffee grounds, and eggshells add minerals and carbon. Avoid dairy, meat, or oily waste that can smell and attract pests. Chop scraps small to speed breakdown and reduce fermentation problems.
What safety precautions should I take when making and using these teas?
Use non-chlorinated water, strain solids before applying, and avoid seed heads so you don’t spread weeds. Store brews with a loose-fitting lid to allow gases to escape. Wear gloves when handling strong brews and avoid applying very strong concentrate to seedlings or stressed plants.
Can I use urine, manure, or animal paddock material in my brews?
Urine and well-rotted manure are high in nitrogen and can be effective when diluted appropriately; fresh manure can burn plants. If using paddock material or manure, compost it first or steep carefully and dilute more. Observe livestock wait times on edible crops and follow local guidelines for safety.
How should I store leftover brew and how long does it keep?
Store in a cool, shaded spot with a loose lid; active fermentation may continue, so check the smell and appearance. Use within a few months for best results. If it becomes overly foul or slimy, dispose of it in the compost pile and start fresh.
What should I do with the strained solids after brewing?
Return them to your compost bin to finish decomposing, or bury them in garden beds as a slow-release amendment. They’re rich in microbes and nutrients and make excellent feedstock for future compost batches.
How can I tell when a brew is too strong and how to remedy it?
Signs of over-strength include leaf scorch after application, a very acrid odor, or plants wilting. Remedy this by diluting the brew further with water, rinsing foliage with plain water if foliar-fed, and using a gentler ratio next time.
Can I use tap water with chlorine or chloramine when making tea?
Avoid chlorinated or chloraminated tap water because these disinfectants can harm beneficial microbes. If only tap water is available, let it sit 24–48 hours to off-gas chlorine or use a dechlorinator product. Rainwater is the preferred option.
Which garden situations benefit most from regular feeding with brewed solutions?
Heavy feeders like tomatoes, corn, squash, and leafy greens respond well. Use as a weekly or biweekly supplement during active growth and switch to slightly higher potassium feeds when plants start flowering and fruiting. Established lawns and shrubs can also get a boost when applied as a dilute drench.
Are there any plants I should avoid feeding with strong brews?
Seedlings, newly transplanted plants, and salt-sensitive species can be damaged by concentrated feed. Start with a weak dilution and monitor for signs of stress. Acid-loving plants like blueberries may need careful pH management along with nutrient feeds.
What are the environmental benefits of converting garden waste into brewed feed?
Brewing garden and kitchen waste cuts landfill refuse, returns nutrients to your beds, supports soil life, and reduces reliance on commercial chemical inputs. It’s a small, circular step that improves soil health while saving money and waste volume.