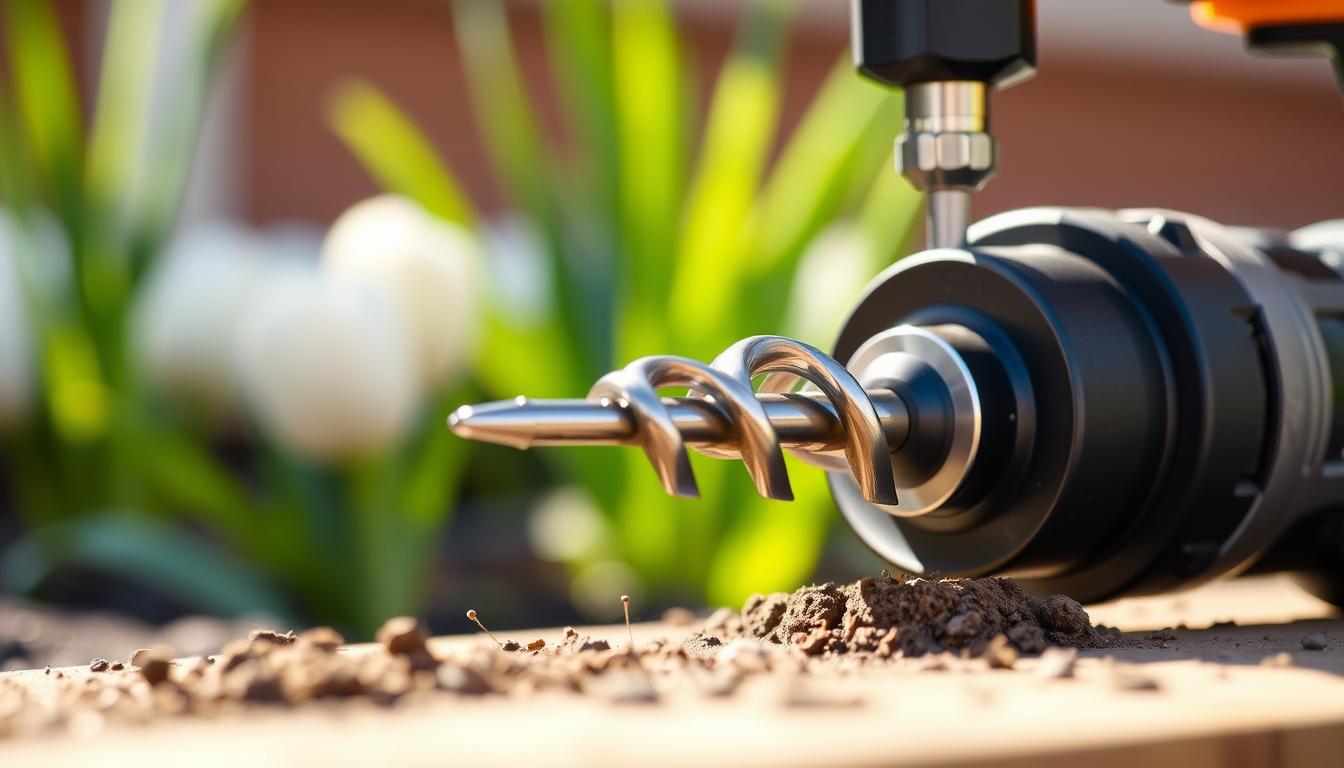
Curious how a simple drill accessory can turn an afternoon of digging into a quick, satisfying garden task? This guide shows a practical way to speed up bulb planting while keeping bloom quality top-notch.
Late fall into winter is the prime window for many spring-flowering bulbs. With a bulb auger on a drill you save time and wrist effort and create tidy vertical-sided holes with flat bottoms for even seating.
Choose firm, top-grade bulbs from trusted sources for bigger blooms. Match auger width to bulb size, set drill power low, and seat each bulb at the labeled depth. Work sand into heavy soil, add a handful of balanced fertilizer in the hole, group bulbs snugly, backfill, and restore mulch.
This approach lets families or volunteers cover a lot of area quickly. It preserves bloom health, cuts sore wrists, and helps your beds deliver bold spring color with less effort.
Key Takeaways
- Drill-mounted bulb auger: speeds hole making and reduces fatigue.
- Timing: late fall to winter is ideal; continue while soil is workable.
- Setup: vertical sides and flat bottoms keep bulbs steady.
- Soil prep: prefer well-drained, slightly sandy beds and add fertilizer.
- Group and finish: snug clusters, backfill, firm, and re-mulch for neat beds.
- Get started: pick top-grade bulbs and match bit size for best results.
- Share the work: family or volunteer crews can plant a lot in little time.
Why a Bulb Auger Speeds Up Planting Without Sacrificing Bloom Quality
A bulb auger brings speed and precision together. It helps you set each bulb at the right depth and keeps soil contact consistent for healthier spring blooms.
A drill-mounted auger turns the hardest part of bed prep into quick, repeatable work. It cuts clean holes so you spend less time digging and more time arranging bulbs the right way.
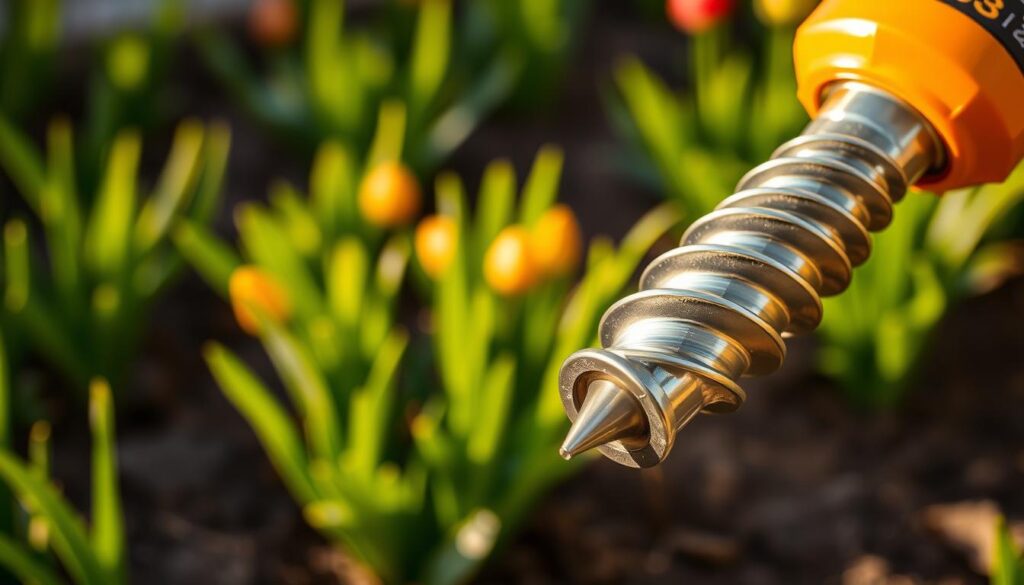
Key benefits:
- Consistency: The auger makes uniform depth and diameter holes that support even foliage and strong flower stems.
- Soil and moisture: It loosens soil to improve drainage and reduce moisture pockets that invite rot in flowering bulbs.
- Proper depth: Seat the middle to top of each bulb at the labeled depth for upright growth and better emergence in spring.
- Less strain: You cut wrist and shoulder stress when many plants need attention in a short time.
- Quick tip: Pause to clear the bit and check texture; this prevents clogs and protects your drill.
Overall, an auger is a reliable way to get consistent results. It limits disturbance around nearby roots and helps bulbs make solid contact with soil for dependable spring color.
want plant bulbs faster than ever use: Quick-Start with a DIY Bulb Auger
Get started with a simple kit and a clear plan. This quick-start guide shows the setup and safety steps that make holes clean, rows straight, and the work feel easy.
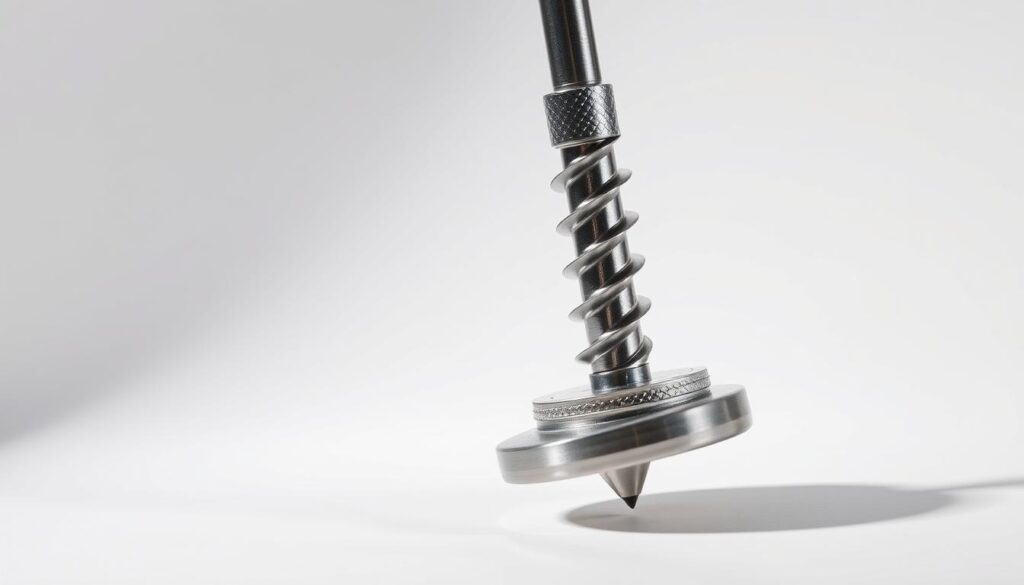
What to gather before you drill
Gather tools: a cordless power drill, a matched bulb auger, gloves, and eye protection. Pre-sort bulbs by size in trays to speed the job.
How to set the drill for control
Set speed low to medium and moderate torque. Use reverse to back the auger out and clear packed soil. Drill straight down to form a flat-bottom hole.
Safety and layout tips
Mark rows with tape or biodegradable chalk so spacing stays even. Brace your stance and avoid visible roots or rocks. Wear wrist support if you will drill many holes.
Quick planting checks
Place each bulb pointed end up and set the middle to top at the labeled depth. Add a handful of balanced fertilizer in the hole and group bulbs snugly without touching. Backfill, firm gently, and reapply mulch for tidy beds. Make sure each step is steady before moving on.
Step-by-Step: Drill, Depth, and Spacing for Better Spring Blooms
Quick answer: Form neat, vertical holes with flat bottoms so bulbs sit level and shoots emerge straight. Follow a few simple depth and spacing rules to boost bloom quality and reduce losses from frost heave.
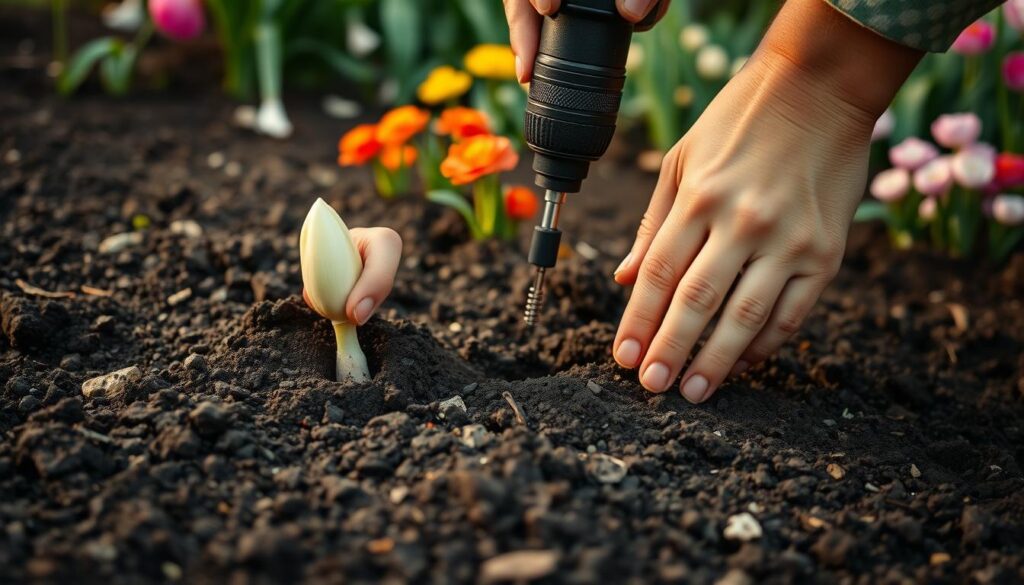
- Drill straight down. Make each hole vertical and finish with a twist to create a flat bottom. This keeps each bulb upright and helps shoots clear the soil for stronger spring displays.
- Follow depth labels. Make sure the middle to top of each bulb aligns with the package depth. As a rule in inches, larger bulbs go deeper and smaller ones shallower; always confirm variety instructions.
- Prepare soil. Use well-drained, slightly sandy soil. Work in coarse sand if the ground is heavy, and add a handful of balanced fertilizer in the hole before setting each bulb.
- Group for impact. Place bulbs in snug clusters. Keep them close but not touching so a failed bulb won’t infect neighbors and clusters read as bold color in spring.
- Backfill and firm. Pull soil over bulbs, press gently to remove air pockets, and reapply mulch. Smooth the bed so it is footprint-free and stable through freeze–thaw cycles.
- Quick tip: Check depth periodically. Soil textures can change as you work and that will alter hole depth slightly.
| Bulb Size | Depth (inches) | Cluster Spacing |
|---|---|---|
| Large (e.g., tulip) | 6–8 | 3–4 apart, 6 in between clusters |
| Medium (e.g., daffodil) | 4–6 | 2–3 apart, 6 in between clusters |
| Small (e.g., crocus) | 2–3 | 1–2 apart, 6 in between clusters |
For a full step-by-step bulb planting walk-through, follow the linked guide to reinforce layout and timing. This keeps each bed tidy and reliable at bloom time.
Timing and Locations: Late Fall Through Winter, Ground vs. Crates
Quick answer: The ideal season is late fall into winter when the soil is cold but still workable. Choose ground beds for scale and crates for tighter moisture control and higher-quality blooms.
Late fall gives you cool soil and a clear window for setting bulbs with confidence.
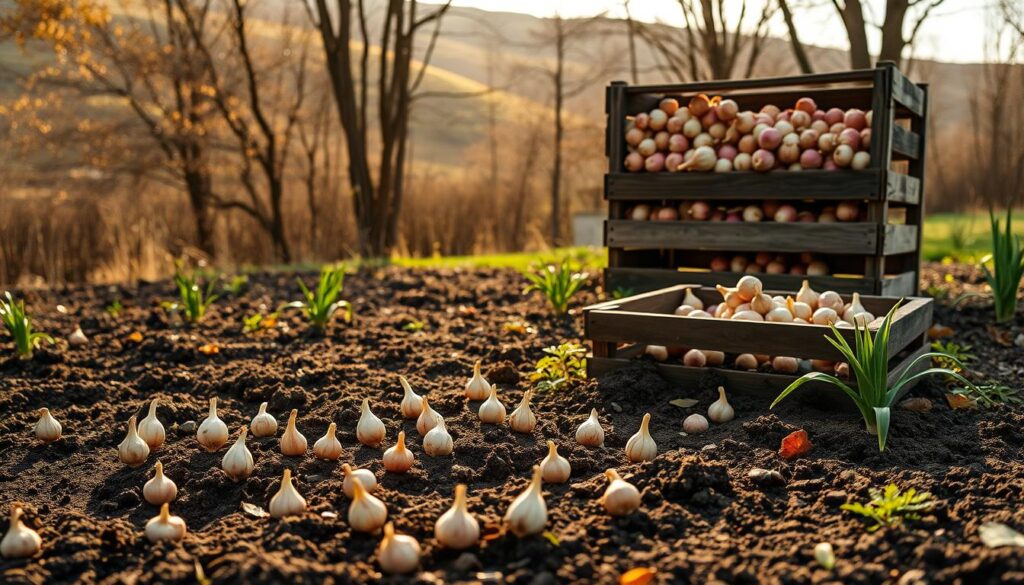
- Best window: Aim for post-Halloween through Thanksgiving. In mild years you can continue into January if you can open a hole in the soil.
- Ground beds: Economical and fast for large areas. Great for community sites and wide displays.
- Crates under cover: Choose covered space when moisture control and top-grade blooms matter. Lilies respond well to deeper crates and drip irrigation to cut botrytis risk.
- Depth & spacing: Confirm depth in inches for each variety and set the middle to top of the bulb at the recommended depth.
- Practical tradeoff: Crates cost more in soil and labor but raise quality. Mix beds and crates across the year to match budget and goals.
- Reminder: Join our email list for timing alerts and supply checklists before the next cool front.
| Location | Best for | Pros | Cons |
|---|---|---|---|
| Ground beds | Large displays, community areas | Low cost, quick to cover area | Less moisture control; needs good drainage |
| Crates (covered) | Show-quality flowers, lilies | Moisture control, deeper root zone, drip irrigation | Higher inputs: soil, labor, covered space |
| Hybrid approach | Home growers balancing cost and quality | Best of both: scale in ground, premium in crates | Requires planning and record-keeping |
Pro Tactics Borrowed from the Pros: Field Efficiency and Moisture Management
Quick answer: Map beds into rows, manage density, and control moisture to protect bloom quality. These simple field tactics speed work for small crews and backyard gardeners alike.
Field crews rely on row layout and shallow furrows to save time and keep spacing exact. Mark three rows per bed and cut shallow furrows first. This keeps spacing steady and guides helpers as they move down the line.
Keep density in check. One row of bulbs per furrow avoids overcrowding and reduces bud abortion seen when two rows share a furrow. For lilies, a single line per shallow trench is the proven way to keep stems strong.
Protect and manage moisture. If deer pressure is real, set temporary electric fencing around premium beds. For Orientals and OTs, plant in deeper crates in covered space with drip irrigation to cut leaf wetness and botrytis risk.
Practical tips: Pre-drill holes with an auger at set intervals, stage crates on a cart, and stop to check your drill clutch so hole depth stays consistent. Finish by smoothing soil over each hole and walking the edges, not the rows.
Smarter Choices: Bulb Quality, Critter Pressure, and Community Color
Start with the right stock and a simple plan to keep critters at bay while building big, lasting displays. Good choices now mean stronger foliage, richer color, and more reliable spring flowers.
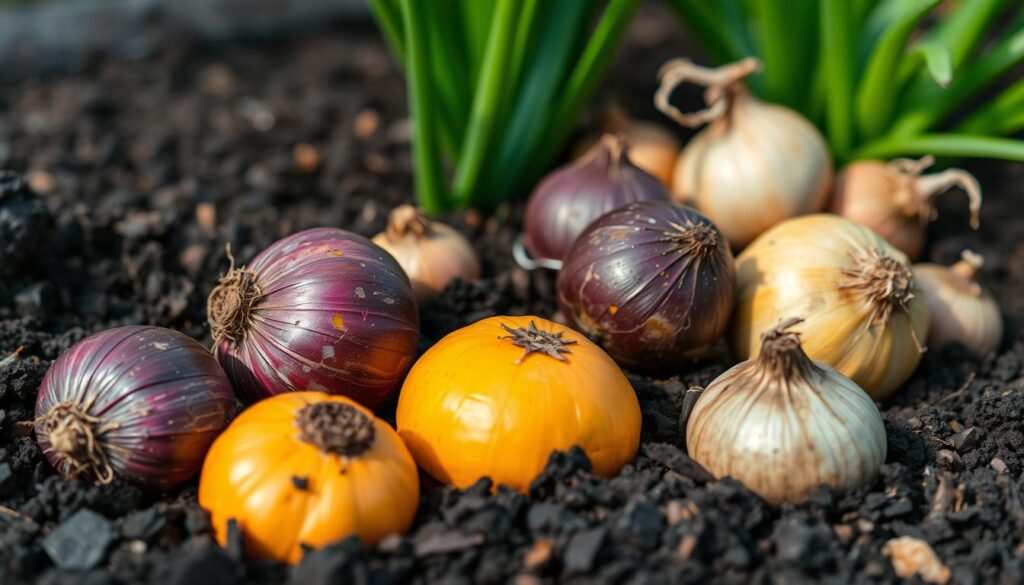
Which bulbs give the best return?
Opt for large, healthy stock from trusted vendors—many top-size bulbs come from Holland. Bigger size yields fuller blooms and sturdier stems. Follow package guidance for depth in inches so foliage and shoots emerge well.
How to protect tulips and deter deer
For tulips, plant late in fall to reduce browsing. As shoots appear, sprinkle Irish Spring shavings; refresh after heavy rain. This low-cost trick helps keep deer and rabbits away while growth is vulnerable.
Which flowering bulbs resist critters?
- Deer-resistant picks: daffodils, narcissi, camassia, hyacinths, fritillaria, scilla, botanical tulips, and allium.
How to mobilize family and volunteers
Assign markers, drillers, and planters so a small crew covers a lot of area. Volunteers once planted 1,500 bulbs in under two hours using this flow. Celebrate the effort—those first spring flowers will reward the whole community.
Conclusion
Conclusion: A quick, methodical routine with the right bit delivers neat holes and fewer surprises come spring.
Action steps: Use a drill-mounted auger, form flat-bottom holes, and set each bulb at the labeled depth. Favor well-drained beds and add a small boost of balanced fertilizer at planting.
Group bulbs in snug, not-touching clusters so foliage and flowers emerge evenly. Work late fall through winter while soil is workable to save time in spring.
Start one small bed this weekend and expand row by row. For reminders and fresh how-tos, sign up for our email list and keep your gardening momentum year after year.