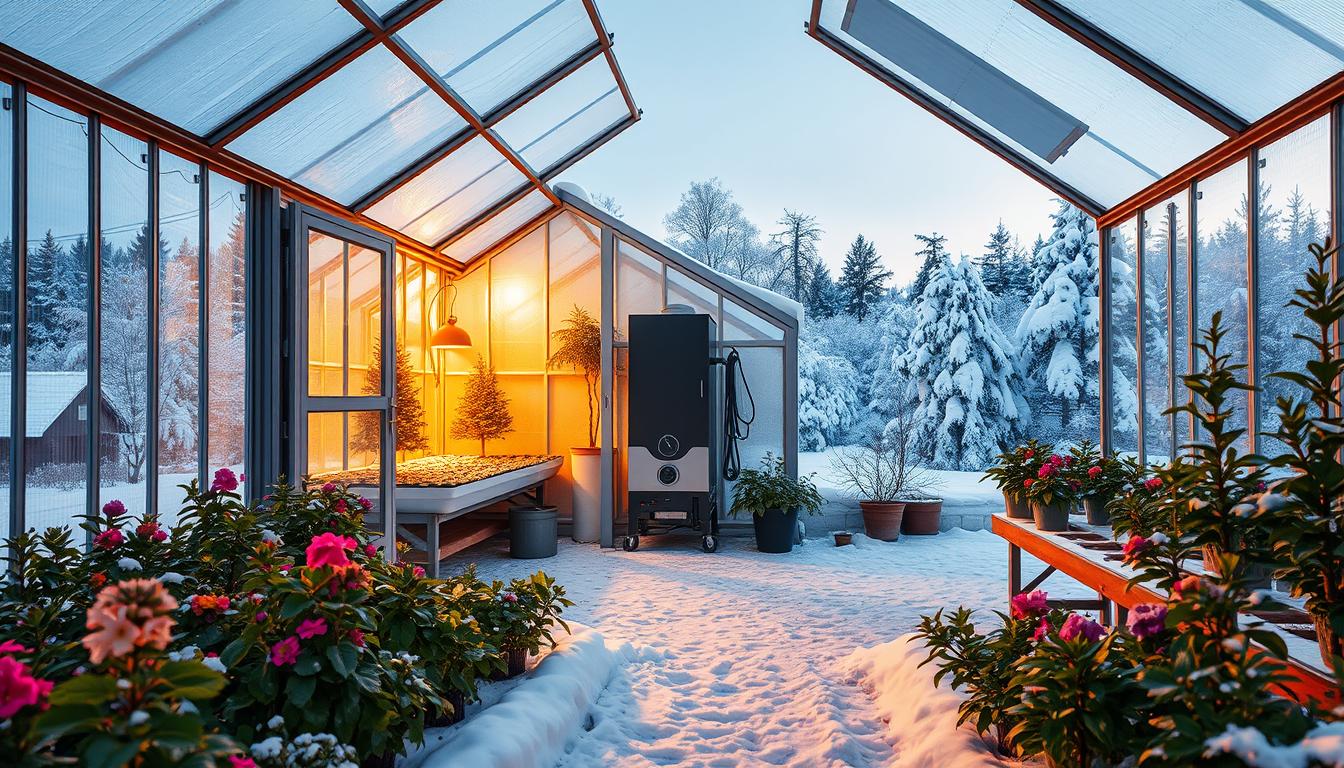
Can a smart shell and a few simple tactics save tender plants when the cold hits? This question frames the choice between a fragile setup and a resilient environment that promotes steady plant growth.
Design matters first. A well-shaped greenhouse captures daytime sun, stores that heat, and slows nighttime loss so the interior stays near ideal temperatures for plants.
Use passive gains before adding powered heaters. Thermal mass, quality glazing, and interior thermal screens cut heat loss. Pair those with sealed edges and targeted insulation to reduce energy waste.
For a practical guide to specific materials and systems, see a detailed winter plan at this winter greenhouse resource.
Key Takeaways
- Smart design captures solar heat and reduces night losses.
- Thermal mass and interior screens cut energy needs.
- Durable frames and good glazing protect structure in storms.
- Automated climate controls keep temperature and humidity steady.
- Plan backups and simple daily routines to protect plants in outages.
Start with a Winter-Ready Greenhouse Design
Positioning the structure to face true south in the U.S. gains the most low-angle winter sunlight and reduces heating demand. Design choices — glazing, foundation insulation, and thermal screens — set the stage for steady temperatures and better plant growth.
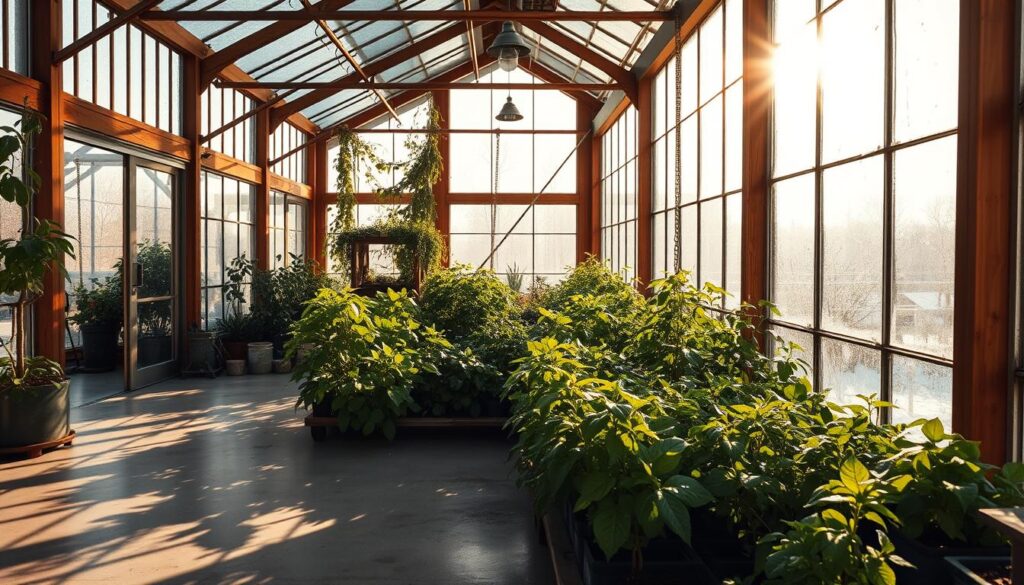
Begin with siting and shell. A south-facing layout captures short winter days and raises interior light and heat with minimal energy. Choose twin-wall or multiwall polycarbonate for glazing; it raises insulation value and spreads light evenly through the canopy.
Plan thermal screens that close at night and retract by day to limit heat loss. Insulate the perimeter with foam boards, use raised beds or thermal mats, and add reflective interior surfaces to push light deeper into the garden.
“Small design choices now — a pitched frame for snow, tight gaskets at doors, and prewired controls — save time and energy in severe conditions.”
Think of the shell as a system: balance clarity and R-value, build for wind and snow, add vestibules to limit cold air intrusion, and prewire for future fans, vents, and sensors. These materials and layout steps help keep a stable environment for winter growth.
- South-facing siting for solar gain
- Polycarbonate glazing for insulation and diffused light
- Insulated foundation, raised beds, and reflective interiors
Design for Passive Warmth: Orientation, Glazing, and Structure
Orient the ridge east–west with a clear south face to capture low winter sun and boost daytime heat gains. Good siting and smart materials reduce energy needs while protecting plants.
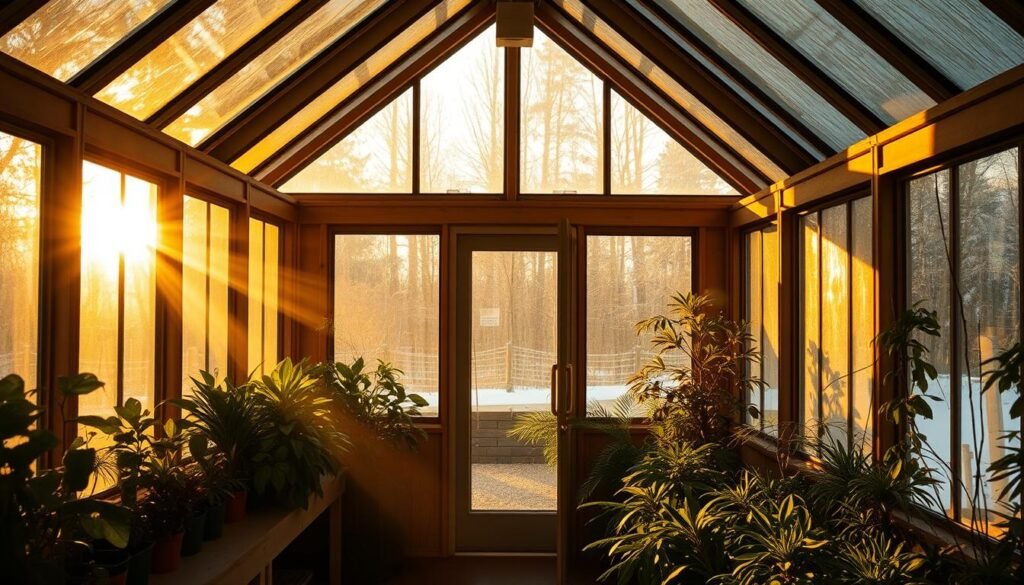
Site and orientation matter first. Place taller beds and storage on the north side so lower crops receive more light. South-facing layouts mimic Chinese passive-solar greenhouses that trap sun and store it behind thick north walls.
Glazing choices that cut losses
Multiwall polycarbonate, double-glazed glass, or double-layer film with an air gap all balance insulation and light diffusion. Polycarbonate is light, durable, and spreads light evenly through the canopy.
Structure and materials for protection
Bell-shaped or pitched frames shed snow and resist wind; galvanized steel adds durability. Seal joints and glazing laps to limit cold air infiltration and stabilize the temperature inside.
Foundation and root-zone strategies
Insulate the perimeter with foam board, use raised beds, and add thermal mats for deep cold spells. Place water barrels or stone benches along the north wall as modest thermal mass to absorb sun by day and release heat at night.
“Orient, insulate, and seal first—these steps turn passive sunlight into reliable warmth and protection for winter crops.”
| Element | Recommended Option | Benefit |
|---|---|---|
| Orientation | Ridge E–W, south-facing wall | Maximizes winter sunlight and passive heat day gains |
| Glazing | Multiwall polycarbonate / double-layer film | Improves insulation and diffuses light for even growth |
| Frame | Bell-shaped or pitched, galvanized steel | Sheds snow, resists wind, increases protection |
| Perimeter | Foam board, raised beds, thermal mats | Reduces soil heat loss and warms root zone |
- Place windbreaks far enough away to avoid shade.
- Plan high ridge vents to vent hot air on sunny days without losing night warmth.
Insulate, Seal, and Store Heat to Keep Temperatures Stable
A layered strategy of insulation, airtight sealing, and thermal mass smooths daytime swings and reduces night losses. These steps cut heating demand and protect plants with simple materials and small upgrades.
A horticultural film or UV-resistant bubble wrap adds an air layer that boosts insulation without blocking useful light. Line frames and panels where sun is least intense to trap pockets of warm air and slow conductive loss.
Weatherstrip doors, caulk gaps around vents, and install climate screens that close at dusk and open at dawn. Double-layer glazing or a second film with an air gap raises R-value and lowers drafts, stabilizing inside temperatures for longer.
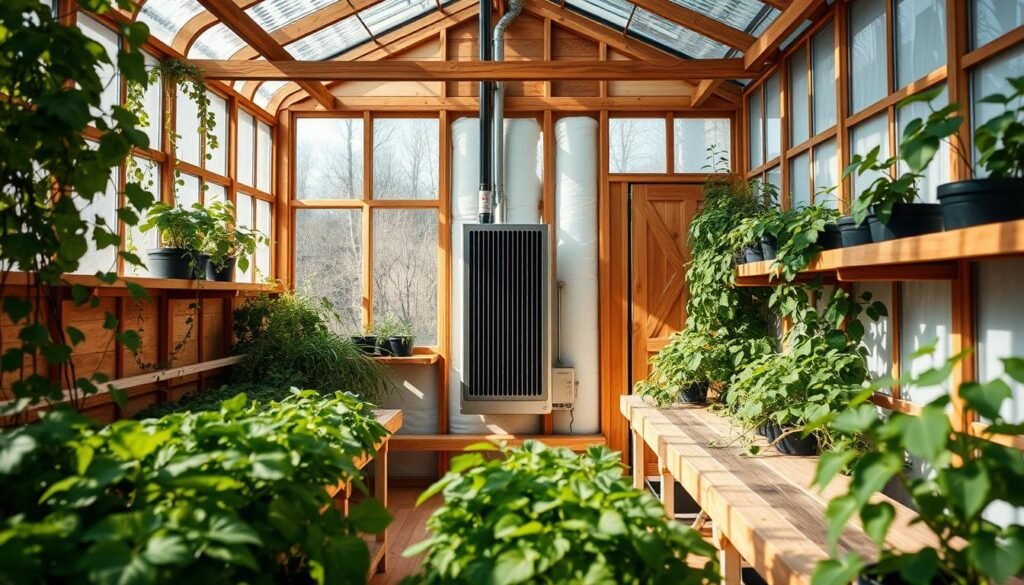
Place thermal mass—black-painted water barrels, stacked pavers, or masonry—along the sunniest wall so they absorb sun and release heat after sunset. Use windbreaks to reduce convective loss, and add interior insulation blankets on the coldest nights for extra protection.
- Line framing with horticultural bubble wrap to add insulation without heavy light loss.
- Install thermal screens that automate at night to lower heating cycles.
- Seal openings with weatherstripping and caulk to reduce cold air infiltration.
“Treat insulation as a system: materials, seals, and thermal mass working together cut fuel use and make winter management easier.”
Keep humidity in check with brief, timed venting during the warmest part of the day to prevent condensation and disease. For a compact urban plan and practical layouts, see the urban greenhouse infographic.
Select Heating Systems and Smart Controls that Fit Your Climate
A tailored heating plan combines suitable heaters with sensors so temperature swings stay small and predictable. This section shows practical options and safety tips for winter operation.
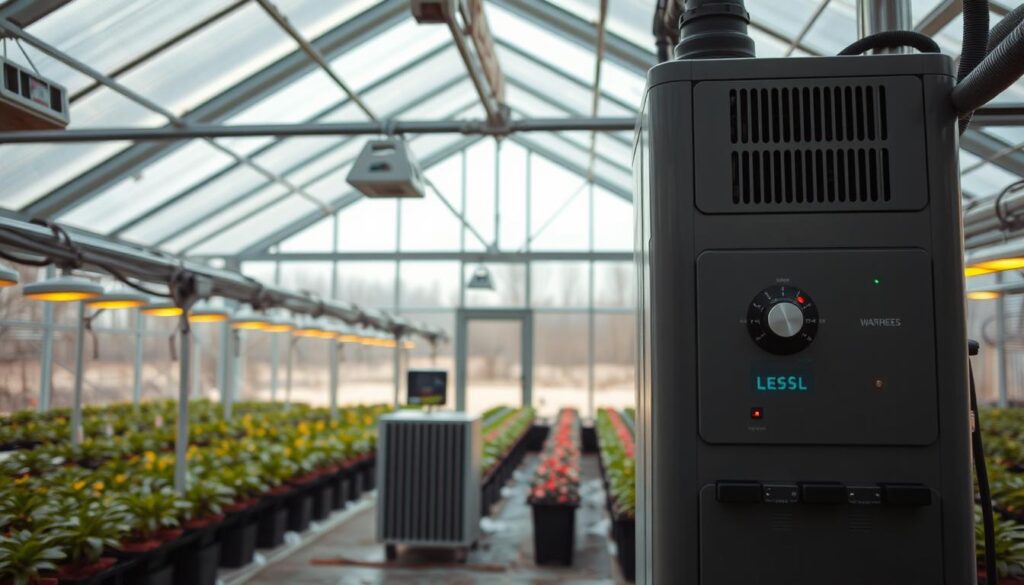
Electric and Gas Options
Electric models with thermostats suit small to mid-size spaces. They are simple to install and offer precise temperature control.
Gas units (propane or natural gas) serve larger structures but need fresh-air intakes, flue venting, and careful placement to protect plants and people.
Solar, Geothermal, and Heat Recovery
Solar collectors and solar-powered heaters cut fuel use in sunny regions. Plan for storage or a backup heat sources during cloudy spells.
Geothermal taps stable ground warmth to reduce demand, while heat recovery recirculates exhaust heat to flatten nightly swings.
Smart Climate Control
Link sensors, automated vents, circulation fans, and heater controls so the system reacts to temperature and humidity changes.
- Size heaters to target temperatures and document settings for different weather scenarios.
- Combine LED light schedules with heating cycles to support photosynthesis when heat demand is highest.
- Use durable materials for flues, fuel lines, and mounts and add remote alerts for sudden drops.
“Match the right heat equipment with smart controls and safety measures to protect plants through deep winter.”
Balance Light, Air, and Humidity for Winter Plant Growth
Targeted lighting, gentle air movement, and tight humidity control protect plants and steady temperatures through short days. Small, coordinated systems keep the inside environment stable and reduce disease risk.
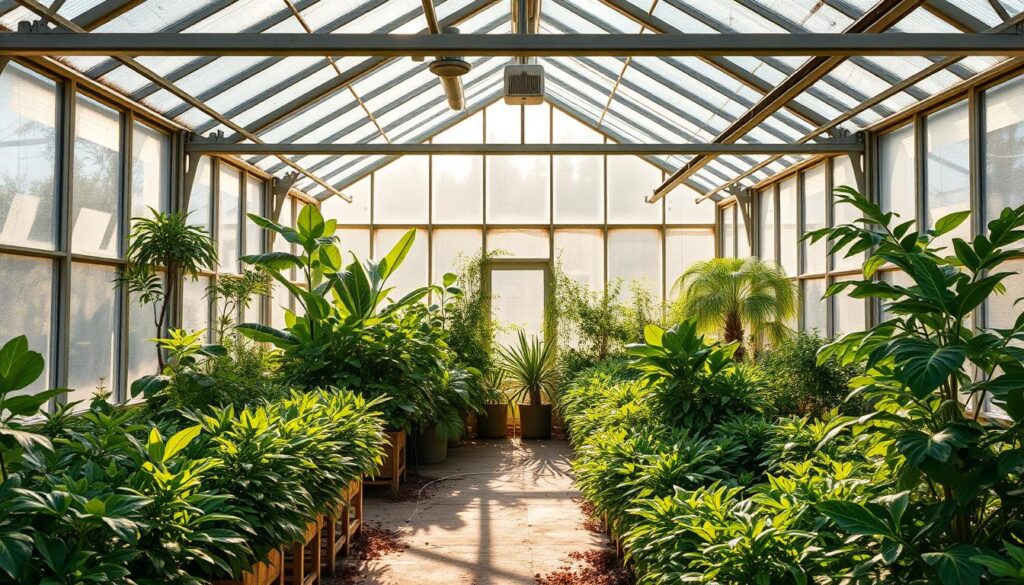
Light Management
Supplement short daylight with LED grow lights placed above the canopy. LEDs supply targeted spectra and use little energy on cloudy days.
Reflective white walls or foil spread light so benches get even coverage. Use adjustable shade to cut glare on bright afternoons without starving crops of needed light.
Airflow and Ventilation
Install automatic ridge vents plus low intake vents to create crossflow. This exhausts moist air and introduces cooler, drier air where needed.
Run gentle circulation fans to mix layers, prevent cold spots, and reduce condensation on leaves.
Humidity Control
Vent briefly during the warmest part of the day to purge moisture after irrigation. Pair timed ventilation with a dehumidifier if humidity lingers.
Track humidity and temperature with sensors and group plants by light and airflow needs to minimize disease pressure.
| Focus | Action | Benefit |
|---|---|---|
| Light | LEDs + reflective surfaces | Steady growth during short day length |
| Air | Ridge vents + fans | Even temperatures and fewer cold pockets |
| Humidity | Timed venting + dehumidifier | Lower fungal risk and drier leaf surfaces |
how do you keep greenhouse warm harsh winters? A Practical Step-by-Step Plan
Set a simple daily rhythm to capture the day’s heat and protect plants at night. Small, repeatable actions each morning and dusk make the difference between loss and growth in tough weather.
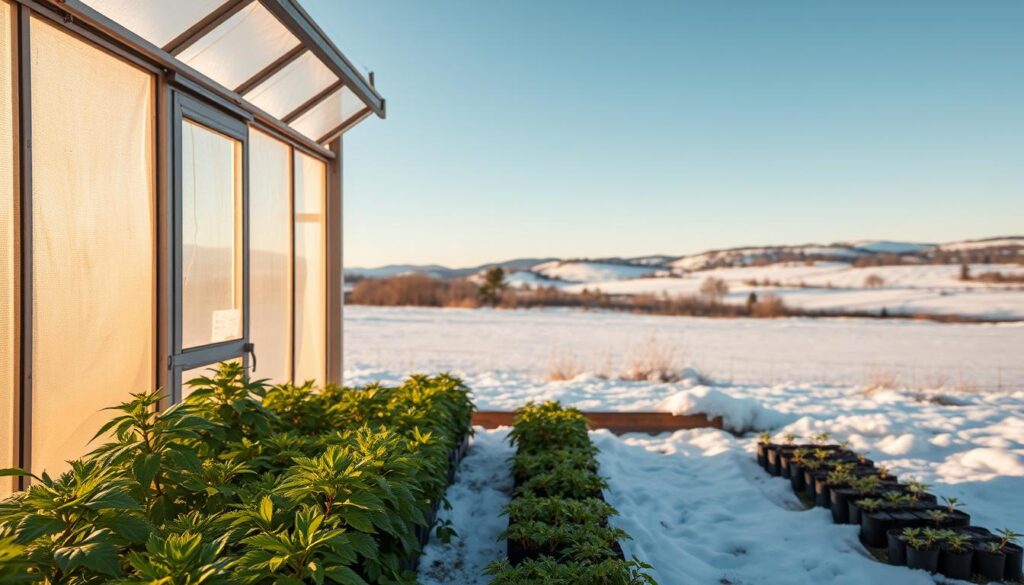
Morning. Check forecasts, open vents slightly if sun is expected, and pull back interior shade to let thermal mass absorb heat.
Midday. Monitor the temperature and use limited venting or fans to avoid overheating while preserving heat for night.
Afternoon. Water early with room-temperature water so roots avoid shock and leaves dry before night.
Dusk. Close thermal screens, drop insulation curtains, and seal doors and vents so inside heat does not escape.
Overnight. Rely on water barrels, stone, or soil to release heat and hold a stable temperature until morning.
- Weekly: inspect weatherstripping, tighten latches, and fix drafts to reduce heater runtime.
- As-needed: stage frost blankets over tender plants on extreme nights; remove at sunrise.
- After cold snaps: air out briefly on the first sunny day to cut condensation before evening.
- Daily habit: post a simple checklist by the door and log high/low readings to refine these strategies.
“A predictable routine that pairs solar capture with tight night seals is the simplest, most reliable method to hold warmth and protect plants.”
Operate Safely During Harsh Weather: Power, Snow, Water, and Pests
When temperatures plunge and winds rise, a clear safety plan keeps systems running and crops intact. These steps protect plants, people, and equipment across winter months.
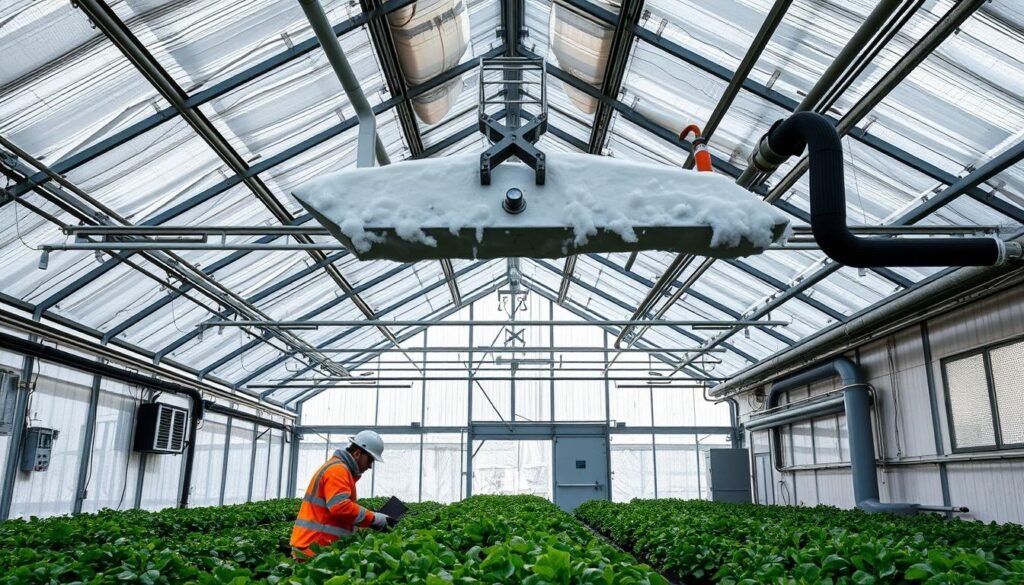
Power outages. Test a backup generator monthly and store fuel safely. Prepare a non-electric option — a propane heater or wood stove — and plan ventilation to prevent carbon monoxide buildup.
Snow and wind readiness
Design pitched roofs to shed build-up, but brush off heavy snow before loads stress the frame.
After storms, inspect anchors, glazing, and fasteners. Tighten or replace worn materials to restore the envelope and extra protection quickly.
Winter watering and humidity
Use drip irrigation and water early with room-temperature water to reduce leaf wetness and night humidity. This limits fungal risk and avoids root shock during cold nights.
Pest and disease hygiene
Remove debris, sanitize tools, and introduce beneficial insects or mild soaps to control aphids, whiteflies, and mites in closed greenhouses.
“Document fuel levels, run heater tests, and train helpers so systems respond quickly when weather turns.”
| Risk | Action | Benefit |
|---|---|---|
| Power outages | Tested generator, fuel log, non-electric heat plan | Maintains heaters and fans; prevents rapid temperature loss |
| Snow & wind | Pitched roof, routine snow removal, post-storm inspections | Protects structure and preserves steady temperatures |
| Water & humidity | Drip irrigation, early-day watering, brief midday venting | Conserves water and lowers disease pressure |
| Pests | Sanitation, beneficials, gentle controls | Keeps pest populations low in winter months |
Conclusion
A reliable winter plan blends passive solar design, solid insulation, and the right mix of active heating to protect plants through cold months.Daily routines—capture sun, seal at dusk, and release stored warmth—cut energy use and support steady growth.
A solid winter plan blends passive design, reliable insulation, and a clear maintenance routine to protect plants through the cold months. Simple steps make a big difference: durable glazing, sealed edges, and modest thermal mass reduce the need to heat greenhouse spaces.
Match efficient heaters with smart controls, add backup power, and follow basic watering and pest routines so the environment stays steady for months. With steady care and small upgrades, keeping greenhouse performance high in winter feels practical and rewarding.