Have you ever blamed bad luck when plants lag, only to find a clear reason hiding in the soil? One simple change in mindset turned my seasonal setbacks into reliable lessons and steady yields.
I used to patch problems randomly, which cost time and plants. A diagnostic approach revealed patterns across the year: poor spacing, shade that stole sun, and moisture mistakes that repeated every season.
Following an organized process—quick checks, a soil test, spacing fixes, compost control, and harvest timing—saved money and brought confidence. These steps come from real gardeners and extension educators who break problems into simple roles: historian, botanist, and detective.
Expect practical ideas you can use in small beds, borders, or containers. With clear observations, plants respond predictably, and setbacks become data you can act on. For more on structured checks and soil testing, see this practical roundup at diagnosis resources.
Key Takeaways
- Start with a calm diagnostic routine before applying fixes.
- Soil tests and spacing discipline prevent many recurring issues.
- Match crops to light and season for better yields.
- Simple observations turn failures into useful data.
- Actionable ideas fit busy schedules and many garden setups.
- Small structure unlocks healthier, more resilient plants.
The turning point: From failures to a diagnostic mindset
List each error plainly, then turn that list into a short field report you can act on. This mindset change makes recurring problems visible and helps you choose smarter fixes.
Start with a calm, nonjudgmental review of the season. Note what happened, where, and when. That timeline is the key to seeing patterns.
Why list your mistakes first: turning “failure” into a field report
Write one-line entries: the mistake, suspected cause, action taken, and outcome. Repeat this after each event. Over a year the notes form a clear map of what helped and what didn’t.

“Treat every setback as data; small, dated notes beat vague memory every time.”
- Use time-stamped photos to compare leaves and fruit.
- Revisit notes mid-season to refine care.
- Pause before adding water or fertilizer and ask why results fell short.
| Entry | Suspected Cause | Next Step |
|---|---|---|
| Late frost damage | Incorrect frost date | Delay planting, use covers |
| Yellow leaves | Poor soil pH | Soil test, amend |
| Poor fruit set | Low pollinators | Add flowers, hand-pollinate |
Quick diagnostics framework I use before I touch the soil
A short, structured check prevents quick fixes that hide the true problem. This routine helps you spot patterns and choose low‑risk actions first.
A quick pre‑soil check saves time and points directly to the most likely causes of plant stress.

Historian
Record planting dates, past crops, irrigation changes, and the varieties planted. That timeline often shows the reason for repeat issues.
Meteorologist
Scan recent weather: heatwaves, drought, or late frost can stress plants before symptoms appear. Keep one line of notes for each event.
Geographer
Map sun hours, shade creep, wind corridors, and raised bed drainage. Microclimates explain uneven growth across a small plot or yard.
Botanist
Confirm IDs and cultivars with trusted resources so care matches real needs. Misnamed plants lead to wrong care and wasted time.
Detective
Separate symptoms (yellow leaves, wilting) from signs (insect droppings, fungal threads). Treat the cause, not the symptom.
Prognosticator & Counselor
Rule out unlikely causes, offer clear options, and start with cultural fixes—spacing, pruning, and watering changes. Many people find a simple checklist saves hours each week.
- Quick idea: Keep a one‑page checklist for weekly walk‑throughs.
Soil reality check: Test first, then fix the reasons your plants struggle
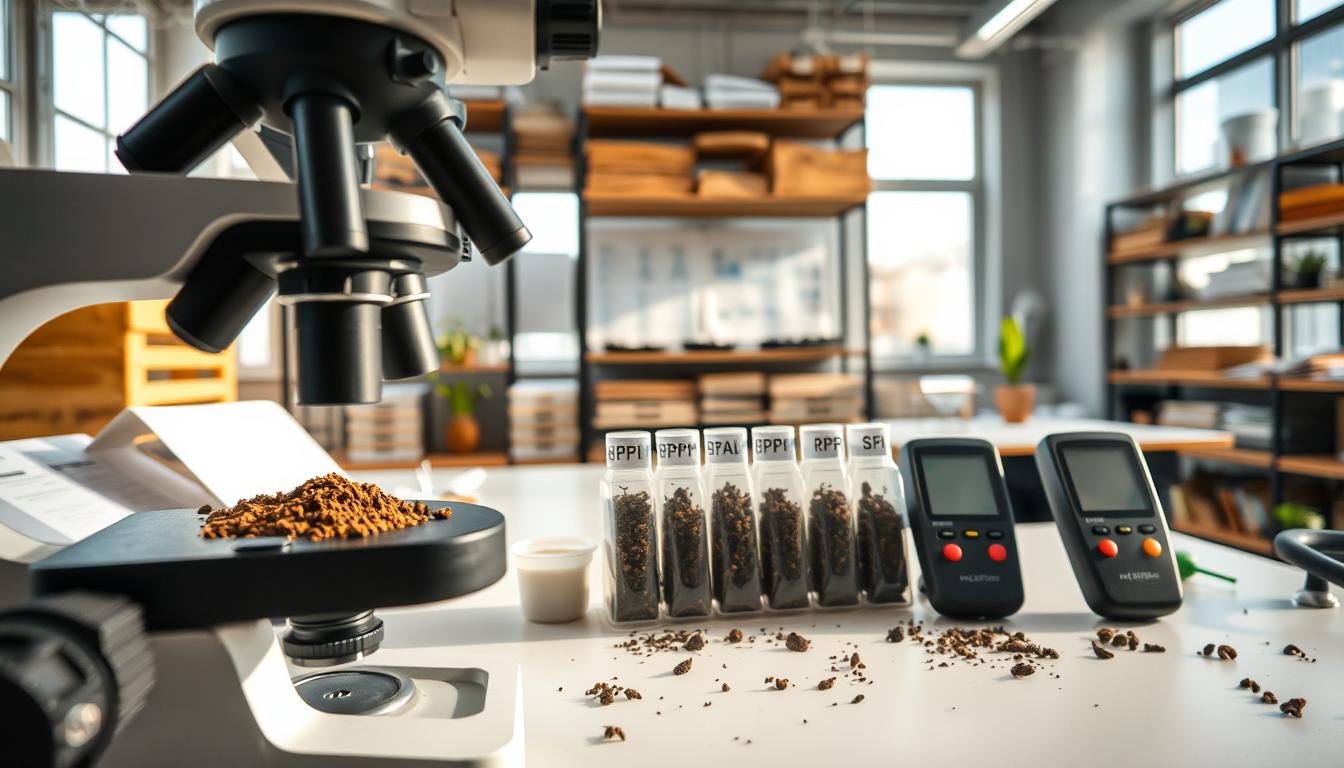
Before you pour amendments, let a lab report show what your soil actually needs. Accurate tests reveal pH, texture, and organic matter so you can target fixes and stop guessing.

Start with a lab test. A report shows pH, clay or sand content, and percent organic matter. That information prevents common mistakes and saves time.
pH, texture, and organic matter: what the numbers mean
- High pH can lock up iron. Acid-loving plants show yellowing leaves with green veins even if nutrients exist.
- Texture drives watering: sandy soils drain fast, clay holds water. Raised beds often dry quicker than in-ground beds.
- Low organic matter means poor structure and lower fertility; add well-finished compost and mulch to build soil life.
Targeted amendments: sensible steps and common cautions
Match fixes to test results. Use balanced amendments at labeled rates for nutrient gaps. Top-dress with compost in late fall to protect structure over winter.
- Ensure compost heats well—cold piles can carry live weed seeds; hot compost or certified compost reduces that risk.
- Avoid bone meal indoors—it releases strong odors and suits outdoor phosphorus needs better.
- Make small, measured changes and retest before adding more. Keep a simple log of what goes into each bed and when.
Lesson learned: Spacing, labels, and light are not optional
Get spacing, labeling, and sunlight right at planting and you avoid a season of wasted work. These three small steps protect roots, reduce leaf disease, and keep fruiting reliable.

Trust the tag: Spacing mistakes choke roots and stunt harvests
Reframe the tag as your first spacing tool. Crowding cuts airflow and raises humidity around leaves, which helps fungal problems and lowers fruit set.
Spacing is a disease prevention strategy, not just a layout choice. Give tomato and pepper transplants their recommended room to develop roots and stems.
Label every plant: Varieties matter for tomatoes and peppers
Keep a label at each transplant so you track varieties, days to maturity, and growth habit. Renee Adam learned this when tossed tags mixed up her tomatoes and slowed harvest timing.
Labels also guide pruning and staking—determine if a tomato is determinate or indeterminate before you cut or tie.
Think ahead: Trees grow, sun moves—beds lose full sun over years
Tall trees can creep shade into a bed over the years and rob full sun from sun-loving crops. Epic Gardening notes that reduced sun cuts yields for even vigorous crops.
Do a simple light audit: record sun hours by season to confirm beds still get 6–8+ hours of full sun. If not, move or rebuild the bed; shifting once beats chronic underperformance.
“Small planning steps at planting day avert a season of preventable problems.”
- Keep tags and space as your first line of defense.
- Use labels to manage varieties and succession planting.
- Audit sun annually and act if a bed loses full sun.
Compost calamity: When weeds hijack your raised beds
When compost never gets hot enough, tiny seeds survive and turn raised beds into a weed battlefield. Fixing this takes heat, timing, and a simple maintenance habit.
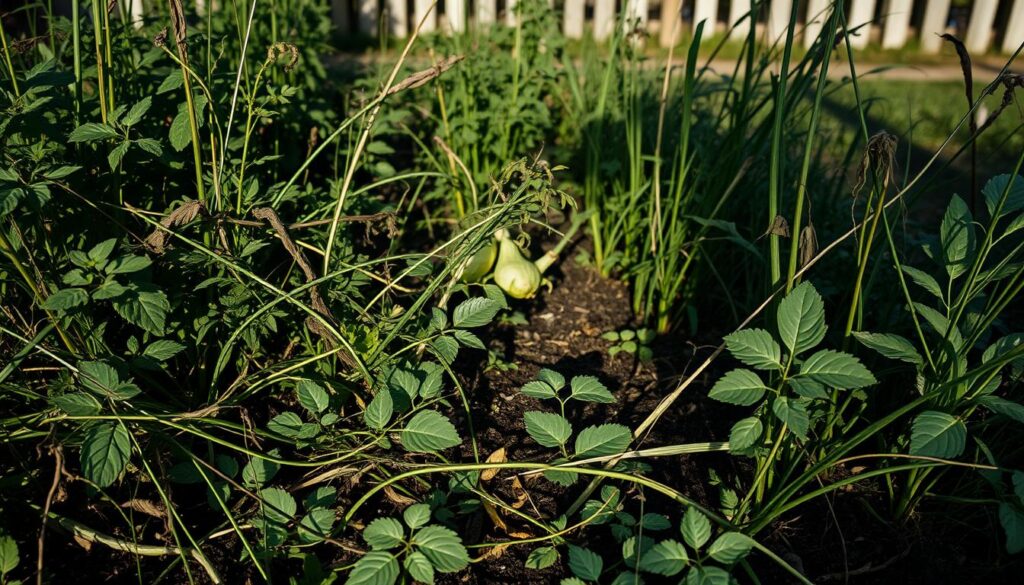
Cold compost often carries viable weed seeds into new beds. That single mistake can fill rows with volunteers by spring, crowding slower flowers and young plants.
How hot compost kills weed seeds
Aim for 131–150°F for several days with regular turning and even moisture. That range neutralizes most tough seeds and pathogens before you move material.
Weed triage: quick pulls, mulch, and timing
Pull weeds when seedlings show early leaves. Waiting until true leaves lets roots anchor and costs more time.
After a first clean-out, apply mulch to block light and stop new germination between rows or around flowers.
- Walk weekly and pull small seedlings—this beats marathon weeding after rain.
- Set a compost “cure” window so only finished material enters beds.
- Sow vigorous flowers or cover crops where pressure is high to outcompete weeds.
- Label broadcast seed areas so you can tell friend from foe as leaves emerge.
“A single compost mistake is fixable with heat, timing, and mulch.”
| Compost Temp | Action | When to Use | Expected Result |
|---|---|---|---|
| Below 110°F | Rework pile, add greens/water, turn | Now, before spring use | Fewer live seeds, lower pest risk |
| 131–150°F | Maintain heat with turning | During active composting | Most weed seeds killed |
| Finished/Cured | Screen before use, apply as top-dress | After cooling for weeks | Safe for beds and seedlings |
Less competition equals healthier plants. Clear beds early, keep a weekly habit, and use cured compost plus mulch. With a few simple steps your garden will recover quickly and stay productive.
Season matters: Plant the right crops at the right time
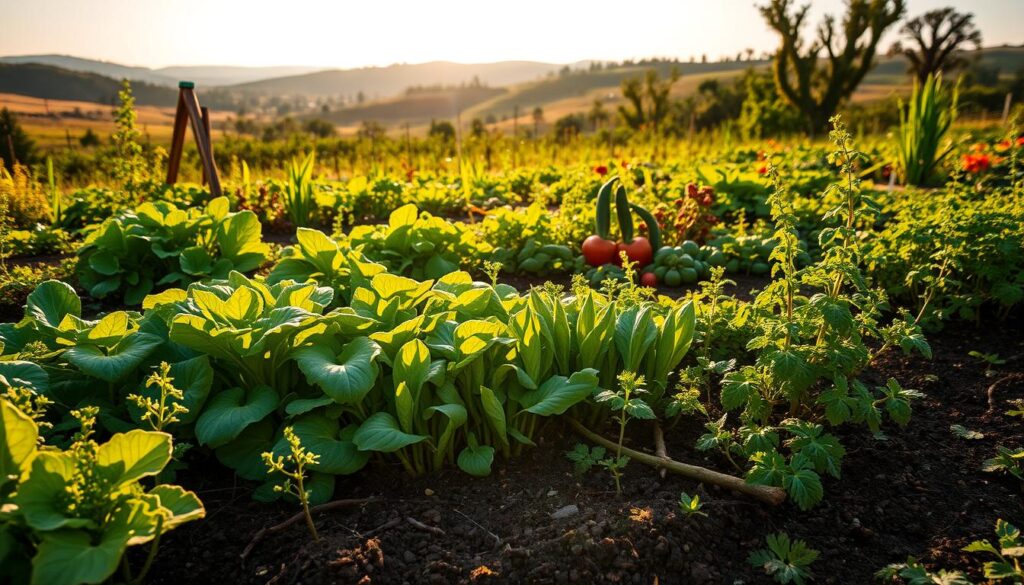
Choosing the correct months to sow keeps work practical and yields reliable. A small season map helps you start seeds, transplant, and harvest with confidence.
Choosing crops for the right months protects seedlings from surprise cold and stalled growth.
Spring, summer, fall, winter: Matching seeds and transplants to the season
Lay out a clear calendar: cool-season crops go in spring and fall; heat-lovers belong in peak summer. Check frost dates and soil temperature before you move transplants.
Tomatoes and peppers stall outdoors in cold. Waiting for steady warmth protects seedlings and boosts yield.
In winter, accept limits. Small protected setups can extend the season, but realistic choices save time and disappointment.
Heirloom vs hybrid expectations during shoulder seasons
Heirloom varieties often offer superior flavor but need tighter timing and steady heat. Hybrids can outperform heirlooms when weather looks iffy.
- Use hybrids when the season is marginal; reserve heirlooms for stable heat or protected microclimates.
- Place sensitive plants in your sunniest beds—loss of a few hours of sun slows growth in spring and fall.
- Match variety days-to-maturity to your frost-free window and use succession planting to stretch harvests without forcing crops.
“Plant with the season, and the season will reward you.”
Quick tip: Tape a simple season map to the fridge showing seed start, transplant, and harvest windows for your local growing season. Small planning beats rushed replanting later in the year.
Frost, weather whiplash, and protecting tender plants
A sudden cold night can undo weeks of care, so plan shields and a quick recovery crop now. Simple prep and a clear replant plan save time and keep beds productive through the edges of the season.
Scan forecasts for radiational cooling: clear skies, calm winds, and falling humidity raise frost risk. Check local temps at night, and compare recent spring and fall patterns rather than betting on a warm stretch.
How to read the sky and act before dawn
Watch for forecast lows near freezing and calm overnight winds. Set a go/no‑go time the afternoon before and place covers if temps will drop.
Quick ID: frost on tender leaves and how fast damage shows
Light frost makes foliage look water‑soaked by sunrise. Damage can appear within hours. Vent covers at sunrise to avoid heat build‑up and condensation that invites disease.
Protection gear, replant pivots, and practical tips

- Use row covers or cloches for short snaps; remove in sun to prevent overheating.
- If a late frost kills warm vines, replant hardy peas to salvage yield quickly.
- Keep spare seed and a simple kit on hand so replanting doesn’t eat your time.
- Low pockets freeze sooner—protect those spots earlier than higher beds.
| Condition | Sign on Plants | Protection | Recovery Action |
|---|---|---|---|
| Light frost | Wet, limp leaves | Row cover overnight | Vent sunrise; monitor |
| Hard freeze | Blackened foliage | Cloche + mulch | Remove dead growth; replant peas |
| Radiational night | Clear sky, calm | Prep covers at go/no‑go time | Keep spare seed; sow next morning |
“One frosty night can erase weeks—protect early and plan a fast pivot.”
Sunlight is yield: Why “full sun” really means 6-8+ hours
Full sun means at least 6–8 hours of direct light, and fruiting crops thrive at the upper end of that range. Consistent, daily light is the simplest lever you control to boost harvests.
Renee Adam’s willow shows how expanding tree canopy can shave crucial hours and cut yields over the years. Extension notes that plots that once saw 8–10 hours can drop into the 6–8 hour band as shade shifts.
Map sun by season: stand in the bed each hour on a clear day and mark sunlight. That record tells you where to plant heat lovers and where leafy greens will do fine.
- Quick method: mark hourly light on a simple sketch to match crops to spots.
- Tomato transplants in partial sun often flower but set fewer fruits and ripen slower.
- Morning sun dries dew and lowers disease; late sun helps ripening.
- Prune trees or move the bed if canopies steal light, or use reflective surfaces and light mulch as a short fix.
Prioritize your sunniest bed for long‑season, heat‑loving plants; steady light beats sporadic effort.
Harvest on time or lose it: The watermelon that got away
Harvest timing is the quiet skill that protects flavor, nutrition, and the work you put in all summer. Epic’s head horticulturist shared a sharp lesson: a ripe watermelon left a day too long was stolen. That loss shows why prompt picking matters.
Signals of ripeness and a simple harvest calendar
Know what ripe fruits look like, smell like, and feel like. Use a short calendar that ties days-to-maturity to expected pick windows by variety.
- Watermelon: dull rind, yellow belly, hollow sound when thumped.
- Tomato/tomato: color break; a brief indoor finish improves flavor and protects from bad weather.
- Peppers/pepper: pick green for crispness or wait for color for extra sweetness—mark this on your calendar.
A quick evening walk lets you spot ripe pieces so mornings are efficient. Delaying pick invites pests, splits, and opportunistic losses.
“Pick when ready; small, regular harvests keep plants productive and reduce waste.”
Label planting dates on bed edges or in a phone note. This helps any gardener predict first-pick dates through the year and keep yields coming.
Moisture mistakes: Overwatering ruins in‑ground storage
In‑ground storage only works when winter moisture is moderate and the soil drains well. One heavy rain or a watering mistake can rot potatoes, garlic, and other roots that you meant to keep until spring.
Epic Gardening’s Kevin Espiritu left tubers in place and faced rot after a wet stretch. That real example shows how quickly good intentions turn into losses.
Potatoes, garlic, and roots: Drainage matters before the freeze
Use raised ridges or well‑amended sections to improve drainage before cold sets in. Check the bed by hand: aim for damp, not soggy.
- Warn: Overwatering or heavy rain saturates beds and causes rot—harvest early if a wet forecast threatens your harvest.
- Watch leaves: Yellowing at season’s end often signals natural curing—avoid extra water then.
- Label where storage crops sit so routine watering for tomato or peppers doesn’t soak them by accident.
- Remove diseased roots quickly to stop spread and protect spring planting vigor.
“One careful adjustment—raise the row or pull early—can save most of an at‑risk harvest.”
Indoor heroics rarely pay: Peppers, tomatoes, and winter reality
Bringing warm-season plants inside rarely recreates the long, bright summer they need to thrive. Most tomato and pepper rescues limp through winter with weak light, dry air, and rising pest pressure.
Level with yourself: peppers and tomatoes often grow leggy and fruit poorly indoors. Even when they survive, yields stay low and flavor fades.
Indoor conditions lack the high-angle light and full days that a tomato needs. Supplemental lights help, but they rarely fully replace outdoor sun. Pest issues climb without outdoor predators to keep insects in check.
- Better plan: start fresh seedlings under grow lights in late winter for strong spring transplants.
- Compromise: overwinter compact pepper varieties only if you have strong lighting and accept small harvests.
- Shift indoor effort to herbs, microgreens, and leafy greens that suit low winter light.
“A fresh start in spring usually beats months of rescue work.”
| Action | Expected Result | When to Use | Notes |
|---|---|---|---|
| Overwinter mature tomato | Leggy growth, low fruit | Only with strong lights | High care, poor flavor |
| Start new seedlings | Vigorous spring plants | Late winter | Best yield and texture |
| Indoor herbs/microgreens | Reliable winter harvest | Any time | Low pest risk, quick returns |
Sanitize pots and tools before bringing anything inside and use winter to plan varieties and setups so the next year starts strong.
garden was failure until i learned diagnose: A list of fixes that actually worked
A short list of targeted fixes turned scattered problems into steady gains by spring. These steps focus on testing, light, rotation, and simple kid-friendly routines so your beds recover fast.
Soil test → tailored amendments → stronger spring growth
Start with a lab soil test. Add only what the report recommends: balanced amendments, finished compost, and mulch.
Result: earlier vigor, fewer nutrient gaps, and healthier plants through the growing season.
Rebuild beds for full sun and rotate crops
Move or rebuild beds that lost full sun. Restoring bright exposure revived fruit set quickly.
Rotate tomato and pepper families each year to cut disease and pest buildup. Choose resilient varieties with clear days‑to‑maturity for a steadier yield.
Plan for kids: supervised seed stations and pollinator patches
Create a small seed table, label every row, and set a pollinator patch where kids can sow and watch flowers.
This keeps play contained, reduces overcrowding, and turns learning into reliable help.
- Use hot or certified compost to avoid bringing weed seeds into rebuilt beds.
- Protect at-risk crops with row covers during late frosts rather than replanting.
- Set a weekly harvest routine to prevent lost or split fruit.
- Track changes by year so fixes become your durable playbook.
“Small, test-based changes and clear roles for helpers kept the work manageable and the harvest steady.”
| Fix | Action | When to Use |
|---|---|---|
| Soil deficit | Soil test → target amendments, compost top‑dress | Late fall or early spring |
| Shade creep | Rebuild/move bed to full sun; prune canopy | Before planting season |
| Solanaceous disease | Rotate tomatoes/peppers; choose resistant varieties | Every other year |
| Weed influx | Use hot compost, screen material, mulch | When creating new beds |
| Kid chaos | Supervised seed stations, labeled rows, pollinator patch | Any planting day |
Conclusion
Small, regular checks shifted seasonal guesswork into predictable care and better harvests. Use a short, living checklist to track sun, soil, water, and timing so each year builds on clear data.
This approach turns setbacks into useful lessons. Notice frost risk, test soil before big fixes, keep spacing and full sun priorities, and match varieties to your growing season.
Pull a few weeds early, harvest promptly, and label beds. Those simple moves protect leaves and fruits and save a lot of work.
Try one or two ideas next season and watch plants respond. Many people find small wins—tidier beds, steadier yields, calmer routines—are the real reward.