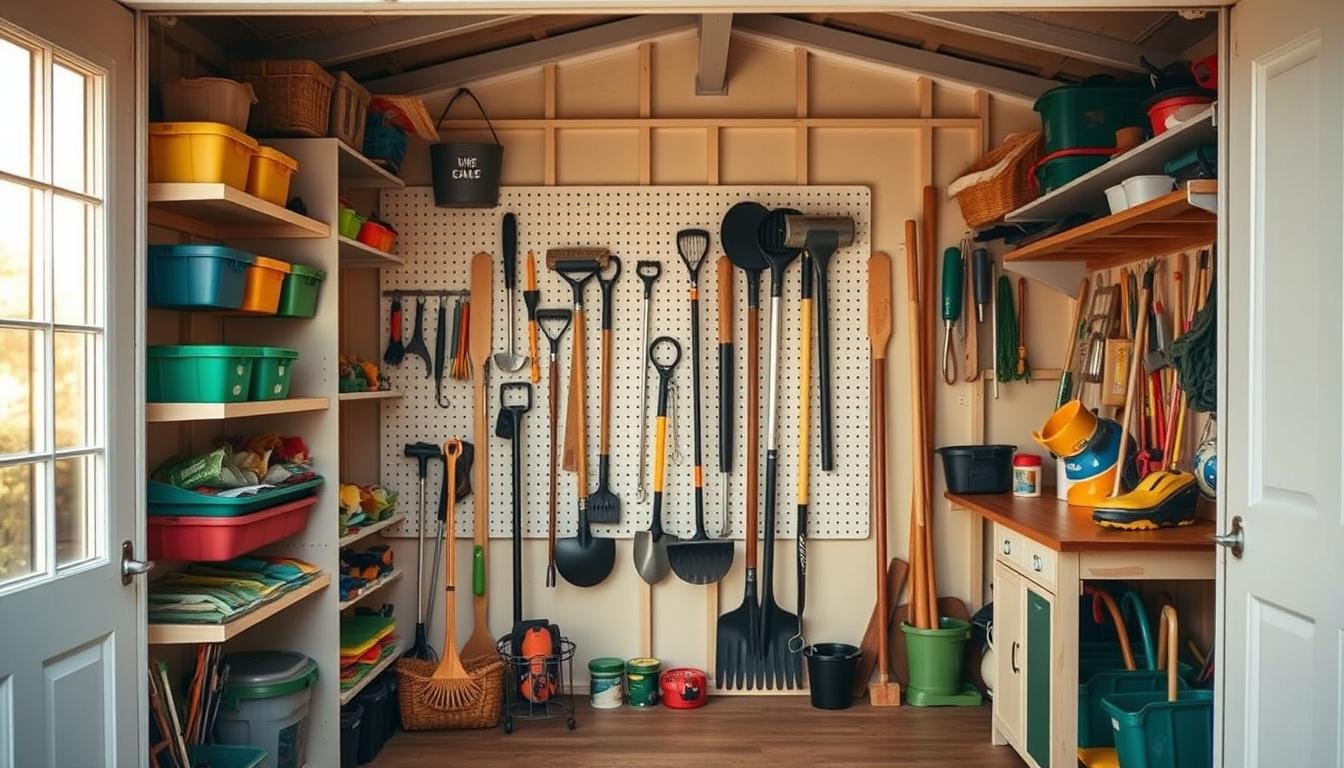
Can one weekend really turn a chaotic storage room into a calm, usable work hub?
Imagine opening the door and finding every tool in its place. That feeling starts with a clear goal and a simple plan you can follow in a few focused moves.
This project uses proven storage ideas: wall racks, pegboards, overhead bins, clear labeled containers, and adjustable shelving to free floor space and speed tasks.
Begin by emptying the space, cleaning floors, and grouping items by use. Then add sturdy hooks and spaced pegboards so tools hang safely without overlapping.
Protect surfaces with vinyl mats or an epoxy coat, and mark homes for tools with chalkboard outlines or laminated photos. Seasonal tidy-ups will keep the results working for you.
Key Takeaways
- Set a clear goal: make a safe, efficient base where every item has a home.
- Use vertical and overhead solutions to keep the floor clear and hazard-free.
- Choose strong hooks, pegboards, and adjustable shelving for lasting organization.
- Protect floors with vinyl or epoxy for easier cleaning and odor control.
- Label and map tool spots so the whole household can reset the space quickly.
- Plan short seasonal refreshes to sustain gains and save time over the year.
Start Fresh: Empty the Shed and Prep the Space
Pull everything out and work from an empty shell — this clears the way for smart choices. Begin with a full clear-out so you can sort, clean, and repair with purpose.
Pull tools, boxes, and gear into clear zones on the driveway or lawn. Photograph the empty interior to plan storage and note weak spots.
Take everything out to get a clean slate
Seeing every item at once makes decisions faster. Lay things out so duplicates and damaged gear stand out. This single view saves time on later projects and helps you decide what truly needs to return.
Deep clean and inspect for moisture, pests, and repairs
Sweep and vacuum the floor, then wipe shelves and window sills. Look for damp patches, chew marks, and soft boards. Tighten loose boards and seal small leaks before you reload.
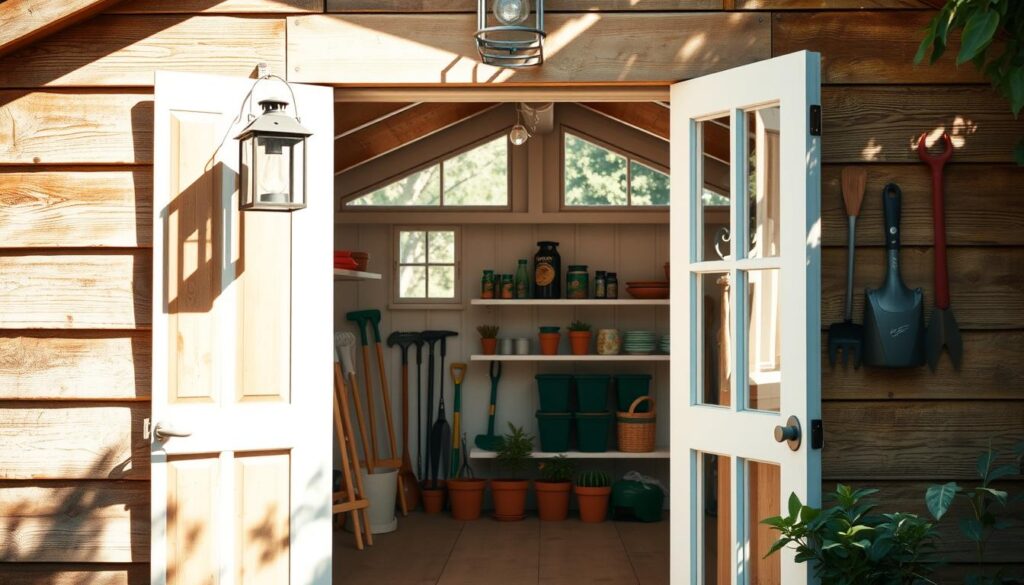
- Start by removing every single item. A fully empty shed reveals what you own and gives a true fresh start.
- Clean methodically: sweep or vacuum, wipe surfaces, and fix roof or wall issues now so the space stays dry and safe.
- Pay attention to the floor: sweep grit, vacuum corners, and note stains or soft spots that signal moisture or oil.
- Set a timer to keep momentum, wear gloves for dusty areas, and photograph the cleared space for planning.
“A clean space is the first real step toward a lasting system.”
Smart Decluttering: What Stays, What Goes, and What Gets Recycled
Declutter with purpose: keep what you use, donate or sell what still works, and toss what’s broken or unsafe. Fewer, better items make the shed easier to use.
Start by sorting every item into three clear piles: Keep, Donate/Sell, Toss. Use simple criteria: if you use it at least once a year, it stays. If it’s duplicate or unused, pass it on. If it’s broken or hazardous, discard it responsibly.
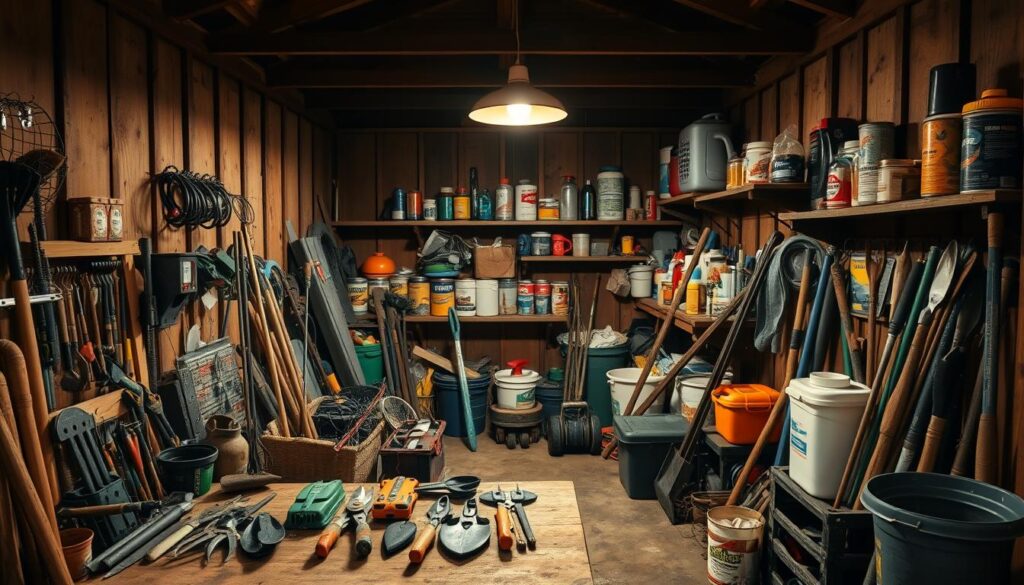
Safety first
Follow safety rules—expired seeds (often 1–6 years) and weed and pest controls (around 2 years) should go. Rusty or damaged tools do not belong back in your space.
“Less stuff on the floor means fewer hazards and faster starts for every project.”
| Item type | Keep? | Action | Notes |
|---|---|---|---|
| Seeds | Depends | Toss if >6 years | Check germination or test new batch |
| Weed/pest products | No if expired | Dispose per local rules | Many expire ~2 years |
| Tools | Yes if safe | Repair or recycle metal | Donate usable extras |
| Small supplies | Yes in shallow bins | Use labeled shallow bins | Avoid stacking more than one high |
- Apply simple criteria: functional and used yearly = keep; duplicate or unused = let go; broken = dispose safely.
- Use a 30-day pending box for uncertain items and decide later to prevent instant backsliding.
how organize cluttered garden shed step-by-step makeover
A clear category map turns piles of gear into a usable routine. Map categories first—garden tools, lawn equipment, DIY supplies, and seasonal items—so you can size storage and choose the right wall fittings, shelves, and overhead racks.

Map categories: garden tools, lawn equipment, DIY supplies, seasonal items
Spread your Keep pile into clear stacks and label each group. This shows how much shelf and floor space each needs.
Place hand tools at chest height, long-handled items on open walls, and heavy equipment low and stable. Keep seasonal items together so they move as a unit.
Plan zones for frequency of use and storage needs
Daily-use items go by the door, rare items up high or in rafters. Reserve a small work zone with hooks, a magnetic strip, and a bin for fast supplies and small tool bits.
- Sketch a simple plan noting wall runs, door swing, and safe overhead support.
- Think returns first: make every tool’s home obvious to speed tidy-ups.
For ideas on upcycling and clever fittings, see this practical guide — upcycle and organise the shed.
Design Your Layout: Flow, Access, and Space-Saving Ideas
Design for flow: place quick-grab items by the door and move long-term storage to the back or overhead. Keep the floor open—wall hooks, racks, and shelves free up space and speed access.
A smart layout cuts the number of moves between you and the task at hand. Put daily-use equipment within arm’s reach of the entrance so you don’t cross the room to fetch basics.
Park bulky items low and to the side so they never block the main tool wall. Use the back wall or rafters for seasonal boxes and rarely used bins.
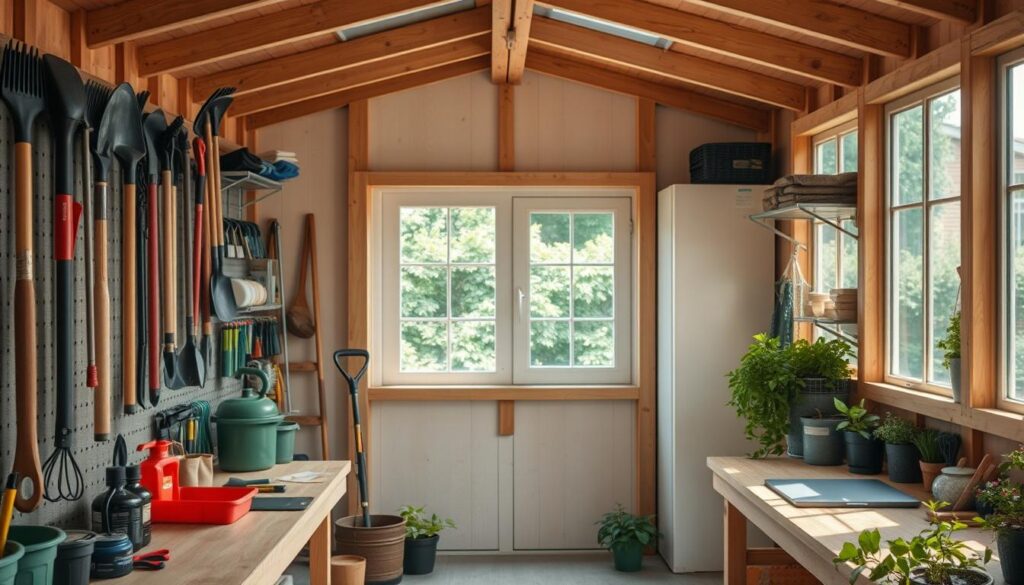
High-frequency items by the door; long-term storage toward the back
Anchor a grab-and-go zone at the entrance with hooks, a small shelf, and a basket for gloves and shears. Label that place so returning items is fast.
Keep the floor clear for safety and faster access
Test your plan by staging a tidy: can you return items to the right place in seconds? If a placement forces extra moves, rework it.
- Park heavy equipment low and sidewise so it won’t block walkways.
- Use corner vertical racks for long-handled tools to keep the floor clear.
- Keep paths wide enough to turn with a mower without bumping stored items.
“Small layout wins—like a near-door basket for gloves—save time and reduce daily friction.”
For layout inspiration and a real example of a tidy workshop, see this workshop shed makeover.
Wall Storage That Works: Hooks, Tool Racks, and Pegboards
Build reliable walls: custom-space hooks, choose sturdy tool racks, and mount into studs or anchored boards so nothing slips or overlaps. Use pegboards with wood spacers, plus magnetic strips and slat walls, to keep small tools visible, tidy, and easy to return.
Give each tool a clear, visible home on the wall so returns happen without thinking. Mount a horizontal board into studs, then fit hooks into that board for strength. Hold a shovel or pruner at the spot before you drill to make sure heads won’t bump neighbors.
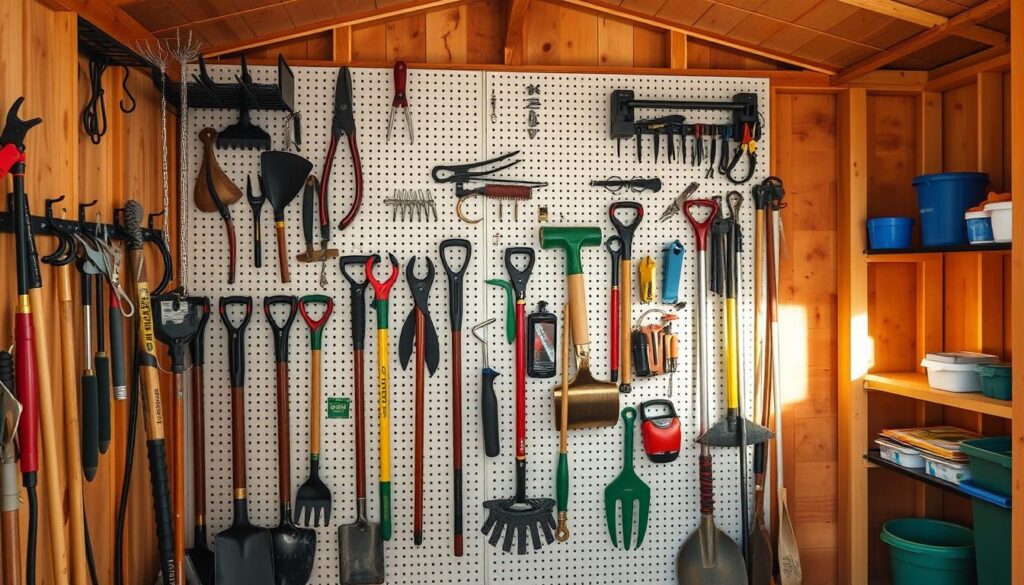
Custom-spacing hooks and sturdy tool racks that won’t drop tools
Mix hook styles: deep hooks for shovels and rakes, narrow hooks for trowels, and loops for cords.
Screw hooks into studs or into a screwed-in board. Avoid sideways racks that let tools slide and fall when nudged.
Pegboards with proper spacers for small tools and accessories
Install pegboards with wood spacers so pegs sit straight and lock. Stock assorted peg hooks for pruners, shears, and hand tools to keep parts visible and reachable.
Magnetic strips, slat walls, and wall organizers for versatile storage
Add a magnetic strip above your workbench for bits, hex keys, and small metal pieces. If you want frequent reconfiguration, a slat wall gives flexible brackets and bins.
| Option | Best for | Mounting | Pros |
|---|---|---|---|
| Individual hooks | Long-handled tools | Studs or anchored board | Strong, simple, cheap |
| Pegboard | Small hand tools | Wood spacers off wall | Visible, modular, many hook styles |
| Magnetic strip | Metal bits and small tools | Direct to wall or board | Quick access, keeps bench tidy |
| Slat wall | Variable storage needs | Panel mounted to studs | Flexible, reconfigurable |
“Hold each item in place before you fix its hook—spacing saves time and prevents collisions.”
Go Vertical: Shelving, Bins, and Overhead Storage Space
Add adjustable shelving for strength and flexibility and use clear, labeled bins for small parts so you can see contents at a glance.
Reserve overhead storage for rarely used or seasonal items—keep everyday gear within easy reach on lower shelves.
Use vertical systems to turn wasted airspace into quick-access storage. This saves floor room and makes routines faster. Focus on sturdy supports and clear labels so returns stay simple.
Adjustable shelving and clear bins for daily gear
Choose metal or wood shelving that adjusts. Put heavy equipment low and lighter items higher to reduce lifting strain. Keep shelves steady and anchored to studs or a blocked board.
Use clear storage bins for gloves, fittings, and hardware so contents are visible. Label bin fronts and avoid stacking more than one high; this keeps access quick and safe.
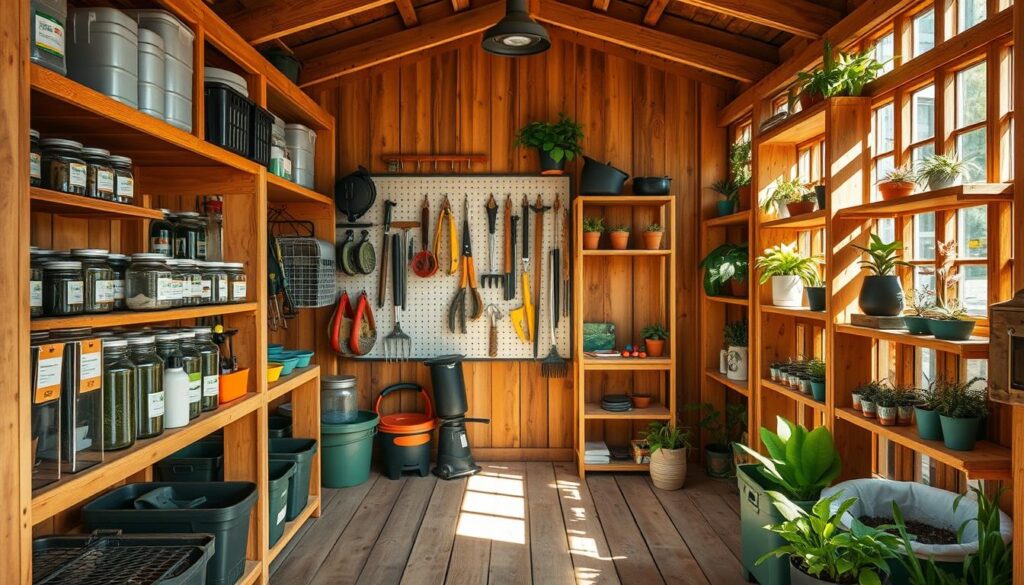
- Place heavy equipment on the lowest shelves to protect knees and backs.
- Keep small parts in clear storage bins with front labels for fast grabs.
- Choose adjustable shelving so shelf heights change as your tools or supplies do.
Use rafters and overhead racks for seasonal items
Lift rarely used boxes into overhead racks or rafters to free prime wall and shelf space. Build simple loft platforms from 2×4s and plywood or fit manufactured overhead racks.
Group seasonal items together in labeled bins so they move as a set. Keep a stable step stool nearby and never overload rafters beyond their rated capacity.
“Moving storage up clears walking space and keeps everyday items within easy reach.”
Durable, Easy-to-Clean Floors: From Vinyl Mats to Epoxy
Shield your floor to make cleanup quick and the space healthier. A clean, sealed surface extends the life of your shed and makes every project feel easier from the ground up.
Choose the right finish for plywood or concrete so spills, grime, and lingering odors stop at the surface.
Plywood soaks up oils and smells. Lay a heavy-duty vinyl garage mat wall-to-wall to create an impermeable layer. That synthetic surface sweeps clean and keeps spills from seeping into wood. Pick a lightly textured mat for traction without trapping debris.
Concrete benefits from an epoxy or resin coat. Epoxy resists gasoline and mower oil, cuts dusty surfaces, and makes wiping up routine. Plan seams and edges near the door so the finish won’t curl or become a trip hazard.
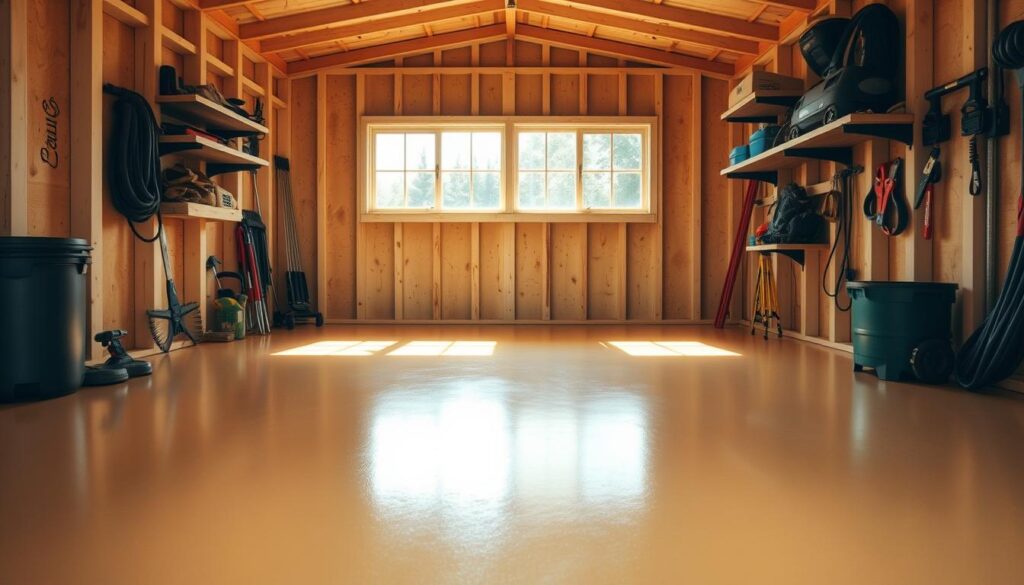
- Lay a heavy-duty vinyl garage mat over plywood to block moisture and oil.
- Sweep debris toward the door — a sealed floor won’t hold grit or sticky residue.
- Coat concrete with epoxy to resist stains and reduce dust.
- Pick a lightly textured finish for grip without hard cleaning.
- Re-level shelves after a floor upgrade so nothing wobbles.
“A protected floor preserves boots, keeps smells out, and makes every clean-up faster.”
| Floor type | Best option | Benefits | Notes |
|---|---|---|---|
| Plywood | Heavy vinyl garage mat | Impermeable, easy to sweep, protects from oil | Lay wall-to-wall; plan door seams to avoid curl |
| Concrete | Epoxy or resin coating | Stain resistant, reduces dust, simple to mop | Prepare surface; follow cure time and ventilation |
| Mixed subfloor | Combination: mat + epoxy threshold | Targets high-wear zones and entry points | Use floor-safe entrance mats to trap grit |
For practical inspiration on durable finishes and classic storage ideas, see this guide to crafting the ideal shed base: create the perfect English garden shed.
Labeling and Systems: Make It Obvious, Maintainable, and Mouse-Resistant
Clear labels and simple systems keep tools in their place and extend the life of stored items. Make returning things automatic with visual cues and pest-proof bins so the space stays ready for work.
Start with chalkboard paint on pegboards to outline each tool; chalk markers wash off and let you update layouts quickly.
Label in layers: draw outlines, add names beneath hooks, and match color tape on a tool and its hook for instant recognition. A laminated photo map of each wall helps family members reset the area after a project.
Chalk outlines and washable markers for tool placement
Chalkboard paint on a pegboard creates a living map. Trace each tool so returns are simple and visual. Washable markers let you shift items without mess.
Color tape, photo maps, and clear labels for quick ID
Match colored tape on handles and hooks to speed finds. Post laminated photos of each wall for quick reference. Name labels below hooks remove guesswork and speed returns.
Systemize shelves, wall organizers, and seasonal tidy-ups
Use narrow shelves for small containers and wide shelves for bulky bins. Mount wall organizers at chest height for everyday hand tools. Choose lidded metal bins to keep mice and spiders out. Keep a “returns” bin by the door for items that need re-labeling or rehousing.
- Make it obvious: outline tools, add names, and color-match tape to save time.
- Build a durable system: mix wall organizers, narrow and wide shelves, and pest-proof bins.
- Annual routine: blow out leaves, clear cobwebs, donate unused items, and update labels.
| Feature | Best use | Benefits |
|---|---|---|
| Chalkboard pegboard | Tool outlines | Easy updates, visual returns |
| Color tape + names | Quick ID | Instant recognition, fewer mistakes |
| Lidded metal bins | Small loose items | Pest resistance, durable |
| Narrow vs. wide shelves | Small vs. bulky bins | Space efficient, fewer wasted shelves |
“A clear place for every tool makes tidy-ups faster and keeps gear ready for the next project.”
Conclusion
Your shed works best when everything has a clear place and the floor stays open. Place daily tools by the door, use strong hooks and tool racks, and store rarely used boxes overhead.
A few clear choices now save hours of searching later. Empty, clean, sort, and fit walls with hooks, racks, and shelving so returning items is simple.
Protect the floor with vinyl or epoxy and use labeled bins and chalk outlines to make returns obvious. Scale options to your home and budget—DIY racks or a small organizer can still change how you work.
For extra inspiration and real-life ideas, see this collection of practical solutions: real-life ideas.
Follow a yearly checklist, tweak by experience, and enjoy faster starts, safer paths, and a more productive gardening life.