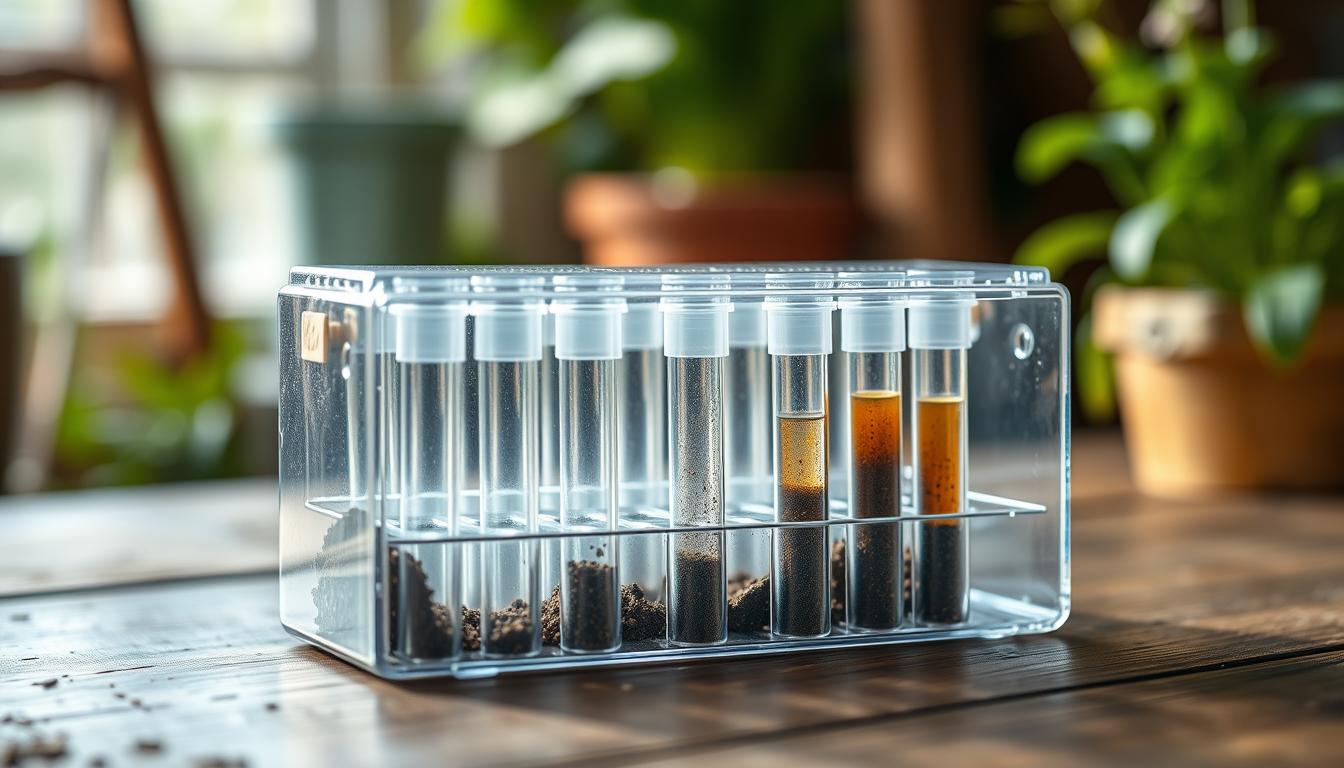
Can a simple home pack really match a university lab for everyday lawn and garden choices?
Yes—when you follow clear sampling steps, retest in fall, and use the results to make informed decisions about pH and nutrients.
Quick promise: a compact pack can deliver practical, lab-like results for routine gardening if you use it consistently and sample correctly.
Fall is the best time to run a sample because it gives you time to adjust pH and nutrient levels before spring growth. Adjustments like lime to raise pH or sulfur to lower it work best with a pause and a retest weeks later.
In this guide, we’ll show how to test, read online results, and turn those numbers into a simple fertilizer plan for lawn garden beds. We used a popular $31.99 option that offers online tracking and clear guidance on what, when, and how much to apply.
Key Takeaways
- Home options can match lab actionability for pH and major nutrients when used correctly.
- Test in fall to allow time for adjustments before spring planting.
- Follow consistent sampling and the same pack each season to track trends.
- Online results and historical tracking simplify your fertilizer plan.
- University extension principles back the basic analysis and fixes.
Why an at-home soil test can rival a lab for everyday lawn and garden decisions
A concise DIY check often gives the pH and macro nutrient trends you need to feed lawns, beds, and common plants. For routine care, repeatable measurements matter more than a deep elemental scan.

A professional laboratory uses optical spectrometers that vaporize samples at about 10,000 K to deliver high-accuracy elemental analysis. Those reports are detailed and useful for complex issues. But for most home projects you only need pH, phosphorus, and potassium trends to act with confidence.
Speed matters: mail-and-process turnaround averages 7–10 days (some labs process samples in 2–3 days after arrival). A local DIY option gives immediate results so you can amend this weekend instead of waiting.
- Goal: choose fertilizers and amendments for routine feeding and pH management.
- Difference: labs add micronutrient depth; DIY gives practical numbers when you test soil the same way each time.
- Nitrogen caveat: nitrogen changes daily, so focus on plant needs, season, and watering rather than a single reading.
- Repeatability: use the same depth and mixing method to track real changes.
If questions arise, your extension office can review results and offer region-specific advice. For most others managing healthy yards, a quick DIY check plus seasonal follow-up keeps chemistry in a productive range.
The at-home soil test kit that gave me lab-like results
The MySoil Test delivered clear numbers and a simple plan I could act on fast. It balanced easy use with data-driven guidance so small changes had measurable impact.
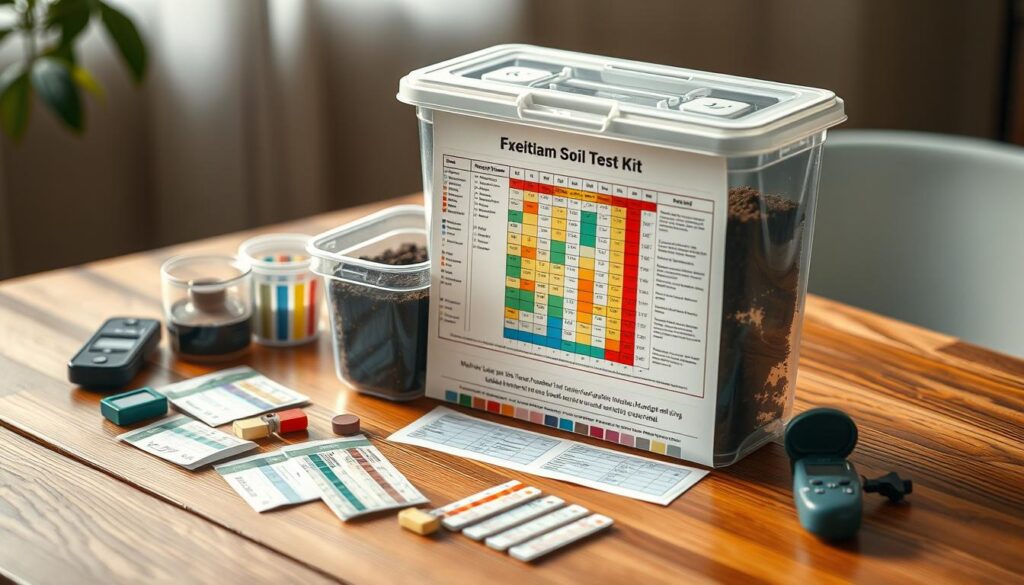
What this soil testing kit includes and how it works
Inside the package: a scoop, a return envelope with prepaid processing, and simple registration steps. You collect a sample, register online, mail it, then check the portal.
Why the results matched a professional soil analysis in practice
The online report shows pH and major nutrient levels with clear action steps. Recommendations mirrored what an extension lab would suggest: adjust pH, balance phosphorus and potassium, and plan nitrogen by season and plant type.
Turnaround time, online reports, and past test history tools
Results typically arrive in days, not weeks. The dashboard stores past results so you can track trends and compare areas over time. This makes follow-up rounds simple and reliable.
Cost, kit options, and ease of use for first-time testers
At $31.99 for a single pack, MySoil offers 2- and 4-pack savings for larger yards or repeat checks. Clear instructions and specific application rates reduce guesswork for new users.
buy a soil test kit to get started with a budget-friendly option that supports sustainable, data-driven fertilizer choices.
How at-home soil testing compares to extension labs
Quick checks give rapid direction while extension labs provide calibrated depth and region-specific guidance. Choose the approach based on urgency and the complexity of the problem you face.
University labs use high-end gear like optical spectrometers operating at about 10,000 K to identify elements precisely. That level of detail produces lab-grade reports and calibrated fertilizer guidance.
How long will it take to get results?
Typical turnaround runs 7–10 days, though some labs process samples in 2–3 days after arrival. Mailing adds extra time, so dropping a sample at your local extension office can speed delivery.
Why don’t many labs report nitrogen by default?
Labs often exclude nitrogen because levels swing with rain, temperature, and plant uptake. Texas A&M notes nitrate-N is often low or variable, so many professional soil test programs base nitrogen advice on crop, season, and weather rather than a single reading.
“For everyday lawn and garden decisions, repeatable checks and good timing often matter more than one perfect number.”
- Lab strengths: micronutrient depth, precise results, and fertilizer rates tailored to regions.
- Practical tradeoffs: mailing and processing add time; quick checks let you amend this weekend if needed.
- Costs: fees vary (Cornell ~$90; Rutgers basic ~$20; some extension offices even offer free options regionally).
Best practice: use a quick check each season for trends and consult a lab or extension office when issues persist or when you need a full analysis.
When to test your soil for the best results
Fall is the smart window for a routine check. An autumn soil test gives lime, sulfur, and nutrient amendments time to work through winter so spring growth starts on the right footing.

Why autumn testing sets you up for spring
Do your main sampling in the fall. This lets pH adjustments integrate and cuts back on unnecessary fertilizer. It also saves money over time by avoiding repeat buys.
Other good times to run checks
- Before new turf or garden beds: sample several weeks ahead so you can correct pH and baseline nutrients.
- After major renovation: confirm areas are balanced before planting or overseeding.
- When plants show stress: persistent yellow leaves, stunting, or poor flowering merit repeat tests to pinpoint causes.
- After extreme weather: heavy rains can leach nitrogen; retest if storms disrupted your plan.
| When | Why | Action |
|---|---|---|
| Fall | Allow amendments to act over winter | Adjust pH, plan spring feeding |
| Pre-plant | Set baseline for new beds or lawn | Correct pH several weeks before planting |
| Problem crops | Diagnose persistent issues | Repeat checks and compare areas |
Pro tip: run tests at the same time each year and keep records by area. That steady cadence reveals trends and helps you feed and water with confidence.
How to collect a soil sample the right way
How you collect the sample determines whether results match what your plants actually face in the ground. Follow a clean, repeatable routine so reports give clear, usable guidance for pH and nutrients.
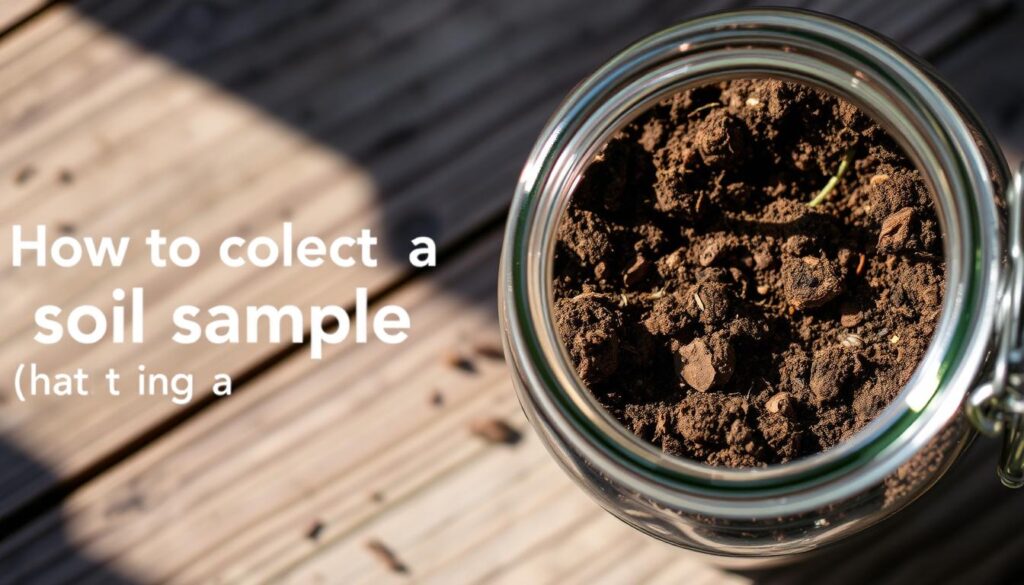
Tools, clean containers, and avoiding contamination
Gather a clean trowel or probe, a bucket, sealable bags, and your kit. Use non-rusting tools and clean containers to avoid metal contamination.
Depth, multiple cores, and mixing a representative sample
Take several cores across the area. For lawns, sample 3–6 inches deep; for garden beds, go 6–8 inches. Mix cores in the bucket to make one composite soil sample per zone.
Using distilled water and following kit instructions
If your kit requires moistening, use distilled water to avoid skewed readings. Let wet soil air-dry on clean paper before packing; never oven-dry.
Follow the written instructions. Each kit differs on how much to send, how to label samples, and how to prep for mailing.
Mail-in kits vs on-site drop-off at your extension office
Mail-in kits are convenient for many gardeners. If you live near an extension office, you can often drop off a sample; call the office first to confirm hours and protocols.
- Separate zones: collect distinct samples for front lawn, back lawn, vegetable beds, and ornamentals.
- Label clearly: record location and date so future tests match the same areas.
Step-by-step: using your kit for reliable, repeatable testing
Start with a calm setup: the same tools, timing, and spots make your readings meaningful over time. Read the instructions before you open anything so every round follows the same rhythm.

pH strips: quick acidity/alkalinity snapshot
Mix one part soil with one part distilled water, stir, and dip the strip. Compare colors to the chart and repeat twice. Averaging two or three readings gives a steadier pH level.
Capsule tests: pH plus N-P-K nutrient analysis
Measure soil per the printed instructions, add distilled water, then introduce the capsule contents. Shake, wait for the color to develop fully, and match the chart for N‑P‑K and pH.
Soil analyzers: electronic pH, moisture, and light readings
Wipe prongs with distilled water, insert to the target depth, and switch modes for pH, moisture, or light. Wipe between areas to avoid cross contamination and average multiple readings for each zone.
- Standardize your setup: same tools, labels, and timing each season.
- Control variables: test at similar moisture and temperature.
- Log data: photo the color charts or record numbers in the app and keep notes.
Keep the workflow simple and focused on repeatability. For more sample guidance and timing, see the sample instructions provided by practical garden resources.
Reading your soil test results like a pro
Start with the big picture: pH and the three main nutrient numbers. Those two items turn an analysis into practical actions you can take this season.
Start by scanning your report for pH and macronutrient numbers. These levels steer nearly every action you’ll take for lawn and garden health.
Interpreting pH and nutrient availability
Most plants prefer pH between 5.5 and 7.5. Low pH can lock out nutrients; high pH can make some elements scarce.
Small shifts matter: a half-point change can unlock nutrients already present. If you lower pH, use sulfur or aluminum sulfate; raise it with lime or wood ash and retest after a few weeks.
Nitrogen: a moving target
Nitrogen drives green growth but varies with weather and watering. Manage N with scheduled feedings tied to plant type and season rather than reacting to one number.
Phosphorus and potassium: roots, blooms, and vigor
Low phosphorus often shows as weak roots and sparse flowers. Potassium boosts stress tolerance and disease resistance.
“Use your results to match numbers to action—apply only what the analysis recommends to protect waterways.”
| Element | What low shows | Action |
|---|---|---|
| pH | Locked nutrients | Apply sulfur or lime; retest |
| Phosphorus | Poor roots/flowers | Use P-rich starter or bone meal |
| Potassium | Weak stems, stress | Apply K fertilizer; balance with N |
Match results to plants: lawns need steady N; vegetables often need a P boost at planting; ornamentals do best on balanced numbers. Retest after amendments to confirm improvement.

Choosing fertilizers and amendments based on your results
Let the figures guide your fertilizer choice: match ratios to deficiencies and skip guesswork. Small, targeted changes beat blanket feeding—use numbers to plan one tidy correction at a time.
How to read N‑P‑K ratios and pick the right product
N‑P‑K tells you the percent of nitrogen, phosphorus, and potassium. A balanced option like 10-10-10 fits general needs. Choose a higher-P product when phosphorus is low or a K‑heavy blend when potassium is the weak point.
Organic amendments that improve structure and supply nutrients
Use compost to build structure and slow-release nutrients. Add bone meal for phosphorus and calcium. Spread aged manure for organic matter and gentle feeding.
For quick nitrogen boosts, fish emulsion gives a mild, fast nutrient lift and trace minerals.
When to apply, how much, and water considerations
Follow label rates and apply when roots are active. Lightly water after feeding to move nutrients into the root zone.
Avoid heavy applications before storms; timing helps prevent runoff and wasted product in your lawn garden.
Sustainable choices to reduce runoff and protect waterways
Prefer slow‑release fertilizers and organic matter to hold nutrients on site. Match additions to your test results and retest seasonally.
- Turn numbers into action: pick an N‑P‑K that targets the low number.
- Keep it simple: small, precise changes are the best long‑term solution.
For practical next steps after your test results, see this follow-up guide.
Make informed decisions for lawns, gardens, and specific plants
Use clear results and past records to tailor care for each area. Good data turns vague chores into precise actions for better growth and less waste.
Good records turn a single analysis into a long-term plan for firmer turf, healthier vegetable beds, and happier acid-loving plants.
How to build a data-driven turf program
Start by separating front, back, and high-traffic lawn zones in your records. Track pH and nutrient numbers for each area so you know where to apply lime, sulfur, or fertilizer.
Tip: Use past results to time pre-emergent applications, spring and fall feedings, and pH adjustments for thicker, more resilient lawn growth.
Garden and plant-specific needs: vegetables, ornamentals, and acid-lovers
Match vegetable beds to a balanced phosphorus blend at planting and add compost to hold nutrients through the season.
If analysis shows high pH, schedule sulfur changes for blueberries, azaleas, and rhododendrons so acid-loving plants can thrive.
- Personalize by plant: amend perennials differently than annuals and adjust water by texture.
- Use area-specific records: separate lawn and garden results to fine-tune products and rates.
- Apply kit insights: target weak spots instead of blanket-feeding every space.
- Sustainability: add only what data recommends to reduce runoff and waste.
- Close the loop: retest to confirm changes improve plant health.
When to send a soil sample to a professional laboratory or extension office
Choose a lab when simple fixes fail or a big project needs detailed baseline data. Your local extension office can also offer region-specific recommendations and tools to match products to a prescription.
For major landscape work, conversions, or recurring plant issues—like ongoing chlorosis, stunting, or repeated failures—send a composite sample for full analysis.
Red flags: persistent problems and big projects
Pick a professional panel when problems persist despite following routine results. Labs report texture, organic matter, and micronutrients useful for new builds or large renovations.
Screening for contaminants like lead
Ask explicitly for contaminant screening if you garden in urban or older properties. Rutgers offers basic panels for about $20, with lead screening around $18 extra. Cornell panels run near $90. Some states, such as Arkansas, provide free analysis for residents.
How to work with your local office
Plan around a 7–10 day turnaround including mailing; some labs process in 2–3 days after receipt. Drop-off at the office can cut mailing time.
- Coordinate: bring past results and explain plant goals so recommendations fit your site.
- Pair approaches: use seasonal home checks for routine care and labs for baselines.
- Tools: many extension offices maintain fertilizer-finder tools to simplify the final solution.
Conclusion
Quick, repeatable sampling and a reliable soil test kit turn guesswork into clear action for your lawn and garden. Use results to guide targeted fertilizer and pH fixes, and retest seasonally to track progress.
MySoil’s online dashboard and history tools make seasonal adjustments simple, so a small routine yields steady improvement. For contaminants or complex issues, rely on a professional lab (typical turnaround 7–10 days) to supplement routine analysis.
Keep momentum: schedule your next testing window, note which beds need attention, and apply focused fertilizer or amendments per the report. With an easy-use workflow, clear results, and consistent sampling, you can manage your yard confidently all year long.