![How to Fix Timer Backflow Preventer Dripping Constantly [Troubleshooting]](https://thegardenhaven.com/wp-content/uploads/2026/02/how-to-fix-timer-backflow-preventer-dripping-constantly-troubleshooting.jpeg)
I once watched a favorite bed drown in runoff while the garden hose hissed in the dark — that helpless feeling pushed me into careful, steady checks that saved my soil and peace of mind.
A backflow device is meant to stop reverse flow so contaminated water can’t reach your clean water supply. A brief release at shutdown can be normal, but a steady drip under pressure usually signals a worn seal, trapped debris, or an installation-order problem.
This short guide sets clear expectations and safe, practical steps for homeowners. You’ll learn how to isolate each component in your irrigation system and test parts so you fix the right item the first time.
Quick wins include confirming flow direction, cleaning screens, replacing an O-ring, and avoiding over-tightened plastic fittings. If your assembly ties into municipal rules, I’ll note when a certified pro must step in.
Key Takeaways
- Know that a small shutdown drip can be normal, but steady leaking under pressure is not.
- Isolate and test the timer, preventer, filter, and regulator in sequence.
- Common fixes: clean screens, replace O-rings, and confirm correct device order.
- Watch for compliance issues—municipal supply rules may require certified repair.
- Use gentle tightening and avoid overtightening plastic fittings.
- Find a practical DIY drip plan and when to call a licensed backflow professional.
- For a gardener-friendly drip layout that pairs well with these checks, see this DIY drip system.
DIY drip system that waters all 20
What “Constant Dripping” Means for a Backflow Preventer (and When It’s Actually Normal)
A steady bead of water around an irrigation device often tells a simple story: either the system is releasing trapped water, or a component is failing. After a zone shuts off, a small weep from a relief valve can be normal as pressure equalizes. That brief release should stop quickly.
By contrast, a true leak while the line is pressurized is not normal. Look for persistent wet spots, a rhythmic drip that matches pressure cycles, or soil that never dries near the assembly. These are clear signs something needs attention.
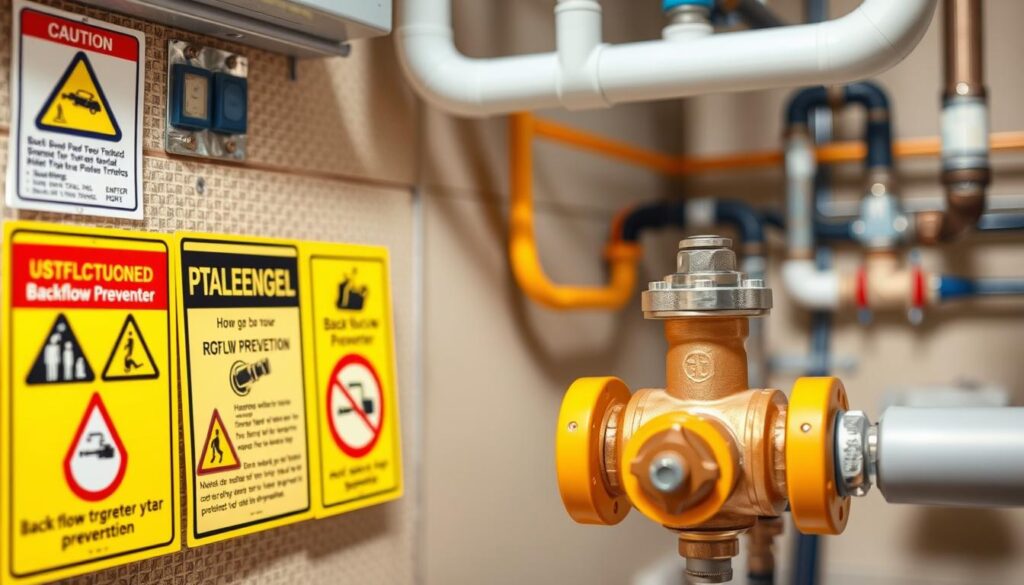
- Visual red flags: rust blooms, mineral staining, pooling water, or eroded mulch under the unit.
- Performance clues: sudden water pressure swings at heads, inconsistent flow, or odd noises like hissing or banging.
- Safety and compliance: a leaking device can threaten the potable water supply and many U.S. jurisdictions require annual testing and limit who may open or repair assemblies.
If you confirm it’s more than normal relief behavior, isolate each component next. That helps you find the exact source and avoid unnecessary replacement of the entire assembly.
How to fix timer backflow preventer dripping constantly [troubleshooting]
A calm, ordered check of each part will show which item lets water escape under pressure. Take your time and test one component at a time so you don’t swap parts unnecessarily.
Confirm the leak source by isolating head assembly components one at a time
Turn the system off at the timer, then pressurize briefly while removing a single component. Start by removing the backflow device and run the line a short moment.
If the leak stops, the removed item likely caused the problem. If not, reinstall it and test the filter next, then the pressure regulator. This stepwise check narrows the issue fast.
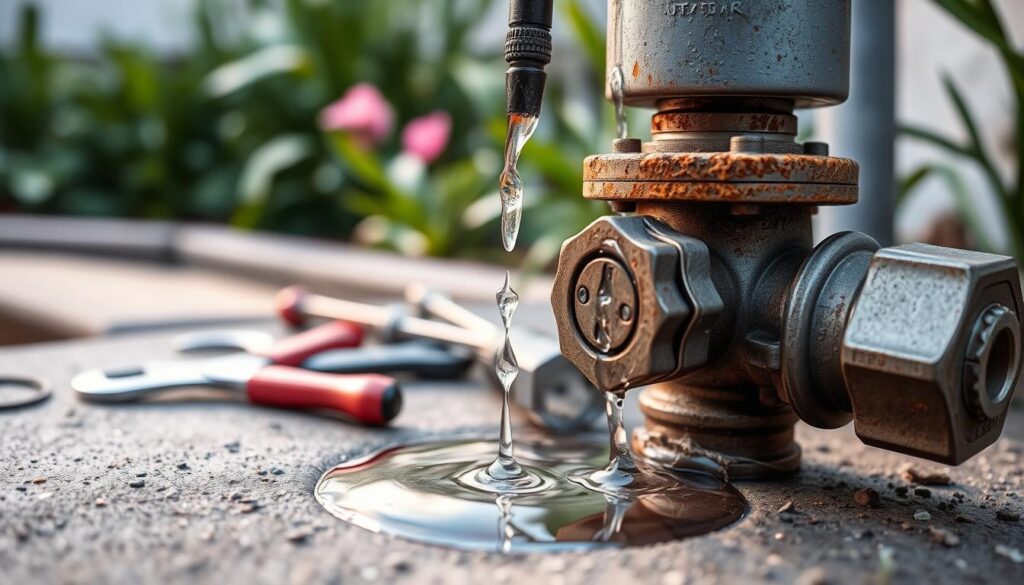
Check installation order and pressure concerns
Correct stack: timer → backflow preventer → filter → pressure regulator → tubing. If the order is wrong, trapped pressure can build and harm the device, forcing water out relief holes.
Inspect threads, washers and avoid common plumbing errors
Hose-thread fittings (GHT/FHT) use a rubber washer. Pipe-thread fittings (NPT) seal by taper and do not use washers. Mixing them or adding Teflon tape on a hose thread can prevent a washer from seating and create persistent leaks.
Rule out overtightening damage
Hand-tighten hose fittings only. Over-cranking plastic fittings can flatten O-rings, deform seals, or crack housings and turn a small drip into a steady leak. Once you identify the leaking component, move on to targeted repairs or replacements.
Troubleshooting guide for leaking systems and a note on adapters: see a clear guide for thread adapters here.
Targeted Fixes for Each Component That Commonly Causes Leaks
Start with the part you isolated; focused checks stop wasted effort and find the true source fast. This section lists clear, small repairs you can try after isolation testing.
Use the mini map below to jump straight to the part you identified during testing.
Backflow unit O-ring and relief holes
Remove the unit cap and inspect the O-ring for cracks or flattening. Reseat or replace the ring so it sits fully in its groove.
Check relief holes. Occasional weeping at shutdown can be normal, but steady water from relief ports signals trapped pressure or internal damage and needs replacement or rebuild.
Worn seals, springs and rebuild kits
If seals or springs show wear or corrosion, a model-specific rebuild kit often restores full function. Choose a kit that matches the unit serial or model number.
Debris in diaphragms and fouled checks
Grit and mineral buildup keep check valves from closing. Gently open the check area, rinse parts, and clear grit with a soft brush. Reassemble and test for one-way flow.
Filter canister and screen maintenance
Shut water, open the canister, remove the screen, and rinse away sediment. Inspect inlet O-rings on hose-thread fittings and hand-tighten the canister when reassembling.
Pressure regulator relief behavior
Some regulators drip lightly from a small relief port as they seat. Try the seating trick: briefly seal the port with your finger, release, then cycle the system on and off. If a steady stream remains, the regulator is likely defective.
Flow direction checks and compliance note
Always follow the arrow stamped on valves and regulators. Reverse orientation prevents internals from sealing and mimics housing damage.
If local codes require certified inspections for your assembly, use these checks only for observation and basic maintenance; defer regulated repairs to a qualified pro.
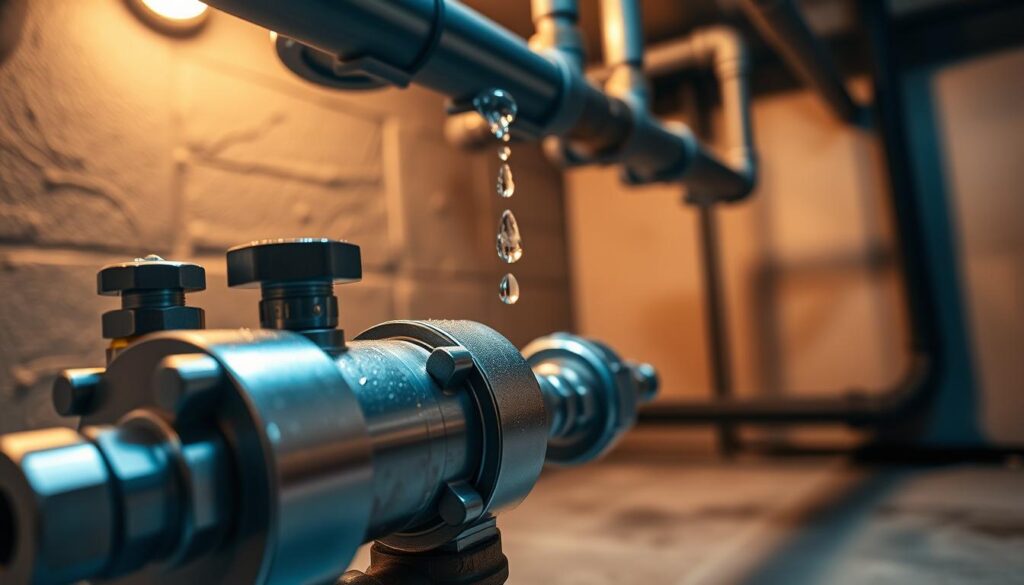
| Component | Quick symptom | Simple action |
|---|---|---|
| Backflow unit O-ring | Steady leak at cap or relief holes | Reseat or replace O-ring; inspect relief ports |
| Internal seals & springs | Repeated leaking after O-ring change | Install model-specific rebuild kit |
| Diaphragm/check valve | One-way flow failure, brief spurts | Clean debris, rinse parts, reassemble |
| Filter and screen | Weeping at filter, low flow | Open canister, clean screen, check O-rings |
| Pressure regulator | Drip from relief port under pressure | Seat diaphragm trick; cycle system; replace if persistent |
For deeper system repairs and a full DIY irrigation rebuild, see this repair guide and a water-saving rain barrel setup that pairs well with smart irrigation here.
Other Irrigation System Issues That Can Look Like a Backflow Leak
A mystery drip often follows water along the lowest route, hiding the true source upstream. Read this short checklist before you swap major parts. It helps you spot common issues around fittings, pressure, and drippers so you don’t chase the wrong suspect.
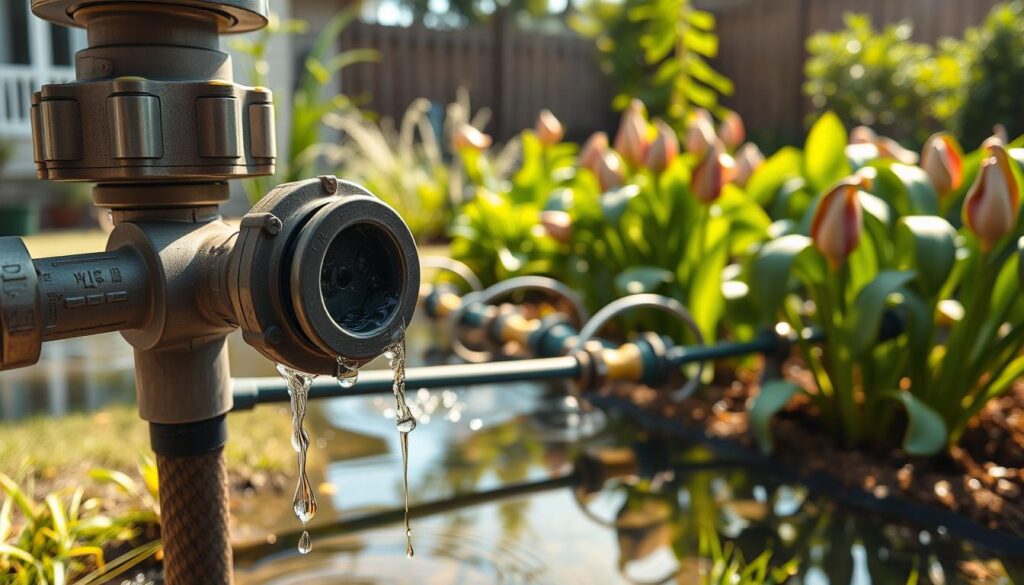
Fittings and adapters
Confirm size compatibility. Match tubing OD to the fitting type. Hose-thread connections need a washer; replace worn washers and inspect threads for cross-threading.
Barb and insert fittings often benefit from a clamp. Compression fittings seal on outside diameter, so a slightly wrong size will leak over time.
System pressure problems
Check that your operating pressure stays within rated limits for valves and parts. Constant pressure or pressure spikes can force weak connections past their limits.
Watch pressure behavior at start-up and shut-down. If chattering or sudden drops happen, suspect a wider plumbing or municipal supply issue.
Drippers and connection leaks
Barbed drippers installed backwards will push water out the inlet and make the tubing wet. Reinstall them correctly.
If you’ve moved emitters a few times, holes can stretch. Punch a fresh hole and seal the old one with a goof plug.
- Quick checklist: match tubing size, replace worn washers, add clamps for barbs, and monitor pressure changes.
- After you fix downstream fittings, retest the head area. Many apparent device leaks vanish when pressure and connections are healthy.
For a concise reference on common leaking systems, see the leaking systems guide.
Conclusion
A steady leak under pressure means action — not panic. A small, brief weep at shutdown can be normal, but a true, ongoing leak from a backflow preventer or its seals shows worn parts, trapped debris, wrong part order, or pressure issues.
Follow a calm, step-by-step diagnosis: isolate each component, confirm the correct sequence (timer → device → filter → regulator), then replace or rebuild the specific part such as an O-ring, screen, or valve spring. Watch the relief port during a short test cycle and note any persistent flow.
Protecting your garden also protects the public water supply. Keep quick visual checks, clean screens when buildup appears, and avoid over-tightening fittings — small habits stop many repeat leaks.
If you find heavy corrosion, repeated relief-valve flow, or local rules require certified servicing, hire a licensed, backflow-certified plumber for inspections and repairs. For a closer look at components, read what’s inside a backflow valve, and for compatible connectors see hose quick-connect fittings.
Next step: reassemble in the correct direction, hand-tighten, run a short cycle, and watch the unit through shutdown to confirm the leak is resolved.