Gardening should feel like a quiet ritual, not a series of small emergencies. This short guide helps you spot why a single emitter might spray instead of giving a steady seep and how to fix it calmly.
I still remember the afternoon my basil row looked wilted while the rest of the patio pots thrived. I kneeled, watched the line run, and saw one nozzle misbehave — a sudden spray where a gentle drip should be. That moment taught me to read water patterns as plant cues.
In simple terms, a misbehaving nozzle often points at pressure, a clog, or a leak. Expect quick wins: a head check, a pressure regulator glance, or a line flush can restore even watering. This guide keeps steps small and clear so beginners feel capable and calm.
Key Takeaways
- Sprays usually mean pressure, clogging, or tubing damage.
- Watch for steady dripping or slow seep as the normal pattern.
- Diagnose first, then change one variable at a time.
- Uneven water shows as dry spots or stressed plants in the garden.
- Simple fixes include head checks, filters, and pressure regulators.
- For a practical setup idea, see this compact DIY drip system.
Why drip emitters start spraying instead of dripping in a drip irrigation system
A misting nozzle often signals that pressure, blockages, or worn fittings have changed how water moves in your system.
These short notes explain common causes and what each clue means for overall distribution.
A single nozzle that mists rather than delivers a steady bead is a clear sign the system’s balance has shifted.
High pressure turning a small outlet into a mini-sprayer
Too much pressure forces a tiny opening to behave like a nozzle. The result is uneven flow and poor distribution across the run. A proper pressure regulator protects fragile parts and keeps water where roots need it.
Clogging and mineral buildup
Tiny orifices clog easily. Minerals, fertilizers, and fine grit create partial blockages. That forces other points on the line to take the extra pressure, letting some emitters mist while others trickle.

Debris after repairs and loose parts
Cutting tubing or adding components can loosen grit that lodges in emitter pathways. Worn parts and loose fittings make leaks and jets the easiest escape for moving water. Water finds the weakest spot every time.
- Garden reality: one raised bed looks dry while a nearby nozzle mists the mulch—same run time, different outcome.
- Most issues are fixable: clean filters, flush lines, fit the right regulator, and replace small parts.
For a deeper guide to emitters and lines, see this emitter and driplines guide.
Quick diagnosis checklist before you start repairing
Run a short, visible test cycle and note where problems appear. These checks keep fixes focused and prevent needless parts swaps.
A calm observation reveals whether the issue stays in one area or affects the whole line.
Confirm which emitters are affected and whether it’s isolated
Watch the active zone and mark which spots misbehave. Take a phone photo or quick notes: zone, plant type, and emitter style.
Check the last emitter on the line and end-of-line behavior
The last outlet often clogs first. Open the end cap and flush the line; debris will show up there if the run needs purging.
Run the system when you can observe it, not overnight
Set the timer for a short session when you are home. Watch water patterns and listen for leaks. If plants look stressed, hand-water just enough to steady them while you diagnose.
- Quick mapping: few spots = local clog or fitting; whole line = pressure or filter issue.
- Note the time: record when the problem appears for better troubleshooting later.
how to stop drip emitters spraying instead of dripping [troubleshooting]
Begin with the faucet off and a close look at the head assembly—this often reveals the root cause. These short steps focus on pressure control and head assembly health so you can restore a steady rate quickly.
Turn the supply off before you touch fittings. Then inspect the backflow preventer, filter, and pressure regulator for leaks, cracks, missing washers, or cross-threading. Leaks at the head are the easiest sign of component failure.
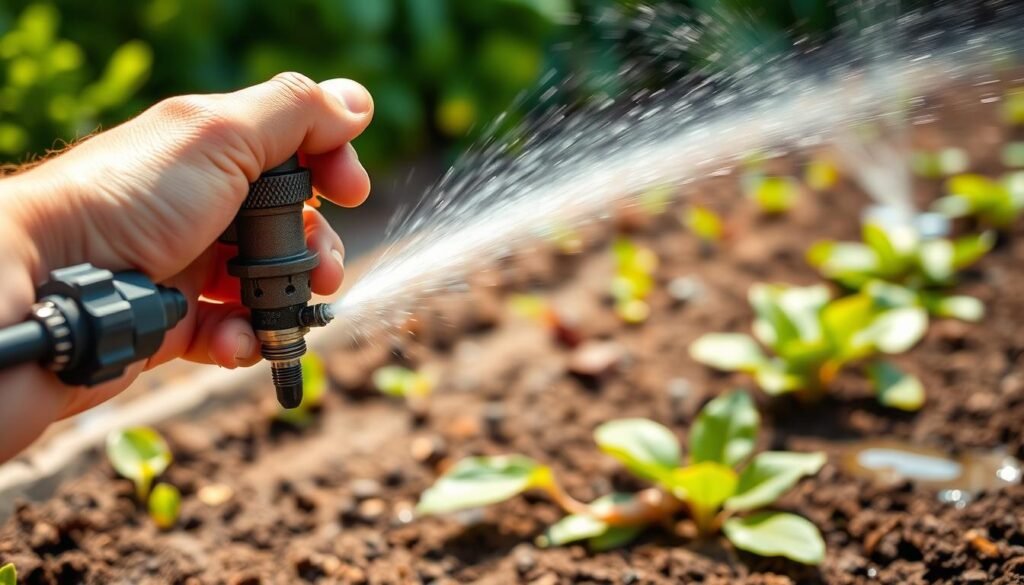
What each head component does and the common fixes
Backflow preventer: keeps garden water from flowing back. If it cracks, replace the unit.
Filter: traps grit; remove the screen and clean it. A clogged screen pushes pressure downstream and causes misting.
Pressure regulator: reduces city pressure for micro irrigation. Make sure the regulator matches your drip system rating and faces the correct direction.
| Component | Primary Function | Common Fault | Quick Fix |
|---|---|---|---|
| Backflow preventer | Protects potable supply | Cracks or loose threads | Replace unit; hand-tighten only |
| Filter screen | Removes debris | Clogged mesh | Remove, rinse, reinstall |
| Pressure regulator | Controls outlet pressure | Wrong rating or bypassed | Swap for correct regulator; test |
Practical repair path and testing steps
- Shut water, inspect head for visible damage and flattened washers.
- Clean the filter screen and hand-tighten hose-thread parts; replace bad washers.
- Confirm the regulator’s rating and install it correctly in the flow direction.
- Turn the zone on briefly, watch the flow, then fix the highest-pressure zone first (nearest faucet/timer).
- After each small change, retest the zone to isolate the true issue.
What success looks like: no misting, no jets, even output across emitters, and no puddles at fittings. Keep spare parts and a soft touch on threads—hand-tighten only—to protect plastic and washers.
Fix pressure problems with a regulator and smarter system setup
Install a proper pressure regulator at the head and keep faucet pressure modest for steady output. Balancing pressure protects fittings, improves distribution, and reduces leaks across the run.
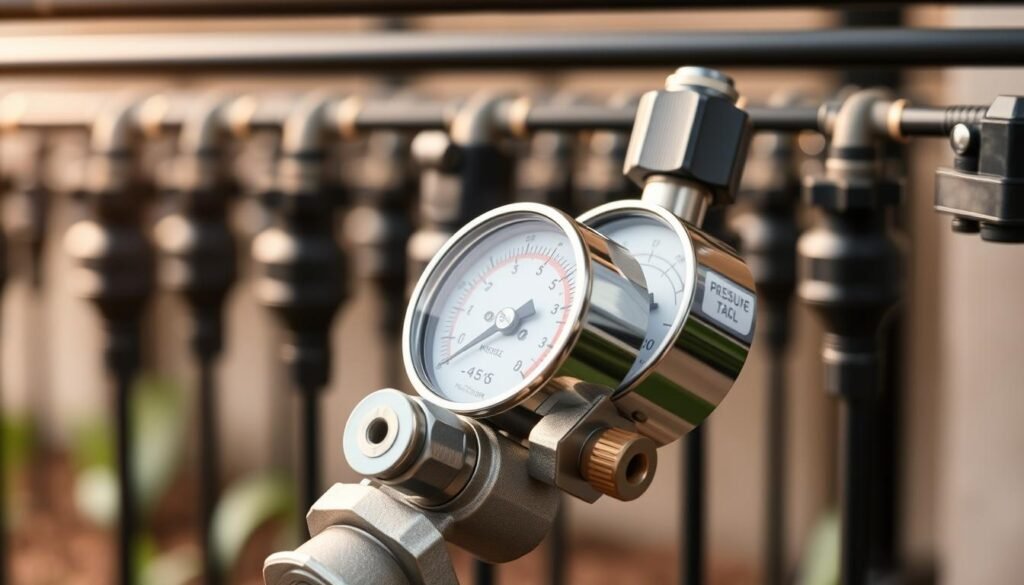
Recognize common pressure trouble
Look for spray at many points, fittings that loosen, or wildly different output along the same line.
Wide variation usually means pressure, not a single bad part.
Missing, failing, or misinstalled regulator signs
Check for a missing regulator at the head, a cracked body, an arrow pointing the wrong way, or a jammed internal spring.
Tip: Replace a cracked regulator and fit it in the correct flow direction.
Why slopes change output and a simple fix
Water gains force downhill. That makes lower outlets over-deliver while uphill plants get less.
Switching to pressure-compensating emitters evens distribution on slopes and long runs. They hold output steady across a range of inlet pressure.
Keep fittings from popping and protect parts
Lower pressure at the faucet and regulate at the head so connectors see gentle forces. This stops fittings from separating and cuts leaks.
When splitting zones, group similar emitter types and outputs together so regulation stays predictable and flow is easier to tune.
| Issue | Sign | Quick action |
|---|---|---|
| High line pressure | Many sprays, loose fittings | Install or check pressure regulator; lower faucet pressure |
| Bad/misinstalled regulator | Cracks, wrong arrow, stuck valve | Replace or reinstall correctly |
| Slope-related imbalance | Downhill overspray, uphill dry spots | Use pressure-compensating drip emitters; zone by elevation |
Plant example: a thirsty shrub downhill gets overspray while an uphill herb looks parched — balancing pressure and matching parts brings both back into rhythm.
Clear clogs and restore drip flow by cleaning filters, emitters, and flushing lines
Begin at the filter and work toward the end cap; clearing trapped grit usually restores steady output. Removing screens, flushing the run, and simple emitter cleaning often cures uneven water delivery without swapping parts.
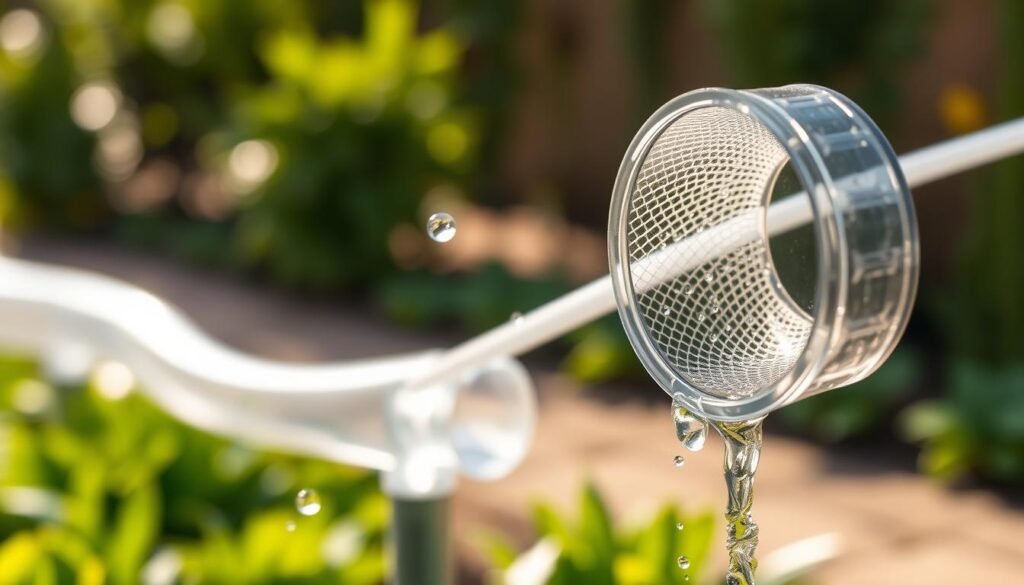
Proper filtration: match mesh size to small outlets
Minimum mesh guidelines matter. Use 120 mesh for most small outlets and 155 mesh for drip tape. Finer screen catches grit that clogs tiny orifices and protects water flow in long runs.
Cleaning a filter screen and reinstalling it correctly
Turn the supply off, remove the screen, and rinse it under clear water. Inspect the seat and gasket for wear.
Reinstall the screen so it sits flat and seals. A misaligned screen lets dirty water bypass the filter and brings back the same issues.
Flush lines by opening end caps and purging deposits
Flush lines regularly: open the end cap, run the zone until the outflow runs clear, then close. Do this after repairs, new holes, or heavy sediment loads.
Cleaning tactics for small-orifice heads and micro-sprayers
Briefly increase pressure to blast stuck grit or gently probe the tiny port with a toothpick. Large-orifice models clog far less, so consider them if clogs repeat.
When to switch to cleanable drippers or larger orifices
If your water is sandy or hard, choose cleanable drippers like Toro Cleanable Drippers, Ceta Cleanable Drippers, or Bowsmith Non-Stop Drippers. They open for rinsing and save time over constant spot cleaning.
| Component | Recommended Mesh | Why |
|---|---|---|
| Rotors / sprays | 80 | Coarser spray nozzles tolerate larger particles |
| Drip emitters / sprayers | 120 | Protects tiny orifices and maintains even flow |
| Drip tape | 155 | Very fine passages need the finest screen |
Most clogging starts upstream: cleaning the filter and a proper flush often fixes misting without replacing every emitter. After cleaning, run the zone and verify steady flow along the run. For a detailed guide on emitters and driplines, see this emitter and driplines guide.
Repair tubing, holes, and connection leaks that cause spray patterns
Small breaks in tubing and loose fittings often route water away from roots and create mist or jets. These quick repairs return pressure to the line and get watering back where plants need it.
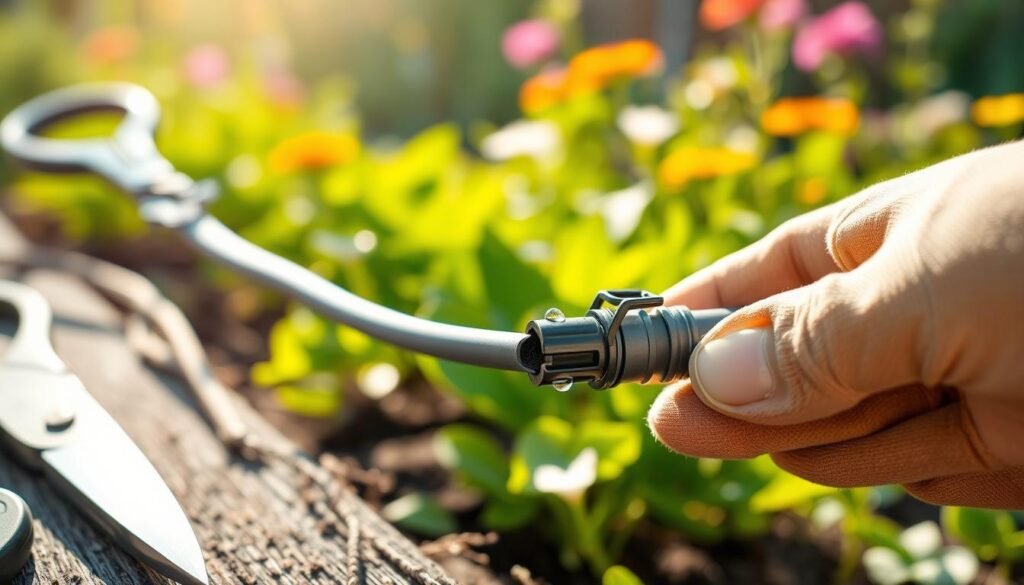
Small punctures and loose fittings are easy to miss during a run. Watch the zone while it flows and note wet spots that appear faster than nearby soil so you can find the exact leak.
Fixing punctures and old emitter holes with goof plugs
Goof plugs are simple barbed seals that close old holes and leftover punctures. Push the plug into the unwanted hole and hand-seat it; pressure will then return along the intended path.
Repairing a damaged section with couplers or poly tubing repair tape
- For a narrow cut or abrasion, wrap with Poly Tubing Repair Tape for a fast, watertight bandage.
- For a cleaner long-term fix, cut out the bad section and join the ends with a coupler. This restores strength and avoids repeat leaks.
Replacing an emitter on ¼-inch micro-tubing vs ½-inch and larger tubing
On 1/4″ micro-tubing, remove a clogged emitter, trim a short length off the tubing end, and push in a new emitter until seated.
On 1/2″ and larger tubing, pull the old emitter free, seal the old hole with a goof plug, punch a new hole nearby, then install the replacement emitter.
| Repair | Best use | Quick result |
|---|---|---|
| Goof plug | Sealing old holes and misplaced punches | Stops leaks; restores pressure to other emitters |
| Poly tubing repair tape | Small cuts and abrasions | Fast patch; short-term waterproofing |
| Coupler (cut & reconnect) | Sections with deep damage | Durable fix; long-term reliability |
Practical tip: after any cut or punch, flush the run briefly. Debris from repairs can cause blockages further down the line.
Confidence check: repaired areas should stay dry, emitters return to an even drip, and water should soak into the root zone rather than pool on the surface.
For fitting guides and connectors that match your head assembly, see a clear connector overview at garden hose connector guide and a deeper emitter resource at emitter and driplines guide.
Prevent repeat issues with simple drip system maintenance habits
Regular, small checks keep minor faults from turning into plant emergencies. Simple routines save time and protect roots and overall watering performance.
Inspect your system a few times during the season. Walk zones while they run and scan for odd spray patterns, wet spots, or dry patches. Quick checks catch pressure shifts and tiny leaks long before plants show stress.
Key habits:
- Replace rubber washers yearly in female hose-thread connections. Dried washers lose seal and invite leaks.
- Hand-tighten only. Over-tightening warps washers and cracks fittings.
- Match thread types. Cross-threading damages seals and creates chronic leaks that mimic emitter problems.
- Protect head assembly components from freezing; winterize when temps approach 37°F or lower.
- Keep a small spare kit: extra washers, goof plugs, a couple couplers, a filter screen, and a few emitters. This saves water and time and keeps plants steady.
Why it matters: steady maintenance improves water delivery, steadier soil moisture, and healthier plants. For a related water-saving idea, see our greenhouse rain-barrel setup here.
Conclusion
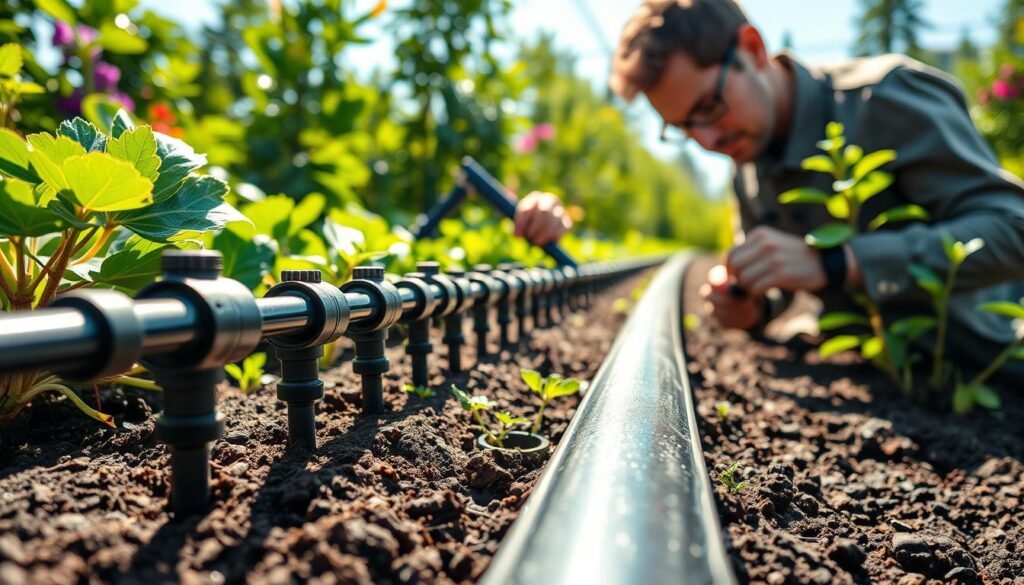
Keep fixes simple and steady: most spray problems trace back to pressure regulation, clogged filtration, or leaks in tubing and connections. Read the run, pick one area, and follow clear steps until output looks even.
, A calm check sequence works best: observe the zone, diagnose the affected area, inspect the head assembly, correct pressure, clean the filter and flush lines, then repair holes or leaks. This short guide shows those core actions in order.
A stable drip system delivers water slowly and predictably right where roots need it. Run each zone after repairs long enough to confirm even flow from the first outlet to the line end. For extra detail on pressure tuning, see this water pressure for drip irrigation guide.
Routine care—small checks and filter cleaning—saves hours of frustration and keeps your irrigation running quietly in the background.