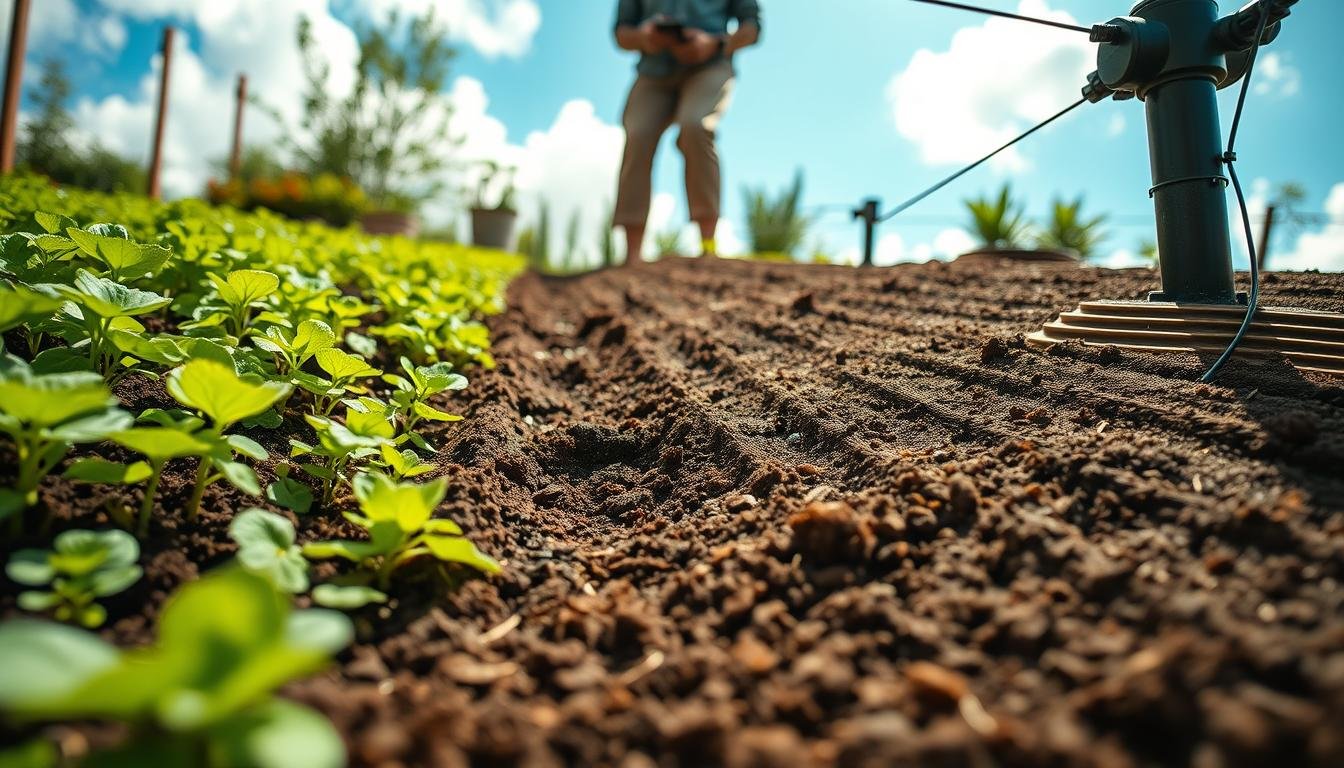
I remember the sting of disappointment when the top of my bed felt dust-dry while the bottom stayed a swamp. Plants told the story in yellow leaves and limp stems, and I felt responsible.
Water in a slope acts like a river — it wants to run downhill. That motion creates patchy growth, shifting nutrients, and hidden soil loss. This guide starts with quick checks, then moves to irrigation and soil fixes so you won’t waste money changing parts that aren’t the real cause.
You will learn clear signs of uneven flow, simple diagnostics, and practical upgrades such as pressure-compensating emitters, zoning by elevation, mulch and compost, and targeted drainage where needed.
Begin with observation, a level or string line, and a patient plan. Small changes can bring even moisture, less runoff, healthier roots, and a yard that finally feels predictable.
Key Takeaways
- Spot mixed moisture by checking several points along the bed.
- Start with simple diagnostics before swapping irrigation parts.
- Pressure-compensating emitters and zoning can balance water flow.
- Use mulch and compost to hold moisture and improve soil.
- Small, steady fixes create healthier plants and less runoff.
- Find more raised bed ideas at this raised garden guide.
Why Sloped Raised Beds Get Uneven Watering: Gravity, Pressure, and Runoff
Uneven wetting often comes down to simple physics and soil behavior, not gardener error. Gravity pulls most water downhill, changing pressure along lines and shifting where moisture lands.
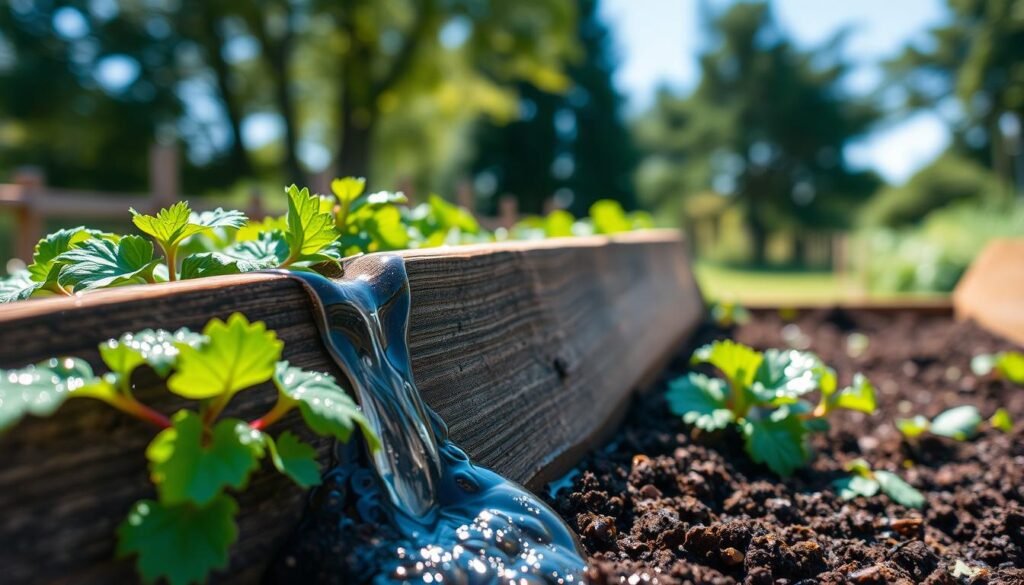
How gravity shifts pressure and flow
Elevation matters. When irrigation runs along a tilt, emitters and hoses at different heights see different pressure. That means downhill sections can push more water while uphill lengths get less. Pressure loss with elevation creates clear dry and wet bands along the system.
Why the top dries out and the bottom stays wet
Water drains toward low spots and the upper root zone gets shorted between runs. Sun and wind speed drying at the top, while the lower soil can remain saturated. Long saturation causes low oxygen and stresses roots.
How surface flow causes erosion and nutrient loss
Once runoff starts, water skims the surface instead of soaking in. That carries fine particles away and accelerates soil erosion around roots. Exposed root systems struggle to absorb nutrients, which magnifies the negative impact on plant health.
Take a system view: pressure differences, bed construction, and soil texture often interact. Note where it’s wet or dry and when water stands for the quickest wins. For irrigation pressure tips see irrigation pressure tips, and find soil recovery and compost advice for rebuilding lost topsoil.
Quick Checks to Pinpoint the Problem Before You Change Your Watering System
Make a few low-cost inspections first and note repeatable patterns. Simple observations reveal whether the issue is pressure, drainage, or construction.
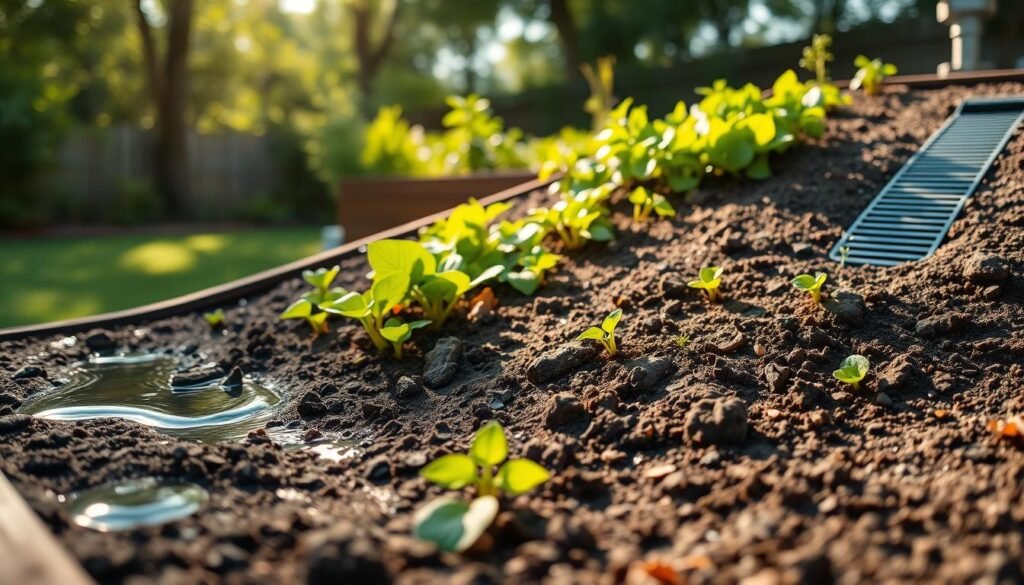
Map wet and dry spots by time of day and irrigation run time
Observe your bed across a day and mark the repeatable wet and dry patches.
Water as usual, then check moisture by hand about 2–4 inches down at the top, middle, and bottom. Repeat at different times of day and after varied run time to catch quick-drying spots.
Keep a short log with run time, temperature, and which spots look stressed. Patterns across time tell you where adjustments will pay off.
Inspect for drainage low spots and pooling after rain or watering
Look for standing water that lingers for hours or a clear “bathtub” effect along the downhill edge. Note any area near the house or hard surfaces that funnels flow into the bed.
Rule out leaks or cracked lines before big fixes — use a quick pressure test or follow this guide to diagnose leaks.
Check nearby compacted grass paths and wheelbarrow tracks — these things can create false drainage problems by channeling water.
Confirm the bed is square and level across the slope with string lines
Run string along edges and use a string level or a 2′ level at each corner. Confirm corners are square and the frame does not twist.
Ensure both sides sit consistently relative to the slope. A tilted frame will spill water over one place and ruin distribution even with a good system.
| Check | What to look for | Quick action |
|---|---|---|
| Moisture map | Top dry, middle damp, bottom wet | Log run time and repeat checks at different times |
| Pooling | Standing water hours; funnels from grass or hard surfaces | Note area, test for leaks, consider regrading or drain |
| Frame alignment | Twisted corners; uneven sides | Use string/level; fill low spots or re-square frame |
how to fix uneven watering on sloped raised beds [troubleshooting] with Irrigation Upgrades That Even Out Moisture
A well-tuned irrigation plan turns a sloped bed from a guessing game into steady soil moisture. Small layout and component changes often restore balance: precise delivery, stable pressure, and matched run times make the biggest difference.
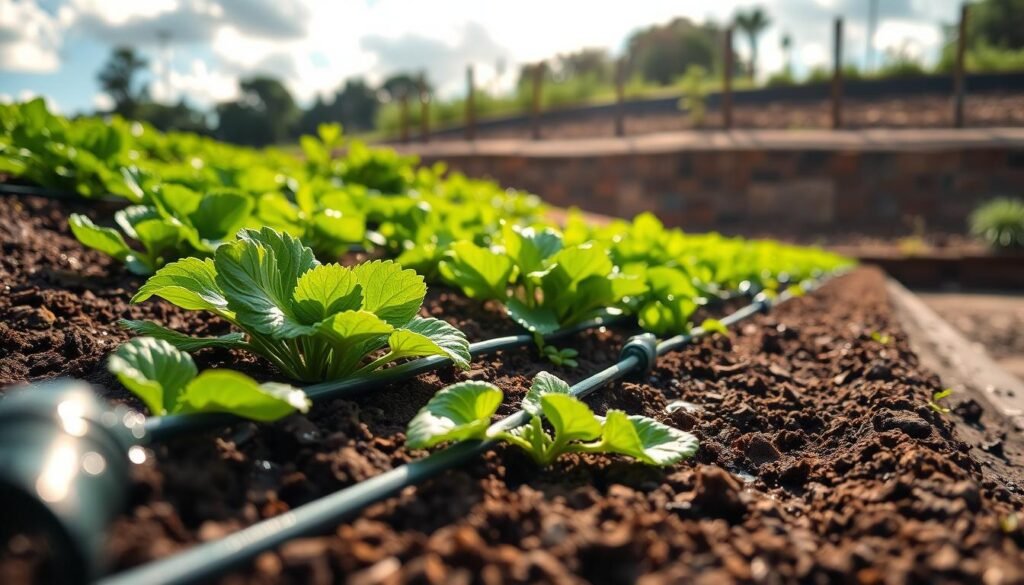
Switch to drip irrigation for direct root delivery
Drip beats sprinklers on inclines because it targets the root zone and greatly reduces surface runoff. It keeps foliage drier and cuts erosion risk while giving plants slow, usable water.
Install pressure-compensating emitters
Pressure-compensating emitters hold a steady flow across pressure changes. That means downhill emitters won’t gush and uphill ones won’t starve. Use them where elevation shifts are biggest.
Route mainlines downhill and run driplines parallel to the slope
Run the mainline with gravity, then place laterals parallel to contours. This layout limits pressure loss along each line and helps the whole system deliver evenly.
Use zone-based irrigation by elevation and plant variety
Split the bed into top and bottom zones and separate thirsty crops from drought-tolerant herbs. Each zone gets its own run time and flow rate, matching plants and place.
Dial in emitter placement and spacing
Place emitters to cover full root zones: closer spacing for sandy soil or thirsty plants, wider spacing for heavier soil. Aim for slow soak rather than a shiny surface.
Elevate the water source or add a small pump
Higher sources increase pressure naturally. When the source sits low, a compact pump often stabilizes flow better than very long run times.
Pair drip lines with mulch to reduce splash and erosion
Mulch buffers surface moisture, slows evaporation, and limits soil erosion during heavy runs—especially along the downhill edge.
“Change one variable and watch for results over a few days.”
Small-test mindset: change an emitter type, a zone setting, or spacing, then re-check moisture maps across runs. Repeat until the soil reads even.
| Upgrade | Benefit | Quick action |
|---|---|---|
| Drip irrigation | Targets roots, reduces runoff | Replace sprinklers with drip laterals |
| Pressure-compensating emitters | Steady flow across elevation | Install PC emitters at 12–24″ spacing |
| Zone-based layout | Custom run times per elevation/plant | Split top/bottom zones and program controller |
| Mulch pairing | Limits evaporation and soil erosion | Apply 2–3″ organic mulch over lines |
For guidance on preventing runoff and evaporation use this runoff and evaporation guide, and see a practical DIY example of a drip setup at a DIY drip system.
Fixing Soil and Drainage Issues Inside and Around the Bed
A healthy soil profile decides whether water soaks in or runs off the surface. Treat soil like the engine of steady moisture: compaction, clay-heavy fills, and low spots cause soggy bottoms and thirsty tops.
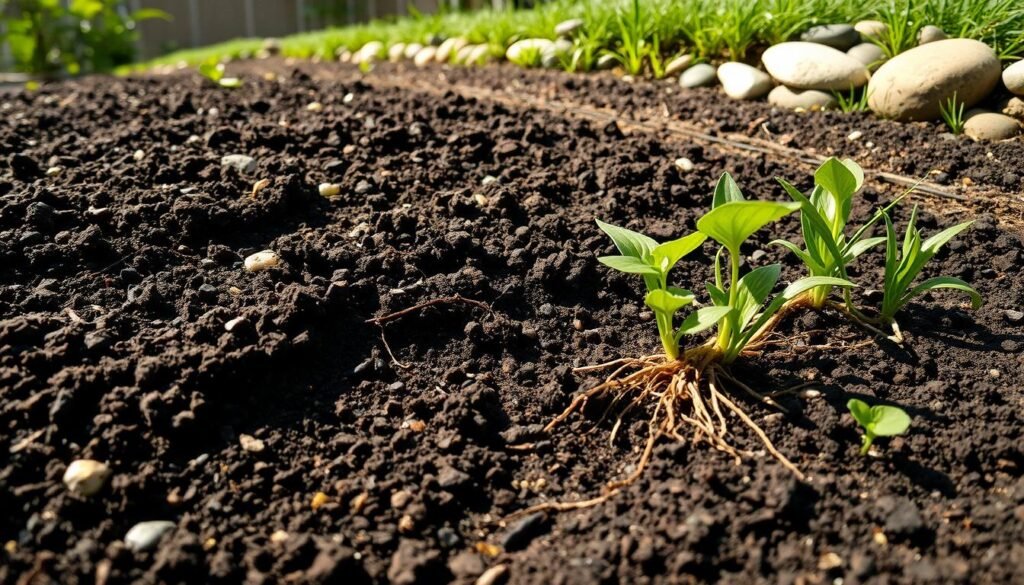
Loosen compacted soil for faster infiltration
Compaction blocks water from entering soil pores. Gently fork or aerate areas near edges and where wheelbarrows run. Avoid deep disturbance around active roots.
After loosening, you should see fewer puddles and firmer, healthier root growth within a few weeks.
Rebuild structure with compost and organic matter
Add regular layers of well-aged compost to blend into the top 4–6 inches. Compost improves both drainage and water-holding over time, especially in clay mixes that crust on the surface.
Use a thin gravel layer where drainage is slow
Place a thin gravel layer beneath boards or in known slow spots — not mixed through the whole bed. This lets excess water pass to a collection trench or soak zone without raising the planting bottom.
Redirect excess water with a simple French drain
A French drain must run downhill with about a 1% slope so gravity moves water. Discharge into a rain garden, low spot, or municipal drain where allowed. This solution keeps yard water away from the house and reduces long-term erosion.
Regrade near the house and use permeable surfacing
If water moves toward foundations, professional regrading is often the safest solution. For hard surfaces, swap compacted tracks and paved runoffs for gravel or mulch to slow runoff and protect soil.
“Treat the soil first—good drainage returns plant health faster than gadget changes.”
| Tools & Materials | When | Benefit |
|---|---|---|
| Shovel, fork, level | Aeration, regrading | Fix low spots; reduce compaction |
| Compost, mulch | Ongoing top amendments | Better structure; improved moisture balance |
| Gravel, perforated pipe | Slow-drain zones, French drain | Prevent soggy bottoms; control runoff |
Conclusion
Confirm the pattern first, then match the remedy to the cause. Simple checks—top, middle, bottom—reveal whether pressure, frame alignment, or soil needs attention.
Try one small test before changing a whole system. Pick one bed, run a single cycle, and feel soil at the same depth in three spots. Note where the water gathers and where the soil feels dry.
For steady results, favor drip with pressure-compensating emitters and route lines along contours. Add compost, loosen compacted zones, and fill low spots so soggy patches do not return.
Give changes a few days and a couple of runs. When the bed holds even moisture, plants settle and your garden becomes easier and more rewarding.