![How to Stop Micro Leaks at Compression Couplers [Troubleshooting Guide]](https://thegardenhaven.com/wp-content/uploads/2026/02/how-to-stop-micro-leaks-at-compression-couplers-troubleshooting.jpeg)
That quiet drip in the night can feel like a personal betrayal of your best repair. I remember finding a single drop under a bathroom shutoff and wondering if I’d missed a step. Home projects often teach us gently: small weeps can be normal as a ferrule seats, but they can also quietly waste water and stain cabinets.
In this guide you’ll learn a calm, step-based path: confirm the leak location, try a gentle reseat, check fitting and pipe compatibility, apply correct tightening, and know when replacement is wiser than another wrench turn.
This short guide also previews tools and safety notes—hot water, pressure, and slipping tools matter. Real installs show tiny drips (one every 30 seconds) or an “ooze” on flex lines that often stop in minutes to days. Still, a proper test gives real peace of mind before you walk away from the system.
Key Takeaways
- Identify the exact source before adjusting any fitting.
- Brief post-install seepage can settle, but always test.
- Use the right ferrule and matching pipe for long-term sealing.
- Tighten methodically—over-tightening can make problems worse.
- Wear gloves and relieve pressure when working near hot water.
What does a micro leak at a compression coupler look like—and why does it matter?
A single bead of water can tell you more about a joint than a dozen guesses. Naming the pattern — drip, bead, or thin sheen — lets you pick a fix with confidence.
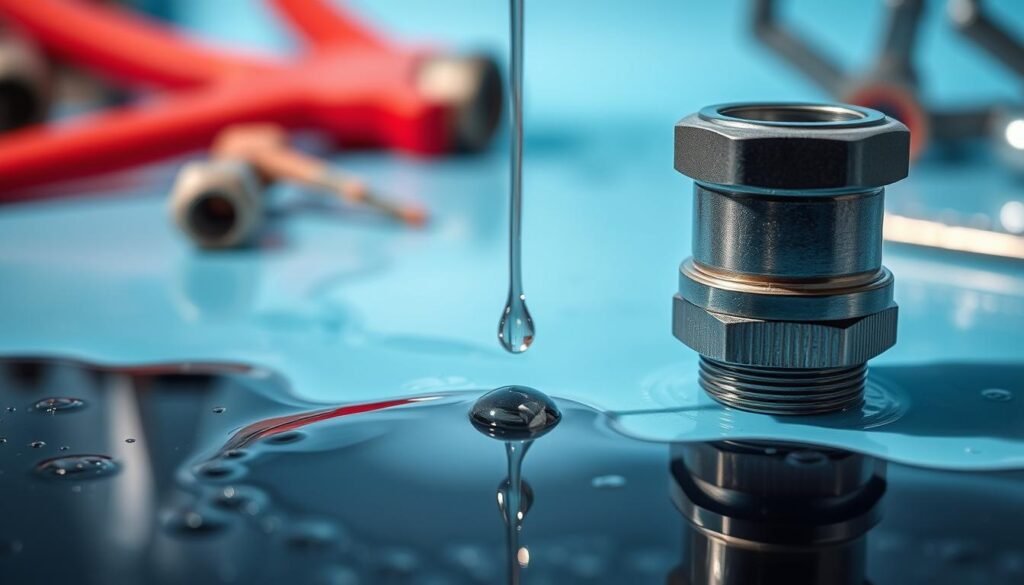
Common “drip” vs “ooze” patterns on water supply lines
A slow drip—one drop every 20–40 seconds—is often a slightly under-seated ferrule or loose nut. A steady bead at the lowest point points directly at the connection.
An ooze looks like a wet film that tracks along the joint. That often means moisture is wicking from a tiny scratch or a nearby source, not the fitting itself.
How small leaks impact pressure, flow, and long-term damage risk
Even tiny leaks lower system performance. Loss of pressure and reduced flow show up first in long garden runs or multi-zone irrigation. Small losses add up and weak sprinklers are a common clue.
Hidden moisture causes the real harm. Slow water can stain drywall, swell cabinet floors, and invite mold long before a visible failure. Watch for mineral crusts, corrosion halos, or damp smells as early warnings.
When you’re ready for deeper reading on fittings and proper matches, see understanding compression fittings.
How do you confirm the leak location before you tighten anything?
A careful dry-and-inspect step often reveals the true source before any wrench touches a nut. Make sure the area is dry, then follow a simple routine that narrows the origin quickly.
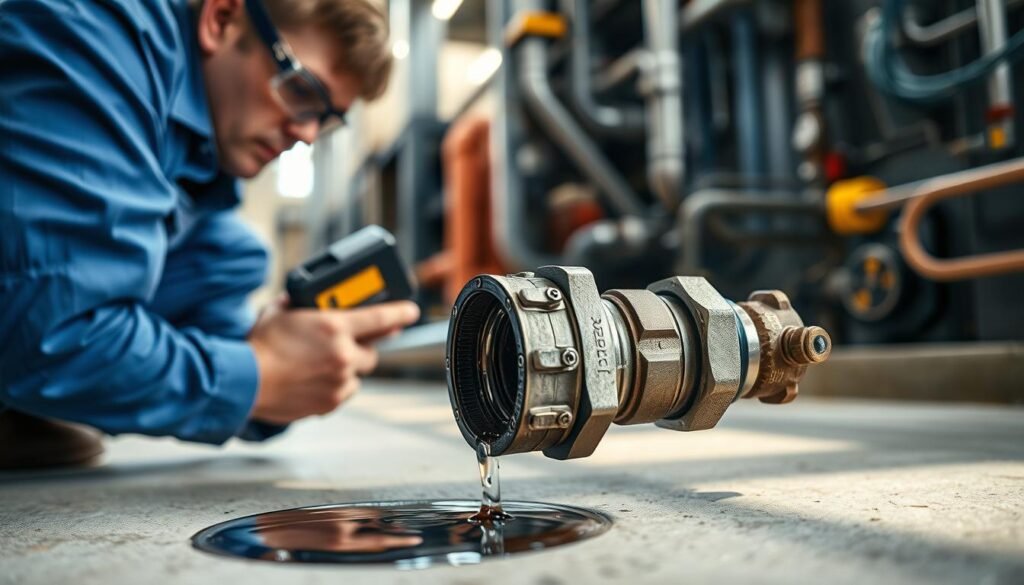
Soap-and-water bubble test and visual inspection
Dry the joint and surrounding fittings. Mix mild soap with water and brush it across the suspect area.
Watch for fresh bubbling — bubbles mark the exact path of escaping water and pressure. If no bubbles appear, look for new wetting instead.
Rule out nearby valves, flex lines, and mimic sources
Read the clues: mineral crusts, streaks, and corrosion blooms often show the real source. A drip can run down a line and make a different fitting look guilty.
Check valve stems, flex lines, and adjacent fittings for pinholes or loose ends before tightening the coupler or nut.
Safety prep for pressure and hot lines
Shut off the water supply and relieve pressure before touching any connection. Wear gloves when lines are warm and keep tools at hand.
Tip: Make sure the area is bone-dry before a re-test so you do not chase old moisture and overtighten a perfectly good joint.
| Step | What to look for | Quick action |
|---|---|---|
| Dry & inspect | Fresh wetting, stains, salt deposits | Wipe and wait 1–2 minutes |
| Soap test | Bubbles at the leak path | Mark location, relieve pressure |
| Check nearby parts | Valve stems, flex lines, drips tracking | Isolate component, retest |
| Safety prep | Hot lines, stored pressure | Shut off supply, wear gloves |
If you need materials for a reliable repair or a permanent replacement, see the recommended option for leak-proof pipe connections.
How can you stop micro leaks at compression couplers (step-by-step troubleshooting)?
Start with safety and a dry surface so you work on the real problem, not leftover moisture. Follow a calm sequence that checks alignment, parts, and compatibility before reassembly or tightening.
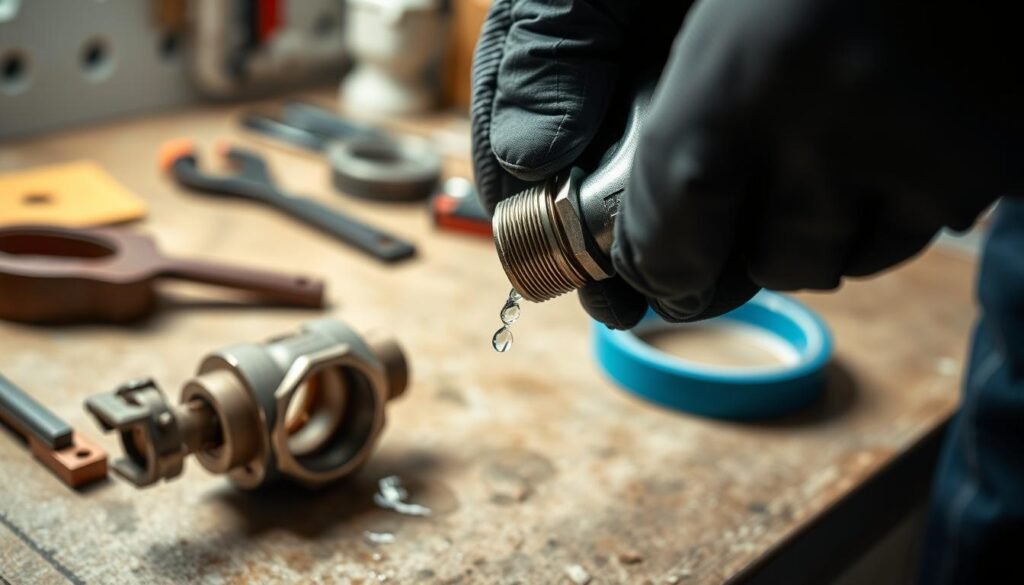
Depressurize and dry the connection
Shut the feed, open a downstream valve, and let pressure bleed off. Wipe the joint dry and wait a minute; trapped moisture often masks the true seal condition.
Check alignment and side-load stress
Look for pipes pulling at an angle. Side pull can distort the seal and invite a slow seep.
“A bent pipe can shear a perfect seal faster than a loose nut.”
Inspect parts and surfaces
Remove the nut and inspect the ferrule, nut, and mating face for nicks or deformation. Small scratches defeat seals.
Verify compatibility and threads
Confirm pipe size, material, and thread type before reassembly. Metric/imperial mismatches and wrong fittings cause repeat failures.
Re-seat without twisting and torque correctly
- Slide ferrule and nut on the pipe straight and square; avoid rotating the pipe once the ferrule touches the seal land.
- Hand-start the thread, then follow the manufacturer’s torque or turn count—too little will seep, too much will damage parts.
Use sealant only where it belongs
Apply PTFE tape or paste only on tapered threads, wrap in the thread direction, and keep tape back one thread from the end. Avoid contaminating compression seal surfaces with tape or paste.
For a reliable adapter choice that matches common garden pipe fittings, consider the recommended option at 1/2″ NPT female to garden hose male.
What fixes work for persistent leaks caused by damage, temperature swings, or cracked parts?
Persistent wetting after careful tightening usually means parts have worn beyond a quick fix. If seepage returns, plan a replace-or-rebuild approach rather than repeated tightening.

When should you replace ferrules, O-rings, valves, or the whole fitting?
Replace ferrules or O-rings if you see scoring, deformation, or nicked seals. These show clear damage and often cause a repeat leak even after correct torque.
If a valve body cracks, or a fitting loosens repeatedly, replace the entire unit. Small parts are cheap; a full swap prevents water damage over time.
What role do temperature swings and thermal cycles play?
Hot draws and cold nights make metals and plastics expand and contract. Over seasons, that movement reveals weak seals and creates tiny cracks.
Re-check suspect joints after a day or two and after a cycle of heat or cold. That gives you true confirmation of a lasting problem.
How to handle cracked pipe sections and stressed joints in irrigation and PVC systems
Outdoor irrigation and buried PVC face freeze damage and ground shift. If the pipe shows visible cracks or brittleness, cut out the damaged section and replace it.
Temporary versus permanent repair options near the joint
- Short-term: epoxy putty, fiberglass resin wrap, or rubber/silicone repair tape to keep the garden running for a day or weekend.
- Permanent: cut out the crack and install a threaded or solvent-weld splice, or replace the damaged fitting and nearby pipe for long-term reliability.
“A short patch keeps plants alive; a proper replacement protects home finishes and saves time over the next seasons.”
When you need a quick watering fix while planning a full repair, consider a reliable drip plan like this DIY drip system so you can buy time without risking more damage.
How can you prevent micro leaks with better installation and maintenance practices?
Treat each joint like a garden bed: neat preparation yields healthier systems. Simple, repeatable habits during installation and follow-up maintenance protect seals and preserve flow.

Garden-style good habits start with a clean cut and a smooth end on the pipe. Square cuts and a quick deburr remove burrs and grit that can nick a seal.
Tool checklist for clean cuts and controlled tightening
Use proper pipe cutters, a deburring tool, and a pair of wrenches sized for the nut. A torque mark on the nut gives a fast visual check later.
Keep seal surfaces clean and protect systems from debris
Wipe mating faces and threads before assembly. Use sealant only on tapered thread connections; never smear tape across the seal land.
Protect supply lines by capping open ends, flushing lines after work, and avoiding bends within three pipe diameters of the port. That reduces side-load and preserves the fitting seal.
Simple maintenance rhythm: seasonal quick checks, a post-freeze inspection, and a re-check after major temperature swings. Small, steady steps save time and keep water flowing.
Conclusion
Small wetting right after install sometimes fades within minutes; persistent wetting signals a deeper cause. Follow a calm checklist: confirm the source, relieve pressure, align the parts, inspect for damage, then tighten to specs.
Make sure you re-test once normal water pressure returns and again after a short time window. A brief weep that ends in minutes often needs no more than a watchful wait. Recurrent leaks on the same line point at misalignment, scored ferrules, or cracked pipe and deserve replacement rather than repeated turns.
Quick confidence checklist: dry the area, verify round and clean ends, confirm alignment, and check connections stay dry under normal use. If a line keeps weeping, replacing the suspect parts usually costs less than repairing water damage later.