
Can a simple kitchen scrap and clean water replace store bottles and boost garden health? This guide invites a clear, craft-style process that borrows reliable habits from beer and home brewing to make a safe plant tea.
Start with good water and clean gear for predictable results. Reverse osmosis (RO) water cuts minerals by about 95–99% and is sold cheaply at many U.S. stores, making it a solid base for consistent batches.
We’ll show a gardener-friendly sequence using simple ingredients like compost, worm castings, kelp, and a little unsulfured molasses to feed microbes that feed plants. Sanitize tools with a one‑step sanitizer, measure pH at the standard 77 °F (25 °C), and use a thermometer and pH meter for control.
The method mirrors brewing styles: clean gear, measured additions, and brief logs so each batch delivers repeatable nutrient profiles and gentle flavor-like responses in soil life. Expect tips on dilution, storage, and troubleshooting so small off-odors become learning moments, not lost batches.
Key Takeaways
- Good water matters: RO water gives repeatable results.
- Clean tools: Sanitizing prevents contamination and saves time.
- Simple ingredients: Compost, casts, kelp, and molasses feed microbes.
- Measure and log: pH, temperature, and small notes build consistency.
- Safe use: Dilution and storage tips protect sensitive plants.
Search Intent and What You’ll Learn Today
This guide is for home gardeners who want a safe, reliable, and low-cost way to make plant-ready nutrition. You’ll learn a repeatable process that borrows the clean, controlled habits of craft makers—so your batches stay consistent, effective, and easy to scale.

Who is this guide for?
Patio growers, raised-bed gardeners, and small-plot stewards will find clear steps and modest tool lists that fit limited space and time. The approach suits beginners and busy stewards who want measurable results without specialty stores or expensive gear.
What “potent, all-natural fertilizer” means for your garden
Here, the phrase refers to a microbially active extract that supplies plant-available compounds and beneficial biology without synthetic additives. Think of it as a nutrient-rich steep or wort-style extract made with compost, kelp, and pantry additions, prepared with clean water and measured temperature and pH.
- Quick flow: water prep → steeping minutes → gentle aeration → fermenter phase.
- Key checks: pH at 77 °F (25 °C), TDS, and temperature control for predictable outcomes.
- Tools that matter: an 8-gallon kettle for 5-gallon batches, thermometer, sanitizer, and an airlocked fermenter.
Later sections show exact steps, volumes in quarts and gallons, and safe ways to bottle and store finished batches so you can match timing and strength to plant growth stages.
how brew your own potent, all-natural liquid
Use sanitized buckets and RO water so each small batch responds predictably to additions and acid tweaks. The simple flow is clear: clean gear, measured ingredients, gentle steeping, brief aeration, then fermenter rest before dilution and application.
Start with food-safe buckets or a kettle and run a one‑step sanitizer over every surface that touches the batch. This lowers contamination risk and helps repeat the same results across batches.

Choose RO or well-dechlorinated water as a neutral base so pH changes from acids behave the same each time. Standardize pH readings at 77 °F to compare notes and refine the recipe.
Combine compost or worm castings with kelp and a small splash of unsulfured molasses as the core additions. Warm (not hot) water speeds extraction and keeps beneficial biology comfortable.
- After a short steep, transfer to a covered fermenter; use a loose lid or airlock to vent gases safely.
- Brief aeration—whisk, shake, or a tiny pump—gives the mix oxygen like aerating wort in beer making.
- Keep notes on volumes in gallons, timing, and any flavor-like changes so you can repeat what works.
When the batch is ready, decant into a clean bottle or watering can and apply the same day for best vitality.
Essential Tools and Safe Setup for Home “Brewing” Nutrient Tea
You don’t need a pro kit to make consistent plant nutrition. A few sturdy tools and good habits give repeatable batches that stay safe and effective. Keep gear dedicated to garden use and store meters and small items in a tote so setup is quick.
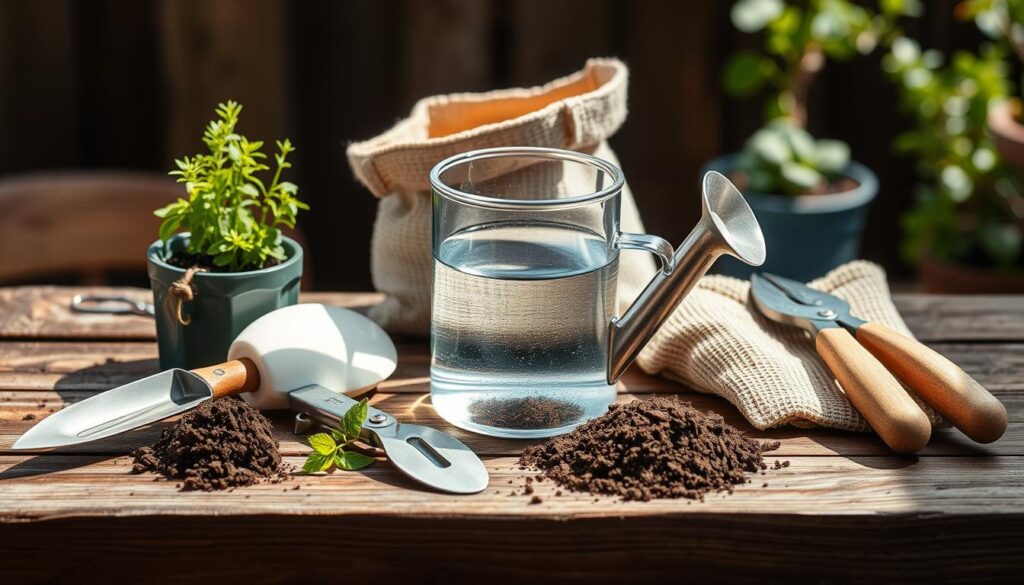
Brew kettle or bucket, thermometer, pH and TDS meters, and sanitizer
Choose a food-safe kettle or bucket with room to stir and strong handles. Add a kitchen thermometer and a pH meter to hit target ranges. A TDS meter checks mineral load so batches match from one water source to the next.
Why sanitizing gear matters, adapted from homebrewing best practices
Sanitize every contact surface to cut contamination risk. Use a one-step sanitizer on spoons, the fermenter, spigot, and any siphon. If you let a tea rest for hours, fit a lid or airlock to vent CO2 and keep out dust.
- Quick tip: Use a siphon or spigot to transfer into a clean bottle with less splashing.
- Work flow: Warm steeps for a few minutes protect microbes; heat-only cleaning should be separate from the extract step.
| Tool | Purpose | Notes |
|---|---|---|
| Brew kettle / bucket | Hold and steep batch | Food-safe, no metallic taste |
| Thermometer | Control warm steep | 50–220 °F range for minutes-long contact |
| pH & TDS meters | Measure consistency | Standardize water and final mix |
| Fermenter / airlock | Safe resting | Allows fermentation gases to escape |
| Sanitizer & siphon | Clean transfers | Reduces solids and contamination |
Think like a careful maker: a clean setup and a few checks keep good biology thriving and your process repeatable.
Water Quality, RO Basics, and pH Targets That Boost Plant Uptake
RO water removes the guesswork—its low minerals make pH adjustments simple and repeatable, which helps your plants absorb nutrients more reliably. Measure pH at room temperature for consistency. Use plant‑safe acids like dilute phosphoric or citric to reach a target range that supports roots and soil life.
Why RO water gives consistent starting points
Reverse osmosis produces a near‑blank water source, cutting minerals by roughly 95–99% versus the tap. That low alkalinity means a small amount of acid shifts pH quickly and predictably.
A quick TDS check confirms the RO unit works. Many U.S. refill stations offer about $1.95 per 5 gallons, so repeatable batches stay affordable.
Why pH is recorded at 77 °F (25 °C)
pH readings change with temperature. Standardizing at 77 °F keeps notes comparable between sessions.
Log pH and temperature together so you can match a successful process later. If readings stray, recheck after the mix reaches room temperature.
Safe acids and practical adjustment tips
Many brewers prefer dilute phosphoric acid (~10%) for fine control; citric acid is a safe, accessible alternative. Add slowly, stir, and retest.
- Tip: Avoid sodium-based adjustments to keep soil structure healthy.
- If RO is unavailable: Let tap water sit overnight to off‑gas chlorine or use a carbon filter, then recheck TDS and pH.
- After pH is set: Cool the batch or add cold water during dilution to protect beneficial biology.
| Parameter | Why it matters | Practical target |
|---|---|---|
| RO TDS | Confirms low-mineral baseline | <50 ppm preferred |
| pH (standardized) | Stable reporting and repeatability | Record at 77 °F (25 °C) |
| Acid type | Safe, precise adjustment | 10% phosphoric or citric, added slowly |
| Volume checks | Consistent dilution and dosing | Note gallons and final amount |
| Temperature | Protects microbes and accuracy | Room temp for measurements; cool before storage |
Quick reminders:RO gives a neutral blank slate, small acid doses work fast, and logging pH at 77 °F makes results repeatable across batches and seasons.
Free and Low-Cost Ingredients to Supercharge Your Batch
Simple, low-cost materials give the best returns: screened compost, worm castings, kelp meal, and a little unsulfured molasses. These inputs feed microbes, add trace minerals, and keep the process repeatable across batches.
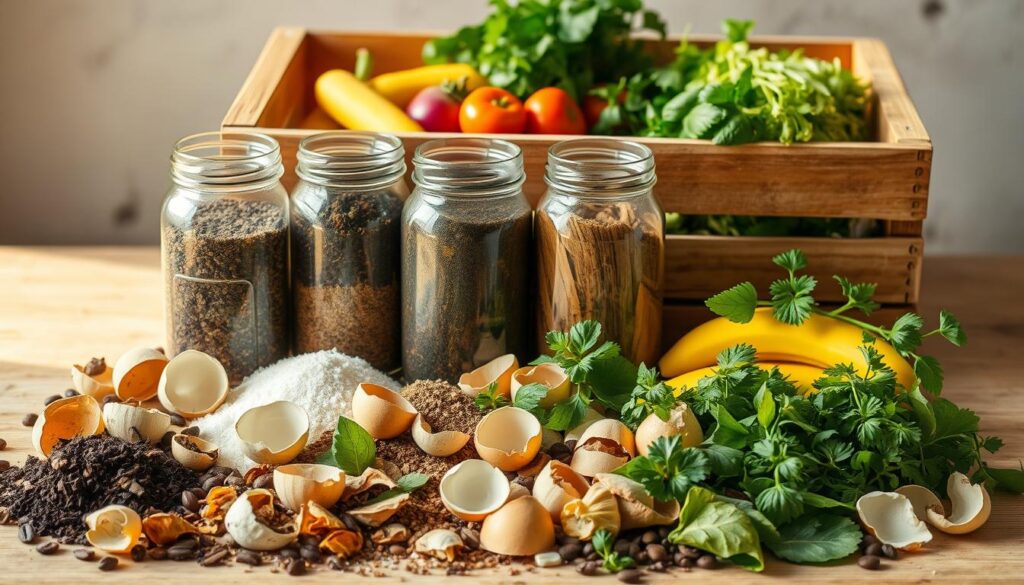
Garden pantry staples that work
Compost and worm castings supply balanced nutrients and lively biology. Screen them to remove large grain particles for cleaner transfers to the fermenter.
Kelp adds trace elements and natural growth compounds that improve plant vigor and subtle flavor-like resilience.
Mineral notes: prefer calcium, avoid sodium
Brewers often add calcium to improve beer flavor and stability. For gardens, choose calcium-rich sources—finely ground eggshells pre-treated with a weak acid—rather than sodium salts.
“Favor calcium sources and avoid sodium-heavy additives to protect soil structure over years.”
| Ingredient | Role | Tip |
|---|---|---|
| Compost | Food and microbes | Screen to 1/4″ pieces |
| Worm castings | Biology boost | Use fresh, aged lots consistently |
| Kelp meal | Trace minerals | Add small, steady amounts |
| Unsulfured molasses | Quick sugar | Use sparingly to avoid anaerobic smells |
Keep your ingredient lot small and measurable. Record exact amounts, stir, observe, and repeat the same step each time for reliable results at home.
Step-by-Step Process: From Water Prep to Finished “Wort”
Start by acidifying a measured volume of clean water at room temperature, then add compost and castings for precise adjustments. Steep warm, cool promptly, transfer cleanly, and briefly aerate—these steps keep your wort-like garden tea bright and ready to work.

Prepare and acidify water to target pH
Calibrate the pH meter, then acidify water and read at 77 °F (25 °C). Stir and recheck until you hit the target. This baseline makes small amount changes simple and repeatable.
Steep time, temperature control, and volume planning
Add compost, worm castings, and kelp. Keep the mix hand-warm and steep 15–30 minutes. Do not bring the batch to a boil; heat will harm beneficial biology.
Plan volume in gallons so you use fresh batches and limit storage. Smaller batches reduce waste and give better outcomes.
Cooling, transfer, and safe aeration
Strain solids with a sieve or bag to remove grain-like particles. Cool quickly by setting the container in cold water or adding chilled water at the end of the steep.
Transfer to a clean fermenter and aerate briefly by whisking or gentle splashing. A few minutes of oxygen kickstarts healthy activity without inviting contamination.
| Step | Target | Quick tip |
|---|---|---|
| Water pH | Read at 77 °F | Calibrate meter first |
| Steep time | 15–30 minutes | Hand-warm, no boil |
| Cooling | Cold water bath | Rapid cool for clarity |
| Aeration | 2–5 minutes | Whisk or gentle splash |
Fermentation Fundamentals for Garden Teas
Let the steeped mix rest in a clean fermenter at cool-to-moderate room temperatures and watch for gentle activity and a pleasant earthy scent. This stage is about steady, low-energy change—not a vigorous beer-style boil and crash.
Time, temperature, and when fermentation is complete
Keep conditions stable. Aim for cool-to-moderate temps similar to mid‑60s°F for traditional ales; garden mixes do well in the 60–72°F range. This favors helpful microbes and limits spoilage.
Fermentation complete means activity slows, bubbles fade, aroma remains clean, and pH holds near the recorded end value. Log start and end pH and the time so you can repeat success.
Recognizing healthy activity versus off-odors or contamination
Small bubbles, a light foam, or a fresh, bready/earthy smell are signs of healthy activity. These echo basic beer and wort behavior but stay milder here.
Sharp solventy, rotten, or sulfur notes mean stress or contamination. If you detect those, discard the batch and review temperature or a prior accidental boil that may have harmed biology.
“Lively but clean aromatics are your friend; harsh off-smells suggest discarding and trying again.”
- Use an airlock or a slightly ajar lid to let CO2 escape while keeping contaminants out.
- If you added sugar expect more visible activity; watch for bitterness-like sharpness in aroma as a stress sign.
- At the end, decant and apply promptly—this living product is best used fresh.
| Indicator | Healthy sign | Action |
|---|---|---|
| Bubbles / foam | Light, steady | Note time; continue resting |
| Aroma | Earthy, bready | Proceed to decant |
| pH change | Slight drop and then stable | Log start/end; accept for use |
| Off-odors | Putrid, solvent, sulfur | Discard batch; sanitize gear |
Optimizing pH, Temperature, and Mineral Balance for Different Plants
Different crops prefer different conditions. Adjust pH gently and keep temperatures steady to match what your plants favor.
Match adjustments the way brewers match water to beer styles: subtle mineral shifts affect root uptake and vigor. Use RO as a predictable base so small additions work the same each batch.
Favor calcium contributions and avoid sodium buildup; that balance supports strong roots and steady growth across styles of crops.
- Leafy greens: slightly more acidic targets can boost uptake and tenderness.
- Fruiting crops: aim for stable, moderate pH and consistent temperature in the fermenter or storage.
- Herbs and delicate plants: small batches in gallons keep mixes fresh and controllable.
If you notice a sharp, flavor-like aroma or stressed plants, reduce acid additions next time and dilute rather than push strength.
| Factor | Why it matters | Practical note |
|---|---|---|
| pH | Controls nutrient availability | Adjust slowly; log results |
| Calcium | Cell strength and root health | Use low-sodium sources |
| Solids | Can clog sprayers | Strain fine to remove grain or large particles |
Scaling Batches, Consistency, and Ingredient “Sourcing” Tips
Plan batch size around what you will use quickly and avoid partial leftovers that go stale. Simple records and steady suppliers make each session repeatable across seasons and years.
Treat garden work like pantry management. Buy compost and castings in package sizes you can use within weeks. That prevents stale or damp lots and preserves aroma-sensitive items such as kelp and molasses.
Round to practical packages and lock in a reliable source
Choose a trusted supplier and store inputs cool and dry. Label each lot with a date and brand so small shifts—like different kelp or hop-like botanical batches—are obvious.
Keep simple brewers-style notes to repeat success
Log water pH, temps, amounts, and brief observations. Use the same fermenter when possible; volume marks make scaling faster and more accurate.
- Change one variable at a time: if you alter the recipe, test that change before adding others.
- Align styles with need: brew larger when beds need a feed, smaller for routine maintenance.
- Fresh inputs, tidy records: these deliver the closest thing to a finished beer moment of satisfaction in the garden.
Bottling, Storing, and Safe Application Rates
Finish transfers gently to protect living biology and avoid stirring sediment in the fermenter. Use a bottling bucket with a spigot or a slow siphon so splashes and excess oxygen stay out of the bottle.
Move liquid slowly and keep sediment behind. A bottling bucket lets you fill bottles or watering cans with minimal disturbance. A siphon is best when you want to leave heavy solids in the fermenter and capture the clearer extract above.
Where to store and for how long?
Store cool and dark, and plan to use within a few days. Garden teas are living products; freshness matters. If a batch will sit, give it a water lock for short holds and check aroma each day.
Safe dilution and application
Dilute with cold water at application to protect leaves and roots. For soil drench, use 1:5 to 1:10 with cold water. For foliar spray, dilute more and spot-test a leaf first.
“Transfer gently, store cool and dark, and use fresh — that protects biology and keeps plants happy.”
- Label bottles with time, batch, and any last additions so you track amounts and results.
- If you see sediment, let it settle before the final step of decanting; leave heavy solids behind.
- Match gallons to what you’ll use quickly; fresh beats stored for living teas.
- At the end, rinse gear promptly so tools are ready for the next home brewing day.
| Action | Why it matters | Practical target | Notes |
|---|---|---|---|
| Transfer method | Limits oxygen & sediment | Bottling bucket or siphon | Slow, low-splash fills to bottles |
| Storage | Preserves biology | Cool, shaded area | Use within 2–4 days when possible |
| Dilution | Protects leaves & roots | Soil 1:5–1:10; foliar lighter | Use cold water at application |
| Final checks | Safety and quality | Smell and clarity | Discard if off or if fermentation complete changed to bad odor |
Troubleshooting: Off-Smells, Cloudiness, and Slow Fermentation
If it smells sharp, rotten, or solventy, discard and start fresh. Healthy tea smells earthy and clean.Common causes are poor sanitation, wrong temperature, or low oxygen at the start—fix the process and try again.
Sanitation prevents contamination that leads to off-aromas. Sharp, solventy, or sulfur notes mean the batch is compromised. Discard it, sanitize gear, and restart. Record the end pH to compare future runs.
Cloudiness can be normal after steeping. Persistent murk paired with a foul flavor-like aroma points to contamination in the process. If that happens, clean equipment and reassess inputs like kelp or extracts.
If activity is slow or stuck, check temperature first. Add a brief aeration, then wait another 30–60 minutes and recheck activity. Yeast-like or microbial pauses often respond to oxygen and warmth.
- Overdoing sugar fuels unwanted microbes—cut sugar next time.
- Cool quickly after the steep to avoid haze; long hot rests act like a wort gone stale.
- Bitter or astringent notes come from over-steeping or too-hot water; lower heat or shorten steep minutes next round.
- If a bottle swells or leaks, vent and discard; don’t apply to plants.
“Lively but clean aromatics are your friend; harsh off-smells suggest discarding and trying again.”
| Problem | Likely cause | Quick fix |
|---|---|---|
| Sharp/solvent odor | Poor sanitation or contamination | Discard batch; sanitize all gear |
| Persistent murk + foul aroma | Contaminated inputs or warm rest | Discard; check freshness of extract and malt extract |
| Slow activity | Low temperature or low oxygen | Aerate briefly; raise temp slightly; wait 30–60 minutes |
| Bitter/astringent notes | Over-steep or too-hot water | Shorten steep time; cool faster |
| Swollen bottle | Active fermentation in sealed container | Vent, discard, and sanitize; never use on plants |
Conclusion
Consistency starts with small choices: clean gear, measured pH at 77 °F (25 °C), and predictable water give repeatable results.Start small, note what works, and scale responsibly so the process stays reliable across seasons.
The core process is simple: prep water, steep, cool, transfer, rest briefly, and apply. One clear step at a time builds confidence fast.
Treat plant groups like styles: adjust gently and match timing to need. Use what you have at home and scale when time allows.
Trust your senses and a short logbook. Over several tries you’ll spend less time guessing and more time enjoying healthy growth. Think of this as a friendly craft — part kitchen practice, part light fermentation care — that rewards steady attention.
Share a successful batch with a neighbor; teaching spreads good soil and happier gardens.