
Can a simple, upcycled planter give you steady fruit from late spring through summer without a big bed? I built a compact, upcycled diy strawberry tower that did just that in a small garden space.
The concept is simple: nest two 5-gallon buckets, add a perforated 1-inch PVC watering tube, then cut 2-inch planting holes about 4 inches apart. Line the inside with landscape fabric, sand sharp edges, and drill drainage in the base lid for tidy performance.
Plant bare-root or small potted starts layer by layer and guide shoots through the holes so roots sit nearly horizontal. This process saves space, holds moisture, and cuts back on weeding. It’s a friendly project for patios and balconies and takes little time to assemble.
Key Takeaways
- Compact build: Two buckets plus a PVC tube make a vertical planter.
- Quick setup: Assemble and plant in an afternoon.
- Low maintenance: Better moisture retention and fewer weeds than beds.
- Flexible planting: Works with bare-root or potted starts.
- Practical upgrades: Use landscape fabric, sand edges, and add drainage.
Why a strawberry tower is the smart way to grow in small spaces
Stacking plants upward turns a tiny patio into a productive fruiting space.This approach packs more productive crowns into less ground while making care easier.
Vertical systems reduce weeding and keep runners from spreading through beds. A center PVC pipe with tiny holes delivers water evenly so lower tiers don’t dry out. Offsetting 2-inch holes about 4 inches apart improves airflow and light, which helps keep fruit cleaner and healthier.

Towers fit 20–30 plants in the footprint of a single bucket, saving roughly 24 sq. ft. versus rows. Lining the inside with landscape fabric prevents mix from compacting into pipe holes and helps moisture stay even from top to bottom.
- AI-Overview: A vertical strawberry tower lets you grow strawberries upward, not outward. It contains runners, reduces weeding, and keeps fruit cleaner and easier to pick.
- Compared to raised beds, towers save space and reduce bending. They make it simple to spot ripe fruit and trim runners before they root into beds.
- Towers work well in patios and small garden plots—portable, tidy, and easier to manage for quick harvests.
For more research-based tips on fruit culture and spacing, see the Montana Extension guide.
Plan your build to fit your space, tools, and sun
Match your design to the space and routine you have. A clear plan saves time and keeps the column stable and productive. Pick a build that fits light, weight limits, and how often you want to water and harvest.
First, match the design to your space so the build works with your routine and gear. A recycled bucket option uses two 5-gallon buckets, a lid base, and a 1-inch PVC watering pipe. Stackable pots and hanging mesh pouches are lighter choices for balconies.
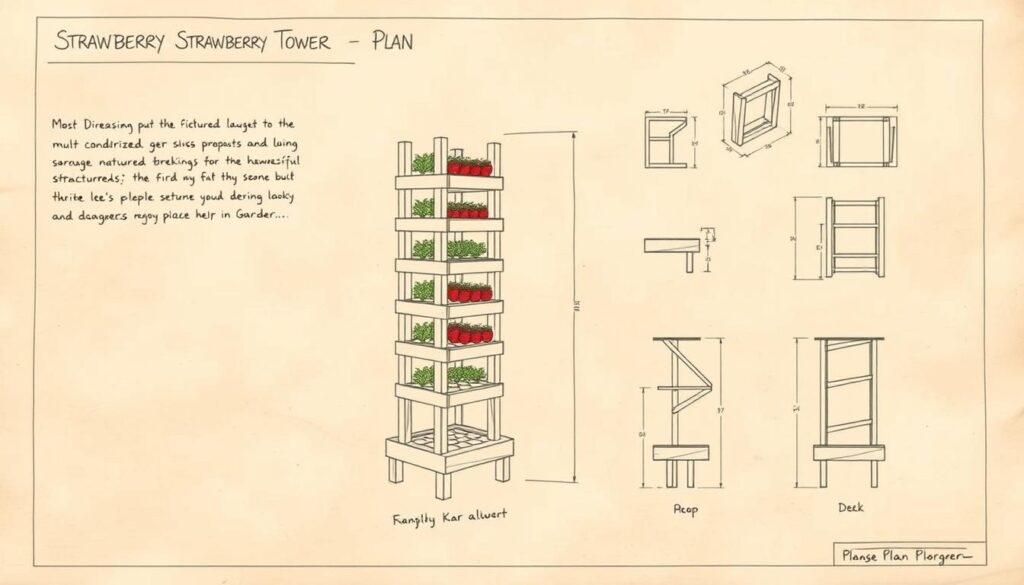
Where to place it
Pick a flat, sunny place with six or more hours of light. Shelter the setup from strong wind and add an anchor at the top or base if needed.
Right-size and capacity
Sketch hole spacing at about 4 inches. For standard height columns expect roughly 20–30 plants. Rotate the tower so each side gets even light.
Match tools and routine
Match your build to the tools you own—use a hole saw for rigid materials or scissors for fabric. Think about weight, irrigation, and how the column fits into your garden flow.
| Design | Weight | Irrigation | Best use |
|---|---|---|---|
| Recycled buckets | Medium | Perforated PVC | Sturdy patios |
| PVC stack | Light | Center pipe | Mobile setups |
| Hanging pouches | Very light | Top watering | Railings, balconies |
Tools and materials you actually need for this project
A small pile of common parts and a single good drill will get you started. Gather the core materials first so assembly moves fast and clean.
A short core list covers the build: two 5-gallon buckets, one tight lid, a 1-inch PVC pipe that rises ~2 inches above the rim, PVC cement, and a 2-inch hole saw.
You’ll also want a power drill with a small bit for perforating the pipe, landscape fabric or burlap as a liner, rough sandpaper, dark green spray paint, quality potting soil, and organic fertilizer.
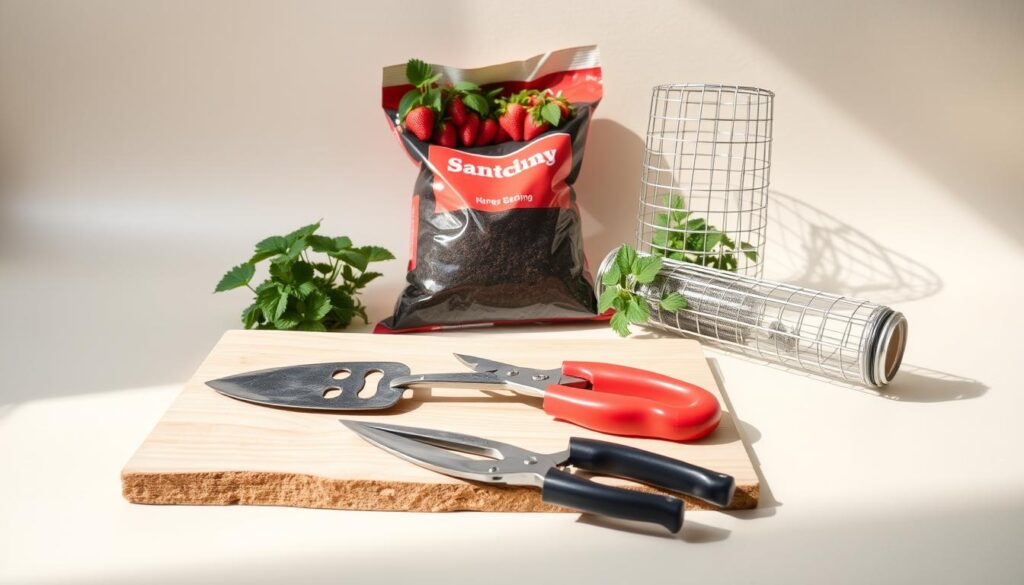
Where to save and what to reuse
Many items come cheap or free. Ask bakeries or restaurants for clean buckets, use dollar-store liners, and borrow a hole saw or drill if needed.
Practical build tips
- Prep: Smooth cut edges with sandpaper and drill drainage in the lid before cementing the pipe.
- Assembly: Pre-drill pipe perforations, glue the PVC to the lid, and let the cement fully cure.
- Safety: Wear gloves and eye protection when cutting and paint outdoors for ventilation.
Final note: This compact kit of materials and tools makes the diy strawberry tower a realistic weekend project for patios and small gardens.
Build the bucket strawberry tower step by step
Follow simple cuts and careful layout to turn two buckets into a stable, lidded bottom tube.This step-by-step keeps holes even, the center pipe sealed, and edges smooth so plants and hands stay safe.
Prep first: Remove handles and clean both buckets. Cut one bucket’s bottom out and slice about 1/2 inch up the side. On the second bucket, remove the bottom and cut roughly 1.5 inches from the base so the pieces nest snugly.
Test-fit by twisting the two sections together to form a straight cylinder. Snap a lid onto one end to create the sealed bottom, then flip the assembly upright for layout.

How do you mark and cut planting holes?
Use a marker to lay out marks about 4 inches apart and stagger them on opposite sides. Fit a 2-inch hole saw and carefully cut holes at each mark. Keep hands clear and support the bucket while you cut each hole.
How to install the center pipe and finish assembly?
Perforate the 1-inch PVC with small pipe holes using a small bit. Position the pipe in the center of the lid and glue it in place; allow cement to fully cure. Drill drainage holes in the lid so excess water can escape.
Sand every cut to remove sharp edges. Line the interior with landscape fabric, clip or zip-tie it to the pipe for a tidy fit, and paint pieces after sanding if you wish. Reassemble with a snug twist and make sure the top rim sits even for a steady, long-lasting tower.
“A careful cut and clean finish protect plants and make maintenance easier.”
Planting the tower for success from day one
Start with a light, moisture-retentive potting mix and add gentle organic nutrients. Plant in layers, guide shoots through the side openings, keep crowns at the soil line, and firm each lift so roots contact tower soil.
Start by choosing a light, well-draining mix that holds moisture without getting soggy. Use a high-quality potting soil blended with compost and a small amount of coconut coir or vermiculite for water retention.
Amend the mix with a slow-release organic fertilizer to feed roots gently. Avoid high salt feeds that can burn young crowns.
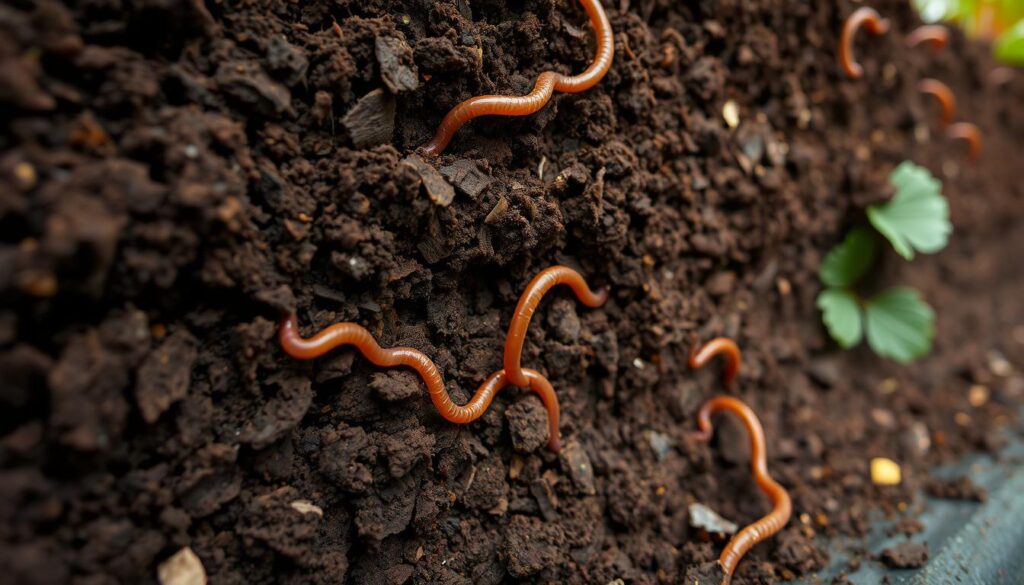
How should you prep bare-root and potted starts?
For bare-root crowns, soak the roots briefly and spread them horizontally. Set the crown level with the soil surface so it stays visible. This prevents rot and encourages strong shoots.
For 4-inch potted starts, separate any doubles and plant singles into the mix. Gently loosen roots so they grow outward into the tower soil.
What is the layer-by-layer planting rhythm?
Fill the column to the first opening, place the plant with roots toward the hole, and guide the shoot through the side. Water lightly and firm the soil to remove air pockets.
Repeat this process up the column. Keep each plant near a hole so leaves get light and fruit hangs clean from the side.
- Tip: Mix in a mild organic feed as you go to support early root growth without burning crowns.
- Keep crowns visible: Burying crowns weakens plants and invites rot.
- Finish with a few on the top: This creates a full canopy and extra yield.
- Shade briefly: In hot weather, give young transplants light afternoon shade to reduce shock.
| Step | Action | Why it matters |
|---|---|---|
| Soil choice | Light potting mix + organic amendment | Balances drainage and moisture for healthy roots |
| Bare-root prep | Soak, spread roots, set crown level | Prevents rot and encourages horizontal root spread |
| Potted starts | Separate doubles, loosen roots | Reduces competition and speeds establishment |
| Layer planting | Fill, insert, guide shoot, water, firm | Ensures roots contact tower soil and reduces air pockets |
“Firm each layer so roots meet soil — small tamping avoids air pockets and helps young plants thrive.”
For planting ideas and companion herbs to grow alongside your plants, see this short guide: growing herbs alongside your plants.
diy strawberry tower produced berries all summerhere’s what made the difference
Stability and even light were key—anchor the tower and rotate it for uniform growth. Water through the center pipe and the top, keeping mix evenly moist, then feed lightly and manage runners to keep fruit coming.
Small adjustments in placement and care made the greatest difference in season-long harvests.

How do you stabilize and sit it for steady growth?
Set the base on level ground and make sure it does not rock. Add pavers or bricks around base for weight, or tie the column to a fence post in windy spots.
What is the best watering routine?
Water in two passes: a slow pour down the center pipe, then a gentle top soak to finish the upper tiers. Check mix by touch; keep it damp, not soggy, so roots get air and steady moisture over time.
How should you feed and manage growth?
Feed lightly with a slow-release each month or a mild liquid every two weeks. Avoid heavy nitrogen to prevent leafy growth at the expense of fruit.
- Rotate the tower every few days so all plants see sun and avoid lopsided fruiting.
- Nip runners or tuck them into spare holes or pots to propagate without draining mother plants.
- Harvest often—regular picking encourages more blooms and steady yields.
“Tidy anchoring, even water, and light rotation are the simple acts that keep harvests consistent.”
Common tower problems and quick fixes that work
Most issues trace back to water, drainage, pests, or stability. Improve soil moisture with compost and slow watering, clear drainage holes, protect fruit with simple barriers, and anchor the tower on level ground.
Small signals—wilting leaves, soggy bases, or a lean column—tell you exactly what to do next.

How do I fix dry soil and wilting leaves?
Water in slow passes so moisture soaks down the center. Blend in compost to boost water-holding capacity and add a thin mulch on top to cut evaporation near the side openings.
What if mold or rot appears at the base?
Add drainage perforations to the lid and elevate the base a few inches. Remove soft fruit fast and trim crowded leaves to improve airflow by the bottom holes.
How do I keep slugs, ants, and beetles away?
Keep the area clean around base. Use crushed eggshells or diatomaceous earth for slugs and a fine mesh cover over ripening strawberries to deter beetles.
Why is my column leaning and how can I stop it?
Widen the footprint with pavers, stake or tie the column to a fence, and relevel the ground. Rotate the setup so both sides get even light.
- Tip: When water gushes from holes, check the liner and perforated pipe so water wicks through the column rather than bypassing it.
- Watch crowns: Keep crowns at the surface to prevent rot and help strawberry plants recover quickly.
“Fast fixes—better drainage, steady watering, and a tidy base—make sure the system keeps working through heat and storms.”
Conclusion
A diy strawberry tower is a compact, reliable system that turns small spaces into productive patches. With good soil, steady watering through the center pipe, and routine care, you’ll harvest clean, sweet berries with less fuss.
A compact, bucket-based column can turn a small patio into a steady fruiting spot with modest effort.
Follow the simple process: nest buckets, add a lidded bottom, mark and cut holes with a 2‑inch hole saw, smooth edges, line with fabric, and assemble. Use quality potting soil, water through the pipe perforations and the surface, rotate for even light, and anchor on firm ground.
With routine checks and quick fixes, many gardeners keep the same setup bearing since last year.
FAQ
How much sun does a tower need to produce steady fruit?
Aim for at least six hours of direct sunlight per day. Place the tower on a flat, sunny spot and rotate it if one side gets shaded by trees or structures. Even light helps fruit ripen evenly and keeps plants vigorous.
What soil mix works best for vertical planting?
Use a well-draining potting mix blended with compost and a small amount of coconut coir or peat for moisture retention. Avoid heavy garden soil that compacts in the holes; a light, nutrient-rich mix feeds roots and promotes airflow.
Can I use bare-root plants or should I start with potted starts?
Both work. Bare-root plants establish quickly when planted properly; tuck roots into the hole and firm soil gently. Potted starts give a head start and reduce transplant stress. Whichever you choose, keep roots moist until established.
How often should I water a stacked bucket or PVC tower?
Water so the mix stays consistently moist but not waterlogged. Use the center perforated pipe to irrigate evenly from top to bottom, checking moisture with a finger. In hot weather you may need daily watering; cooler periods need less.
How do I prevent the tower from tipping in wind or storms?
Stabilize the base by widening it or adding weight around the bottom. Anchor the tower with stakes or tie it to a fence or post. For very tall builds, secure to a ground-embedded post to prevent wobble and protect roots.
What spacing should I use for planting holes?
Space planting holes about four inches apart vertically and offset around each layer so leaves and fruit have room. This layout gives each crown enough soil and air while maximizing plant count in a small footprint.
How do I keep pests like slugs and ants off the fruit?
Use simple barriers: diatomaceous earth around the base, copper tape on edges, or mesh covers for vulnerable clusters. Remove overripe fruit promptly and keep the base clean to reduce hiding spots for pests.
Why did I see mold or rot at the bottom of my tower, and how can I fix it?
Mold and rot result from poor drainage and trapped moisture. Improve drainage by adding more holes, lining with breathable fabric, and using a lighter soil mix. Trim soft fruit and damaged leaves to cut disease spread.
How can I get continuous harvests instead of one big flush?
Stagger planting dates, manage runners to focus energy on fruiting crowns, and feed lightly with a balanced organic fertilizer during the season. Rotate the tower gently so all sides get sun and water evenly through the center pipe.
What tools do I need to build a bucket-style stacked tower?
Basic tools include a hole saw or spade bit for planting holes, a drill for the center pipe and drainage, sandpaper to smooth edges, and a utility knife. You’ll also need two five-gallon buckets, a lid, a 1-inch PVC pipe, liner fabric, and potting mix.
Can I reuse household buckets, and are there safety concerns?
Yes, many household buckets are fine if food-safe. Rinse thoroughly and remove labels. Avoid buckets that held toxic substances. Line the inside with breathable fabric to protect roots and extend the life of the container.
How do I prune runners without losing production?
Trim excess runners to focus the plant’s energy on fruiting crowns. Allow a few runners if you want to expand the patch, but remove those that compete for nutrients. Prune gently after harvest peaks to encourage a second wave.
When should I add fertilizer and what type works best?
Apply a balanced organic fertilizer at planting and then every 4–6 weeks during the growing season. Use a formula higher in phosphorus early to encourage blooms, then switch to a balanced feed to support fruit development.
How do I protect fruit from sunscald or uneven ripening?
Position the tower so it gets even morning and afternoon light. If fruit on one side overripens, rotate the structure periodically. Provide light shade in extreme heat and ensure consistent watering to avoid stress that causes uneven ripening.