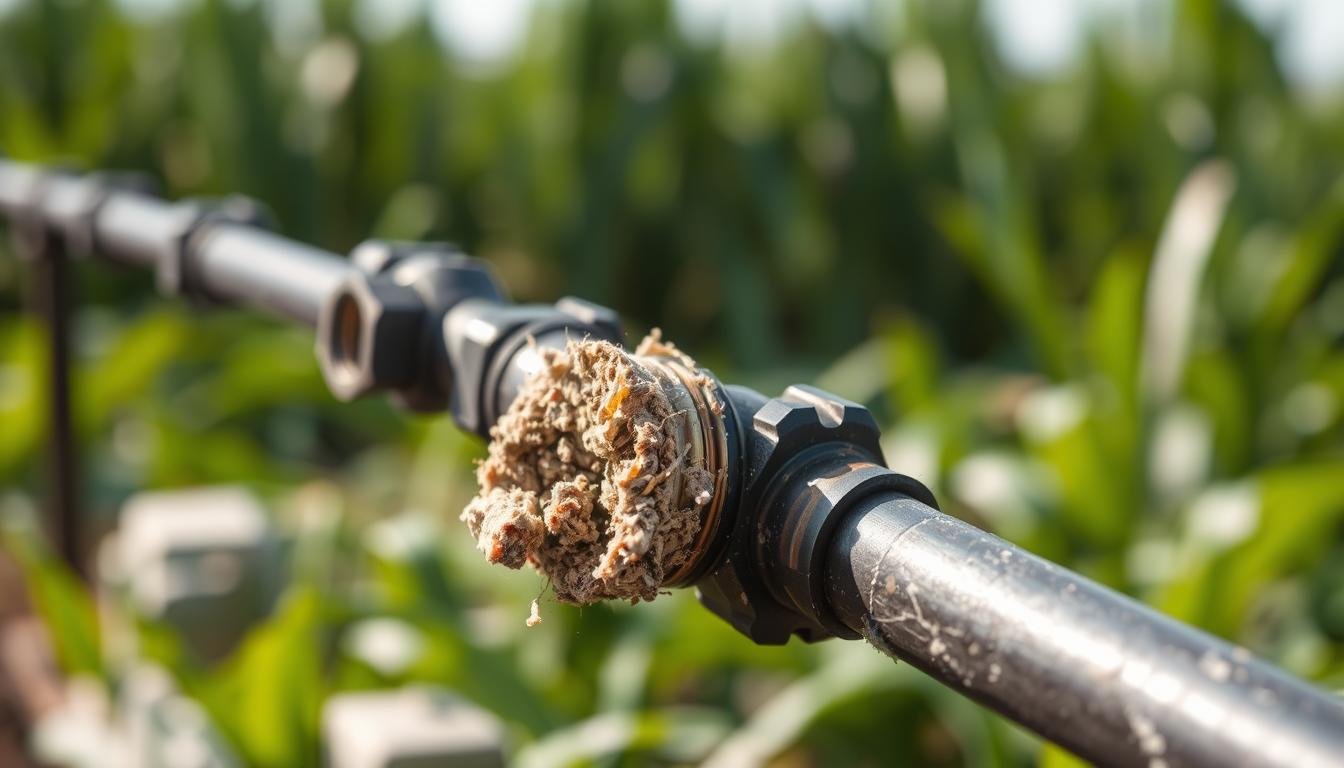
I remember the first season I set up a small drip line and added a fertilizer unit. I felt hopeful as the scent of wet soil rose at dusk. Then I noticed strips of dry pots and thin foliage where lush growth should be.
That sinking feeling—something changed when the feed went in—pushes you to find a clear fix, fast. This guide shows how to spot whether the problem comes from the injector, filters, water quality, or the tiny drippers themselves.
Inline drippers use very small channels to dose water near roots. These tiny paths deliver steady flow but block easily when chemistry shifts or sediment moves. Uneven growth, low flow, and dry spots are the usual clues.
Read on to learn a stepwise plan: identify symptoms, test filters and pressure, check water quality, and run quick flushes. For more on common drip issues and fixes, see this helpful guide from a trusted drip irrigation resource and a practical DIY layout example at The Garden Haven.
Key Takeaways
- Small flow paths in inline drippers make them vulnerable to deposits and debris.
- Watch for uneven plant growth, reduced flow, and dry spots as early signs.
- Check filters, pressure, and water chemistry before replacing parts.
- Simple flushes and screen cleaning often restore reliable flow.
- Regular maintenance keeps the system efficient and plants healthy.
What Changed After the Fertilizer Injector? Symptoms That Point to Emitter Clogging
Unexpected pattern shifts in your beds often signal flow problems in the irrigation system. Spotting the signs early saves time and keeps plants healthy.
A sudden change in water chemistry can show up as patchy wetting across beds the very next irrigation cycle.
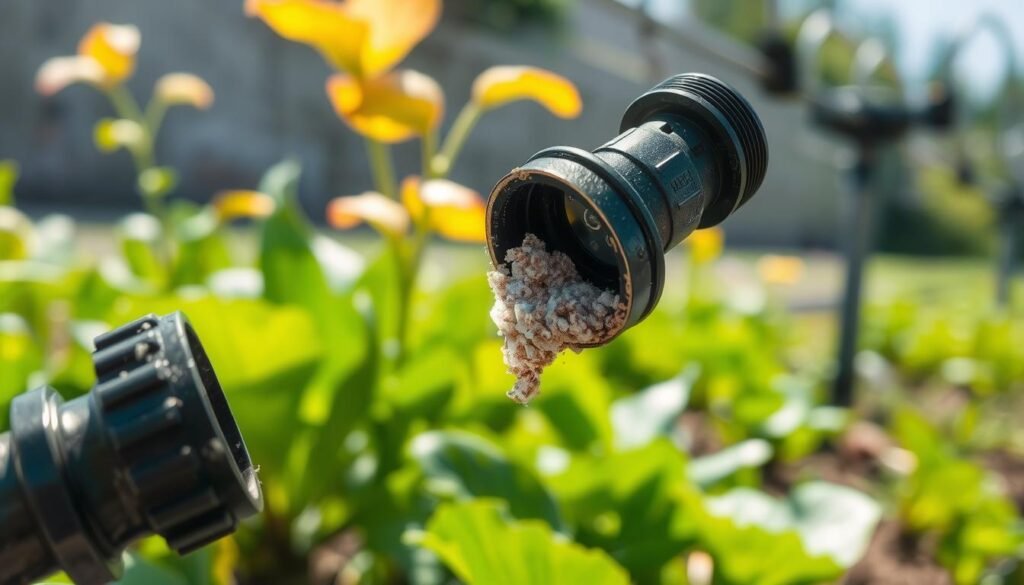
Common field signs: dry spots, uneven growth, reduced flow
You’ll see one row lush and the next dull, or end-of-line pots wilting first. Timers may run, yet the flow rate at some points falls or stops.
How blockages hurt plant performance
Less flow means less nutrient and oxygen delivery to roots. That creates stagnant pockets, which invite algae and bacteria and stress the root zone. Plants show slower growth, pale leaves, and uneven size.
Clog vs. leak vs. low pressure — quick cheat sheet
- Clogging: Upstream pressure may rise, individual emitters weak or dead, debris during flush.
- Leak: Wet ground, puddles, sudden pressure drops, some areas overwatered.
- Low pressure: Whole zone weak, far ends worst, worsens with multiple zones on.
| Symptom | Clogging | Leak |
|---|---|---|
| Local flow | Weak or none at specific points | Nearby puddles, saturated soil |
| Pressure pattern | Upstream build, intermittent dips at outlets | Overall drop when leak active |
| Flush result | Debris or scale comes out | Clear water but less volume |
Why are inline emitters clogged after fertilizer injector [troubleshooting]: The Most Likely Root Causes
Most post-injection flow problems trace back to particles, minerals, or living growth inside small passages. These three types of blockages need different fixes, so identifying the type saves time and plants.
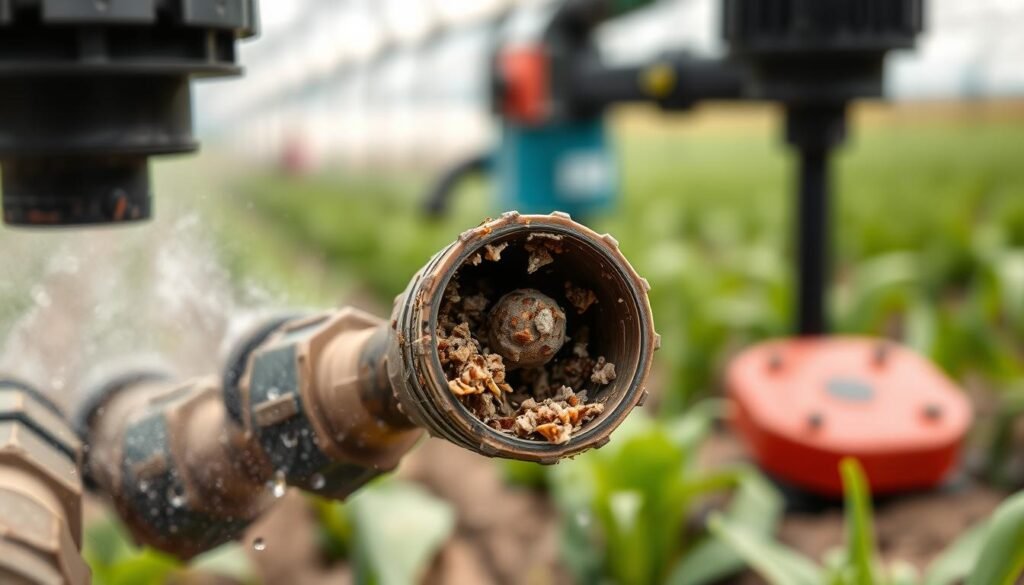
Physical blockages from debris and sediment
Particles like sand and grit can bypass a worn or wrong mesh filter, or overwhelm a clean unit when flow changes. Tiny flow channels plug quickly when screens tear or maintenance lapses. Check for shredded disc elements or stretched mesh that lets source solids pass.
Chemical and mineral precipitation
Hard water and dissolved minerals form visible deposits: white calcium scale, rusty iron, and dark manganese films. Shifts in pH or a concentration spike during injection make calcium and other minerals fall out of solution. Warm lines in summer speed this process, creating quick buildup inside small parts.
Biological growth: algae, bacteria, and biofilm
Nutrient-rich solution can feed algae and bacteria. A sticky biofilm traps particles and minerals, worsening blockages over time. Managing water quality and sanitation helps keep these living films under control.
- Key point: Treat the cause, not just the symptom—flushing clears many deposits, but lasting relief usually comes from better filters, correct dilution, and targeted water chemistry control.
- Quick preview of tools: right-sized filter elements, periodic acid cleaning for scale, and measured chlorine to limit biological load.
For practical guidance on handling deposits and filter choices, see this concise guide on common clogs and solutions at handling clogs.
Fast Diagnostics: Pinpoint Whether the Problem Is the Injector, Filter, Lines, or Emitters
Start diagnostics at the supply point and work outward to catch issues before they cost parts or plants. A quick, ordered sweep saves time and often spares you from replacing functioning components.
Good diagnostics save you from replacing drippers that aren’t the real problem—start upstream, then work downstream with simple checks.
Check filtration first
Inspect screen or disc filters for tears, packed debris, or incorrect placement. Many filters have flush valves—open them and watch the water.
If the flush shows grit, you’ve got physical debris. If the flow is clear but weak, move on to pressure checks.
Use pressure and flow clues
Install or read pressure gauges before and after the filter and at the line end. Pressure drop patterns tell a clear story: a big drop after the filter points to a blocked element; low supply pressure shows at every outlet.
Confirm regulator and valve behavior
A faulty pressure regulator can mimic a blockage or cause drippers to pop out when pressure spikes. Run a simple end-of-line gauge test and watch valves for sudden shifts.
Zone sizing and line limits
Too many drippers or micro sprinklers on one line will starve the far end. Use the 220 GPH guideline as a practical limit and split large zones if needed.
Quick isolation test
Open an end cap or flush valve and run water. Grit = debris, cloudy flakes = mineral scale, slime = biofilm. This single test often shows whether the filter, lines, or drippers need focused cleaning.
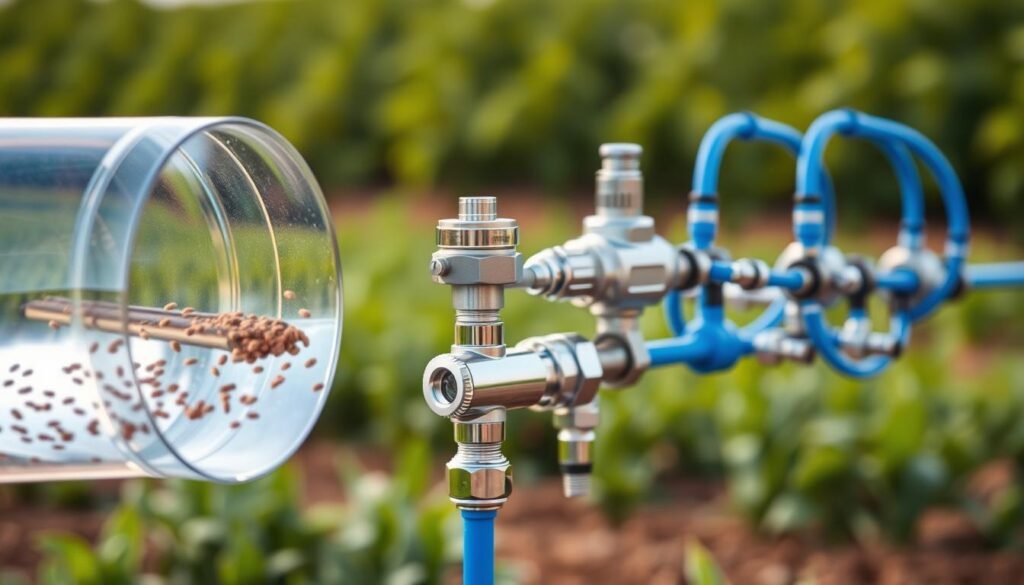
- Pressure and flow tell the story: where pressure drops or spikes often points to the faulty component.
- Flush from line ends: what comes out reveals the deposit type and guides the next step.
- Example: front beds fine but back beds weak usually means end-of-line flow loss; everything weak at once points to supply, filter, or regulator.
Fixes That Restore Flow Without Rebuilding the Whole Drip Irrigation System
Simple, targeted fixes often bring a zone back to life without costly replacement. Flush lines, right‑size filtration, and stabilizing pressure usually solve most problems gardeners face.
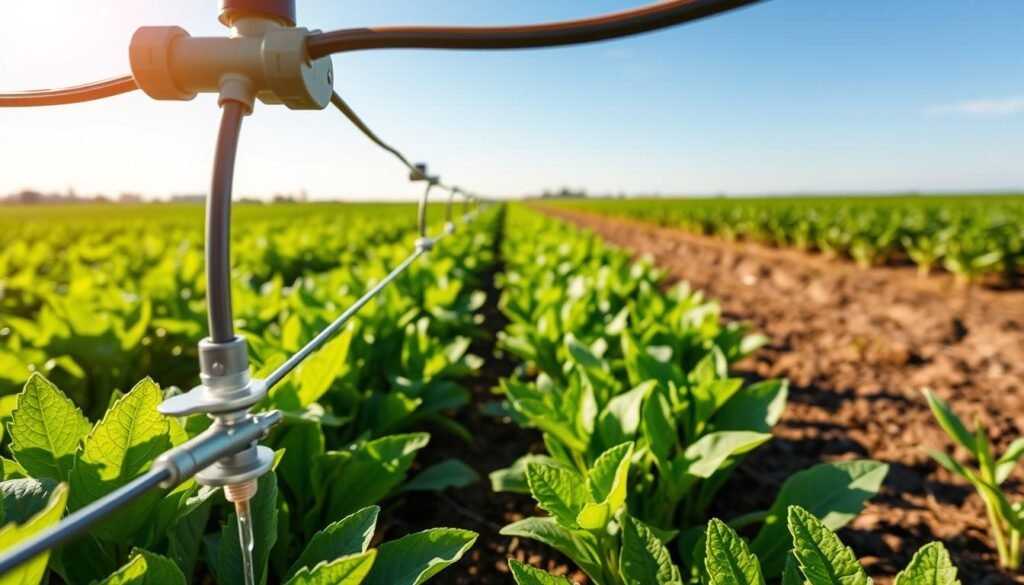
Flush the system correctly
Use end caps for a full-line purge and flush valves for quick clears. Remove end caps or open flush valves and run clean water long enough to push deposits out the line ends — don’t try to force solids through the small outlets.
Clean and right-size filters
Install and maintain a proper filter. A minimum 150‑mesh helps protect small pathways in the drippers. Clean screen or disc elements regularly and use the filter’s flush valve to dump collected grit.
Back‑flush at the emitter outlet
Back flushing can dislodge trapped particles. Pressurize the zone, then briefly cover an emitter outlet with a finger to create a reverse surge. Repeat across a few outlets to free stubborn debris.
Clean or replace emitters
If a dripper still misbehaves, remove and soak or manually clear it. Replace aged or damaged emitters when cleaning takes more time than replacement; new parts cost little compared to crop loss.
Repair leaks and faulty fittings
Fix leaks to restore downstream water pressure. Tighten loose fittings, swap cracked connectors, and secure valves so the system holds steady pressure and avoids repeated damage.
| Action | When to use | Key result |
|---|---|---|
| End cap purge | Visible grit or scale at line ends | Clears loose debris without stressing emitters |
| 150‑mesh filter | Small drippers or poor source water | Reduces particle passage and repeat blockages |
| Back‑flush | Local weak outlets | Dislodges trapped solids quickly |
| Emitter replace | Persistent flow loss after cleaning | Restores uniform output with low cost |
Do this today: flush one zone, clean the filter, test the end pressure, then run a brief irrigation to confirm uniform output in the bed.
Water Quality and Nutrient Management Adjustments That Prevent Repeat Clogging
Test the water source first and treat smartly to keep deposits out of your irrigation lines. Good water quality and steady nutrient practices protect small passages and keep crops uniform.
High mineral levels in your source water often show themselves as fast-forming scale inside small irrigation passages.
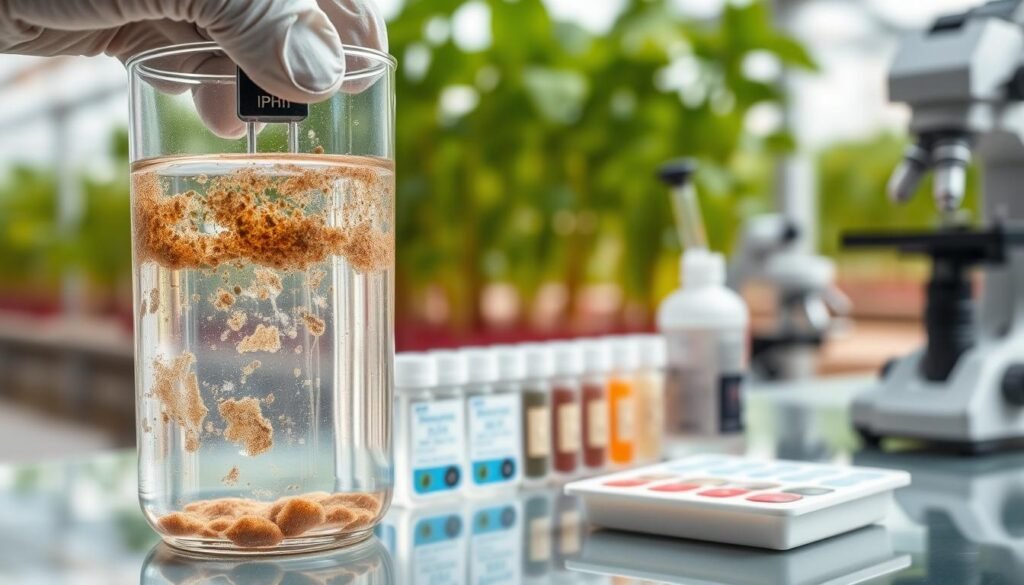
Test your water source for problem minerals
Check hardness and specific minerals: calcium, iron, and manganese. White scale, rust stains, or repeat blockages point to these. Send a sample to a lab or use a field test kit to get numbers.
Keep minerals in solution with pH control
Higher pH raises the risk of calcium carbonate forming in lines, especially in warm weather. Small, regular checks stop a drift into a scale‑friendly range.
Acid use (handled carefully) can keep minerals soluble and break down existing scale; follow safety guidance when dosing and flushing.
Water treatment options that help
- RO (reverse osmosis): cuts dissolved minerals for the cleanest feed.
- Water softeners: lower calcium and magnesium when RO is not practical.
- UV sterilization: reduces microbes that seed biofilm.
Sanitation strategies for biological load
A small, measured sanitation plan prevents sticky biofilms that trap minerals. Aim for about 2 ppm chlorine at the dripper or an ORP of 300–500 mV as a practical target used by many growers.
Quick checklist: test your source, control pH, choose treatment that fits your site, and add a light sanitation routine. If clogs keep coming back, the root fix usually lives in water quality and nutrient practices, not in swapping parts.
For a related perspective on treatment choices, see this concise treatment comparison.
Chemical Cleaning and Seasonal Maintenance for Long-Term Reliability
A targeted chemical clean can reset mineral and biological buildup without wholesale replacement. Simple seasonal habits keep your drip system reliable and save time and damage later.
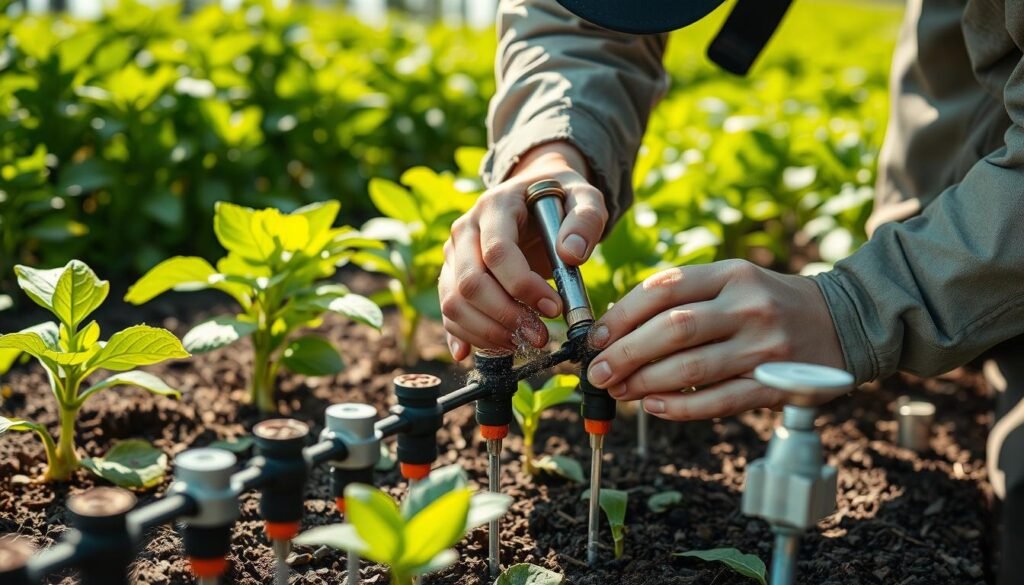
Acid injection for mineral scale
Acid dissolves limescale such as calcium carbonate in small passages. Use a purpose‑built injector or dosing pump and follow label safety. Flush loosened material out through flush valves and line ends — do not push dissolved solids through tiny outlets.
Chlorine soaking for biofouling and deposits
Remove small parts and soak them up to 24 hours in a mild chlorine solution to loosen slimy films and white deposits. Rinse parts well, reinstall, then run a short irrigation to clear residual sanitizer from the lines.
Routine schedule for filters and quick checks
Check a new filter one week after installation, then set a calendar reminder. Clean screen elements at least once a month depending on water quality. Replace worn components and seals as you find them to save time later.
Winterizing to prevent freeze damage in the United States
Shut off the main supply, run a controller cycle to relieve pressure, and drain backflow, valves, filters, regulators, and lines. Use automatic drain valves where freezes occur to avoid burst fittings and cracked housings.
Post‑harvest deep clean and emitter replacement strategy
Do a deep chemical and mechanical clean when beds are empty. Many growers find annual emitter replacement pays off in high‑risk locations — fresh parts restore uniform output fast and cut repair time during peak season.
- Key habits: clean with purpose, flush via proper points, and protect lines before cold snaps.
- Tools: acid dosing kit, measured chlorine, spare filter screens, and a small parts kit for quick swaps.
- Tip: for a quick read on water treatment options, see this calcium filter guide.
Conclusion
A simple, ordered sweep from filter to line end is the fastest path to steady watering. Verify filtration and pressure, inspect what the flush brings out, then match the fix to the deposit type.
When inline emitters clog after a fertilizer injector, the fastest path is: check filter → check regulator/pressure → flush line ends → inspect output → decide physical vs mineral vs biological → apply the right fix.
Most systems recover without a rebuild. Stabilize pressure, fit a proper filter (150‑mesh), keep sanitation and water quality in check, and schedule monthly checks. If the end of the line is weak, split the zone; white crust points to calcium and pH; slime means step up sanitation.
Act today: pick one zone, flush it, clean the filter, and verify end‑of‑line pressure. Repeat across the drip irrigation system to protect supply, boost efficiency, and keep crops growing evenly.