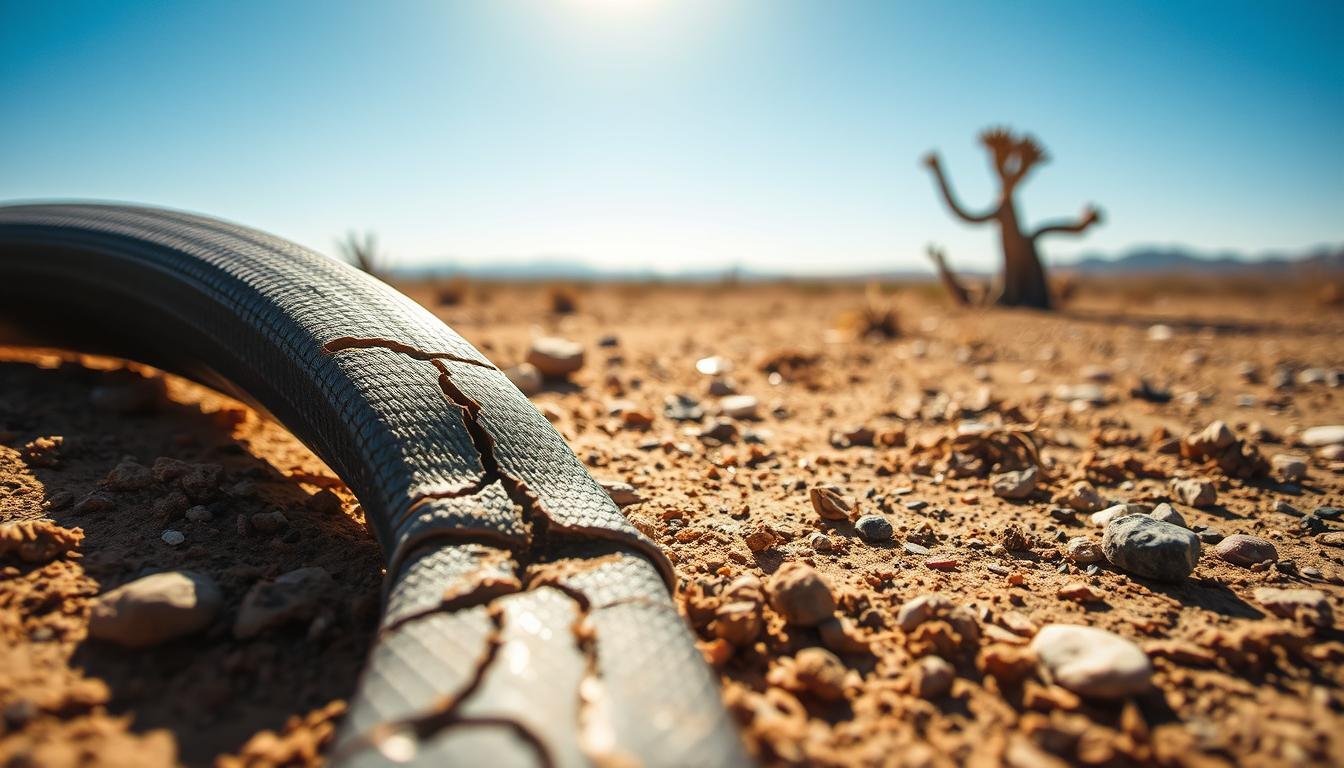
I remember the first summer my garden bowed under relentless sun — hoses melted into the soil and small tears in tubing turned into a daily worry. That tight knot in your stomach when you see wet spots near foundations or thirsty plants is familiar. This guide helps you act with calm and care.
Set the scene: long, hot days speed wear on irrigation parts. Seams and sidewall tears are usually linked to pressure imbalances, backpressure at the head assembly, or weak connections — not just a stray puncture.
A steady system needs balanced pressure, clean filtration, and clog-free emitters. Watch for clear signs: puddles, dry rows, or uneven flow. Start checks at the head (backflow preventer, filter, regulator) and move downstream along tubing and emitters.
Quick path forward: spot the failing stretch, isolate it, then repair or replace the faulty run. For design details and emitter choices, see the subsurface dripline guide, or a practical setup example like this DIY drip setup.
Gentle safety note: always shut off water and relieve pressure before disassembly — pressurized lines can surprise you on hot days.
Key Takeaways
- High sun and long run times make seams fail when pressure or connections are weak.
- Start troubleshooting with observable signs, then check the head assembly and filter.
- Keep emitters clean and matched to soil type for steady water delivery.
- Isolate the damaged run, repair quickly, and use proper fittings to prevent repeats.
- Turn off and depressurize the system before working on fittings or tubing.
Fast Signs Your Drip Tape Split Is a Pressure, Leak, or Clog Problem
A fast visual check helps match the signs you see with the likely problem. Spotting splits, wet patches, or dry zones quickly saves time and prevents bigger water loss.
A quick visual walk can pin down whether your line is suffering from pressure stress, a leak, or a clogged emitter.
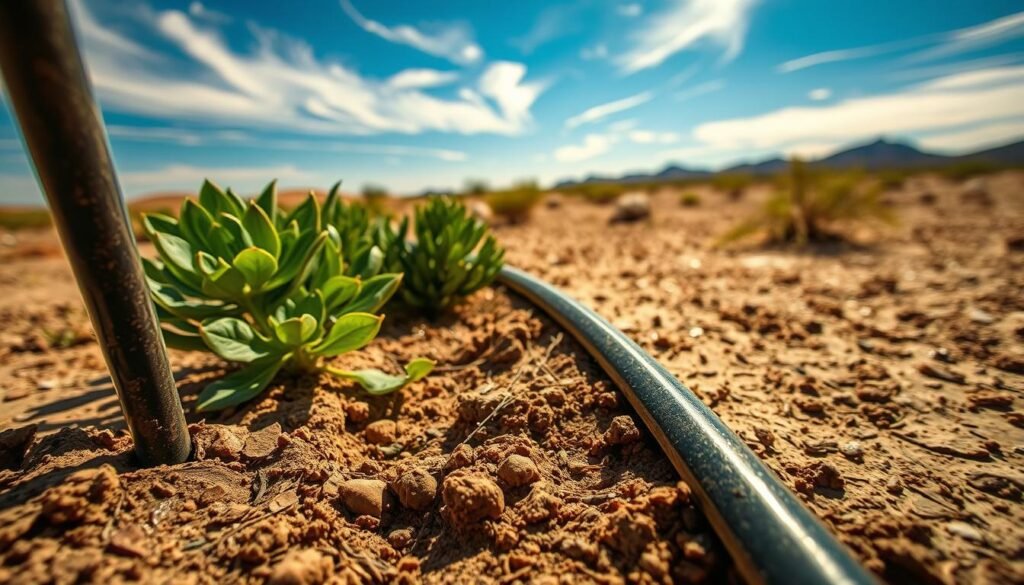
How a split looks versus a pinhole
Split symptoms are longer tears, sections that balloon, or sudden gushes along tubing. These usually follow pressure spikes or backpressure near fittings.
Pinhole leaks show as tiny jets, mist, or a small, very wet patch. They often follow a puncture, a barb hole, or a cracked connector.
Wet spots, low flow, and uneven plants
Scan for unusually green patches next to dry plants. Too much water near one emitter and dryness nearby points at leakage or clogging that alters water flow.
Clogged emitters act like a partial closed valve: the system runs, but delivery is weak and some drippers stop altogether.
Quick isolation steps
- Run one zone and walk the line; listen for hissing and watch for soil bubbling.
- Segment your check: head assembly, first 10–20 feet, then branches.
- Use a simple bucket-test mindset—compare flow at the start versus the end of a line to spot restrictions.
- Make sure the zone is fully open and other zones aren’t stealing pressure before you dig.
For guidance on head assembly checks and filtration, see the field irrigation guide and a practical water-saving setup here: greenhouse rain-barrel system.
what causes drip tape to split in Arizona heat [troubleshooting]
Most tape splits in extreme conditions trace back to stress inside the system — either sustained high pressure, sudden pressure spikes from failing parts, or backpressure from clogged outlets. Once you pin the cause, the repair is clear and repeatable.
When parts falter, the whole irrigation system feels it — and the weakest tubing gives first.
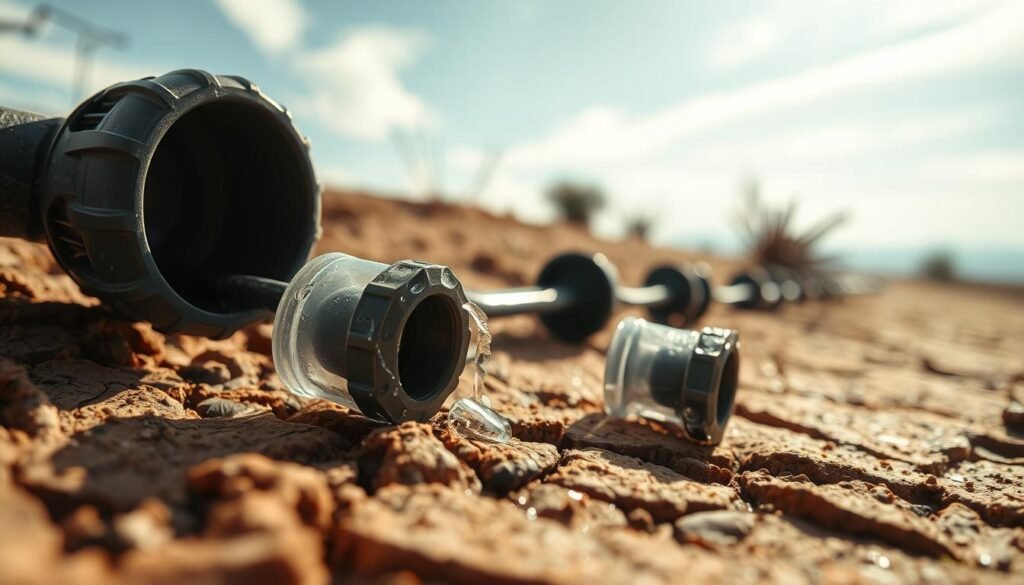
High or unregulated pressure stressing tubing and fittings
Drip tape and low-pressure lines are built for gentle flow. Excess pressure balloons seams and stresses connectors. That damage shows near joints and bends first.
Head assembly failures that lead to spikes
A clogged or damaged filter, a bad regulator, or a faulty backflow preventer can let pressure spike. These components protect overall flow; when they fail, the whole irrigation system acts unstable.
Backpressure from clogs
Debris, sediment, minerals, fertilizers, and chemicals narrow passages. When water can’t exit emitters, pressure builds behind the restriction and stresses the line.
Why 155 mesh matters
Use 155 mesh filtration for tape systems. Finer screens catch small particles that lodge in emitters. Proper filters reduce backpressure and save emitters and tubing from premature damage.
Installation damage and worn seals
Cross-threading, mismatched threads, and over-tightening crack parts or distort washers. Rubber gaskets dry and lose compression, which creates leaks and unstable pressure during operation.
Blocked emitters and uneven flow
Clogged emitters and drippers cause wet patches and dry rows. That uneven flow concentrates stress on remaining open outlets and weakens the run.
- Field tip: Match adapters and fittings to your tubing and thread types so you don’t build a problem at installation.
How to Fix Split Drip Tape and Prevent Repeat Damage in Your Drip Irrigation System
Fixing split tape is a two-part job: repair visible damage, then correct pressure, filtration, and maintenance so it won’t return. Small routines—flushing lines and hand-tightening fittings—save time and water over the season.
Begin by isolating the damaged stretch and steadying water delivery before you patch or replace parts.
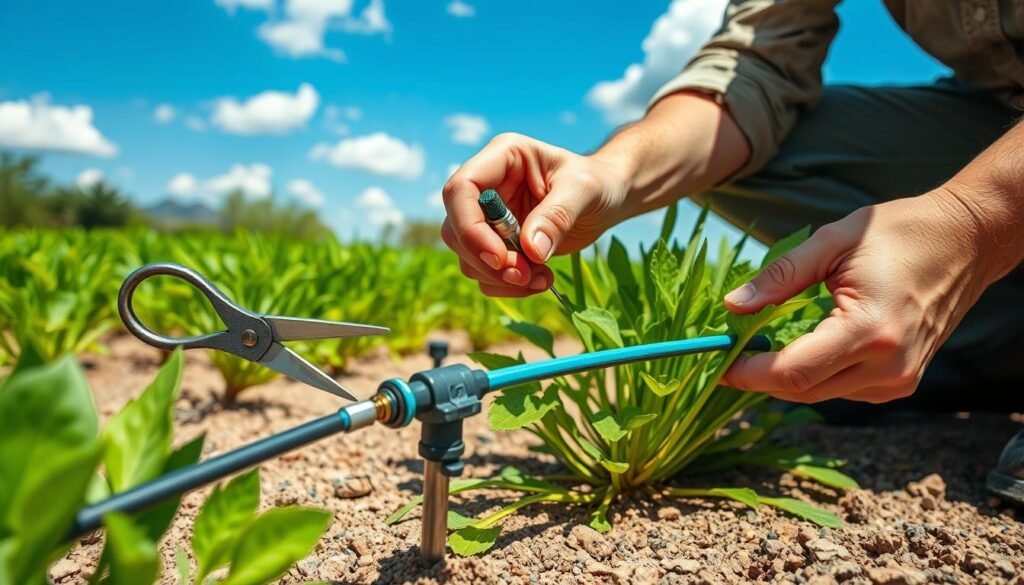
Restore stable pressure and right-size zones
Stop the bleeding: shut off the water, relieve pressure, dry the area, then repair. This prevents a small tear from growing.
Check the regulator and split long runs into smaller zones if flow or pressure lags. If your water source can’t hold steady, a booster pump may help for long runs or elevation changes.
Clean filters and flush lines
Match your filter to tape needs and clean removable screens regularly; 155 mesh is the right level for thin tape and tight emitters.
Remove end caps or use flush valve end caps and run lines until clear of debris. Flushing prevents backpressure and protects emitters.
Field repair options and emitter care
- Cut out bad sections and join with a coupler for a durable repair.
- Use poly tubing repair tape for quick bandage fixes and goof plugs for old emitter holes.
- If emitters clog, replace them; on 1/2″ line plug the old hole, punch a new one, and install a fresh dripper.
Simple maintenance habits
Keep spare washers, couplers, goof plugs, and a few emitters in the shed. Hand-tighten fittings; over-tightening can crack parts or seal damage.
- Make sure your filter mesh, regulator, end-of-line flush point, and spare parts are ready.
For a deeper head assembly and filtration check, see the field irrigation guide.
Conclusion
A short walk while a zone runs saves hours and gallons later. Simple habits—clean filters, regular flushing, and quick walk-throughs—keep small faults from growing.
Splits most often trace back to unstable pressure, clogged emitters, or failing head components, not just sun and age.
Keep a few spares and a basic toolkit on hand. A split zone can be repaired fast, and routine maintenance protects plant roots with steadier soaking and fewer surprise geysers.
If parts of your garden need different care, split zones and tune pressure so each live area runs smoothly. Once you see how filters, emitters, and pressure work together, checking your irrigation system becomes a quick, confidence-building habit.