
You flip the water on and, for a beat, the edge of your garden looks like a tiny fountain. That sudden spray tugs at the heart of any home grower — waste, stress, and plants left thirsty in parts of the bed.
In this short guide you’ll find clear steps that fix the exact spot where tubing meets soil without redoing your whole drip irrigation system. Quick checks first, then simple parts-based repairs that hold up outdoors.
This helps U.S. home gardeners using 1/2″ or 1/4″ lines, from beginners to intermediate. Expect fast, beginner-friendly fixes; time and difficulty vary with what you find in the line.
We’ll show you when to reseat a connection, trim and recut an end, swap a fitting, add a coupler, or plug a pinhole. Fixes save water, protect soil edges, and restore even watering so your plants thrive.
Key Takeaways
- Spot visible signs like pooling or squirting along the line and act promptly.
- Start with simple checks before swapping parts.
- Most fixes are quick and work for 1/4″ and 1/2″ home lines.
- Test repairs, then cover with soil or mulch to shield from sun damage.
- Small fixes save water and protect bed edges from washout.
What a Leak at the Raised Bed Entry Point Usually Means</h2>
A leak at the bed entry usually means either a failing connection or a small hole near a stressed bend, and the fix depends on which one it is. One shows as slow dripping around a fitting; the other is a sharp jet that splashes soil.
When you inspect the area, check whether water gathers around the fitting or sprays from a tiny split in the line. A failing connection (where a barb meets the tube) often weeps slowly. A hole or split in the tubing usually shoots a thin stream that makes mud and splatter on the bed wall.
Raised beds create tight turns and edges where lines rub against wood or metal. Those pressure points see the most wear. In a typical drip irrigation system, common causes include high pressure without a regulator, UV and weathering that make plastic brittle, and accidental damage from tools, pets, or rodents.
Leaks show up at the bed rim because that’s where the line bends, gets tugged, and sits exposed. Before buying parts, shut off the water and confirm exactly where the leak begins so you can repair the right spot.
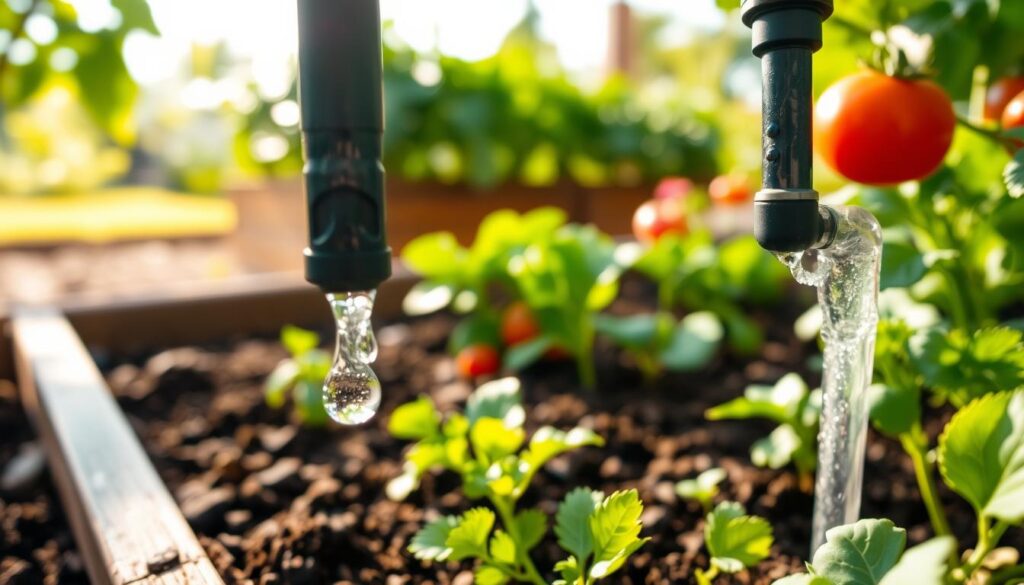
For a compact DIY layout that uses smart routing around bed edges, see this simple drip system guide.
Before You Start: Turn Water Off and Pinpoint the Leak Area</h2>
First, turn water off. Then confirm the exact leak area, because the cleanest repairs come from fixing the true source—not the puddle downstream.
First, turn water off. Next, confirm the exact leak area. These two actions keep you safe and help you fix the real problem instead of chasing runoff.
Start by cutting water at the source, then trace the line until you find the first sign of moisture. Relieve pressure by opening a valve or a faucet and have a towel ready for stray drips.
Quick first step checklist
- Turn water off at the source.
- Relieve pressure and keep a towel handy.
- Gather a small trowel and a flashlight if the line is shaded.
Walk the line and watch closely
Follow the main drip run toward the bed and scan for pooled water, a wet trench, or a fine mist that glints in sunlight. Look for the first damp spot; runoff can make downstream puddles look like the source.
Expose the suspect section gently. Pull mulch back with your hands or a small trowel and avoid poking near the suspected hole. Work slowly so you don’t make a small problem worse.
Try a quick dry test: wipe the line and fittings dry, briefly turn water on, watch for the first bead or spray, then switch the supply off again. Typical time for a visible find is 5–10 minutes; buried or intermittent faults will take longer.
If the source seems deep or underground, consult a guide on pinpointing hidden faults or a pro. For buried runs, this primer on locating underground issues can be helpful: underground leak detection.

If you want ideas for conserving supply while you fix lines, this rain-barrel setup shows simple water savings gardeners use: greenhouse rain-barrel system.
Tools and Parts That Make Repairs Fast (and Actually Last)
You won’t need a toolbox the size of a shed—just a handful of reliable tools and matching parts. Clean cuts and correctly sized fittings are what make repairs last.
Cutting tools
A purpose-built hose cutter is best for clean, square ends. A sharp utility knife works if you cut carefully and steady the line first.
Repair hardware
- Couplers for bridging a damaged section.
- Barbed fittings for transitions and soft-hose joins.
- Clamps where the setup benefits from extra grip.
- End parts like caps or figure-8 plugs for temporary isolation.
Quick hole fixes and threaded helpers
Goof plugs seal pinholes near the bed entry and outperform wrapped tape on pressurized runs. Use plumber’s tape on threaded joints and keep a few replacement washers for swivel connections — this small step often fixes a persistent drip. For more on basic pipe repairs, consult this short plumbing repair primer.
Optional helpers and durability tips
Pliers and a screwdriver speed clamp work, and warming the line in sun or warm water helps seats slide onto barbs without forcing. Choose durable metal connectors where appropriate and tuck spare parts into a small kit so future repairs take minutes. For a sturdy garden adapter option, see this 1/2″ NPT to hose adapter.

how to stop leaks where tubing enters raised bed [troubleshooting]</h2>
This is the fastest way to stop a bed-entry leak: check seating, cleanliness, cut quality, sizing, then pressure—in that order.
Most fixes start with one simple check: make sure the tubing is fully pushed into the fitting. Many mystery drips vanish when the line reaches the barb or coupler stop.
Verify seating.
Mark the tube with a Sharpie at the insertion depth, then push the line until the mark meets the fitting edge. If the mark pulls away again under pressure, reseat and test one more time.
Clear dirt and debris.
Look inside the fitting and on the cut end of the tube. Even a tiny grain of dirt can block a seal and create a slow drip. Clean parts with a damp cloth before reconnecting.
Check cut quality and bends.
Jagged or angled cuts and crushed ends stop fittings from sealing. Recut a square end with a sharp cutter. Inspect the entry curve for kinks or whitening where the line rubs the bed rim.
Confirm size and pressure.
Mismatched fittings cause weeps no matter how far you push the line. Watch for system signs of high pressure: multiple wet fittings, emitters popping, or blowouts. A regulator may be needed.
| Symptom | Likely Cause | Quick Action |
|---|---|---|
| Fine drip at fitting | Tube not fully seated or debris | Mark insertion depth, clean, reseat |
| Sharp jet near edge | Jagged cut or small split | Recut square end, replace if split |
| Weeping at many joints | Excessive pressure | Check regulator, reduce pressure |
| Emitter pops off | Wrong fitting size or high pressure | Match fittings, test system pressure |

One final tip: If a leak persists after a few tries, push the line a bit further into the coupler and test again. Many gardeners find success after a few careful reseating times.
Fix Options Based on What You Find at the Connection</h2>
Match the repair choice to the failure. A loose connection needs reseating; a damaged end needs a clean recut; a split often needs a coupler or a goof plugs insert.
Reseat and snug without overtightening
First, turn off the water. Push the hose fully into the fitting and mark insertion depth for a repeatable step. Snug the joint—don’t overtighten; cracked plastic creates new failures.
Recut the tubing end for a clean seal
If the end looks chewed, oval, or jagged, cut back close to the damage. One clean step with a sharp cutter often ends recurring drips.
Replace or reuse fittings and connectors
Swap worn barbs or stripped threads. Keep spare parts on hand—the saved time during watering season is worth it.
Reuse connectors by leaving ~3/4″ of hose on, pinching with pliers, and wiggling it free. Warm water helps loosen stubborn grips.
Cut out a bad section and add a coupler
For damage at the wall, remove the bad section and join with a coupler. For larger gaps, add a short piece and use two couplers.
Seal small holes with goof plugs
Push a goof plugs firm into pinholes until spray stops. Tape only as a temporary patch on pressurized runs.
| Problem Found | Best Repair | Quick Notes |
|---|---|---|
| Loose joint | Reseat and snug | Mark insertion, avoid overtightening |
| Jagged end | Recut end | Use sharp cutter for square finish |
| Split near wall | Cut section, add coupler | Use one or two couplers as needed |
| Small pinhole | Goof plug | Better long-term than tape |

One last tip: after repairs, test the hose run under normal pressure and cover the area with soil or mulch to protect parts from sun and abrasion. For matching adapters and a guide on couplings, see this garden hose couplings guide.
Test the Repair, Then Protect the Area So It Doesn’t Leak Again</h2>
Testing is part of the repair. Once it stays dry under pressure, protect the tubing so UV and foot traffic don’t bring the issue back next week. Quick checks now save time later and keep your garden running smoothly.
A brief, deliberate pressure test will show whether the repair will hold up in daily garden use.
Turn the supply back on and inspect connection points
Open the water supply slowly. Watch the repaired joint for 30–60 seconds while pressure rises. Check again after a couple minutes as the system stabilizes.
Look and listen for tiny clues: a glistening bead at the fitting edge, a fine spray, or a soft hiss. Any of these signs means shut the supply off, reseat the line deeper, recheck the cut for squareness, then test again.
Cover repairs and keep the area safe

Cover the tubing with soil or mulch to block sunlight and reduce accidental damage. Cushion sharp edges with a grommet or a short sleeve so the line isn’t stressed where it passes the rim.
Do a quick 2-minute walk-through each week. In cold climates, drain and winterize to avoid cracking. A protected drip irrigation run delivers steady moisture with less fuss and fewer emergency fixes.
| Test | Duration | Action if failing |
|---|---|---|
| Initial watch | 30–60 seconds | Shut supply, reseat, retest |
| Stabilized pressure check | 2–3 minutes | Look for bead, spray, or hiss |
| Routine care | 2 minutes weekly | Clear debris, check covers, winterize |
Conclusion</h2>
Most entry problems boil down to one of four simple causes: seating, a poor cut, wrong size, or a small hole near a stressed bend. A steady routine of checks and sensible parts choices keeps your system reliable and saves water.
Remember the quick sequence: find the issue, shut off the water, fix the connection or tubing, test under pressure, then cover and protect the area.
Keep a small repair kit with a cutter, a couple of couplers and goof plugs near your tools. Choose durable connectors and route lines so they don’t rub on edges. If multiple joints fail, check pressure regulation—high pressure causes repeat failures.
For more on simple hose and drip fixes, see this guide on repairing hoses and drip irrigation. With one calm troubleshoot, your raised watering run will behave again and you can get back to enjoying the garden.