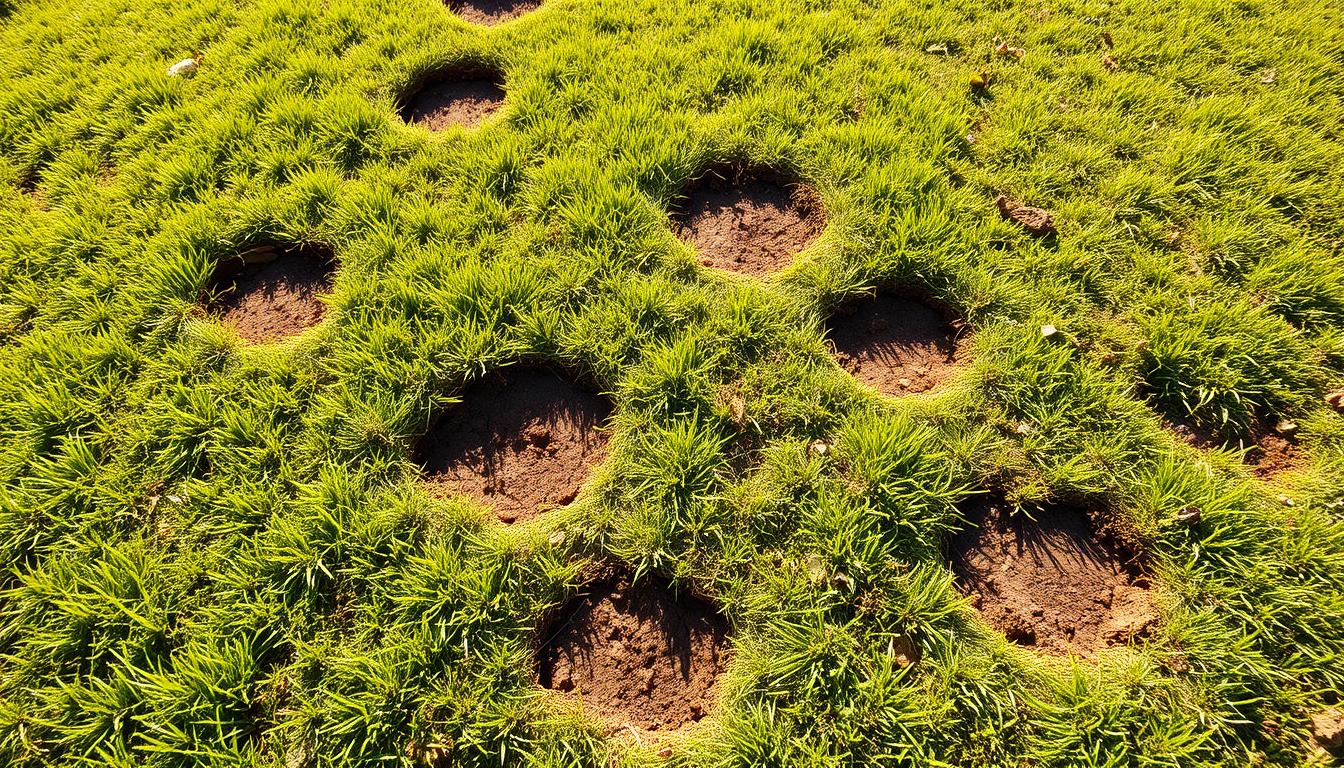
Can a single step, spilled product, or a worn path quietly rob a green yard of life?
Small dead areas often tell a clear story. Trafficked routes compact soil and block water. Heat and drought pull moisture away. Pests, disease, or chemical missteps strip color and leave thin spots that won’t fill on their own.
Before spending time or seed, identify the source. A compacted strip needs a path or stepping stones. Insect or fungal activity calls for the right treatment and a wait before reseeding.
Most grasses need preparation, seed, or sod to recover. Gentle care and targeted fixes stop the issue from returning and help the area grow back strong and even.
Key Takeaways
- Find the root cause before repairing to avoid repeat problems.
- Foot traffic compacts soil and is a common source of thin spots.
- Heat, drought, pests, and chemicals each leave distinct signs to spot.
- Prepare the area, then seed or sod; grass rarely fills large gaps on its own.
- Simple changes—paths, barriers, or adjusted care—protect the area long term.
Spot the Signs: Quick Diagnosis Before You Repair
Read the scene before you fix it. Simple visual cues—color, shape, and texture—point to the most likely causes and save time later.
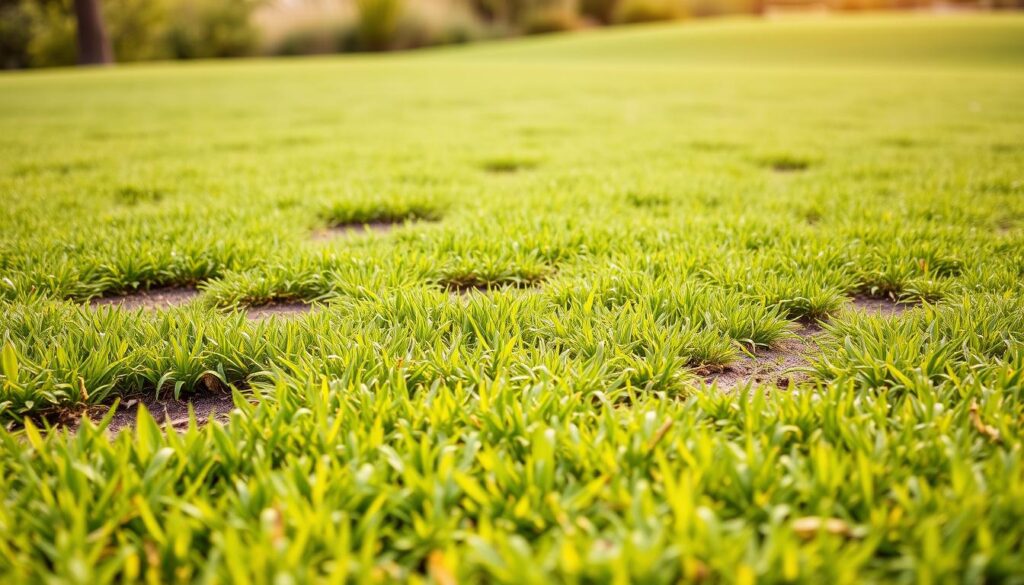
Look closely at color, edge, and texture to read what the damaged area is telling you. Take a walk around at different times of day and note shade from a tree or structure. This helps separate dry spots from areas affected by traffic or chemicals.
What color, shape, and texture reveal
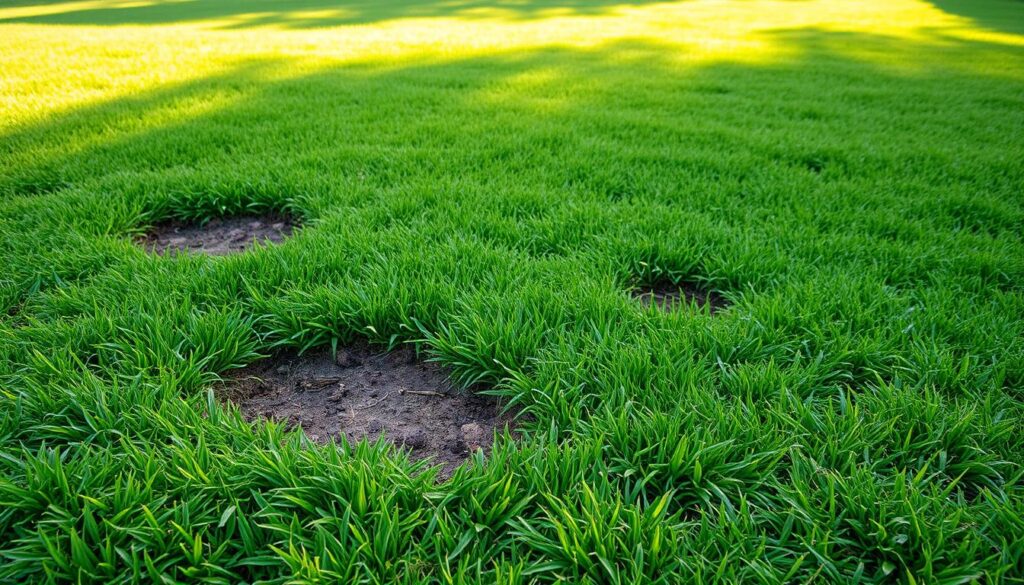
Uniform straw-brown circles with sharp edges often signal chemical burn or pet damage. Irregular, fading zones with spongy pull-up turf can mean insect feeding below the surface.
Paper-dry, gray grass that crunches underfoot points to drought stress, while flattened blades and hard soil along a pathway show compaction from foot traffic.
Rule out common causes first
- Foot traffic: narrow, worn paths and compacted soil; add stepping stones or a gravel path.
- Disease or insect: smoky rings, water-soaked lesions, or quick spread—confirm and treat before repair.
- Chemical burn: crisp edges and sudden color change—check product labels for control and wait times before reseeding.
why do i have bare patches lawn: Common Causes and How to Confirm Them
A quick field test often separates compacted routes from disease or irrigation gaps. Check simple signs first to match the correct treatment later.
Heavy foot traffic and soil compaction
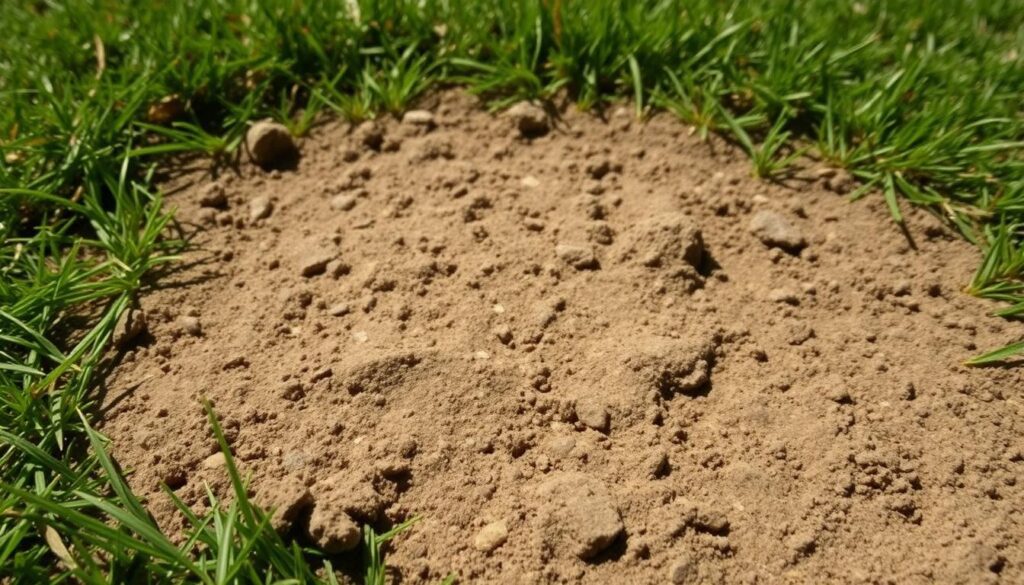
Press a screwdriver into the soil after a rain. If it resists, repeated traffic likely compacts the soil and kills grass roots.
Fix: add stepping stones, a gravel path, or a low barrier to move traffic flow and protect turf.
Mowing and water mistakes
Cutting too short stresses grass; follow the one-third rule and aim near 2.5–3 inches for many types.
Check irrigation with cups; dry cups show sprinkler gaps, while soggy spots invite fungal disease.
Shade, soil health, thatch, and pests
Under 4–6 hours of sun, turf thins—prune tree limbs or choose shade-tolerant grasses.
Pull a soil plug to inspect drainage and smell; poor soil and excess thatch block air and water.
If turf lifts or blades look ragged, insects may be at work—consult a pro for targeted treatment.
“Match the quick test to the fix: that saves time and seed.”
Tools, Materials, and Safety for Filling Bare Spots
Gather the right tools and materials before you touch the soil for repairs. Simple gear and correct supplies make the job faster and protect new growth.
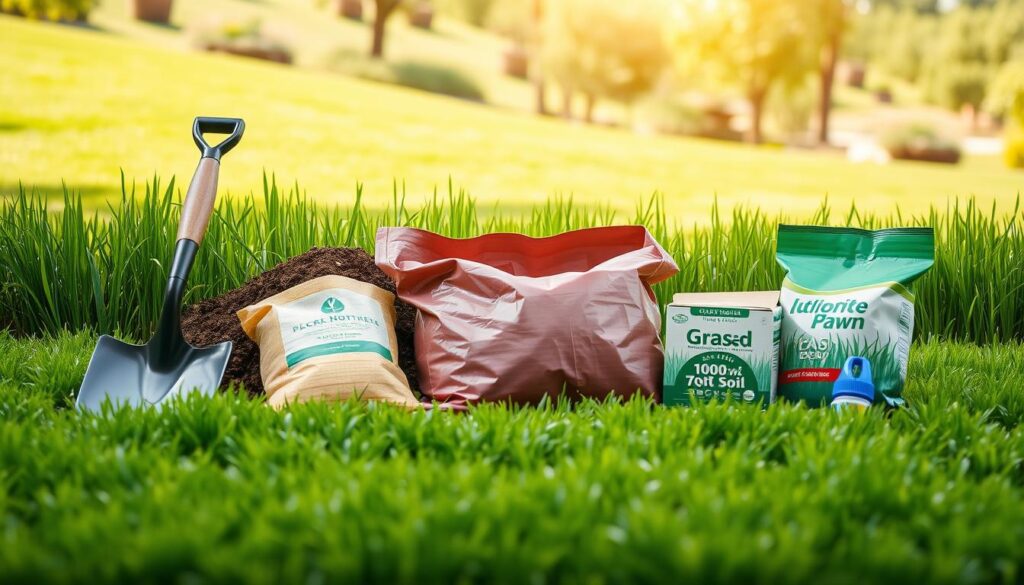
Stock a basic kit first. A sturdy garden rake clears dead turf and levels the area. Use a push or handheld spreader for even coverage so seeds and fertilizer don’t clump.
Tools to have on hand
- Garden rake: remove debris and smooth the surface.
- Spreader (push or handheld): ensures even application of grass seed and fertilizer.
- Consider renting a core aerator for larger repairs; many local services offer short-term rentals.
Materials that work best
Bring quality topsoil and a bag of compost to amend the area and boost biology. Choose grass seed matched to your region and a balanced starter fertilizer.
Add mulch like straw or a seed germination blanket on slopes. Keep sod moist and press it firmly into contact with soil for instant improvement.
Safety first
Read every product label before use; the label tells you safe clothing, mixing, and watering instructions for each product.
Call 811 before digging deeper than surface raking so underground utilities are marked. Use a temporary barrier to protect the repair area from foot or pet traffic until roots set.
“A small setup and careful safety steps save time and protect new grass.”
How to Repair Bare Spots on Your Lawn Step-by-Step
Start repairs by clearing dead grass and exposing clean dirt so new seeds meet soil directly. Prepare, amend, seed or sod, then protect with gentle care.

Preparation
Clear the site first. Rake out dead grass and debris so seeds contact fresh dirt. This prevents seed from sitting on thatch that blocks moisture.
Loosen the top 6 inches with a rake or hand aerator. Soft soil helps roots travel and lets water sink instead of running off.
Soil amendment
Blend in compost or topsoil to enrich the bed and level the area with surrounding turf. Aim for a smooth grade so the repaired patch blends after the first mow.
Seeding and patch options
Apply grass seed and fertilizer separately for control, or use a patch product that mixes seed, mulch, and starter nutrients. On slopes, add a germination blanket to hold seeds and reduce erosion.
Sod and patch repair
For instant green, press sod firmly into the prepared soil so roots touch the bed. Keep the new sod moist daily until roots stitch into the soil.
Watering and early care
Water lightly and often to keep the surface evenly moist without puddles. Follow any product label wait times if you used treatments earlier.
Mark the area and keep foot traffic off while grasses establish. A simple barrier helps new roots form strong contact with soil.
| Step | Action | Why it matters |
|---|---|---|
| 1. Clear | Remove dead grass and debris | Seeds meet dirt and moisture, increasing germination |
| 2. Loosen | Open top 6 inches of soil | Allows roots to grow and water to penetrate |
| 3. Amend | Mix compost or topsoil and level | Improves structure and nutrients for young roots |
| 4. Seed/Sod | Broadcast seed or place sod | Provides new shoots or instant cover; follow product directions |
| 5. Care | Water, protect, and wait to mow | Helps roots establish and prevents washout or compaction |
“A small, well-prepared repair beats scattered fixes—good soil and steady care set the new grass up for success.”
When to Seed or Sod: Timing by Region and Grass Type
Timing matters more than sprinting through repairs. Seed and sod establish best when grass is actively growing, so choose windows that match your regional climate and plant type.
Best window: late summer into fall
Late summer into fall gives seedlings warm soil and cooler air. These conditions help roots form and tillers spread before the cold sets in.
Seed in this window to lower weed competition and make watering simpler. If you need instant cover, lay sod during the same period and keep soil evenly moist.
Warm-season grasses (South):
Best window: late spring to early summer
Late spring through early summer matches rising temperatures and long days. Stolon- and rhizome-forming grass will knit together quickly then.
Seed when growth is vigorous so roots anchor fast. Use sod for immediate green, but only within the seasonal window for best root contact with soil.
- Water smart: light, frequent irrigation at first to keep soil moist without inviting disease or washout.
- Mind microclimates: shaded or cool-facing areas may need a slightly later or earlier slot than open sun areas.
- Plan repairs: mark spots lawn on a simple map so you can space work over optimal weeks rather than rushing all areas at once.
- Check control products: if pre-emergent weed control was applied, read the label—some products prevent seed germination and require a wait.
“Match repair timing to regional growth and grass type for the highest chance of lasting success.”
Lawn Care After Repair: Keep New Grass Growing Strong
Gentle, consistent care after repair makes roots take hold fast. Simple routines—mowing, tuned irrigation, and traffic control—protect young shoots and help repaired spots blend with the rest of the yard.
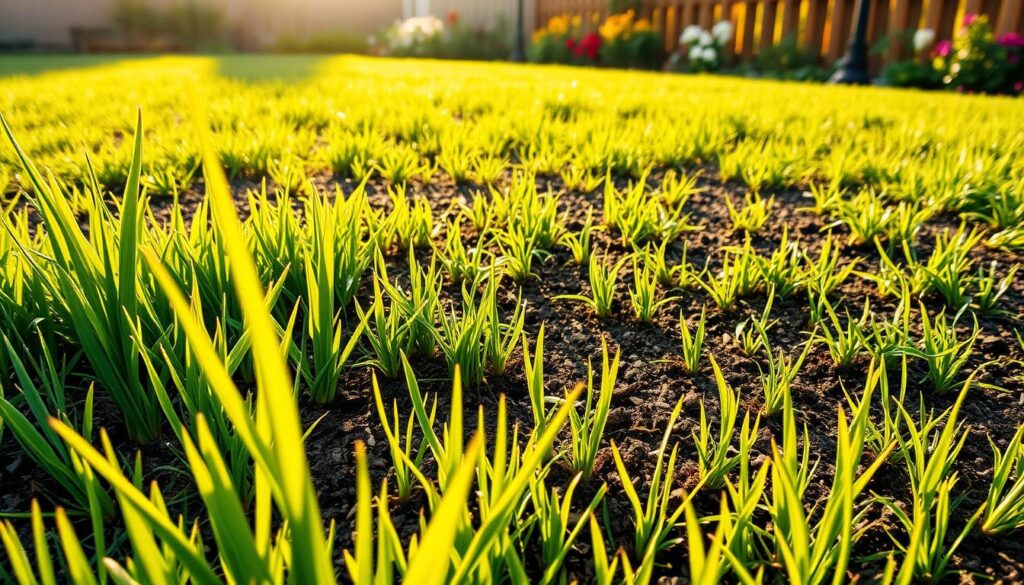
Mow high, keep water even, and limit foot pressure while roots develop. Start with a sharp blade set near 2.5–3 inches. Clean cuts reduce stress on new grass and help recovered areas match surrounding turf.
Mowing practices
Keep the mower high and blades sharp. Cut only one-third of blade length each pass.
Irrigation tuning
Use a fine spray to keep soil moist but not drenched. Water lightly and often at first, then shift to deeper, less frequent sessions as roots grow.
Traffic management
Place stepping stones, gravel, or a simple barrier to route foot traffic away from repairs. Even a few weeks of reduced pressure lets roots lock into soil.
Fertilizing and monitoring
Feed modestly after steady growth appears. Topdress lightly with compost after the first mow to add biology and smooth low spots.
- Prune lower tree limbs to boost light and airflow near thin areas.
- Keep an eye for insect or fungal signs; early control stops spread.
- Call local services if diagnosis feels uncertain.
| Care Step | When | Why |
|---|---|---|
| Mow | After seedlings reach recommended height | Preserves energy and prevents scalping |
| Water | Daily light sprays, then taper | Supports root growth without inviting disease |
| Protect | First 2–6 weeks | Reduces compaction from foot traffic and animals |
| Feed | Once established, then seasonally | Maintains color, density, and stress tolerance |
“A quiet, steady routine protects new shoots and turns repairs into lasting turf.”
Conclusion
Tackle a faded area in steps: find the cause, correct it, then restore with seed or sod timed to your region. Small, steady care—proper soil prep, measured watering, and the right treatment—turns thin spots into healthy grass over one season.
Start with diagnosis, then act. Identify the cause, fix soil or insect issues, and follow product label wait times before you seed. Prepare dirt, choose matching grasses, and protect the patch while roots form.
Keep a short checklist to guide work in spring or when conditions fit. If weeds move in, use targeted control and overseed. For uncertain insect or disease problems, consult a local extension or a trusted pro. With patience and routine care, home improvement here leads to lasting, green results.