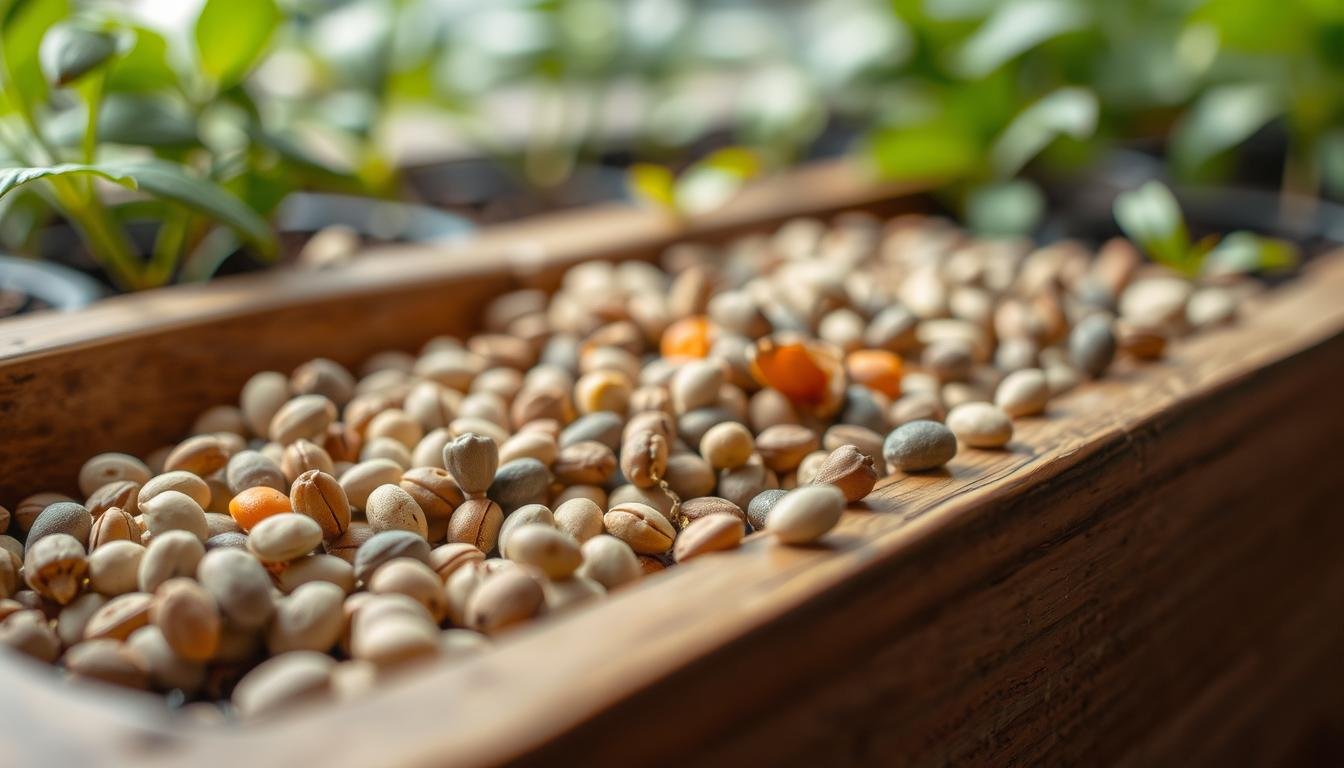
Curious: can a tiny tray on your windowsill change your entire garden season? Starting seeds indoors gives vegetables, herbs, and flowers a head start. You get earlier harvests and stronger, healthier seedlings.
In plain steps: use a simple tray, pre-moisten a seed-starting mix, and give steady light for 12–16 hours. Count back from your last frost date to pick sowing time. Warmth and a sterile soil mix boost germination and cut disease risk.
What you’ll master: consistent light, careful watering, airy mix, and a short hardening off phase outdoors. Add a fan, use bottom watering, and pot up at the right moment to build stocky stems and strong roots.
Key Takeaways
- Save money and expand variety by starting seeds at home.
- Use a damp, well-draining mix and remove humidity domes at first sprout.
- Provide steady light 12–16 hours with fixtures near the canopy.
- Work backward from last frost and favor shorter sowing windows to avoid leggy growth.
- Harden off seedlings 7–14 days before transplanting to prevent shock.
Why Start Seeds Indoors in the United States
A head start indoors turns chilly spring delays into earlier, fuller beds at harvest time. This simple choice gives you more control over germination, variety, and spacing so your garden performs better all season.
Save time to harvest and expand variety
Warm, controlled soil—often 65–70°F—wakes seeds faster than cold outdoor ground. Using a heat mat for warmth-loving crops can shave several weeks off the path to harvest for many crops.
Order unique tomatoes, peppers, herbs, and flowers that local nurseries may not carry. That freedom lets you tailor your beds and try unusual varieties with confidence.
Better spacing, fewer weeds, and stronger seedlings
Transplants let you place plants exactly where you want them. That precision reduces thinning and saves on seeds and labor.
Seedlings planted as sturdy transplants compete better against early weeds. Weed beds just before transplanting for cleaner starts and less repeated water and care.
- Net gain: hardening off and brief transplant shock cost a bit of time, but overall you still gain a meaningful season advantage.
- Resource savings: fewer re-sows, less wasted seed, and reduced outdoor failure when soil stays cold.
how start seeds indoors like a pro (beginners)
A simple, repeatable routine turns fragile sprouts into sturdy transplants. Follow a clear four-step sequence from pre-moistened mix to a brief hardening off. This gives young plants the best shot at strong roots and compact stems.
The beginner’s blueprint at a glance
- Prepare soil: pre-moisten a sterile seed-starting mix until it feels like a wrung-out sponge, then fill cells and label trays.
- Sow correctly: plant to the general rule of 2–3× seed thickness; surface-sow light-dependent types such as lettuce.
- Add light & warmth: set fixtures 2–3 inches above the canopy for 12–16 hours daily. Use a heat mat for warm-season crops, then remove after most sprouts appear.
- Water & thin: keep media evenly moist but not soggy. Remove domes at first sprout and switch to bottom watering after emergence.

Next steps: pot up when seedlings show two true leaves, feed lightly, and add a gentle fan to build strength. Begin a 7–14 day hardening off before transplanting.
For a more detailed timetable and troubleshooting, see this indoor seed-starting guide.
Essential Seed-Starting Supplies and Setup
A compact kit sets you up for steady germination and sturdy transplants. The right tray, mix, and light remove guesswork and speed confident growth.
Which containers work best?
Use seedling trays with individual cells set into a drip tray. Reusable plastic cell trays are budget-friendly and save space.
Soil blocks in a sturdy tray cut transplant shock by encouraging quick root bonding. Choose the container that matches your transplant plan.
Why the seed-starting mix matters
Pick a sterile, fine-textured seed-starting mix. It holds even moisture, resists compaction, and lowers fungal risk.
Avoid garden soil. Standard potting mixes can carry pathogens and drain too quickly for tiny roots.
Which lights and heat should you use?
Both T5 fluorescents and LED grow lights work well. LEDs save energy and keep steady output; fluorescents dim over time.
Keep fixtures 2–3 inches above the canopy and run them 12–16 hours on a timer. Use a heat mat to lift soil temps for warm-loving crops; aim for about 65–70°F for most varieties.
Small tools that matter
- Labels and a fine mister for gentle early moisture.
- Bottom-watering trays or wicking mats to reduce damping off.
- A clip-on fan to add airflow once most sprouts appear.
Quick kit summary: trays with drainage, sterile mix, reliable lights, gentle heat, clear labels, and smart watering tools make the biggest difference.
Timing: Work Backward from Your Last Frost Date
Count back from your area’s last frost to turn a packet’s vague window into exact sowing dates.
Read the packet for the recommended weeks—for example, many tomatoes say “6–10 weeks before last frost.” Choose the shorter window to avoid tall, floppy transplants and to keep root systems compact.

Step-by-step: find your local last frost by ZIP code, note its range, then subtract the packet’s weeks to mark calendar dates. If your last frost averages April 15, sow tomatoes about 6–8 weeks earlier.
- Quick tip: cool crops can be sown earlier; tender crops wait until closer to frost-free time.
- Caution: starting too early makes oversized seedlings that become root-bound or leggy.
“Garden timing is a simple math problem: last frost minus packet weeks equals planting day.”
Make a week-by-week calendar separating cool-season and warm-season sowings. As transplant week nears, watch 10–14 day forecasts and adjust dates if late cold snaps threaten. For a thorough timetable, consult this starting seeds indoors.
What to Start Indoors vs. Direct Sow Outdoors
A clear split saves time and improves results: give long-season plants a nursery boost and sow fast or root-sensitive types straight into the bed.
A few crops repay indoor attention with earlier harvests and stronger transplants. Tomatoes, peppers, eggplant, many herbs, and annual flowers (marigolds, zinnias) benefit from a controlled start. These often take longer to germinate or need a longer growing season.
By contrast, root crops and quick growers dislike disturbance. Carrots, beets, and radishes form fine roots that suffer from transplanting. Fast crops such as beans and corn emerge quickly and perform best when sown where they will grow.
Cool greens—including lettuce, arugula, and spinach—often thrive when direct sown as soon as soil can be worked. Seed packets usually note whether a variety prefers a tray or the open ground; follow those timing tips for best results.
- Indoor standouts: nightshades (tomatoes), slow-germinating peppers, long-season flowers.
- Direct-sow winners: root crops, quick corn and bean rows, and early greens.
Mix methods: start some plants under lights and succession-sow others outside for a steady harvest and less transplant shock.
Prepare Your Seed-Starting Mix the Right Way
Pre-moisten the mix until it feels like a wrung-out sponge. This simple moisture target creates consistent germination across the tray and defeats dry, hydrophobic peat.

Work in a tub or large basin. Add small amounts of water and break clumps until the mixture feels evenly damp and airy. Aim for springy texture—uniform dampness without dripping.
Why this matters: Even moisture helps every seed take up water at the same time. That prevents stalled germination from dry pockets and produces steadier results across your trays.
- Hydrate evenly: fold and press the mix gently in a bucket so peat soaks through.
- Avoid over-wetting: too much water compacts the soil and cuts oxygen to tiny roots.
- Fill trays after moistening: this stops seeds from floating and keeps the surface level.
- Label first: mark trays before you get hands dirty to keep the process tidy and accurate.
Quick tip: if a clump breaks into fine crumbs and springs back, you’ve hit the right moisture. That texture supports strong, even germination and reduces transplant surprises.
Sowing Depth, Spacing, and Seed Density
Plant most seed at 2–3× their thickness; tiny types like lettuce need light and stay on the surface. Follow this and you’ll get even, faster germination and less thinning later.
Planting by thickness is simple. Press a seed into the surface and cover it about two to three times its own width. For example, a pea sits around 1/4 inch down; a tiny lettuce grain sits on top.
Use 1–3 seeds per cell as insurance. For larger seed, place two per cell in a tray and pot up the strongest. For tiny seeds, surface sow and press gently to ensure contact without covering.
Thin early: when the first true leaves appear, snip extras at the soil line to protect the keeper’s roots. This avoids tugging and root damage and gives the final seedling room to grow.
Always check the packet for exceptions, pre-soak notes, or light/dark germination needs. Err on the shallow side if unsure — too deep often stalls young sprouts.
Light: Distance, Duration, and Intensity
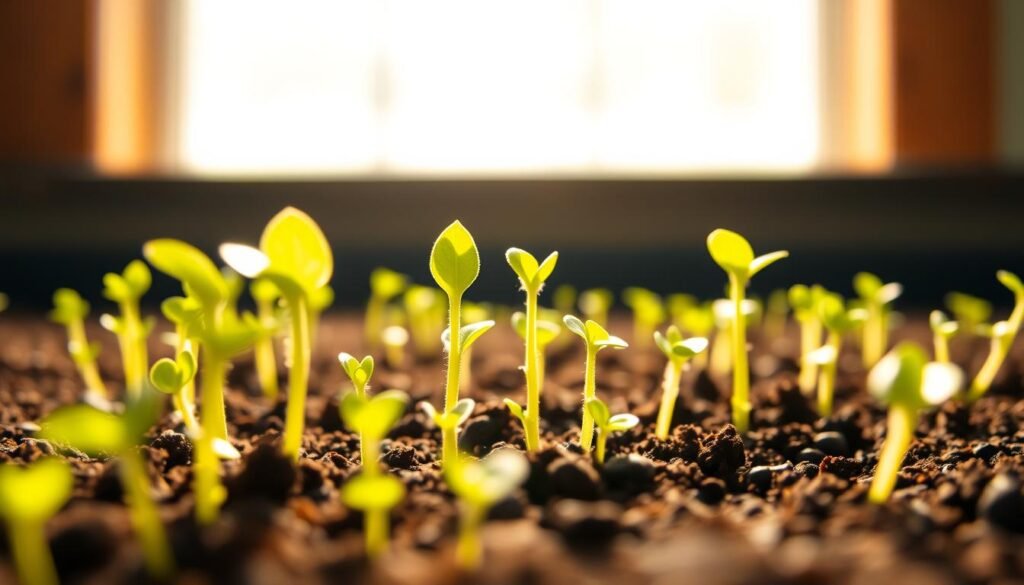
Keep fixtures 2–3 inches above the canopy and run lights 12–16 hours daily. This gives compact, sturdy seedlings and cuts legginess.
Set fixtures on adjustable chains or shelves so you can raise them as plants grow. Use a timer for consistent on/off cycles. A steady schedule mimics day and night and helps roots and stems develop evenly.
What to watch for and simple fixes
When leaves bleach or look pale, raise the bulbs a few inches. If stems stretch upward, lower the light or bump intensity. Scan the canopy each morning and adjust over time.
LEDs vs. fluorescents
LEDs keep output steady through their life. Fluorescents dim over months and often need replacement after about 12 months.
| Source | Typical lifespan | Best practice |
|---|---|---|
| LED | 5–10 years | Set 2–3 inches; monitor canopy |
| Fluorescent | 8–12 months effective | Replace yearly; keep close |
| Timer | Consistent schedule | 12–16 hours on, 8–12 hours off |
Tip: place grow lights as the primary light source for small trays of seeds and seedlings. Small adjustments in distance and time prevent many common nursery problems.
Heat and Humidity: Germination Boosters
A gentle root-zone warmth speeds sprouting for warm-loving crops, but dial it back once tiny leaves appear. Use modest heat to shorten germination and aim for steady, predictable conditions that favor fast, even emergence.
When should you use a heat mat and when to remove it?
A heat mat under trays helps peppers and tomatoes by keeping the root zone warmer than room air. Set the soil temperature near 65–70°F for most types and a bit higher for heat lovers.
Remove the mat as soon as most sprouts appear. Continued warmth risks rapid, weak growth and uneven moisture that harms young seedlings.
How do you use plastic domes without inviting disease?
Use a clear plastic dome only until the first tiny shoots break the surface. Condensation or a foggy dome is a cue to check for sprouting and to vent or remove the cover quickly.
To prevent damping off, combine bottom watering, improved airflow, and a clip-on fan once leaves form. Keep domes brief and return trays to open air for stronger stems and lower fungal risk.
Watering, Airflow, and Disease Prevention
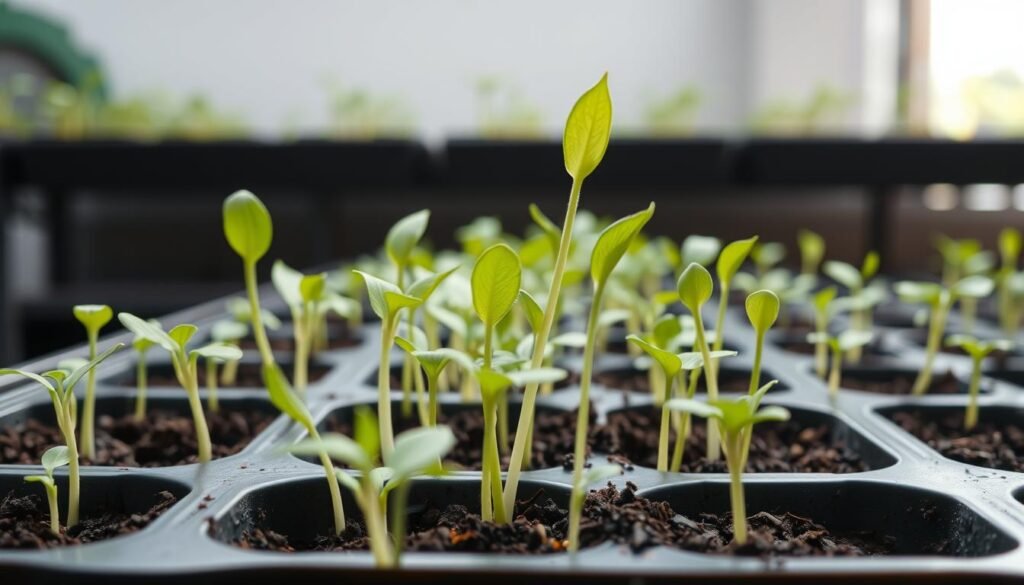
Keep foliage dry and roots happy: bottom watering and steady airflow prevent the common damping-off problem. These two habits are the easiest way to protect young plants and build stronger stems.
What is the best way to deliver moisture to roots?
Use bottom watering by adding a shallow layer of water to the drip tray beneath your cells. Let capillary action draw moisture into the mix for 10–30 minutes, then pour off any excess.
What moisture level should you aim for?
Keep the soil evenly moist so it springs back when touched. Never let it sit waterlogged or go bone dry. That balance protects tiny roots and stops fungal spores from taking hold.
When should you mist and when switch to bottom watering?
Use a fine mister for newly sown seeds to avoid displacing them. Once cotyledons show, move to the bottom method to reduce splash and stem stress.
Can a fan really help?
Add a small oscillating fan on low for a few hours daily. Gentle airflow mimics outdoor breezes, strengthens stems, and cuts fungal risk. Remove or avoid prolonged use of plastic covers after sprouting to improve ventilation and let more light reach the canopy.
From Sprout to Sturdy Seedling: Care, Feeding, and Potting Up
Young sprouts need clear cues and gentle feeding to become compact, healthy transplants. Watch leaf stages, feed on a light schedule, and move to a larger container when roots or top growth signal crowding.
Which leaves tell you what?
Cotyledons are the first rounded leaves that appear. They store energy from the seed.
True leaves follow; they look like the adult leaf and start real photosynthesis. Begin feeding after two true leaves appear.
What feeding schedule keeps growth steady?
Use a diluted fish emulsion or a balanced water-soluble fertilizer at half strength. Apply every two weeks for steady, even growth.
Tip: feed lightly—overdoing nutrients makes lanky, weak seedlings.
When and how to pot up
Signs it’s time: roots circling the pot edge, slowed growth, or crowded tops. Move into 3–4 inch containers filled with quality potting soil or a richer mix.
- Water the seedling in its original tray first to firm the root ball.
- Gently loosen roots and place slightly deeper if the stem is tall.
- Backfill with fresh soil, press lightly, and water again to settle the mix.
After potting, keep lights close to the canopy and maintain even moisture while roots adjust over the next few weeks. This reduces shock and builds stocky, transplant-ready seedlings.
Hardening Off: Step-by-Step Outdoor Acclimation
Give seedlings a gentle, staged exposure to sunlight, wind, and cooler nights so they move from trays to the garden without shock. This brief process builds tougher stems and reduces sunscald and transplant loss.

What is a simple 7–14 day schedule?
Begin with 1 hour in a shaded, protected spot and add 1–2 hours each day. Offer morning light first, then a bit of gentle sun as tolerance grows.
- Days 1–3: 1–3 hours in shade; avoid wind.
- Days 4–7: increase to half a day, include morning sun.
- Days 8–14: full days possible; try one overnight if temperatures stay mild.
What weather risks should you watch?
Strong wind, sudden heat, or chilly nights can set plants back. Move trays quickly on cold snaps and pull shade over scorched leaves.
Practical tips: group trays on a cart for easy moves. Hardy crops can take a faster ramp; tender ones need a gentler climb. Watch for wilting or leaf scorch and reduce exposure when you see stress.
“A gradual ramp of sun and weather turns fragile starts into resilient garden transplants.”
Transplanting Day: Depth, Spacing, and Water
Planting day is the moment your careful nursery work pays off—gentle placement, correct depth, and a solid watering set seedlings up to thrive. Choose a mild day or late afternoon to reduce stress and give roots time to settle before sun returns.
What depth and spacing should you use?
For tomatoes, bury the stem deeply—up to the first set of leaves—to encourage new roots along the buried stem. You can even plant at a slight trench angle so more stem contacts the soil.
Keep spacing in mind. Aim for the packet’s recommended spacing and check root density before placing each transplant. Place each plant so the crown sits at the correct final soil level.
How should you handle cucumbers and squash?
Handle cucurbits gently. Avoid disturbing their root ball. Firm soil around the roots with light pressure to remove air pockets but do not compact the mix.
Set these plants so roots sit comfortably without bending. That avoids transplant shock and keeps vines vigorous.
When and how much should you water?
Water in deeply. Soak the hole or trench before planting, then plant and give a generous, slow drink to settle soil around roots. This refill of moisture helps seedlings take hold during the first sunny day.
After watering, finish with a 2–3 inch layer of mulch to lock in moisture, stabilize soil temperature, and reduce weed pressure. Mulch saves time and helps your garden stay steady through dry spells.
“A calm transplant day, a deep drink, and a tidy mulch are the simplest ways to turn tray-grown starts into garden winners.”
- Tip: avoid midday heat; move trays in shade if surprise sun appears.
- Firming: press gently to remove air pockets but do not compress roots.
- Mulch: keeps soil moist and cuts early weeds, improving survival.
Common Mistakes Beginners Can Avoid
Many early losses trace back to a few simple errors that are easy to fix. Fix the timing, give steady light, manage moisture, and label trays to prevent costly mix-ups.
Top four avoidable errors and quick fixes:
- Starting too early: pick the early end of packet windows rather than the maximum weeks listed to avoid overgrown, root-bound plants.
- Too little light: run quality lights 12–16 hours and keep fixtures close to the canopy for compact growth.
- Overwatering: aim for even moisture; bottom water from the drip tray to reduce damping off.
- Skipping labels: mark each tray with crop and sowing date to avoid transplant-day confusion.
Watch your time and space. Extra-early sowing fills a tray quickly and forces weak, leggy growth. With patient tweaks, gardeners see steady improvement over years.

For companion planting tips and herbs that pair well with transplants, see discover the best garden herbs.
Budget and Space: Kits vs. DIY Racks and Lights
Deciding between a compact kit and a DIY rack comes down to scale, space, and long-term value. A small kit can get a few trays going fast. A multi-tier shelf with LED bars pays back over several seasons for larger projects.
Which setup fits your area and time?
DIY racks often win on cost and flexibility. A wire shelf, LED bars, and a timer usually outperform premium kits for price and performance.
Compact kits suit a short season or a couple of containers. Large seed runs need tiered racks and multiple trays to stay efficient.
Costs, maintenance, and lifespan
| Option | Typical cost | Maintenance |
|---|---|---|
| Wire rack + LED bars | $60–$200 | Low; LEDs hold output for many years |
| Turnkey kit (small) | $40–$150 | Good short-term; parts may wear |
| Fluorescent fixtures | $30–$120 | Replace bulbs yearly for best light |
Practical choices and alternatives
- Right-size it: buy a small kit for a few trays; choose a rack for dozens of seedlings.
- Buy transplants if you won’t use equipment enough years to recover the cost.
- Reuse trays and plastic containers to spread expenses and cut waste across seasons.
“Match your setup to your garden goals and the time you can commit; the best option saves money and frustration.”
Conclusion
A clear formula—timing, light, warmth, moisture, and patience—turns tray work into garden wins. Use a sterile mix, sow at correct depth, run lights 12–16 hours, add gentle heat for warm crops, bottom-water, and harden off slowly.
Keep the process repeatable: work back from your last frost date, favor the shorter packet window, and transplant with care—bury tomato stems deeper and water in well.
Watch seedlings daily. Tiny adjustments to light height, moisture, and airflow protect growth. Start small this season, note what you do, and scale up with confidence as your garden and skills grow.
FAQ
What supplies do I need to begin indoor seed starting?
Gather seedling trays or cells, a sterile seed-starting mix, grow lights with a timer, a heat mat (optional), labels, a spray mister or bottom-watering tray, and a thermometer. Use plastic trays with drainage or soil blocks. Choose an LED or T5 fluorescent light and a timer for consistent light cycles.
When should I sow seeds before my last frost date?
Count back from your average last frost using the seed packet window. Many tomatoes need 6–10 weeks, peppers 8–10, and eggplants 8–10. Cool-season crops like brassicas can go 4–6 weeks. Build a simple week-by-week calendar to time transplanting.
How deep should I plant tiny seeds vs. larger ones?
Plant most seeds at roughly 2–3 times their thickness. Tiny seeds like lettuce are surface-sown and only lightly pressed into the mix. Larger seeds (beans, peas) go deeper—about 1 inch or per packet guidance.
How much light do seedlings need each day?
Provide 12–16 hours of bright light daily. Set fixtures 2–3 inches above seedlings and raise them as plants grow. LEDs can sit a bit higher than fluorescents, but keep intensity steady to avoid legginess.
Do I need a heat mat for germination?
Use a heat mat when seeds require warmth—tomatoes, peppers, and eggplant benefit from 75–85°F at the soil surface. Cool-season seeds germinate well at lower temps and usually don’t need supplemental heat.
How should I water seed trays without causing damping off?
Keep the mix evenly moist, not soggy. Bottom-watering trays or wicking mats give consistent moisture. Use a spray mister for surface hydration early on. Ensure good airflow and avoid wet domes for long periods to reduce fungal risk.
When should I begin fertilizing seedlings?
Start feeding lightly after seedlings develop two true leaves. Use a diluted balanced fertilizer or an organic option like fish emulsion at half strength. Increase strength gradually as plants grow and after potting up.
How do I know when to pot up seedlings into larger containers?
Pot up when roots fill the cell or when seedlings show two to three sets of true leaves. Move to 3–4 inch pots to give roots room. Handle by the leaves or root ball, not the stem, to avoid damage.
What is the proper hardening off routine?
Acclimate over 7–14 days. Start with a few hours in shade and sheltered conditions, then increase outdoor time and sun exposure daily. Watch wind and nighttime lows—bring plants inside if temps dip below recommended thresholds.
Which crops are best started indoors vs. direct-sown?
Start indoors: tomatoes, peppers, eggplant, basil, and tender ornamentals. Direct-sow: lettuce, arugula, spinach, beets, radishes, carrots, beans, and corn. Use the packet and your climate to decide.
How many seeds should I plant per cell, and when do I thin?
Sow one to three seeds per cell for small trays, depending on germination rates. Thin to the strongest seedling once true leaves appear. For direct-sown rows, follow spacing guidelines on the packet and thin to recommended plant spacing.
Can I reuse old potting mix for seed starting?
It’s best to use fresh, sterile seed-starting mix because old mix can harbor pathogens and inconsistent moisture. If reusing, sterilize in an oven or discard and refresh with a new mix to reduce disease risk.
How do I prevent leggy seedlings under lights?
Keep lights close (2–3 inches) and on a timer for 12–16 hours. Increase intensity or lower LED bars if seedlings stretch. Give a small fan for airflow to strengthen stems and rotate trays if light is uneven.
When should I remove humidity domes and heat mats?
Remove domes once most seeds have germinated and seedlings show true leaves—usually within a week or two. Remove heat mats after cotyledons open or when daytime temperatures are sufficient for continued growth, to avoid overly warm and damp conditions.
What common mistakes should I avoid?
Don’t start too early, skimp on light, overwater, or skip labeling. Avoid compacted heavy soils, inconsistent temperatures, and ignoring airflow. Those missteps lead to weak or diseased seedlings.
How do I transplant seedlings into the garden on planting day?
Plant at the recommended depth—bury tomatoes deeper to encourage root growth. Space according to packet guidelines. Water thoroughly after transplanting and apply mulch to retain soil moisture and reduce stress.