
Can a simple, budget-friendly recipe really turn a tiny balcony into a thriving herb corner?
Yes — and this guide shows exactly how. Many bagged seed starters include heavy particles or added fertilizers that can slow germination and invite damping-off. A basic homemade seed-starting recipe balances moisture and air so seeds sprout fast and healthy.
Start with lightweight fibers like coco coir or sphagnum peat moss, then add perlite and vermiculite for aeration. A small handful of worm castings introduces helpful microbes without burning tender seed starts.
We’ll walk through a seed-starting ratio and a richer potting formula for potting up seedlings. You’ll learn simple tests — like the “loose ball” squeeze — so you stop guessing when you fill trays and container beds.
Key Takeaways
- Seed success begins with balanced moisture and air, not heavy fillers.
- Use coco coir or peat moss with perlite and vermiculite for good drainage and retention.
- Pre-moisten to the loose-ball stage before filling trays or containers.
- Switch to an enriched potting soil when seedlings need more nutrients.
- Small-space gardeners can choose lighter ingredients to reduce weight and improve drainage.
Why a DIY Soil Mix Matters for Healthy, Flavorful Herbs
A custom starting medium gives you clean, consistent germination and less guesswork. Small changes to texture and drainage early on produce stronger roots and better flavor in mature plants.
A homemade potting mix helps you control texture and cleanliness so seeds sprout reliably. Many bagged potting soil products contain clay, bark, or added fertilizer that can slow contact with seeds and raise disease risk.
Using a sterile, soilless base reduces damping-off and other seedling problems. That means less time troubleshooting and more time enjoying healthy young plants.
- Fine-tune moisture and air: a custom mix gives the right balance for fast root growth.
- Avoid surprises: no hidden fertilizers or large debris to stall or burn seeds.
- Save money: buy core ingredients once and make only what you need, reducing waste.
For help starting container-grown herbs, see this guide on growing herbs in containers. A clear recipe and steady technique make each season easier and more predictable.
Core Ingredients for Herb Soil Success
Which ingredients give seeds the best start?
Good germination starts with a base that keeps moisture steady while allowing roots to breathe. A balanced, simple recipe uses 1 part coco coir (or sphagnum peat moss), 1 part perlite, and 1 part vermiculite.
Which base fiber should you choose?
Coir holds water evenly, is near-neutral in pH, and is seen as more sustainable. Peat moss retains moisture well but leans acidic; you may need lime later for long-term planting.
How does perlite help?
Perlite is a lightweight volcanic glass. It creates air pockets, improves drainage, and keeps roots from becoming compacted.
Why add vermiculite?
Vermiculite holds moisture close to seeds. It evens out watering and reduces the risk of early root rot from overwatering.
When to include compost or castings?
Use compost sparingly for potting up or beds. For seed starting, avoid heavy organic materials. A small handful of worm castings introduces beneficial microbes and gentle nutrients without burning seedlings.
What about bark and chunky material?
Screen out large bark chunks for germination. Fine bark can be useful later where structure helps drainage, but chunky material can block seed contact and raise disease risk.
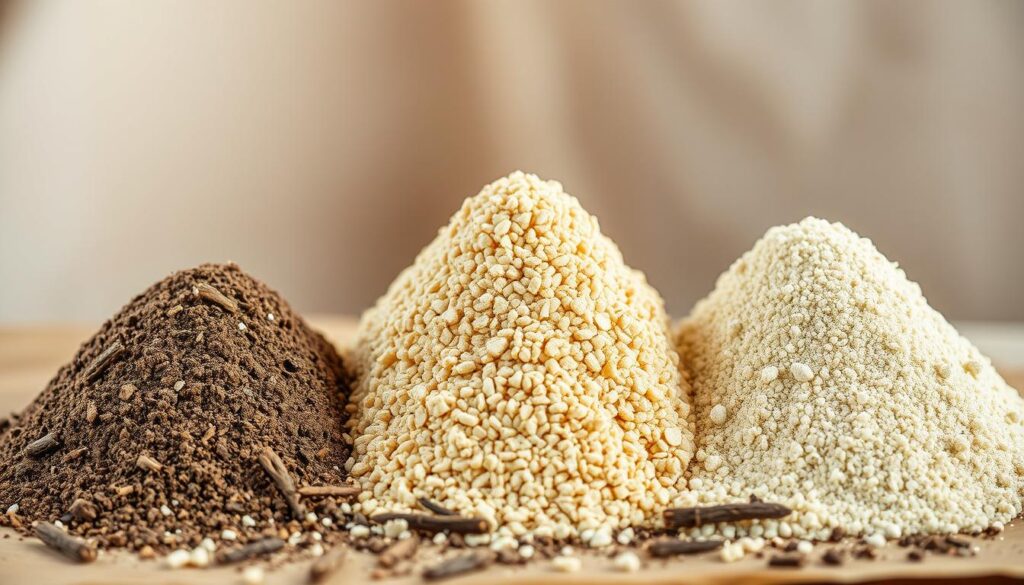
| Ingredient | Primary role | When to use |
|---|---|---|
| Coco coir | Moisture retention, neutral pH | Seed starting and containers |
| Peat moss | High water retention, acidic | When long-term acidity is acceptable; adjust pH as needed |
| Perlite | Aeration and drainage | All stages to prevent compaction |
| Vermiculite | Water-holding, buffering | Seed trays and dry climates |
| Worm castings / Compost | Gentle nutrients, microbes | Small amounts for potting up; avoid in seed trays |
Potting Soil vs. Seed Starting Mix for Herbs
A light, soilless starting medium gives seeds firm contact, steady moisture, and plenty of air, so germination runs faster and more uniform.
Seeds germinate best in a fine, airy medium made for starting trays. A true seed-starting mix is soilless and light. It makes contact with tiny seed coats and lets roots push through without resistance.
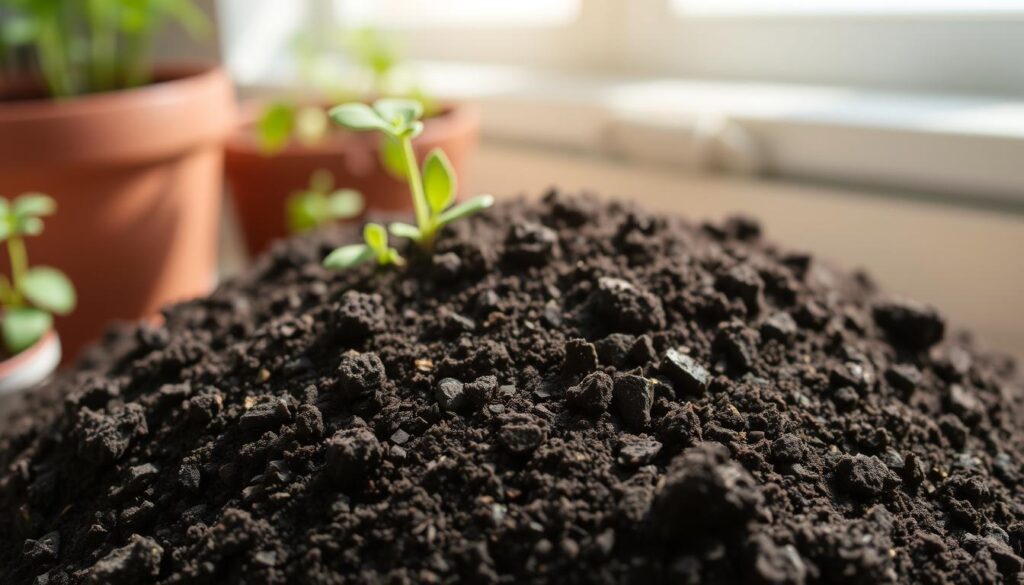
What makes potting soil risky at sowing?
Many bagged potting soil products include compost, manure, peat moss, and fertilizers. Those additions can burn delicate seedlings and hold too much moisture.
Large bark pieces and clay clods block seed-to-medium contact. That delays or prevents even sprouting. Pathogens hide in heavy media and cause damping-off.
- Use a soilless seed mix for sowing to speed germination and improve drainage.
- Screen heavy potting soil if you must use it, or cut it with extra perlite.
- Transition to richer potting mix only after true leaves appear.
| Stage | Best option | Why |
|---|---|---|
| Sowing seeds | Soilless seed-starting mix | Fine texture, steady moisture, high aeration |
| Potting up seedlings | Light potting mix with gentle nutrients | More feeding without compaction |
| Heavy containers | Screened potting soil + perlite | Improved drainage and reduced disease risk |
soil mix herbs diy blend pots garden
Clear guidance for containers and beds makes small-space growing practical and budget-friendly.
A parts-based approach gives you a repeatable base that suits seed trays and mature containers alike. This section covers both container and bed solutions so you can scale from a windowsill to a raised box.
What to expect: standard, lightweight, and low-water recipes for containers; a simple amendment plan for beds; and tips on drainage, container size, and screening debris to improve germination and root growth.
Pick containers with good drainage and match size to each plant’s root zone. Blend at home to save money and avoid buying many small bags. Move from a fine sowing mix to a richer potting mix after true leaves form. Avoid compacting as you fill; settle by tapping, not stomping.
Keep moisture steady, not soggy, to preserve flavor and fragrance. We’ll also flag gear we trust and note affiliate links with clear disclosures so you know when a recommendation earns a small commission.
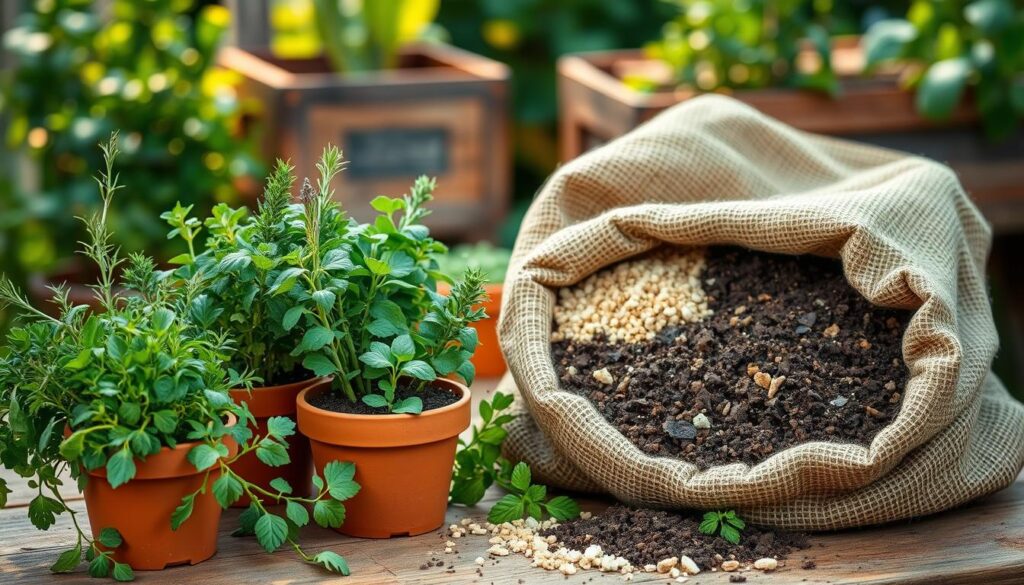
| Use | Best option | Why |
|---|---|---|
| Seed trays | Fine, airy starting mix | Firm seed contact and steady moisture |
| Small containers | Lightweight potting mix | Less weight, good drainage |
| Raised beds | Amended native soil + minerals | Improved drainage and structure |
| Low-water sites | Water-retentive + aeration | Saves watering, avoids rot |
DIY Potting Mix Recipe for Herbs in Containers
Yes—you can make reliable, repeatable potting recipes for containers with a parts-based approach that scales from a single planter to a full batch.
For seed trays, use a simple 1:1:1 recipe: 1 part coir (or peat), 1 part perlite, and 1 part vermiculite. Add an optional handful of worm castings for gentle microbes and nutrients.
When potting up young plants, shift to this standard all-purpose recipe: 4 parts coir or peat moss, 2 parts compost, 1 part perlite, and 1 part vermiculite. It gives steady moisture and structure without excess weight.
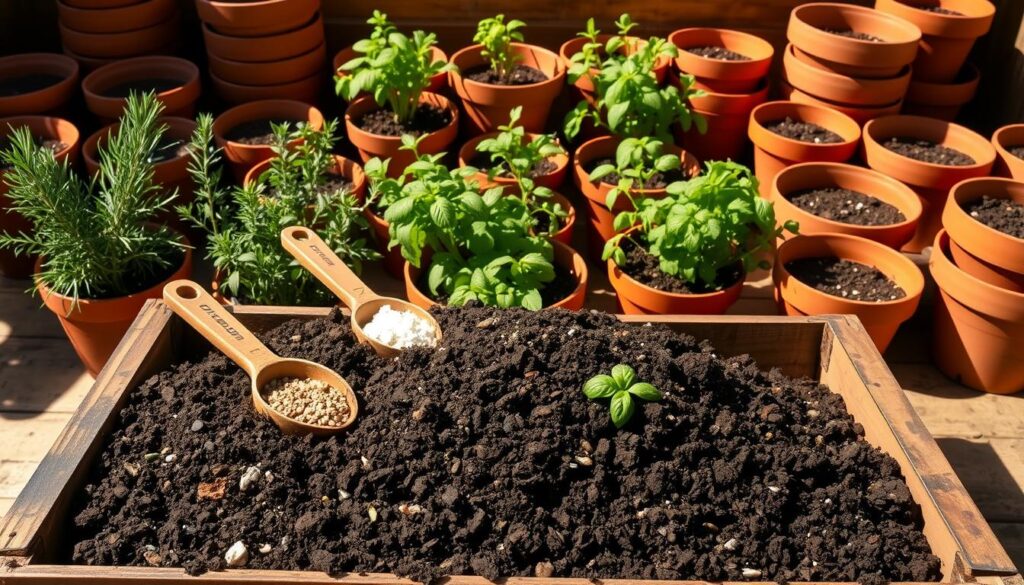
Want lighter containers for balconies? Reduce compost and increase perlite to cut overall weight while keeping good drainage. In hot, low-water spots, nudge vermiculite and coir up a bit to hold moisture longer.
“Measure by parts—use a scoop or small bucket—so you can scale a quick batch for one planter or a full day of potting.”
- Scale easily: use the same scoop for each “part” to make any batch size.
- Pre-moisten: aim for a loose ball that doesn’t drip before filling containers.
- Label batches: note tweaks so you can repeat what works in your climate.
| Use | Recipe (by parts) | Why |
|---|---|---|
| Seed sowing | 1 coir/peat : 1 perlite : 1 vermiculite (+ optional castings) | Fine texture, steady moisture, easy root penetration |
| Potting up | 4 coir/peat : 2 compost : 1 perlite : 1 vermiculite | Balanced water retention, nutrients, and structure |
| Lightweight balcony | 4 coir/peat : 1.5 compost : 1.5 perlite : 1 vermiculite | Less weight, good aeration, still moisture-retentive |
DIY Garden Bed Blend for Perennial and Annual Herbs
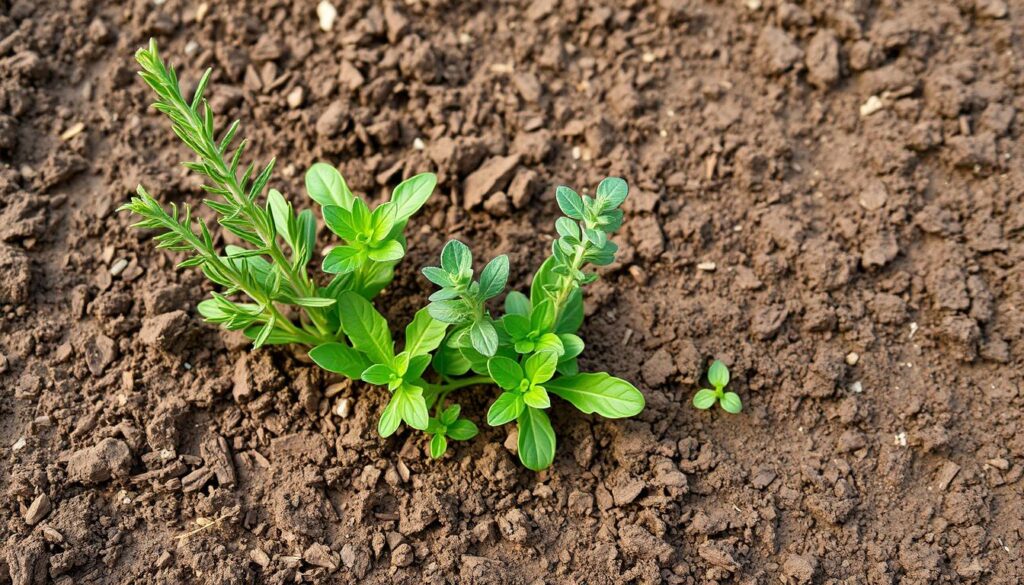
How do you convert heavy ground into a lasting planting site that drains well and feeds roots? Start with a simple plan: test the native profile, add organic life, and open pore space so plants set deep, healthy roots.
How should I amend native soil before planting?
Begin with a quick soil test to check pH and texture. Then fold in compost to boost structure and microbes.
Stabilize moisture with small amounts of coir or peat moss so the bed holds through heat spells. Add perlite or vermiculite for extra pore space and steady drainage.
How do I improve heavy clay without over-drying?
Work amendments gradually into the top 8–10 inches. Large clods and bark should be raked out so roots don’t hit hard spots.
Avoid over-correcting: too much mineral aerator will make the profile dry too fast. If drainage still stalls, consider raised beds and consistent mulching.
- Work depth: amend top 8–10 inches for most plants; go deeper for woody perennials.
- Hold back rich additives: add nutrient-dense material after establishment to avoid tip burn.
- Use recipes by parts: keep notes and repeat what works season to season.
| Use | Recommended additions | Why |
|---|---|---|
| General beds | Compost + coir/peat + perlite | Structure, moisture stability, pore space |
| Heavy clay | Layer organic matter, small mineral aerators | Break compaction without over-drying |
| Poor drainage | Raised beds + well-graded ingredients | Consistent drainage and root health |
For practical raised-bed recipes and sizing tips, see these helpful raised-bed recipes. Small steps now make a lasting, low-maintenance planting area.
Step-by-Step: Mixing, Moistening, and Filling Pots or Trays
Make each batch predictable and fast to use.
Measure ingredients by the same scoop each time so every batch turns out consistent. This keeps quality steady across trays and containers and saves time when you scale up.
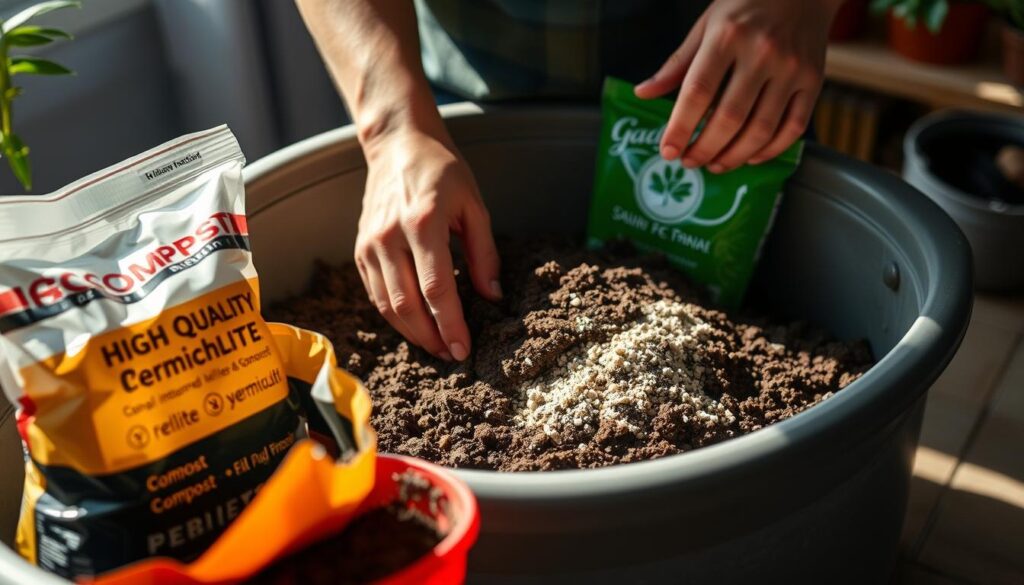
How to measure and blend: combine 1 part coir (or peat), 1 part perlite, and 1 part vermiculite for sowing. Blend dry components thoroughly before adding water.
Pre-moisten to the loose-ball test: add water slowly and squeeze a handful. Stop when the media forms a loose ball that holds shape but does not drip.
Filling trays and containers: fill gently and tap sides to settle. Avoid pressing down; compacting reduces air pockets and slows roots.
- Sow seeds at the recommended depth and mist to set.
- Cover lightly with fine material to keep even contact and moisture.
- Bottom-water trays to reduce splashing and damping-off risk; discard excess promptly.
When to pot up: move seedlings to the richer potting-up recipe after the first true leaves and when roots hold the plug together. Keep a small labeled pre-moistened batch on hand for quick transplants.
Track time from sowing to potting up for each variety so you know when to prep the next batch. For planting timelines and companion tips, see this helpful how-to guide.
Drainage, Watering, and Container Choices
Choose the right container and you control how water moves, how roots breathe, and how often you refill a saucer. Proper drainage and pot size make daily care simple.
Which container size and drainage details matter most?
Pick a container that fits the plant’s root habit. Shallow pans suit creeping thyme and oregano while deep planters serve basil and parsley better.
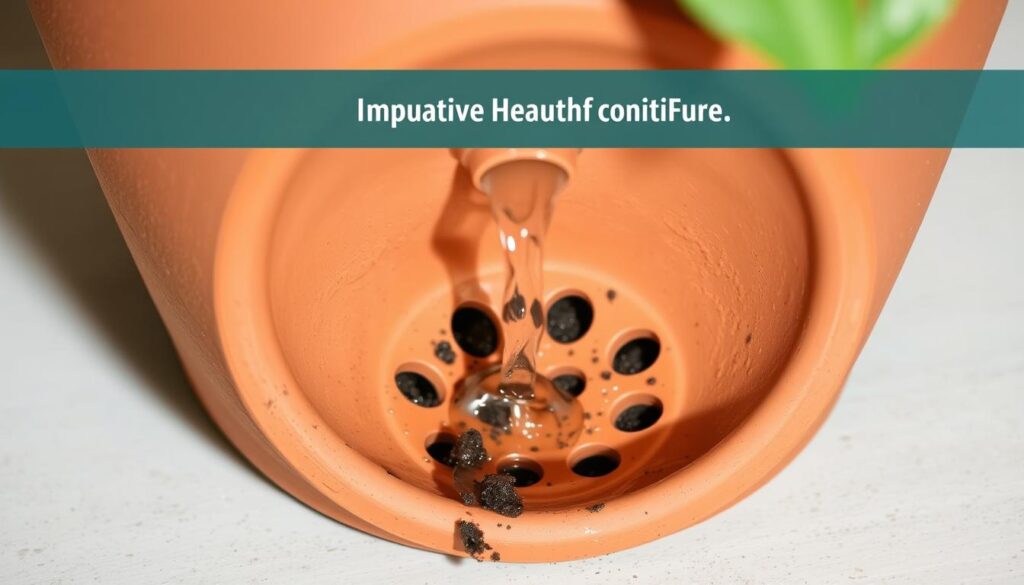
Ensure multiple drainage holes. Pair each container with a saucer you can empty so roots never sit in standing water.
How should watering differ for seedlings versus established plants?
Seedlings need gentle, frequent water. Use a light, airy potting mix so moisture moves predictably and you avoid waterlogging tiny roots.
Established plants need deeper, less frequent irrigation. This encourages roots to grow down and makes plants more resilient between rains.
- Right-size the container to avoid overwatering in oversized vessels.
- Refresh the top layer midseason to improve wicking and even moisture.
- In hot, windy spots, add a touch more vermiculite to slow drying and reduce weight issues.
- Group similar water-needs together to simplify care and prevent chronic over- or under-watering.
“Empty saucers immediately and check drainage regularly—small steps prevent big problems.”
| Need | Container choice | Why |
|---|---|---|
| Seedlings | Small trays or 2–3″ cells | Shallow containers dry fast; easy, frequent watering keeps roots healthy |
| Young plants | 4–6″ pots | Room to bulk up roots; predictable drainage with light potting mix |
| Mature plants | 6″ and up planters | Deeper root zone supports less frequent, deeper watering |
Beneficial Microbes and Gentle Nutrition
How do you add living support without burning young roots?
Introduce living helpers slowly: a small handful of worm castings boosts beneficial microbes and improves texture without overwhelming a seed tray or young seedlings. Use a stable base of coir, peat, or moss and keep nutrients modest at first.
How much worm casting is safe for seeds?
Add just a pinch to a single part of your seed-starting recipe. This gives microbe diversity and helps water move through the medium. It avoids hot spots that can burn tiny roots.
When should I add compost or liquid feeds?
Wait until you pot up into a larger container. Then introduce compost and, later, gentle liquid seaweed after plants show steady growth. Keep total nutrients low; too much fertility can blunt flavor and essential oils.
- Blend evenly—no concentrated pockets.
- Keep moisture steady so microbes stay active, not saturated.
- Watch leaves—pale foliage can signal a small nutrient boost is needed.
| Need | When to add | Why |
|---|---|---|
| Worm castings | At sowing, small amount | Microbe diversity, structure without burn |
| Compost | After potting up | Slow nutrients for steady growth |
| Liquid seaweed | Established plants | Gentle micronutrients and stress support |
“Record what you add and when; a simple log makes a repeatable recipe that suits your climate and watering habits.”
Budget-Smart Mixing, Storage, and Affiliate-Supported Picks
Buy larger quantities and store smart to save money and avoid wasted bags. A little planning cuts long-term cost and keeps quality steady for every batch you make.
Buy coir, perlite, and vermiculite in bigger bags to lower the price per unit. Measure by the same scoop so each batch performs the same. This saves time and money over many seasons.
Store dry material in sealed bins. Label each container with purchase date and texture notes. Keep a small covered tote of pre-mixed medium for quick transplants and refresh it every few weeks.
How do I choose and reuse materials?
Pick reputable brands for uniform particle size and clean material. If you reuse old potting media, screen out debris and add fresh components; reserve reclaimed material for non-seed-starting stages.
- Mind weight for upstairs balconies—lighter recipes reduce strain.
- Compare mixes by feel: a good blend springs back when squeezed.
- Keep a simple log of recipes and watering notes to repeat winners.
| Action | Why | Tip |
|---|---|---|
| Buy bulk bags | Lower cost per unit | Store in sealed bins |
| Pre-mix tote | Fast transplanting | Refresh every 2–4 weeks |
| Reuse old material | Save waste and money | Screen and amend for non-seed use |
Note: Product picks we recommend include clear disclosures when affiliate links appear. These links help support this guide at no extra cost to you. For quick countertop planting tips, see our countertop herb guide.
Troubleshooting Texture, Moisture, and Seedling Health
Small changes fix most germination and early growth issues. Diagnose wetness, dryness, or compaction first, then apply one targeted tweak at a time for reliable results.
Tiny changes in particle ratios can stop soggy trays or parched seedlings overnight.
Too soggy or too dry? If the medium stays wet, increase perlite and trim back vermiculite. That opens pores and speeds drying between waterings. If it dries too fast, add more vermiculite and a touch more coir or peat to even moisture retention.
Chunky debris and compaction: Screen out bark and coarse bits before sowing. Large pieces block seed contact and create wet pockets. Fill containers lightly, tap to settle, and avoid pressing down so air pockets remain for healthy roots.
Damping-off prevention: Use fresh, clean media and sanitize trays and tools between batches. Pre-moisten to the “loose ball” stage to set a consistent baseline.
- For soggy containers: more perlite, less vermiculite.
- If mixes dry too fast: boost vermiculite and coir/peat slightly.
- Reused old potting media? Pasteurize or combine with fresh components and save it for less sensitive stages.
- Keep trays clean and improve airflow; watch seedlings daily for stem collapse and reduce surface moisture if needed.
- Test one small pot with adjusted ratios before mixing a full batch and record what fixed the problem for future success.
“A clean start and the right particle balance are the quickest paths to healthy seedlings.”
For planter-specific ideas and visual options that help with drainage and airflow, consider checking these best outdoor planters.
Conclusion
Wrap up with a repeatable routine and you’ll see steady wins from seed to harvest.
Keep it simple: use a clean, soilless seed recipe and switch to a richer potting mix after true leaves appear. Pre-moisten to the loose-ball stage, fill lightly, and clean tools to cut damping-off risk.
Use worm castings sparingly for microbe support and add compost only once plants establish. Right-size containers, ensure strong drainage, and water shallow often for seedlings, then deeper less often as plants mature.
Buy core ingredients in bulk, store dry, and keep a short log of tweaks. Most potting mix routines settle within days when moisture and airflow stay steady.
For a practical how-to on starting from seed, see growing from seeds for extra tips and timelines.
FAQ
What’s the difference between coco coir and sphagnum peat moss for growing herbs?
Coco coir and sphagnum peat moss both hold water and cushion roots, but coir is more sustainable and has near-neutral pH, while peat is acidic and nonrenewable. Coir drains faster and resists compaction; peat holds more acidity and may require pH adjustment and ethical sourcing considerations.
How much perlite or vermiculite should I add to container mixes?
Aim for about 10–30% perlite for aeration and drainage, or 10–20% vermiculite when you want extra water retention. Use more perlite for large pots and quick-draining blends; use more vermiculite for seed starting or when watering is infrequent.
Can I reuse old potting soil from previous seasons?
You can refresh old media by removing heavy debris, sifting out compacted bits, and adding fresh compost, coir or peat, and a handful of worm castings. Sterilize if disease or damping-off was present; otherwise rejuvenate with nutrients and microbes for another season.
When should I choose a soilless seed-starting mix versus a potting mix?
Use a soilless seed-starting mix for tiny seeds and quick germination because it’s light and sterile. Switch to a richer potting mix when seedlings develop true leaves and need more nutrients and structure for root growth.
What’s a simple, reliable container recipe for most culinary herbs?
A dependable formula is 2 parts coir or peat, 1 part perlite, and 1 part compost or worm castings. This gives good moisture balance, drainage, and gentle nutrients for potted herbs without heavy fertilizers.
How can I make a lightweight mix for small balcony pots?
Replace some compost with fine bark fines and increase perlite to 30–40%. Use less dense ingredients like coir and screened compost to reduce overall weight while keeping nutrients and water-holding capacity.
What’s the best way to amend native garden beds for perennial herbs?
Work in generous compost (2–3 inches) and 1–2 inches of coir or peat to loosen texture, plus a handful of perlite or coarse sand for drainage in heavy ground. Mix to a depth of 6–12 inches to improve root penetration and soil life.
How do I pre-moisten a batch before filling pots?
Mix dry ingredients, then add water slowly while turning the blend. Aim for a “loose ball” that holds shape without dripping. Pre-moistening prevents dust, ensures even hydration, and helps seedlings settle faster.
What pot size and drainage is best for herbs?
Choose containers at least 6–8 inches deep for most herbs; larger for woody types like rosemary. Ensure multiple drainage holes and use a saucer to catch excess. Good drainage prevents root rot and keeps plants vigorous.
When should I add worm castings or compost tea after potting up?
Incorporate small amounts of worm castings at potting time or apply a light top-dress after two to four weeks. Use liquid seaweed or compost tea after the first true leaves appear to boost microbes without burning tender roots.
How can I prevent damping-off in seedlings?
Start with sterile, soilless mix, avoid overwatering, provide good airflow, and use a light, warm bottom heat if possible. Keep tools and trays clean and allow the surface to dry slightly between waterings.
What adjustments help when the mix feels too dense or too sandy?
If too dense, add perlite and coir to improve aeration and water retention. If too sandy or quick-draining, add compost and vermiculite to increase nutrients and moisture-holding capacity. Screen out large chunks to ensure uniform texture.
How should I store bulk ingredients like coir, perlite, and compost?
Keep materials in labeled, dry, rodent-proof containers or covered pallets. Store coir and compost off the ground and protect perlite from moisture. Stored properly, ingredients keep quality for months and save money when bought in bulk.
Are there easy, budget-friendly brands to trust for core ingredients?
Look for reputable, tested brands like Espoma for composts and amendments, FoxFarm or Black Gold for potting media, and Premier Horticulture for coco coir and perlite. Choose certified organic or sustainably sourced options when possible.
How often should I water seedlings compared with established herbs?
Seedlings need frequent, light watering to keep the surface moist—often daily in warm conditions. Established herbs prefer deeper, less frequent watering so roots grow downward; check moisture an inch below the surface before watering.