
You flip the zone on and feel that familiar tug of worry. The soil at the start of the line turns into a soggy patch while the rest of the yard drinks very little. That sight makes any homeowner pause.
This guide walks you through a quick, clear diagnosis you can do in minutes. Start with a visual check and a timed run. Note how long the zone runs and where the excess collects.
Begin with irrigation checks: inspect emitters, pressure, tubing, and hidden leaks. Then step back to yard drainage—grading, compacted clay, clogged gutters, and overshoot can all make the problem worse.
By the end you’ll reduce waste, protect plants, and stop moisture from creeping toward your foundation. Keep a short log while you test so fixes are focused, not guesswork. For deeper system tips, see smart irrigation practices.
Key Takeaways
- Do a quick visual inspection and timed test to spot early-line excess.
- Check emitters, pressure regulator, and tubing for clogs or leaks.
- Look at yard drainage and gutter runoff if the system checks out.
- Keep simple notes: zone runtime, exact place of pooling, and rain history.
- Small fixes stop waste and reduce moisture risks at the foundation.
What This Symptom Usually Means for Your Irrigation System and Yard
This symptom usually points to an irrigation flow problem near the start of a zone, not just “bad soil.” But if your yard already drains poorly, even a small drip issue can turn into standing water fast. We’ll separate irrigation causes from site drainage causes so you fix the right thing.
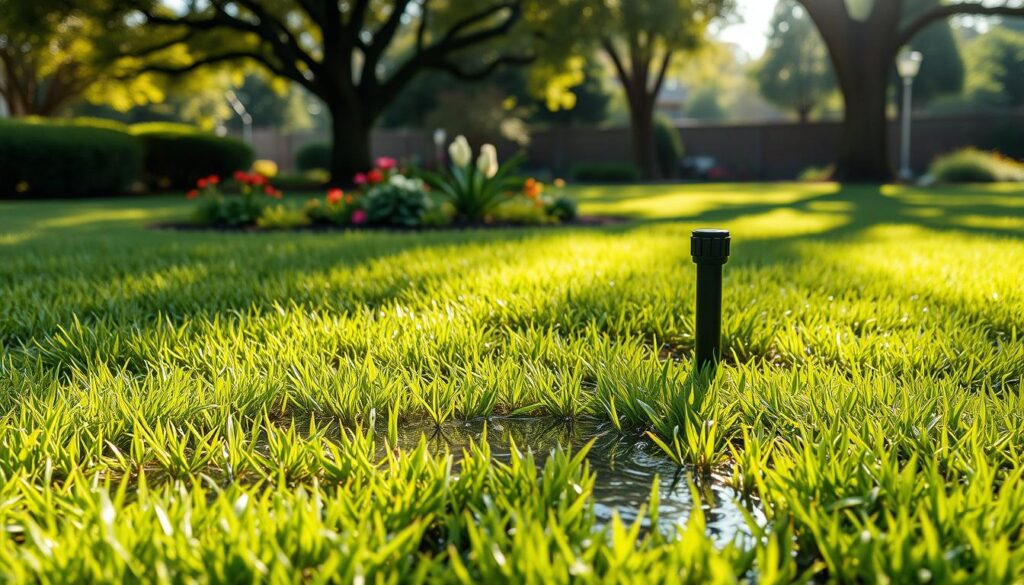
How that localized saturation differs from general puddling after rain
First-outlet saturation is a tight, wet patch right at the initial outlet or plant. It looks like the hose is dumping there while the rest stays fairly dry.
Broad puddling after rain covers low spots across the yard. That points to grading, compacted clay, or clogged drains rather than the irrigation line itself.
Why this matters now: waste, uneven watering, and soggy areas
If the symptom shows up on irrigation days but not after rain, suspect the system. If it appears after rain too, suspect the site or both.
Impacts are clear: the first plant gets over-saturated while the end runs thirsty. That creates turf damage, higher bills, and muddy, mosquito-prone patches in warm months.
“Fix the delivery or fix the drain — both solve different problems and both save water and plants.”
| Likely Cause | Clue to Look For | Short-Term Fix |
|---|---|---|
| Irrigation flow imbalance | Pooling only on irrigation days | Flush or replace first outlet; check pressure |
| Poor yard drainage or clay soil | Puddles after rain across low areas | Improve grading; add soil amendment |
| Roof/downspout runoff | Saturation close to foundation or gutter lines | Extend downspouts to move water away |
- Good looks like even damp soil along the line, no bubbling at the start, and surface flow that moves water away from structures when it rains.
- Look for the pattern: irrigation-only signals a system issue; rain-plus signals site drainage problems or both.
Why Standing Water Is a Problem Near Your Home, Lawn, and Foundation
Pooling isn’t just ugly—it quietly stresses your foundation and your plants at the same time. The longer liquid sits, the more it changes soil structure, invites pests, and raises the odds of moisture moving where you don’t want it.
Foundation damage risk from constant moisture and hydrostatic pressure
Hydrostatic pressure happens when trapped ground liquid presses against below-grade walls. That constant push can lead to seepage, cracks, or subtle shifting of the home foundation over months and years.
Mold, mildew, and indoor air quality concerns
Persistent dampness outside often translates to higher humidity in crawl spaces and basements. Over time, mold and mildew take hold and can harm indoor air quality and finish materials.
Soil erosion, landscape instability, and exposed roots
Repeated overspill strips topsoil, weakens bed edges, and exposes roots. Plants suffer from stressed roots and poor anchoring, which hurts the landscape and lawn health.
Mosquito breeding and pest attraction
Stagnant pools become mosquito nurseries fast. Even small, regular standing spots make pest problems persistent, especially when roof runoff or a clogged gutter adds more load to the same area.
“Fix drainage or fix delivery — both protect the home and keep the landscape healthy.”
For practical steps to remove persistent surface pooling, see how to rid standing water in your.
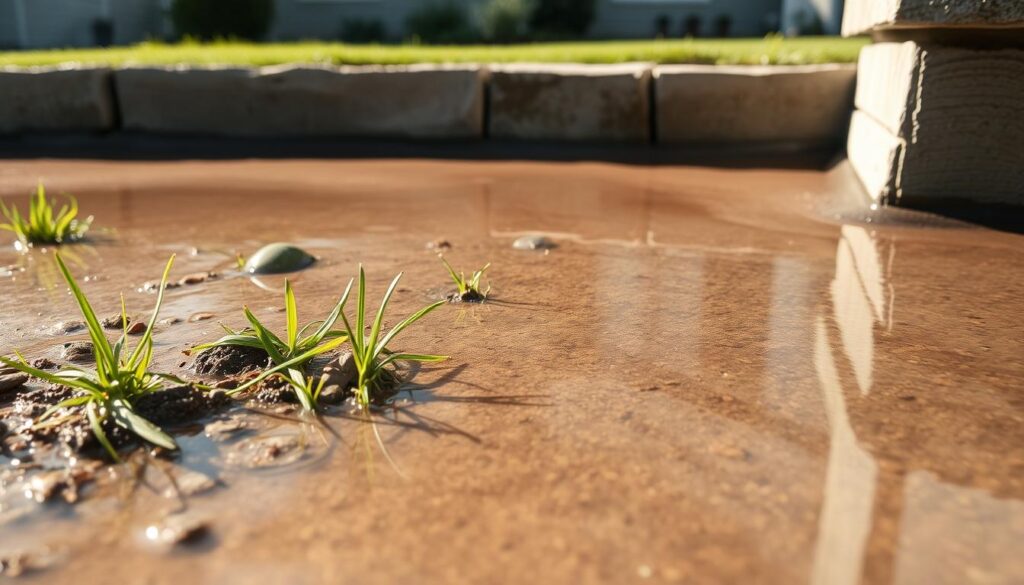
why is water pooling near first emitter only [troubleshooting]
When liquid collects at the start of a zone, the cause is usually mechanical: a blocked outlet, pressure imbalance, a restriction, or a leak close to the line start. Work down the list in order so you fix parts, not the whole bed.
Inspect the line’s beginning; clogs and pressure quirks usually announce themselves there.
Clogged or partially blocked outlet
Debris can choke the outlet so flow backs up and escapes at the connection. Remove, flush, and test a replacement cap or filter to see if flow evens out.
High pressure at the line start
Line starts often carry peak pressure. Without regulation the nearest outlet can soak soil fast. Add a pressure regulator or move that outlet downstream.
Tubing size, long runs, or overload
Too-small tubing or too many emitters causes strong early flow and weak late flow from friction loss. Resize or split the zone.
Kinked, crushed, or loose fittings
A choke point can force liquid out at the weakest joint. Straighten lines and secure connectors to restore even delivery.
![why is water pooling near first emitter only [troubleshooting]](https://thegardenhaven.com/wp-content/uploads/2026/02/why-is-water-pooling-near-first-emitter-only-troubleshooting-1-1024x585.jpeg "why is water pooling near first emitter only [troubleshooting]")
| Cause | Sign | Quick Fix |
|---|---|---|
| Clogged outlet | Strong spill at start when running | Flush or replace outlet; clean filter |
| High inlet pressure | Very wet soil at line start | Add regulator; rebalance zones |
| Hidden leak | Soft ground even without rain | Shut zone, listen for leak; excavate if needed |
For a DIY drip layout and balance tips, see this drip system guide. Most fixes are small parts before you consider full drainage or regrading.
Quick Checks to Confirm the Cause Before You Dig Up the Line
A few simple checks can tell you whether you’re facing a clogged outlet, a pressure imbalance, or a hidden leak. Gather evidence first so you fix parts, not the whole bed.
A short diagnostic run often shows whether flow imbalance, clogging, or a leak is at play. These steps take minutes and usually point straight to the issue.
Run a timed zone test to compare flow at the start and end
Set a stopwatch and run the zone for three to five minutes. Note how wet the soil gets at the first and last outlets.
If the end barely wets while the start floods, you likely have a flow or pressure problem.
Inspect and flush: filter, end cap, and the opening for debris
Shut the system, open the end cap, and flush the line toward the outlet. Check any inline filter for sand or fine silt.
Clean or replace clogged parts, then re-run the zone for the same time to compare results.
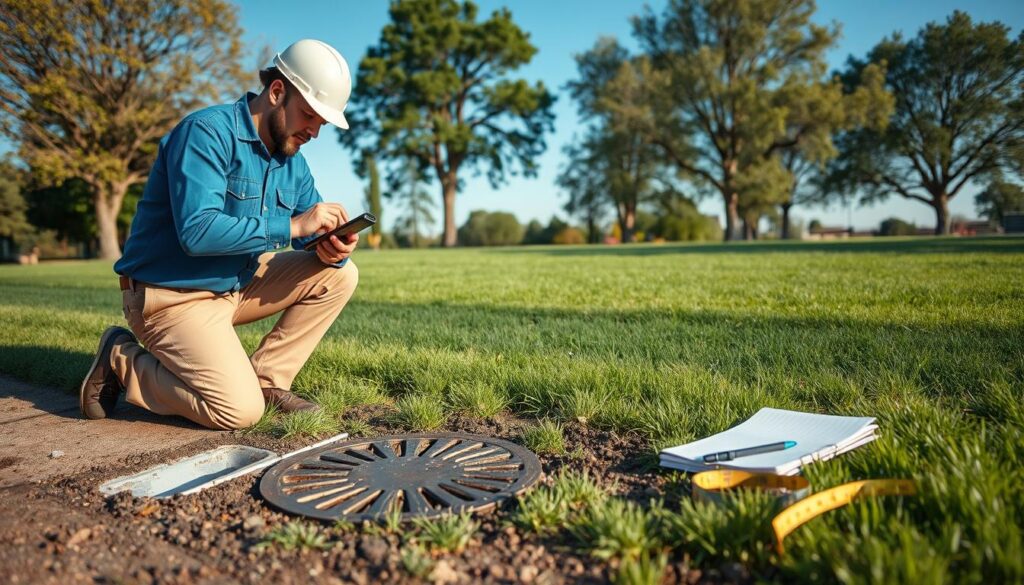
Look for pooling patterns that point to a leak vs. site drainage
A tight circular puddle at the fitting often means a leak or loose joint.
Broader, shallow wet spots across the yard suggest compaction, poor slope, or a failing drainage system.
Check your bill and persistently soggy soil for slow leaks
An unexplained meter spike plus soft ground even without rain strongly supports a hidden leak.
Track usage over a couple of billing cycles before major excavation.
“Gather facts first—timed tests, a quick flush, and pattern checks often fix the problem without new piping.”
Safety note: If you must dig, use hand tools and expose the line gently to avoid root and pipe damage.
| Check | What to Watch | Fast Action |
|---|---|---|
| Timed zone run | Start soggy, end dry | Note run time; rebalance zones |
| Flush and filter | Sand, silt, debris | Clean or replace filter and outlet |
| Pooling pattern | Tight puddle vs. broad wet area | Investigate joint leak or drain/grade |
| Billing and soil | Higher use, persistent softness | Call leak detection or dig carefully |
For an example on reducing waste and managing runoff in gardens, see this rain barrel setup.
Site Conditions That Make Pooling Worse: Drainage, Soil, Slope, and Runoff
Even a perfectly working dripline can “look broken” if the site can’t absorb or move excess. This short guide helps you spot grading, soil, and runoff issues that amplify wet patches and push moisture toward the foundation.
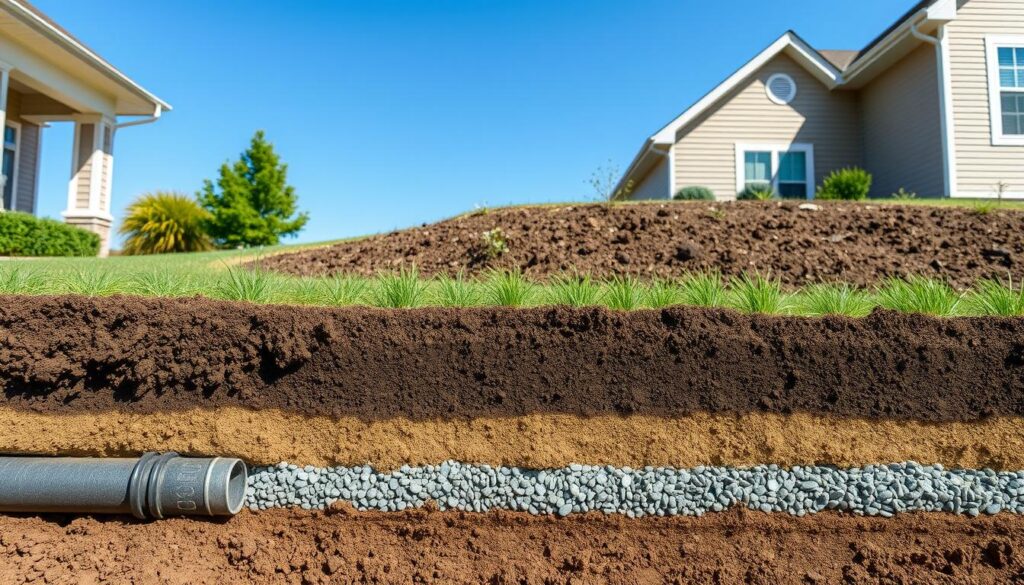
Improper grading and slope
Ground should slope away from the foundation at about 5% over 10 feet — roughly a 6‑inch drop across that span.
This simple slope keeps water away from the house and reduces standing at beds and sidewalks.
Compacted or clay-heavy soil
Clay and compacted ground resist absorption and cause surface puddling that lingers after an irrigation run.
Signs include slick soil, beading on the surface, and puddles that don’t soak in quickly.
Roof runoff and downspouts
Short or clogged downspouts often dump roof discharge at a single corner, saturating that area repeatedly.
Extending downspouts or routing the flow to a drain can send roof runoff well away from the foundation.
Soil settling and low spots
Over time soil can settle near foundation edges and form tiny bowls that trap flow. These depressions act like magnets for surface runoff.
Missing or failing drainage systems
French drains, swales, and catch basins collect, convey, and discharge excess. When clogged, crushed, or capped, they stop moving water away.
“Fix the site as well as the supply — plants and foundations both thank you.”
Gardener’s note: Poor drainage stresses roots, encourages fungal problems, and washes mulch and topsoil into low spots. For recovery tips after excess feed or stress, see emergency recovery guide.
Fixes That Work: From Emitter Repairs to Full Drainage Solutions
Start with the simplest fixes that match the signs you’ve found and work up to full drainage solutions if needed. If the irrigation part checks out but soggy spots keep returning, add landscape drainage fixes that move excess away from the foundation.
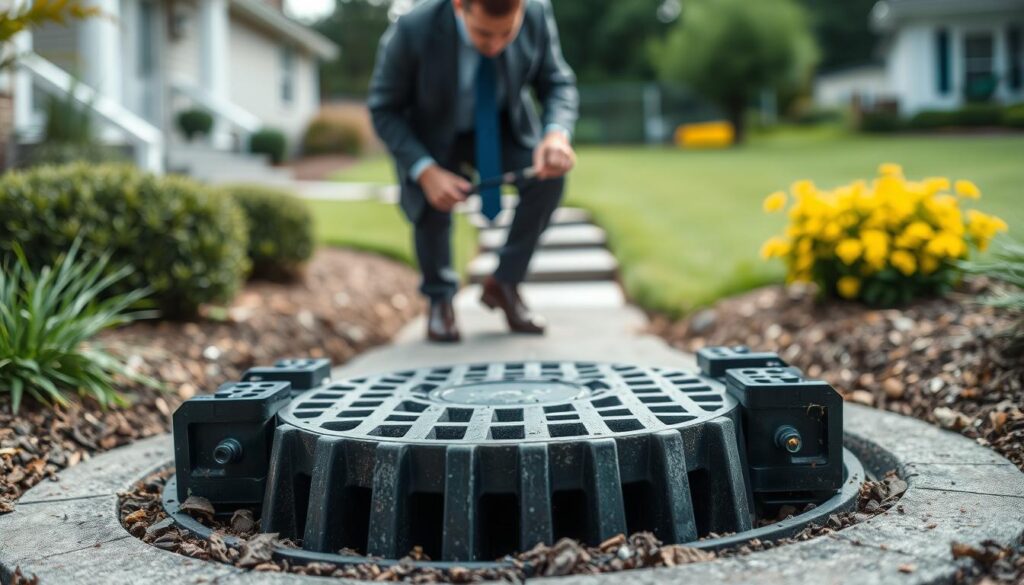
Replace or clean the first outlet and add filtration
Clean before you replace when debris is obvious. Remove the outlet, flush the line, and swap or clean filters. If gravel or silt repeats, install a finer inline filter to stop clogs at the source.
Add a pressure regulator and correct zoning
Low-end emitters and a strong start often mean pressure imbalance. Fit a regulator or split long runs so flow balances along the line. This keeps the whole bed evenly moist.
Repair leaks, straighten kinks, and reinforce connections
Replace cracked fittings, re-seat tubing, and add clamps where needed. Small repairs at the zone start prevent ongoing saturation and unseen damage to the soil and foundation.
Regrade low areas and stabilize with topsoil or turf
Build up settled bowls with topsoil and compact lightly. Protect the new grade with turf or mulch so the ground won’t settle back into a low place that invites repeated saturation.
Extend downspouts and install drainage features
Extend downspouts 6–10 feet or bury extensions to carry roof runoff away from the foundation. For recurring soggy areas in clay soil, a simple french drain—a trench with gravel and a perforated pipe—moves water away reliably.
Swales, catch basins, and full drainage systems
Use swales or dry creek beds to guide flow across the landscape without erosion. Add a catch basin or area drain at the lowest spot and pipe it to an approved discharge. These drainage systems protect plantings and reduce long-term damage.
Summary: Start with the smallest fix—outlet, filter, or pressure—and scale to grading or a full drainage system when site conditions demand a lasting solution.
For foundation drainage guidance, see this resource.
Conclusion
First-emitter saturation usually has a simple fix, but lasting standing water often points to the yard or roof-runoff paths.
Target the irrigation parts first, then treat the landscape if the spot stays wet.
Core takeaway: start with focused irrigation checks—pressure, outlet, and filter—and move to grading, downspout, or drainage fixes when the issue appears after rain as well.
Quick decision path: If the soggy spot shows only during system runs, prioritize line and pressure checks. If it returns after rain, evaluate slope, gutter discharge, and drainage features.
Simple next steps you can do today: run a timed zone test, inspect and flush the opening, listen for slow leaks, then walk the slope and roof discharge points.
With a few calm observations, most gardeners can find the cause and pick the smallest fix that lasts. For extra garden tips, see seed-start tips.