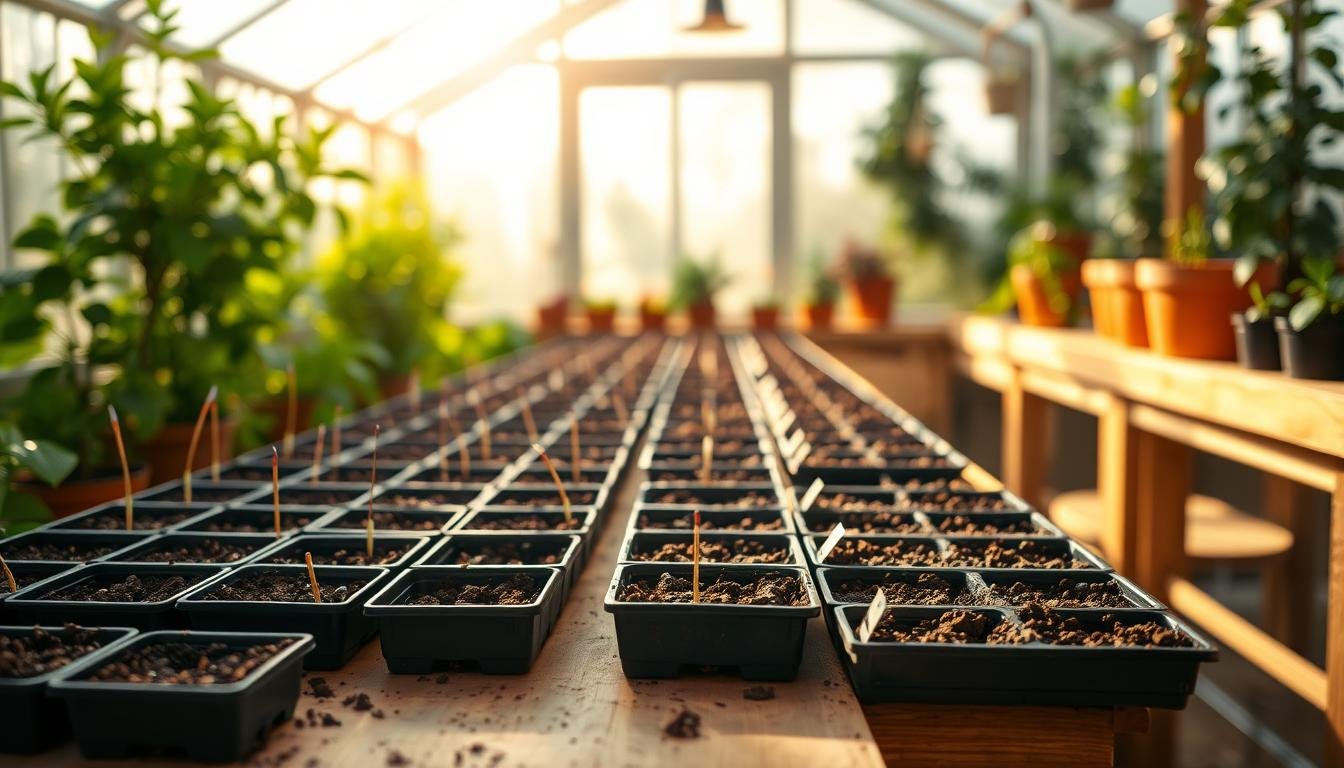
What if one small habit could save an entire season of starts? That question pushed this gardener to rethink every tray and timing choice. Simple physics matter: water must sit long enough for the seed coat to soften so the embryo can swell and burst.
In nature, snowmelt holds soil steady and moist through germination. Gardeners can copy that rhythm by keeping media consistently damp, not soggy. Letting swelling seeds dry kills them, but constant saturation invites rot.
You can fix most seed-starting frustrations by dialing in soil, water, light, and timing—the small changes that turned my near-quit into steady success.
For tiny seeds, use overhead spray heads outdoors and bottom watering or a gentle mist indoors to avoid displacement. These habits cut wasted time and reveal the real reasons starts fail in peak season.
Key Takeaways
- Moisture timing matters: keep media evenly damp until true leaves appear.
- Imitate snowmelt: steady, never-soggy moisture improves germination.
- Tiny seeds need gentle water: use misting or bottom watering to prevent washout.
- Check soil first: correct mix and drainage speed rescue many failed starts.
- Small routine wins: quick checks and simple gear build reliable seed starting success.
Why Seed Starting Feels Hard at First—and How This Guide Helps
This short guide strips away common confusion and points to a few high-impact checks you can do in minutes. It focuses on clear, testable fixes so your early tray work earns steady wins.
Starting seeds can feel like juggling many invisible settings at once. New growers often fixate on outcomes rather than conditions. That leads to blaming packet quality or luck instead of checking simple variables.
Common beginner mindset traps during seed starting season
Seed starting feels tricky because small variables compound; this guide isolates the key reasons and shows simple checks that deliver early success.
- Overthinking the process and missing basics like consistent moisture or correct depth.
- Measuring progress by calendar time instead of soil temp and light.
- Blaming the seeds or gardener when care gaps—warmth, water, depth—are often the culprit.
The quick-hit overview of the 3 mistakes and their easy corrections
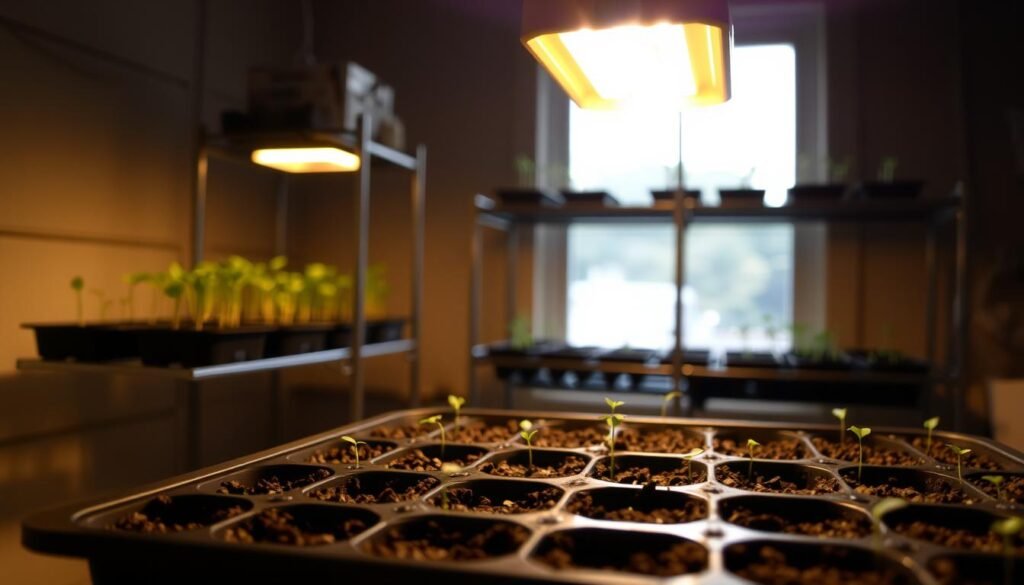
Top issues are wrong soil temperature, planting depth errors, inconsistent watering, and old seeds with low viability. Simple tools—tray weighing, a moisture meter, and following grow light distances—solve most problems.
| Problem | Check | Quick Fix |
|---|---|---|
| Wrong soil temp | Use a probe thermometer | Use heat mat or move to warmer spot |
| Moisture swings | Weigh trays or use moisture meter | Bottom water or mist; keep mix like a squeezed sponge |
| Poor light | Measure distance to grow light | Adjust height and run time per manufacturer |
| Old seeds | Germination test on paper towel | Replace or sow more densely |
i almost quit growing from seeduntil i: The Three Simple Fixes That Changed Everything
Three small checks—temperature, moisture, and light—stop most early failures. Follow these quick fixes and your trays will reward you with steady germination and healthier starts.
One season of failures taught me that three tiny checks make the biggest difference. New gardeners often blame packets instead of testing simple variables.
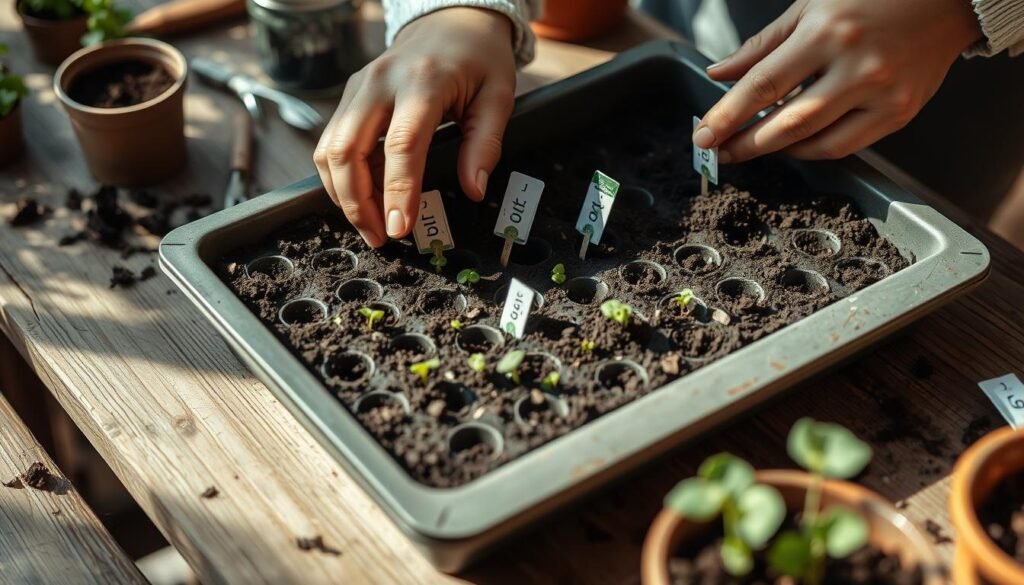
What mindset traps slow progress?
Make sure not to assume poor seeds are the only problem. Many issues trace to cool or hot soil, wrong depth, or wet-dry swings.
Waiting and changing everything at once creates noise. Take one measurement: soil temp, moisture feel, or light distance. Track that tray for a week before altering another factor.
Quick-hit fixes that actually work
- Fix #1: Check temperature and depth before you start seeds. Match the packet’s range.
- Fix #2: Hold moisture like a wrung-out sponge. Weigh trays to know “right.”
- Fix #3: Set LEDs at the maker’s distance for stocky plant starts; adjust if seedlings stretch or scorch.
Quick checks beat paralysis: feel the medium, watch condensation cycles, and confirm light distance each morning. Keep a short log; one tray of notes saves an entire season of guessing with future seeds.
For detailed packet reading and timing, use this seed packet guidance to match conditions to each variety.
Mistake: Seeds Don’t Germinate—Dial In Soil Temperature, Depth, and Moisture
A tiny change in soil temperature often separates a flat tray from a carpet of green.
Seeds don’t sprout when soil temperature, depth, or moisture are off—fix these, and most seeds germinate reliably.
What soil temperature should I aim for?
Verify soil temperature with a probe. Many warm-loving crops prefer mid-70s F at the root zone. Cool crops do best in a lower range. Match the packet’s guidance before you sow.
How deep should each seed be planted?
Read the seed packet for planting depth. Tiny seeds often need light and should sit near the surface. Large seeds placed too deep can exhaust stored energy before leaves emerge.
How wet must the medium stay?
Keep the medium evenly moist—think slow snowmelt—so the seed coat softens and the embryo can swell. Water gently: mist or bottom water for tiny seeds, gentle top water for larger ones.
When is it the seed’s fault?
If germination is spotty, check the packet date and run a paper towel test. Old or improperly stored seed often causes failures, not poor technique.
- Key checks: probe for temperature, follow packet depth, keep steady moisture, and verify the date before re-sowing.
- Note emergence timing and first leaves in a garden log to spot the real reasons for delay or success.
For a practical case on peppers and starts, see success with pepper seeds.
Mistake: Improper Soil Moisture—How to Keep a “Squeezed-Out Sponge” Mix
Consistent tray moisture is a small habit with big payoffs for young plants. Keep the medium like a wrung sponge so roots never face dry shock or rot.
Aim for a soil and mix that feel like a squeezed-out sponge—moist, not soggy. This steadiness prevents stress and improves germination of tiny seeds.

How do you know when to water?
Weigh your trays after watering to learn the “ideal heft.” Re-water when trays feel noticeably lighter. This method beats judging by surface dryness alone.
Bottom watering or overhead—what’s best?
Bottom watering protects tiny seeds. Add water to the tray and let capillary action wick it up, then pour off excess.
If you must overhead water, use a fine spray head and move slowly to avoid dislodging small seeds or compacting soil.
- Weigh trays: record weight after a good soak to set a refill trigger.
- Use a moisture meter: check deeper layers to make sure roots stay moist.
- Prevent swings: avoid cycles of dry then soaked—young roots suffer.
- Log and adjust: note weight, interval, and amount in your garden notes.
| Check | Why it matters | Quick action |
|---|---|---|
| Tray weight | Shows total water in the mix and below surface | Weigh after soak; re-water at pre-set drop |
| Moisture meter | Reveals hidden dryness near seed roots | Probe 1–2 inches deep before topping up |
| Watering method | Prevents seed displacement and compaction | Use bottom watering indoors; fine spray outdoors |
Mistake: Lighting Issues—From Stretchy Seedlings to Fried Starts
Good light makes or breaks early starts. Set distance and duration right to stop legginess and avoid scorch.
A small change in light height often fixes leggy stems and pale leaves overnight. Start with the manufacturer’s recommended LED distance. Use the suggested photoperiod as a baseline.
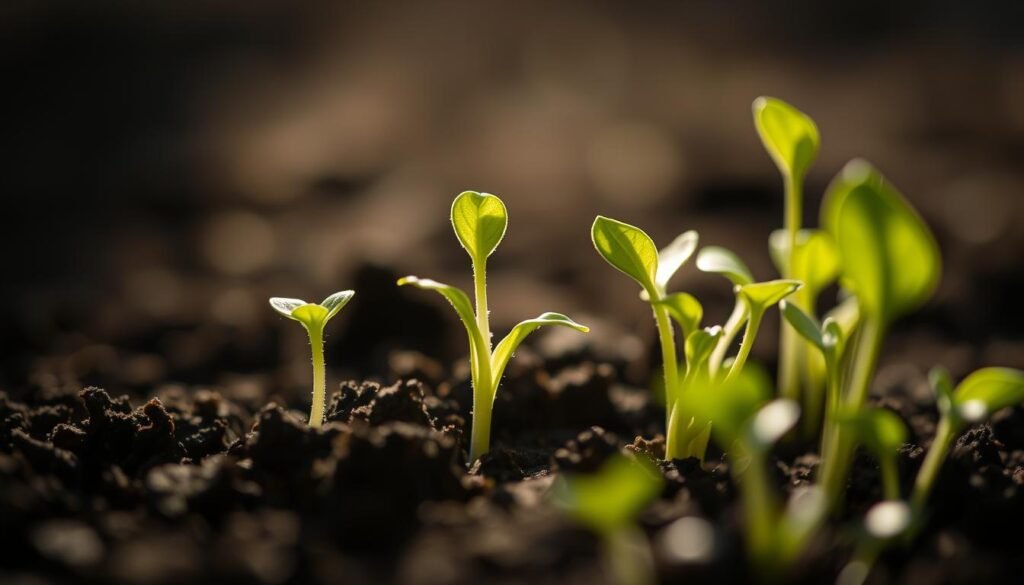
How close and how long should LEDs run?
Follow the light’s guide, then watch the tray. If seedlings stretch, move the panel closer. If leaves curl or brown, raise it a bit.
- Bold takeaway: Proper LED distance and duration prevent leggy seedlings and scorched tops—follow the light’s guide and adjust by plant response.
- Start with manufacturer distances and photoperiods, then nudge based on visible growth: compact = good, stretch = too far, curl/burn = too close.
- Keep lights close enough to minimize stretch, but monitor temperature at canopy level so the medium does not dry too fast.
- Favor full-spectrum LEDs with strong blue/red support; they help seeds and early plant stages without excess heat.
- Set a timer for stable starting routines—14–16 hours suits most trays, then tweak by species.
- Raise fixtures as seedlings grow; small daily moves beat infrequent big adjustments.
- Shield trays from drafts; air movement is fine, but avoid rapid media drying in peak season.
- Avoid the common mistake of blasting intensity “just in case”; more light can harm tender plants.
Mistake: Starting Too Early—Count Back From Your Last Frost Date
Count back from your local last frost date and match that to each seed packet. This prevents oversized transplants and wasted energy in trays.
Count back from your local last frost date to set sowing windows. Many packets list “start indoors X days before last frost.” Use that number and a calendar.
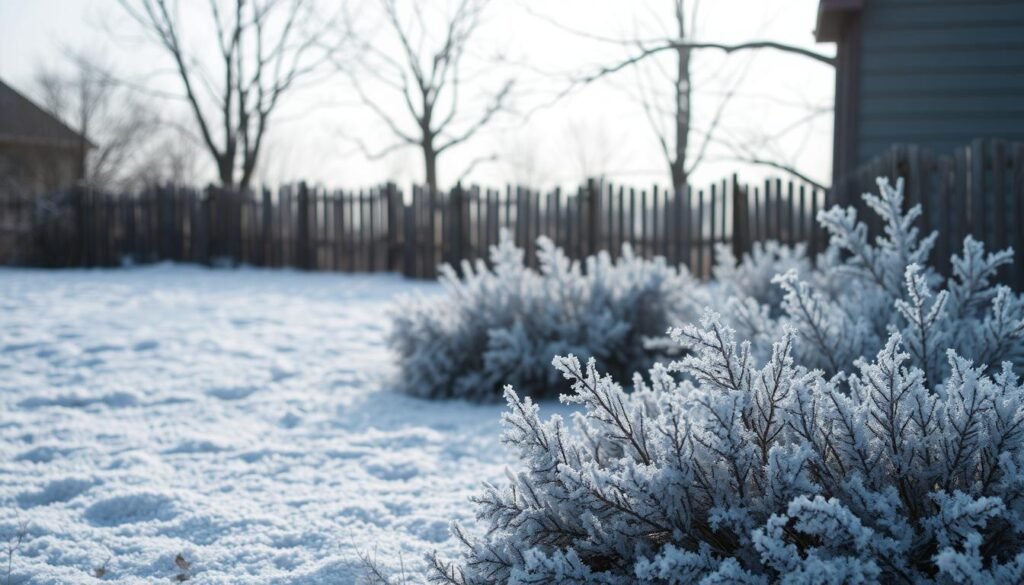
Why timing matters: starting too early creates root-bound or leggy seedlings with no safe planting window. That wastes space, heat, and time.
- use your local last frost date and the seed packet to know when to start seeds.
- Read each packet for indoor sowing windows; follow the packet timing per crop.
- Check spring temperature trends and align potting, hardening, and transplant targets.
- Make a simple calendar: frost risk, sow dates, and transplant time for every variety.
- Use phone reminders so sowing days and tasks stay on schedule through the season.
Mistake: Skipping Hardening Off—Prepare Seedlings for Outdoor Life
Hardening off protects tender starts by giving them time to adapt to sun, wind, and cooler nights. A planned ramp prevents shock, scorch, and transplant loss.
A short, steady ramp outdoors builds toughness faster than a single long exposure.
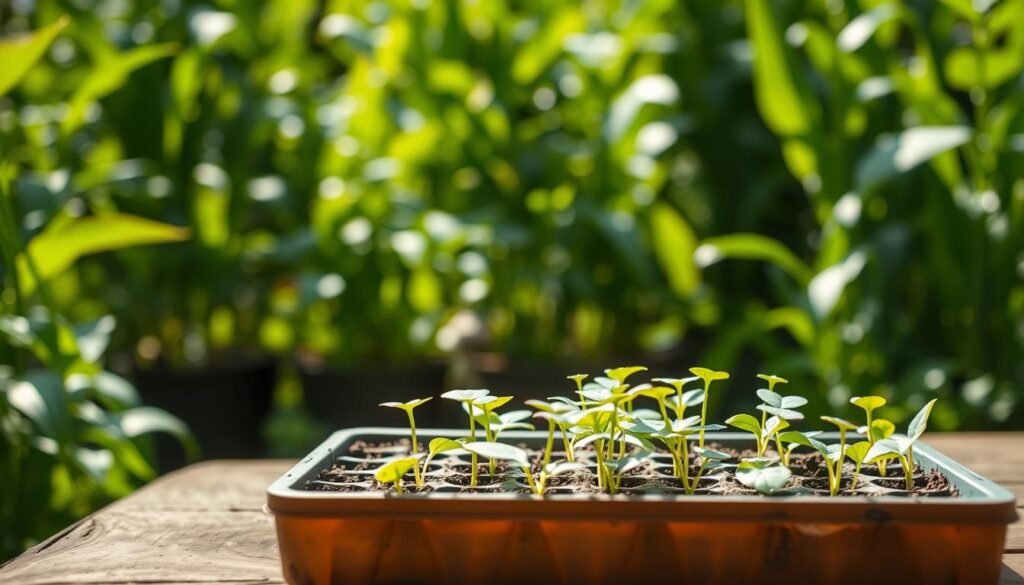
How long and how to schedule the ramp?
Plan 7–10 days. Start with a 30-minute session in bright shade and a light breeze. Each day, add more time and a bit more sun until the young starts spend nearly full days outside.
Practical tips for safer transitions
- Bring plants inside at night early in the schedule if temperatures dip.
- Water before sessions so seeds-started trays resist wind stress and do not wilt.
- Watch leaves for bleaching or crisping; slow the ramp if you see stress.
- Shield baby starts with a porch, dappled shade, or row cover when sun is intense.
| Step | Exposure | Why it matters |
|---|---|---|
| Day 1–2 | 30–60 minutes in shade | Light breeze begins stomatal and stem strengthening |
| Day 3–6 | 2–6 hours with increasing sun | Builds tolerance to UV and fluctuating temps |
| Day 7–10 | Near full days; nights inside if cold | Prepares roots and shoots for outdoor life and transplanting |
Plan a 7–10 days hardening ramp so seedlings adjust to outdoor life without shock or burn. Skipping this essential care is a common mistake that can undo weeks of work.
For herb-friendly companion ideas to shelter and support young starts, see the best garden herbs guide.
When Seedlings Stall—Nutrients, Medium, and Root Room
Stalled seedlings usually need a simple fix: food, space, or a better mix. Diagnose fast and recovery often happens within days.
When tiny trays stop moving, nutrients, space, or the wrong mix are usually the culprits.
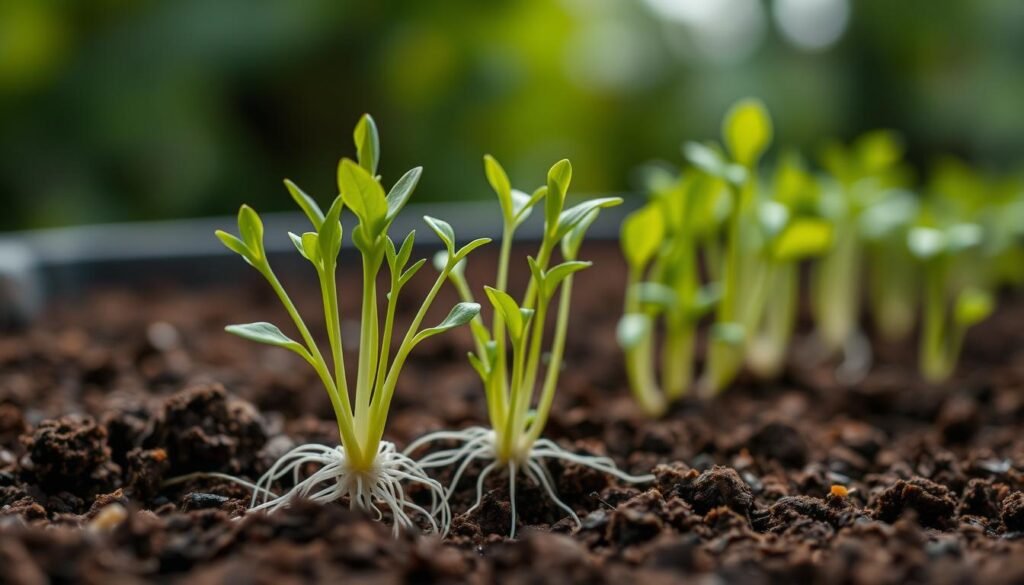
Soilless mix vs. potting soil — when should you feed or pot up?
Soilless starting mixes hold water but no long-term food. The seed gives initial fuel and then needs help.
Once true leaves show, add a diluted fertilizer or move to a potting soil with compost. This gives roots room and steady nutrients for visible growth.
Can overwatering hide as a nutrient problem?
Yes. Excess water can leach salts and nutrients, leaving stems or leaves purple or yellow.
Cut back watering, check drainage, and feed lightly. Color should improve within a week if the issue was nutrient loss.
What other hidden culprits slow starts?
- Insects: aphids or mites sap energy—treat promptly.
- Chlorine: let tap water sit uncovered ~3 days to off-gas before use.
- Overcrowding or tiny cells: cramped roots stall development—thin or up-pot.
- Tomato trays: classic case—pot up or feed after cotyledons and they rebound fast.
Bold takeaway: Stalled seedlings usually need nutrients, a better medium, or more roots space—feed or pot up and watch for new growth.
Watering the Right Way From Day One
Early tray care sets the stage: steady, gentle wetting beats frantic watering every time. Keep the focus on lasting, even dampness so the germination process can finish without stress.
How can you imitate melting snow for reliable germination?
Picture a slow spring melt that keeps the medium damp for days. That steady moisture lets the seed coat soften and the embryo swell.
Keep soil evenly moist from day one so seeds complete the germination process without drying out.
What watering methods protect tiny seeds?
Indoors, prefer bottom watering or fine misting to avoid displacing tiny seeds. Fill the tray and let capillary action wick moisture up, then pour off excess.
Outdoors, use a gentle spray head and move slowly to prevent pooling that can shift seeds.
- Check daily: feel deeper layers, not just the surface, to confirm real moisture.
- Watch temperature: warmer setups dry faster; increase frequency as needed.
- Log results: label trays and note what timing and method worked best.
- Gentle care: treat trays like baby starts—consistent attention without overdoing it helps future garden success.
| Situation | Best method | Quick action |
|---|---|---|
| Tiny surface seeds | Fine misting or bottom soak | Mist daily; bottom water once to saturate then drain excess |
| Larger seeds | Gentle top water or bottom water | Water slowly to avoid compaction; keep medium damp |
| Outdoor trays | Overhead spray head | Move slowly, avoid pooling; check deeper moisture next morning |
Read the Seed Packet Like a Pro—Your Built-In Course on Timing and Care
Treat each packet as a tiny course. It tells you the right soil temperature, the expected germination days, the correct planting depth, and indoor start date guidance. Follow it and worry less.
What should you check first?
Open the packet and note the germination range of days. Record that on a calendar so you know when to wait and when to resow.
- Temperature: match soil heat to the packet so seeds germinate within the listed window.
- Planting depth: follow the packet; shallow sowing helps light-loving seeds.
- Sowing date: align indoor starts to your last frost date so trays are ready at transplant time.
Bold takeaway: Your seed packet is a mini course—it lists temperature, germination range, planting depth, and sowing date. Use it as a checklist every season.
Keep packets in a binder with notes about room heat and light. That simple habit makes every season repeatable and reduces guesswork for future seeds.
See practical timing tips for late sowing at late-seeded alfalfa tips.
Conclusion
Focus on conditions you can measure, and the mystery around poor germination fades fast. Use a soil probe, weigh trays, and set LED height and timers. These steps turn seed starting into repeatable wins.
Keep starting simple: read packets, log what works, and give changes time to show results. Warm but safe media, steady moisture, and proper light yield reliable growth and healthy seedlings.
Stretch money wisely—buy a timer, a probe, and a good mix. When tomato or other starts stall, check nutrients, medium, and roots; adjust and watch leaves green up. Harden off before transplant and wait past frost for best success in the garden year.
FAQ
Why does seed starting feel so hard at first?
Seed starting often feels tricky because small mistakes add up fast — soil temperature, moisture, depth, and light all interact. This guide breaks those elements into simple, actionable fixes so beginners can avoid common mindset traps, learn how seeds germinate, and gain steady confidence with each tray.
What are the three simple mistakes that stop seed success?
The three common errors are incorrect soil temperature and planting depth, inconsistent moisture, and poor lighting or timing. Correcting those — using the right seed-starting mix, keeping a squeezed-out-sponge moisture level, and matching light and frost-date timing — usually turns failing trays into healthy seedlings.
How important is soil temperature for germination?
Soil temperature matters a lot. Warm seeds (tomato, pepper) need higher temperatures than cool seeds (lettuce, brassicas). Use a seed packet’s germination range and a heat mat or thermostat to hit that range so seeds absorb moisture and sprout reliably.
How deep should I plant seeds?
Follow the seed packet. A general rule: plant seeds about two times as deep as the seed’s diameter. Too deep delays sprouting; too shallow dries seeds out. Small seeds often need light contact rather than burial.
What moisture level do seeds prefer?
Aim for a “squeezed-out sponge” feel: moist but not soggy. Keep the medium evenly damp until cotyledons open. Use a spray head, mister, or bottom watering to avoid displacing tiny seeds while maintaining steady moisture that mimics melting snow.
How can I tell if old seeds are the problem?
If conditions are right and nothing sprouts, viability may be low. Do a germination test: place 10 seeds on a damp paper towel in a warm spot and count sprouts after the packet’s suggested timeframe. Replace seed lots that show poor results.
When should I start seeds indoors relative to my last frost date?
Count back from your local last frost date using the seed packet’s indoor-start recommendation. Many vegetables and flowers need 4–8 weeks indoors; warm-season crops often need longer. Local extension websites or USDA zone tools help pinpoint dates.
How close should LED grow lights be to seedlings?
Maintain the manufacturer’s recommended distance — often 2–6 inches for seedlings under LED panels. Adjust as plants grow to prevent stretching or leaf burn. Use timers to give 12–16 hours of light depending on crop needs.
Which light spectrum matters for young plants?
Blue light promotes compact leaf growth; red supports stem elongation and flowering later. Choose a balanced full-spectrum LED or a combination with visible blue and red channels to encourage sturdy seedlings without excess intensity.
What’s the best way to water seed trays without washing seeds away?
Use a fine spray head, mister, or bottom-watering tray. Bottom watering lets the medium wick moisture up to seeds gently. Top watering works once seedlings have true leaves and roots anchor cells.
How do I harden off seedlings before transplanting?
Gradually expose plants to outdoor conditions over 7–10 days. Start with 30–60 minutes of shade, then lengthen time and add sun and wind exposure. Bring plants indoors overnight until they tolerate full days outside.
When should I pot up or fertilize seedlings?
Move up when seedlings show true leaves and roots fill their cells. Use a diluted, balanced fertilizer after the first true-leaf set if using soilless seed-starting mix, which lacks nutrients compared with potting mix.
What causes seedlings to stall or show purple/yellow leaves?
Nutrient deficiency, cold root temperatures, or overwatering are common causes. Purple often signals phosphorus stress from cold or lack of nutrition. Yellow can mean overwatering or nitrogen shortage. Check medium, root room, and drainage.
Could hidden issues like insects or chlorine affect seedlings?
Yes. Tiny pests, chlorine in tap water, overcrowding, or contaminated trays can stunt growth. Use clean trays, filtered or rested water, and space plants to improve airflow. Inspect regularly for pests and disease.
How do I read a seed packet like a pro?
Look for germination temperature, planting depth, days to germinate, and indoor-start timing. These details guide soil temperature, moisture strategy, and when to pot up or transplant to align with your local frost date.