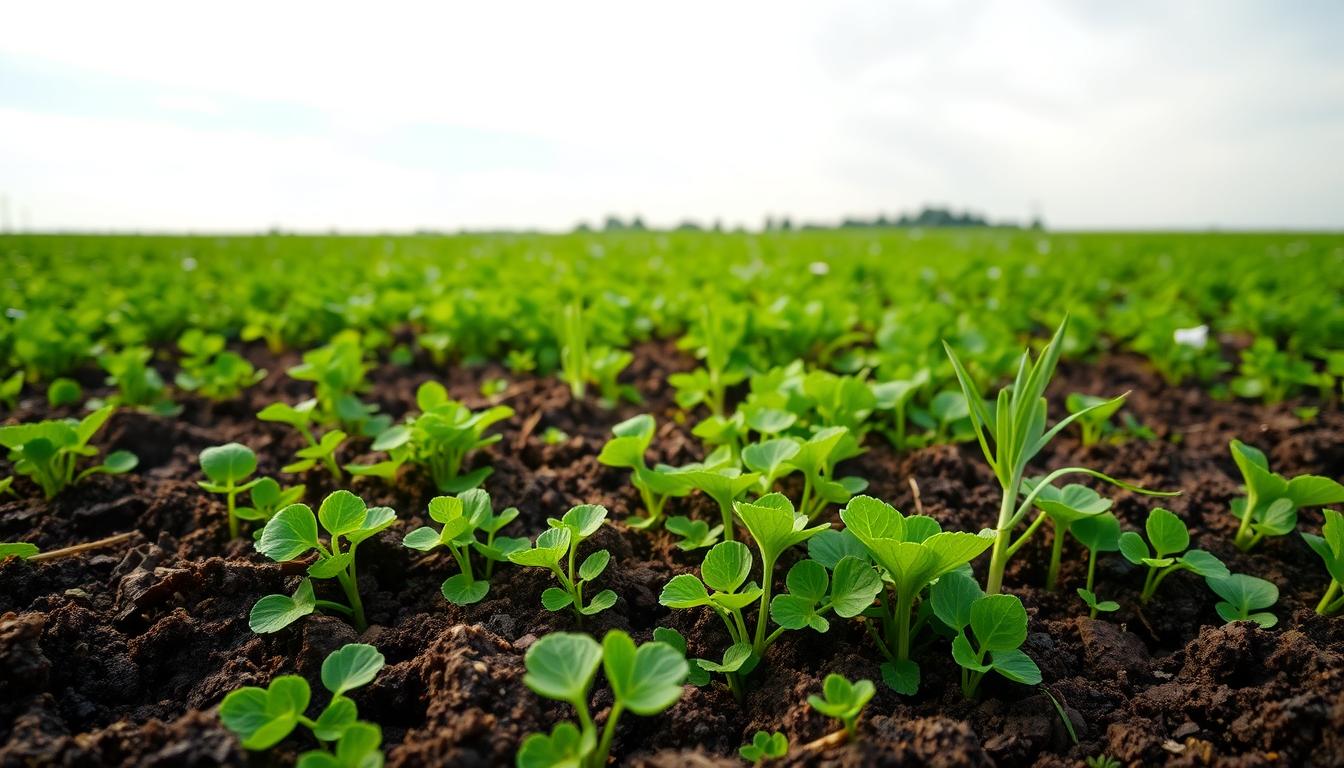
Curious whether a short-lived cover crop can transform tired garden beds? This simple practice feeds soils, builds structure, and boosts fertility without synthetic inputs.
Farmers and gardeners grow living crops, then return those plants to the ground while still fresh. When tilled in, these crops break down and release key nutrients, including nitrogen, phosphorus, and potassium.
Use legumes like clover or vetch to add nitrogen. Use grasses such as rye for bulky biomass and erosion control. Turn crops in shallow—about 6 inches—to match active microbes and speed decomposition.
Let residues settle for roughly 3–4 weeks before planting the next crop. This timing protects seedlings and keeps soils healthy for the following season.
For a deeper guide on species and timing, see this short primer from the university extension: green manure basics.
Key Takeaways
- Living crops grown to be returned to the soil add organic matter and nutrients.
- Legumes fix nitrogen; cereals add bulk and protect soils from erosion.
- Turn plants in shallow (about 6 inches) for fast microbial breakdown.
- Wait 3–4 weeks after incorporation before sowing the next crop.
- Choose types based on goals, season, and region for best results.
Green manure what it how it helps
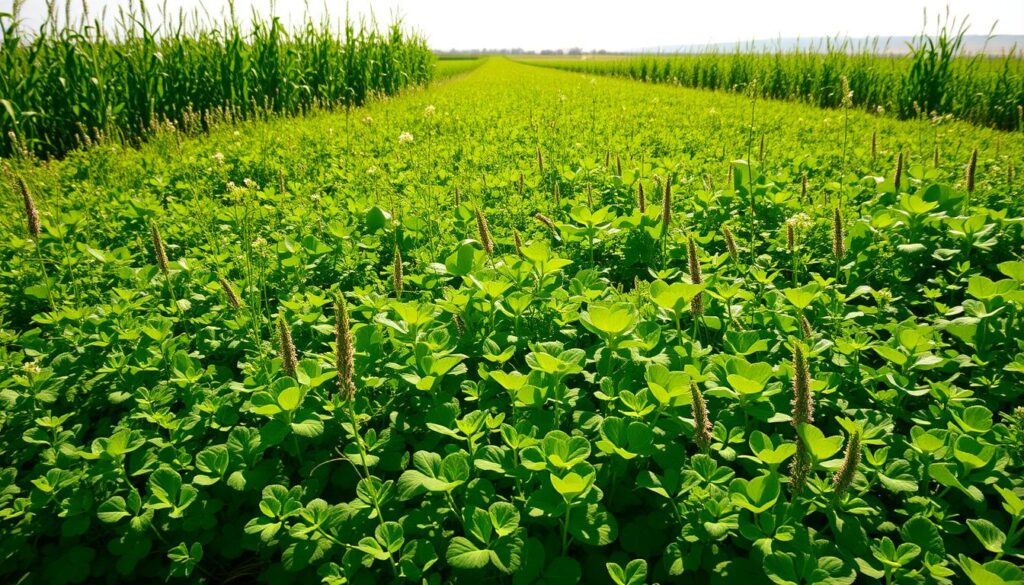
Green manures are simply crops grown to be worked back into the ground to improve soil health. They are sown, allowed to build living biomass, then incorporated while still fresh. This returns high-energy organic matter and quick-release nutrients to garden beds.
What is this practice in plain language?
Cover crops become green manures when plowed or dug in. Unlike compost, these plants provide fresh residue that breaks down fast and feeds soil life. Use legumes for added nitrogen; non-legumes capture stray minerals and bulk up organic matter.
How green manures improve structure, fertility, and biology
Fine roots and decomposing tops bind particles into stable crumbs. That improves soil structure, so beds hold moisture yet drain well.
Living roots feed microbes, make channels for water, and support faster seedling growth. As residues decompose, they release nutrients and boost soil fertility.
Add a light layer of compost at sowing to speed establishment. Seed legumes with rhizobia where needed for reliable nitrogen fixation. After digging in, wait 3–4 weeks before planting so nutrients cycle and young crops avoid competition.
Green manure vs. cover crop: what’s the difference and why it matters
A cover crop shields soil and supports habitat; it becomes green manures when you cut and work it into the bed.
A cover protects bare ground, suppresses weeds, and captures nutrients. When you terminate that cover and mix the material into the soil, it shifts roles and becomes a living input that releases nutrients for the next crop.

When does a cover crop become green manure?
Many species do both jobs. Rye or clover can overwinter as a protective cover and then serve as manures in spring when you chop and incorporate them.
Timing matters. Terminate at bud to early bloom for the best balance of biomass and fast breakdown. Letting plants set seeds risks volunteer plants in following crops.
“Terminate at the right stage and you control nutrient release, weed pressure, and next-season planting windows.”
- Plan rotation: avoid sowing mustard before brassicas in your crop rotation.
- Tools: mow or use shallow tillage; tarping works if you prefer no-dig.
- Mixes: combine erosion-control and nitrogen-fixing types to stack functions.
Decide by goals: need a mulch cover, rapid nutrient return, or both? Match species and termination time to that goal, and consult this concise primer for further reading: green manure vs cover crops guide.
Key benefits and trade-offs to consider before you use green manures
Using a short-term cover between plantings can rebuild beds quickly, but it asks for planning and a time window. Read these trade-offs so you decide with confidence.

What gains can you expect?
Improve soil structure and add organic matter that feeds microbes. Living roots boost pore space and speed nutrient cycling.
Prevent soil erosion and cut nutrient loss during storms. A dense cover shades weeds and gives natural pest predators a place to live. Flowering mixes attract beneficial insects and can lower some diseases.
What trade-offs matter?
You invest a bit of time — often a few months — and bed space instead of cash crops. Seeds and prep cost money, and dense stands can harbor slugs.
Manage rotation risks: avoid repeated legumes to limit N over-fixation. Mow, let residue wilt, then shallowly till about 6 inches so captured nutrients return to the soil and future crops can benefit.
“Plan windows that let beds give back soil fertility without delaying harvests.”
How to choose green manure crops for your garden and soil
Pick crops that match your goals and site before you buy seed. Choose species that solve a problem: add nitrogen, build bulk, or protect beds through winter.
Which legumes add nitrogen and fertility?
Legumes like clover, vetch, alfalfa, and field bean fix nitrogen and leave protein-rich residues.
Inoculate legume seed if rhizobia are absent. Use legumes in rotation to feed the next crop with fast nutrient release.
Which non-legumes improve cover and structure?
Choose rye, oats, barley, buckwheat, phacelia, or mustard for quick biomass and weed suppression. These crops bulk up soil and improve tilth.
What about winter and quick summer options?
For over-wintering pick grazing rye, winter tares, winter field bean, trefoil, Essex red clover, or crimson clover to anchor soils.
For short summer windows use buckwheat, phacelia, mustard, bristle oats, or lupin to fill gaps fast.
“Mix species to balance C:N, spread risk, and capture more nutrient from the season.”
| Goal | Recommended crops | Sowing window | Notes |
|---|---|---|---|
| Add nitrogen | Clovers, vetch, alfalfa, field bean | Spring–early fall | Inoculate legume seed; rotate families |
| Bulk & cover | Rye, oats, barley, buckwheat, phacelia | Spring–fall | Good for erosion control and weed suppression |
| Over-winter anchor | Grazing rye, winter tares, trefoil, winter field bean | Aug–Nov (region dependent) | Dig in early spring for fastest breakdown |
| Short summer fill | Buckwheat, phacelia, mustard, bristle oats, lupin | Apr–Sep | Fast growth; mow or knife-in after 6–8 weeks |
Buy quality seeds and match choices to your soil type. Sandy beds suit lupin; heavy ground prefers field bean. For multi-years plantings, consider perennials like alfalfa in orchard strips.
How to plant green manure step by step
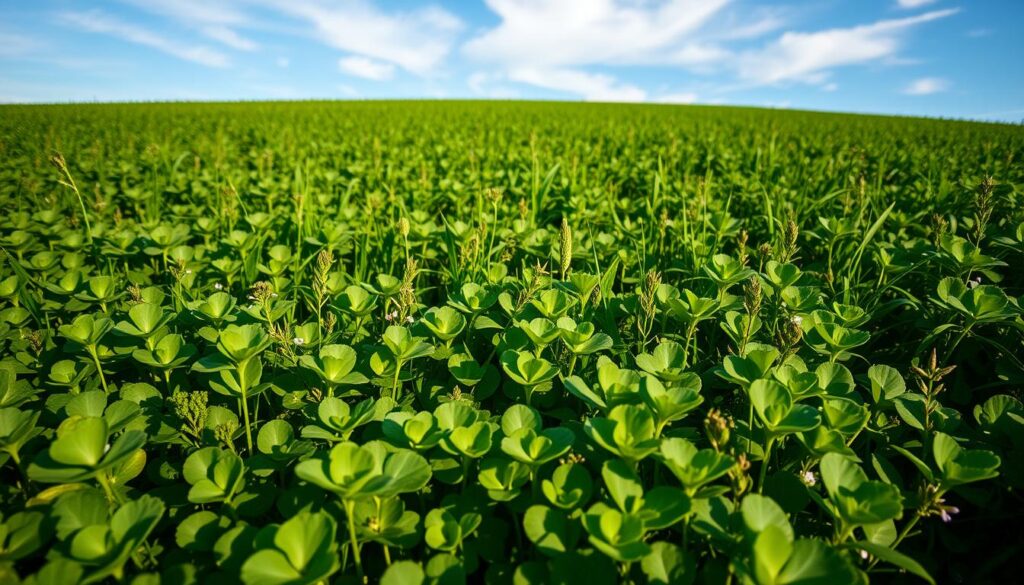
Begin with tidy, friable soil so seeds meet a welcoming bed for fast, even establishment. Planting in a prepared bed speeds germination and gives dense stands that protect soil and suppress weeds.

Prepare the soil
Clear weeds, pull roots, and break clods. Loosen the top 2–4 inches and level the bed for even contact.
Add 0.5–1 inch of compost if fertility is low. This boosts early growth without burying small seed too deep.
Sow and cover seed
For mixes, broadcast seeds evenly over the ground. For larger legumes, row-sow at 1–1.5 inches depth.
Rake lightly to cover (2–3 times the seed size) or dust with fine compost to deter birds and keep moisture near the seed.
Water and establish
Water in to moisten the top inch and keep the seedbed evenly damp during germination. Avoid crusting by gentle, frequent watering.
In hot weather lay straw or a light shade cloth and remove once plants emerge. Aim for quick, even growth; most mixes establish in 7–14 days and are ready to chop in 6–8 weeks.
- Label beds with sow date and species to track termination time.
- Check daily the first week; re-seed thin spots promptly to keep uniform crops.
How to use and incorporate green manures
Cut, wilt briefly, then choose a method that suits your rotation and schedule. This helps you return biomass to the soil or hold it as a living cover while protecting beds for the next planting.
When should you cut and dig in?
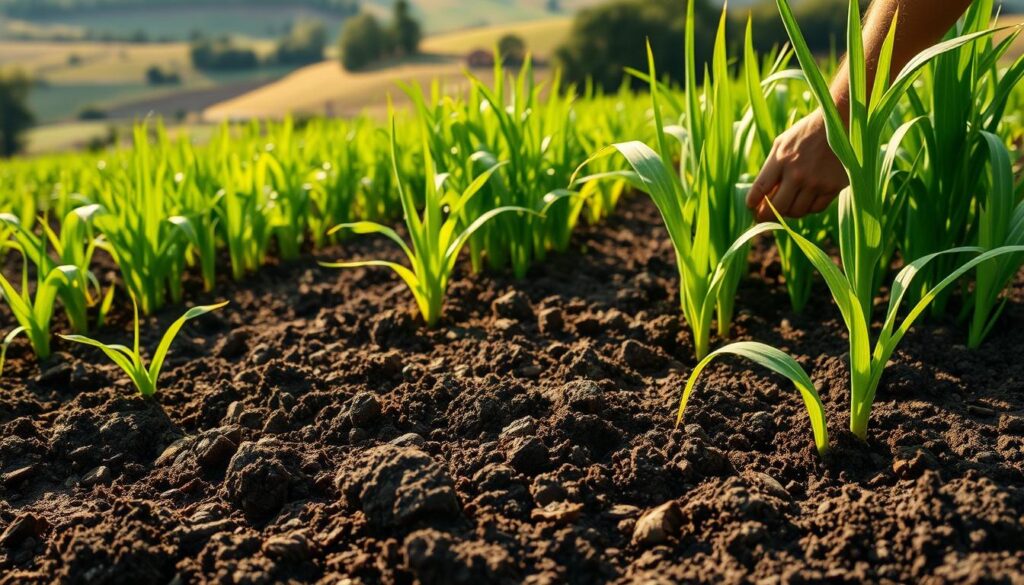
For fast breakdown, mow and let tops wilt 1–3 days. Then incorporate to about 15–18 cm (6 inches).
Use shallow, repeated passes to protect structure and speed microbial action in the soil.
Can you use chop-and-drop or no-dig?
Chop-and-drop leaves residue on the ground as mulch so you can transplant through it.
For no-dig, chop, then cover with tarp or cardboard for 3–4 weeks to accelerate decay before you plant.
What are the timing windows?
Grow stands roughly eight weeks, then allow 3–4 weeks after incorporation before the next crop. Early incorporation releases nutrients faster but reduces bulk.
“Match termination and method to your rotation so residues give back soil organic matter without delaying planting.”
| Method | Depth/Timing | Best use |
|---|---|---|
| Cut & dig-in | 15–18 cm; wait 3–4 weeks | Fast nutrient release before sowing |
| Chop-and-drop | Surface mulch; transplant after 1–2 weeks | Moisture retention and weed suppression |
| No-dig tarp | Cover 3–4 weeks | Minimal soil disturbance; steady breakdown |
- Seed vs transplant: heavy residues may block light—transplants often work better.
- Moisture: slightly damp soil speeds breakdown; avoid working saturated beds.
- Use manuring or green manuring to give back soil life during tight rotations.
Crop rotation, pests, and seed considerations
Plan rotation to protect your beds, reduce disease, and make seed choices that suit your schedule. Small changes in sequencing and termination cut pest pressure and keep soil healthy for the next planting.
Don’t follow mustard or other brassica-based covers with cabbage-family crops. That sequence raises threats like clubroot and other soil-borne diseases.
Rotate families across years to limit pests that favor the same crop types. Balance legumes with cereals so you avoid excess nitrogen and repeated disease build-up.
How should you manage rye and seed timing?
Rye releases allelopathic compounds that can slow germination. Wait at least 3–4 weeks after incorporation before direct sowing seeds. If you need a quick start, use transplants instead.
What practical checks reduce volunteers and pests?
- Control volunteers: mow covers before flowering so plants don’t reseed into following crops.
- Scout regularly: dense stands can hide slugs; trap and use habitat control for predators.
- Clean tools: sanitize spades and forks moving from diseased beds to protect soil health.
- Dry residues: let tops wilt briefly before digging in to moderate nitrogen tie-up.
- Record labels: save species and sow dates to time future seed decisions smartly.
“A simple rotation plan and timely termination prevent many common diseases and keep soil fertility steady.”
Seasonal timing in the United States: winter and summer green manuring
Timing your covers by season keeps beds protected and returns the most benefit at the right moment.
Fall plantings give beds a living shield through cold months and yield biomass to dig in come spring.

For over-wintering, sow mixes from late summer into fall. Choose grazing rye, winter field bean, Italian ryegrass, trefoil, or red and crimson clovers between Aug and Nov. These crops anchor soil and scavenge nitrogen across the colder months. In cold zones, hardy manures protect ground for several months and reduce erosion and nutrient loss.
Fall to spring: sow over-wintering mixes and dig-in in early spring
Sow in fall so stands establish before frost. In early spring, cut and incorporate when soils warm. Allow a 3–4 week wait after termination; in cool ground decomposition can take extra months before planting.
Spring to late summer: fast catch crops between plantings
For summer windows, pick quick growers like buckwheat, phacelia, bristle oats, mustard, fenugreek, or lupin. These warm-season covers reach useful biomass in about 6–8 weeks, perfect for short gardening rotations.
Stagger sowing in late summer for rolling coverage as beds free up. In mild winters, short-run tares or winter field bean can be used in shoulder seasons to fix N and add early spring growth.
| Season | Recommended crops | Sowing months | Notes |
|---|---|---|---|
| Winter protection | Grazing rye, red/crimson clover, trefoil | Aug–Nov | Anchor soil; scavenge nitrogen; dig in early spring |
| Shoulder season | Italian ryegrass, winter tares, winter field bean | Sep–Mar (region) | Good for mild winters; steady growth and cover |
| Summer catch crops | Buckwheat, phacelia, bristle oats, lupin | Apr–Sep | Fast growth (6–8 weeks); ideal for short time windows |
“Match species to frost dates and moisture patterns for reliable crops performance.”
Conclusion
Green manuring builds living, resilient soil that feeds plants and buffers weather. Use season-appropriate manures and simple timing to improve soil steadily without costly inputs.
A short living cover can rebuild tired beds fast and make soils more resilient.
Plan rotation, terminate on time, and incorporate at about six inches. Then wait 3–4 weeks before planting so nutrients soil release and biology recover. Choose mixes by season to avoid family-specific disease risks and allelopathy.
Keep plants need in mind: balanced water, air, and biology matter as much as residues. Use transplants after tough residues or direct-seed when beds mellow. Small, steady green manuring acts like paid-back fertility—your crops and garden will show the gains.
FAQ
What is green manure in plain language?
Green manure is a crop grown primarily to improve soil rather than for harvest. You plant fast-growing species such as clover, vetch, rye, or buckwheat, then cut and incorporate the plant material into the bed. The roots and decayed tops add organic matter, feed beneficial soil life, and help hold soil in place.
How do these crops improve soil structure, fertility, and biology?
When incorporated, the residue breaks down and increases organic matter, which improves tilth and water retention. Legumes fix atmospheric nitrogen into the soil through nodules on their roots, boosting fertility. Deep-rooted species loosen compacted layers and channel water, while the living roots feed microbes and earthworms that build soil biology.
What’s the difference between a cover crop and a green manure?
A cover crop is any living plant grown to protect and cover soil; it can remain as a living mulch. A green manure is a cover crop deliberately grown to be cut and incorporated back into the soil to supply nutrients and organic matter. In other words, all green manures are cover crops, but not all cover crops are used as green manures.
When does a cover crop become a green manure?
It becomes a green manure when you terminate it with the intent to decompose the biomass in place. That usually means cutting, wilting briefly, and digging or allowing soil organisms to break it down before planting the next crop.
What are the main benefits of using green manures?
Key benefits include improved soil structure and organic matter, increased nitrogen when using legumes, better water infiltration, reduced erosion, and suppression of weeds. They also attract beneficial insects and can interrupt pest and disease cycles.
What trade-offs should I consider before planting them?
Consider the time and space they require, seed cost, and the window needed for decomposition. Some species can be hard to terminate or reseed themselves. Poor timing can delay cash crops, and heavy residues may temporarily tie up nitrogen until breakdown progresses.
Which species are best for adding nitrogen?
Legumes such as clover, vetch, alfalfa, and field beans are top choices. They form symbiotic relationships with Rhizobium bacteria, creating nodules that convert atmospheric nitrogen into plant-available forms for future crops.
Which non-legumes help with cover and soil structure?
Cereal rye, oats, barley, buckwheat, phacelia, and mustard build bulk quickly. Rye and oats add fibrous roots that improve structure; buckwheat and phacelia attract pollinators and break up compacted topsoil.
What are good overwintering options for colder U.S. regions?
Try grazing rye, winter tares, winter field bean, trefoil, red clover, or crimson clover. These crops survive cooler months, protect soil from erosion, and can be turned in during spring when growth resumes.
What about quick summer options when I need fast biomass?
Use fast growers like buckwheat, phacelia, mustard, or bristle oats. They establish quickly, outcompete weeds, and can be ready to terminate in 6–8 weeks, freeing the bed for late-season plantings.
How should I prepare soil before sowing seed?
Clear weeds, loosen the surface, and level the bed. Lightly incorporate compost if needed. A fine, firm seedbed helps ensure good seed-soil contact for even germination.
What’s the best way to sow and cover green manure seed?
Broadcast small seeds or use a seed spreader for mixes. For larger seed, row-sow or hand-drop and rake lightly to the recommended depth. Follow package rates; over-seeding wastes seed and under-seeding leaves gaps for weeds.
How do I ensure good establishment after sowing?
Keep the seedbed moist until seedlings are established. In hot weather, use shade cloth or a light straw mulch to prevent crusting and conserve moisture. Water lightly and frequently at first if rainfall is scarce.
When and how should I incorporate the crop into the soil?
Cut at flowering or just before, then let material wilt a day if possible. Incorporate to about 6 inches (15 cm) for faster breakdown. Alternatively, use a no-dig tarp or sheet mulch to accelerate decomposition while preserving structure.