![How to Fix Leaks at 1/2 Mainline Fittings [Troubleshooting Guide]](https://thegardenhaven.com/wp-content/uploads/2026/02/how-to-fix-leaks-at-12-mainline-fittings-troubleshooting.jpeg)
There’s a small dread that hits when you spot a soggy patch in your garden at dawn. I’ve felt it — the worry about thirsty plants and a surprise water bill. This guide meets that moment with clear steps and calm confidence.
Start simple: most problems show at connectors and joints because tubing slips or parts wear out. The half-inch mainline usually refers to polyethylene that feeds emitters and 1/4″ branches, so understanding that flow saves time and guesswork.
We’ll move from spotting warning signs to shutting the run, locating the source, making a clean cut, and using the right replacement pieces. Keep system pressure at or below 40 PSI and carry a tubing cutter, spare couplers, and end caps. Small drips add up — soggy beds and lost water are avoidable with a few methodical checks.
Key Takeaways
- Check connectors first; loose joints and blowouts are common failure points.
- Know that 1/2″ mainline feeds emitters and 1/4″ branches in home setups.
- Repair work is usually quick with a cutter, spares, and patience.
- Keep pressure ≤ 40 PSI and confirm sizing for lasting seals.
- For deeper guidance on common failing parts and replacements, see this helpful repair primer.
Leak warning signs that point to a mainline fitting problem
Wet patches, uneven drip output, and sudden pressure shifts often reveal a failing connector. Spotting these early saves water and keeps one planting area healthy without guesswork.
A morning walk works best. Scan for a small, always-damp patch, squishy soil, or a wet patio spot that never dries. These patterns often mean a loose barb or a split right beside a joint.
Pooling, soggy spots, and patio dampness
What it looks like: a tiny puddle, a soft circle of soil, or a damp slab where the run passes nearby.
Pressure drops that change emitter output
Some emitters will drip normally while others near the run end barely trickle. That uneven pattern often shows stolen flow from the system.
Plant stress in a single zone and a surprise bill
Wilting or yellowing in one zone can mean lost flow before roots get enough water. If your water bill spikes with no lifestyle change, an unseen system problem may be the cause.
“Listen on quiet mornings: a faint hissing near an emitter often hints at escaping water hidden under soil.”
| Sign | What you see | Likely cause |
|---|---|---|
| Pooling | Always damp patch or wet patio | Loose connection or split near a joint |
| Uneven drip | Some emitters strong, others weak | Pressure loss from a leak in the run |
| Plant stress | Wilting or yellowing in one area | Flow stolen before it reaches roots |
| Bill spike | Higher water cost without habit change | Hidden system leak, possibly underground |
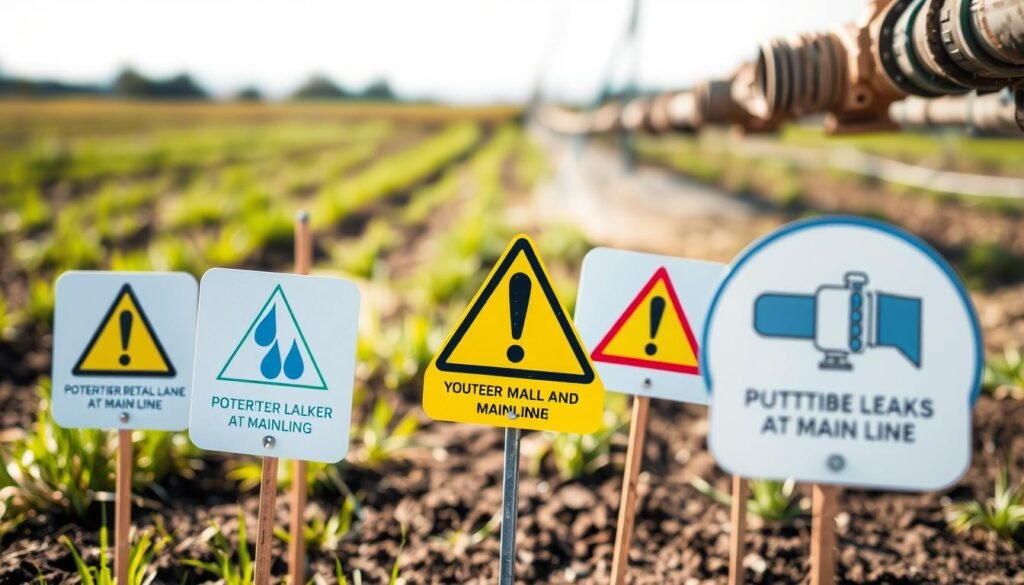
Quick habit: Walk the same path right after a run. Patterns become obvious and point you toward the problem ways worth checking.
Shut down and prep the system before you troubleshoot
Turn off the water at the source and let the tubing clear its pressure before you dig. A calm shutdown keeps a small repair from becoming a big mess.
Start safe: close the spigot or zone valve, then open an end cap or disconnect the farthest tube so trapped water can drain. Wait a few minutes; warm tubing relaxes quickly, while cold tube may need more time.
Expose the area without damaging parts
Use a hand trowel and your fingers near the line. Move soil gently so you do not nick the tubing or pull tiny emitters loose.
- Protect connections: keep small lines visible and clipped so you don’t yank a 1/4″ branch.
- Check the ground: muddy soil can hide the spot — lightly rinse with clean water after shutdown if you need to see wet points.
- Take your time: a few careful minutes now save repair time later.
| Step | Action | Why it matters |
|---|---|---|
| Shut supply | Close spigot or zone valve | Prevents surprise sprays and protects hands |
| Relieve pressure | Open end cap or disconnect far tube | Drains trapped water for safe work |
| Expose line | Use trowel and fingers; keep emitters visible | Prevents accidental damage and reveals the true wet spot |
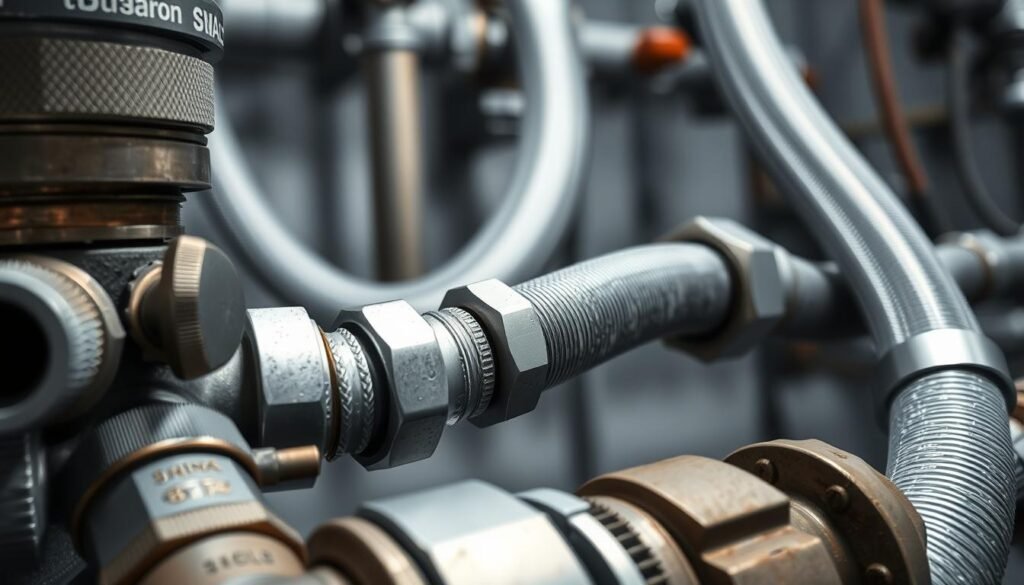
Find the exact leak location around the 1/2-inch mainline
Walk the run slowly and mark every damp spot so the exact source becomes obvious. This simple mapping saves time and stops unnecessary digging.
Start at the supply and trace the line to the far end. Use small flags, stakes, or a screwdriver pushed lightly into the soil at each wet area. Marking the spots helps you narrow the search area quickly.
Trace, mark, and watch
Wipe a suspect connection dry, then run water briefly and watch for the first bead. This “clean-and-watch” method shows whether water appears at the joint or further along the tubing wall.
Tell a connection leak from a puncture or barb issue
Connection leaks usually show water right at the joint. Punctures spray or leave a wet streak along the tube’s side. Cracks often hide where the tubing bends near a fitting.
Confirm the emitter barb isn’t the problem
Check the hole where the emitter or barb inserts. A loose emitter can mimic a joint leak. Firmly seat the emitter and repeat the clean-and-watch check.
Use a water meter check for hidden problems
Shut off all property water. Watch the small flow indicator or record the meter reading, then re-check after 1–2 hours with no use. Movement means a buried system leak exists and narrows where you need to dig.
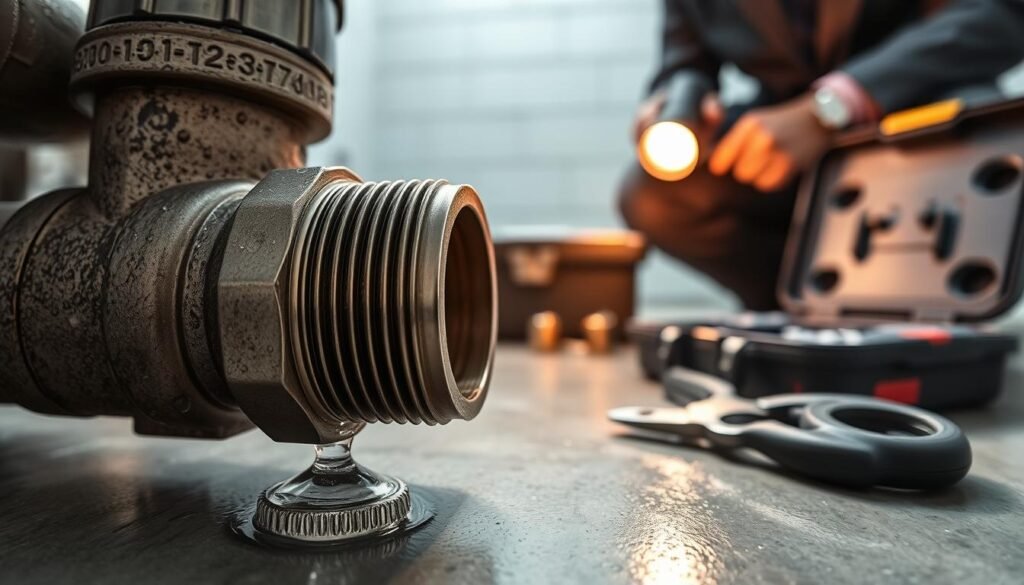
| Action | What to mark | Why it matters |
|---|---|---|
| Trace run | Flag damp spots | Narrows search area quickly |
| Clean-and-watch | Dry joint and run briefly | Shows exact origin of wetness |
| Meter check | Record flow indicator or reading | Confirms hidden water loss before digging |
How to fix leaks at 1/2 mainline fittings [troubleshooting]
Start with simple seating and clean cuts; small steps stop most steady drips. These quick moves—reseat, recut, or replace—solve the majority of connection problems and keep water focused where plants need it.
Reseat the tubing fully over the barb for a tighter connection. Push the tube until it bottoms on the barb. Partial seating is a top cause of a slow leak. If the tube resists, warm the end in hot tap water for 30–60 seconds to soften it, then seat firmly.
Cut back to a fresh, round section of tube and reconnect. Old tube ends can oval out. A clean, square cut restores shape and seals better against the barb or coupler.
Replace brittle, cracked, or worn fittings to stop repeat drips. Sun-damaged parts fail repeatedly. Swap the damaged fitting for a new one of the correct material and size.
- Install the correct coupler size after cutting out a damaged section — wrong sizes can almost fit and still leak.
- Use a Goof Plug when a removed barb or emitter leaves a hole in the tube; plug it cleanly to stop spray.
- Rebuild end-of-line connections and snug end caps; sometimes the end is the hidden source of seepage.
After repair, run the irrigation system and watch the repaired side for at least a minute. Make sure no bead forms and that emitters keep steady flow.
![how to fix leaks at 1/2 mainline fittings [troubleshooting]](https://thegardenhaven.com/wp-content/uploads/2026/02/how-to-fix-leaks-at-12-mainline-fittings-troubleshooting-1-1024x585.jpeg "how to fix leaks at 1/2 mainline fittings [troubleshooting]")
Stop leaks caused by mismatched sizes, threads, and connection types
Mismatched parts are a quiet source of steady wet spots and wasted water. Make a quick checklist before crowning any repair: verify sizes, check thread forms, and match system types so the joint seals reliably.
Verify exact size compatibility. Check OD and ID on packaging or the manufacturer chart. Labeled sizes vary by brand; a 1/2″ drip tube can have different outer diameters. If tubing slides on too easily, it’s likely too large; if it won’t seat fully, it’s too small.
Watch thread types. Don’t force a hose-thread onto a pipe-thread. They can tighten but still leave a leak path. For hose-thread pieces, make sure a washer sits flat in the coupling and is not cracked or flattened, and inspect threads for cross-threading or wear.
Match connection systems. Avoid mixing barbed and push-to-connect at one joint. Pick one style per connection for a dependable seal and fewer surprises when expanding the system.
- If a good repair still drips, compatibility is often the culprit.
- Get OD/ID and thread type right for lasting seals.
- Standardize parts where possible to simplify future work.
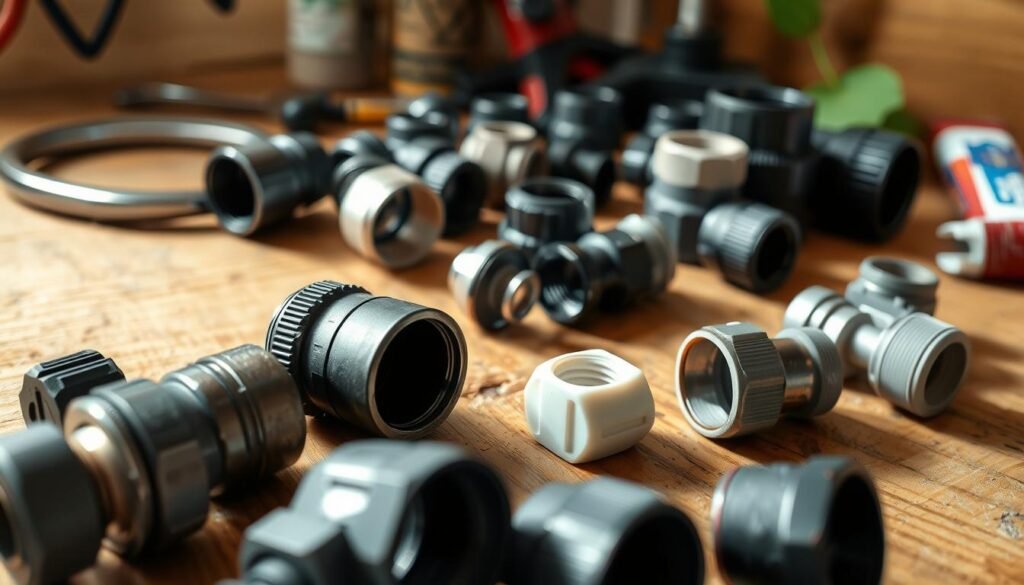
| Problem | What you see | Correct action |
|---|---|---|
| Wrong diameter | Tubing slips on or won’t seat | Confirm OD/ID and swap for correct size |
| Thread mix-up | Coupling tightens but leaks | Use matching hose or pipe thread part; add washer if needed |
| Worn washer or threads | Spray at threaded joint | Replace washer and inspect threads; swap damaged piece |
| Mixed systems | Loose joint or sudden blowoff | Use barbed or push-to-connect only; avoid hybrids |
Need an adapter or a clear match? For a common threaded adapter option, see this garden hose adapter guide that helps pair pipe and hose parts correctly.
Check pressure issues that make fittings drip or blow off
Pressure controls whether a repair lasts or fails the next run. Keep the system within safe limits and test the regulator output before celebrating a successful repair.
A quick rule: keep drip irrigation pressure at or below 40 PSI. Higher force pushes tubing off barbs and opens tiny gaps at joints. That extra stress turns small weaknesses into steady leaks and sudden blowouts.
Test the regulator with a gauge
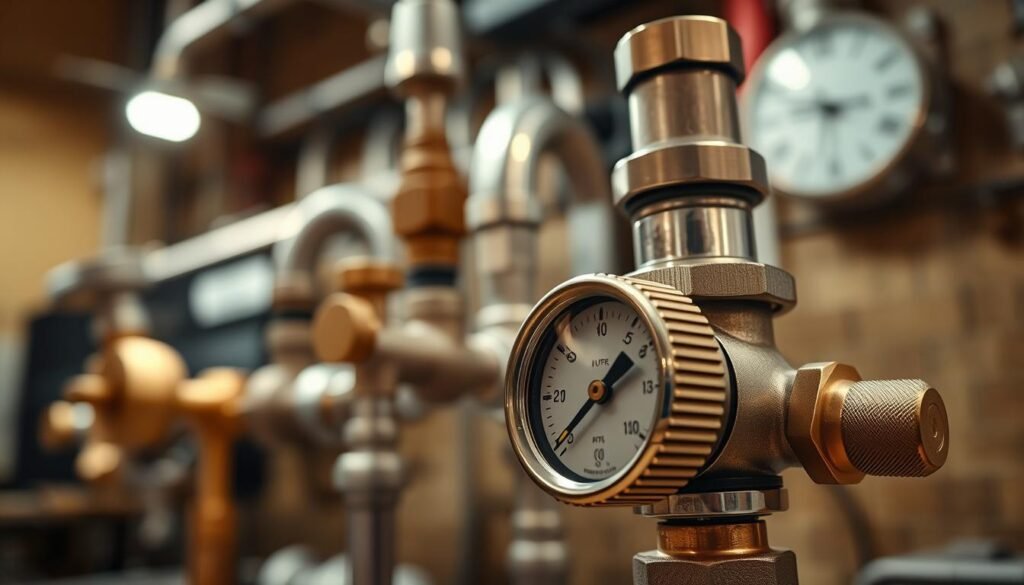
Attach a pressure gauge at or just after the pressure regulator while the system runs. Confirm the setpoint holds steady under flow. If the reading sits above 40 psi, the regulator or a clogged filter likely needs attention.
Spot symptoms of overpressure
Look for these clear signs the pressure is too high:
- Fittings weeping — slow seepage around barbs and connectors.
- Tubing blowouts — sudden splits or bursts in the line.
- Emitters popping off — devices eject from branches under force.
- Joints loosening over time — repeated reseating required each season.
Pressure can spike when a filter clogs or a regulator wears. Re-check pressure after any repair so the fix isn’t overwhelmed by unseen system conditions.
| Check | What to read | Action |
|---|---|---|
| Regulator output | Gauge ≤ 40 psi | Adjust or replace regulator |
| Running test | Stable reading under flow | Confirm setpoint; watch for spikes |
| Symptoms | Weeps, blowouts, popped emitters | Lower pressure, inspect filter/regulator |
Fix leaks that look like fitting leaks but originate at filters or regulators
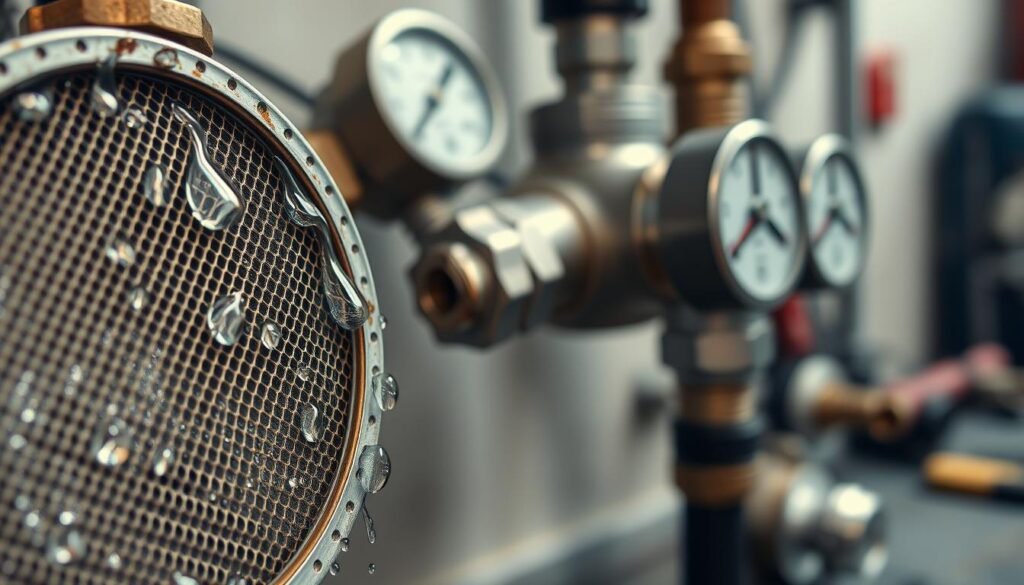
Some fitting-style wet spots actually start upstream in the filter or regulator. Cleaning screens, checking O-rings, and testing regulator performance often stops mystery seepage and uneven flow.
Why this matters: a clogged filter screen can choke flow and cause pressure swings that stress joints. Those swings make emitters act oddly and can push tubing off barbs in surprising ways.
Quick filter checks:
- Shut the water and open the housing. Remove the screen, rinse or brush debris, and reinstall.
- Inspect O-rings at the inlet and canister body for cracks, twists, or absence. Replace if dry-rotted.
- Hand-tighten the housing; overtightening can pinch an O-ring or crack a canister.
Regulator notes: sediment fouling and normal wear make a pressure regulator give uneven output. If flow rates change during a run, replace the regulator rather than chasing joints.
Simple diagnostic: if you repeatedly repair connectors and the problem returns, check filter and regulator health first. This saves parts and finds the real cause in fewer ways.
| Component | Symptom | Action |
|---|---|---|
| Filter | Pressure drop or swings | Clean/replace screen; check O-rings |
| Regulator | Fluctuating output | Test and replace if inconsistent |
| O-rings | Weeping at housing | Reseat or replace; hand-tighten |
Confirm your 1/2-inch mainline isn’t undersized for system demand
Make a quick GPH audit so pressure and flow stay steady across every emitter. Undersized lines drive uneven output and repeat connection problems that feel impossible to cure.
Start by adding each device’s flow rating. Count emitters, micro-bubblers, sprayers and dripline segments, then multiply by their GPH value. For example, 10 × 1 GPH = 10 GPH total demand for that run.
Capacity rules matter: a 1/2″ line handles up to 240 GPH, 3/4″ up to 480 GPH, and 1″ up to 780 GPH. If your total exceeds the line capacity, some emitters will trickle while others run full blast and connections may weep under shifting pressure.
- If your 1/2″ is overloaded, leaks and uneven flow become chronic.
- A simple GPH total reveals overload quickly.
- Right-sizing protects connections and evens out watering.
Review every watering device on the run — including driplines, spray heads, and bubblers — since each adds to the flow demand. If demand is too high, split the run into zones or upgrade the main line rather than endlessly tightening connections.
For a step-by-step repair reference, see this repair guide, or explore a complete small-pot setup example at this drip system case study.
Run a quick flow test at the spigot to plan zones and prevent repeat leaks
Measure actual output before you buy more parts or extend lines. A simple bucket-and-stopwatch check gives the real GPH number that guides tubing size and zone planning.
Measure your source output with a bucket and stopwatch before sizing any run.
Bucket-and-stopwatch method to estimate available GPH at the water source
Use a known-size bucket, open the spigot fully, and time how long it takes to fill. Convert minutes to gallons per hour (GPH) for a practical flow number you can use when planning.
Example conversion: a 5-gallon bucket filled in 30 seconds equals 600 GPH. Record this water output and the measured time.
Match available flow to tubing size and decide when to split into watering zones
Compare your GPH with tubing capacity. A 1/2″ mainline handles about 240 GPH. If supply is near or above that, consider a larger line or split into zones.
Example planning: what 300 GPH supply means for lines
If your spigot gives 300 GPH, the run budget is 240 GPH on 1/2″ or the full 300 GPH with a 3/4″ line. If demand reaches 600 GPH, create two zones and run one zone at a time.
- Your spigot sets the ceiling—no fitting will increase source flow.
- Write down supply GPH, tubing capacity, and emitter totals before expanding the irrigation system.
For practical installation guidance, see this Rain Bird drip irrigation installation resource.
Conclusion
Wrap the job with steady care: correct parts, steady pressure, and regular checks. Small repairs last when paired with clean filtration and lines sized for the run.
Keep a system-wide view: find the exact spot, repair the joint properly, then confirm pressure and flow support that repair. Keep downstream pressure at or below 40 PSI so connections stay seated and safe.
Match thread types—don’t mix pipe and hose threads—and replace worn washers and cracked parts. Clean the filter screen every 2–4 weeks during peak season and flush lines at least once per season.
Carry a small spare kit: couplers, end caps, Goof Plugs, a few fittings, and extra washers. Recheck the repaired area after the next cycle; one quick look prevents a soaked bed. For a clear repair reference, see this repair guide, or learn about matching threads with this hose adapter guide.