
This practical guide uses Extension-backed calendars to pin down the best windows for checks by zone. Follow simple monthly cues so the growing season starts strong and you avoid working wet ground in early spring.
Curious which month will set up the entire year’s harvest? Zone-based advice from state Extension services shows that late winter to early spring is often the smart pre‑plant moment. Many programs also recommend fall sampling so lime and amendments act before the next season.
This short how-to explains how to translate frost dates into testing windows, sync checks with routine garden chores, and collect clean composite samples. It draws on Extension calendars and seasonal bulletins to give practical, region-specific timing for both pre-plant and post-harvest checks.
Key Takeaways
- Use Extension calendars to pick zone-specific windows for pre-plant and fall sampling.
- Late winter to early spring works for many zones; fall tests help lime and amendments act.
- Translate first/last frost dates into practical monthly tasks for the garden.
- Collect clean composite samples and avoid soggy ground when sampling.
- Post-harvest checks guide compost, lime, and fertilizer choices for the next year.
Why Soil Testing Matters for a Productive Vegetable and Flower Garden
Start with a clear nutrient snapshot to feed plants accurately and avoid guesswork. Testing guides pH corrections, compost additions, and fertilizer choices so beds and crops perform all year.
A simple soil check before planting sets the stage for healthier plants and steadier harvests. Extension calendars recommend sampling before spring planting so pH and nutrient levels are set for active growth.
University guidance shows timing matters: UGA notes lime applied in fall benefits the following year more than spring applications. OSU emphasizes fall as the best time to add compost and plant cover crops to boost organic matter and protect soil over winter.
- Know pH and nutrients: Tests reveal pH, organic matter, and key elements so you feed vegetables and flower beds accurately.
- Match amendments to needs: Use lime or sulfur for pH, compost for structure, and balanced fertilizers to suit different crops.
- Plan seasonally: Test before planting and again after harvest to refine plans for the next year.

| Issue | What a Test Shows | Action | Best Season |
|---|---|---|---|
| Low pH | Acidic reading below 6.0 | Apply lime per lab rate | Fall (for full effect next year) |
| Low organic matter | Percent OM below target | Add compost, plant cover crops | Fall or late season |
| High N need for heavy feeders | Low nitrate or high crop demand | Plan split nitrogen applications | Pre-plant and mid-season |
Know Your USDA Plant Hardiness Zone, Frost Dates, and Local Weather Windows
Start by matching average frost dates to your garden rhythms; that simple step frames the best times to act. Local frost data and short-term weather patterns tell you when ground is workable and amendments will be effective.
Translating last and first frost into soil test timing
Use last-spring and first-fall frost as anchors for planning.
Aim to collect samples about 4–8 weeks before main spring planting. In Zone 6 that often falls in late winter through March, ahead of March–April planting ramps. In cold Zones 3–5, shift toward very late winter; in warm Zones 8–9, late fall to mid‑winter works better.
- Watch short-term weather: wait for thawed, crumbly ground if soils are frozen or saturated.
- Allow 10–14 days for lab turnaround so results arrive in time to act.
- If pressed, do a quick field pH check to guide lime on urgent beds while you wait.

Adjusting dates with local microclimates and Extension advice
Urban heat islands, slopes, fences, and pavement can shift frost patterns by days to weeks. Use a county extension office to confirm local averages and to get lab submission tips.
Keep a simple garden calendar of actual frosts and rainfall trends. That record helps refine timing each season and makes Extension guidance more useful for your site.
US Gardener’s Calendar: When Test Your Soil by Zone Bands
Zone-based timing helps you act early enough to lime, add compost, or adjust fertility for the season ahead. Picking the right window gives amendments time to work so beds and plants start strong.

Zones 3–5
Very late winter to very early spring is best for pre-plant checks once ground thaws and crumbles. Aim for a fall post-harvest sample to plan lime and compost before winter.
Zones 6–7
Sample in late winter or early spring—Zone 6 calendars often point to March. Add an optional mid-season nitrate check for heavy-feeding crops.
Zones 8–9
Take samples in late fall through mid-winter so amendments settle before early spring planting. For fall crops, sample in late summer to guide compost and cover crop choices.
Zones 10–11
Use shoulder seasons (late winter or fall) before main warm-season rotations. Cooler mornings make sampling easier and labs are less backed up.
- Rule of thumb: test about 4–8 weeks before primary spring planting.
- For beds that grow beans or squash heavily, a fall check helps set compost mixes for the next year.
- If pH problems persist, retest affected beds a month later before planting sensitive plants.
“Lime applied in fall benefits the following year more than spring applications.”
Seasonal Cues: Pre-Plant, Mid-Season, and Post-Harvest Soil Checks
Set simple seasonal markers—pre-plant, mid-growth, and post-harvest—to guide timely field checks. These three windows help you fix pH and nutrient gaps so plants start strong and recover after harvest.
Pre-plant: set pH and nutrients before seeds and transplants
Test about 4–8 weeks before planting so amendments have days to act and pH can settle.
Why it matters: Apply lime or sulfur early so sensitive plantings get the right root environment.
Mid-season: spot checks for fast-feeding crops
For heavy-feeding crops like corn, tomatoes, and squash, a mid-season nitrate check helps fine-tune side-dressing. This prevents yield dips and avoids excess nitrogen that can delay ripening.
Post-harvest: guide fall lime, compost, and cover crops
Clear beds and sample in fall to pair lab recommendations with compost and cover-crop choices. UGA and OSU both note fall is ideal for lime and organic additions before the next season.
| Check | Timing | Action | Notes |
|---|---|---|---|
| Pre-plant | 4–8 weeks before planting | Adjust pH, add base fertilizers | Allow days–weeks for change |
| Mid-season | Peak growth | Nitrate spot check, side-dress | Target heavy-feeding crops |
| Post-harvest | After crop removal in fall | Apply compost, sow cover crops, lime | Record results in a bed log |
Prioritize new or problem beds if time is tight, use Extension forms to note crop goals, and retest after major changes like added manure or altered watering. Keep a simple log so trends appear season to season and help plan next year’s planting in the garden.
Zone 6 Snapshot: Align Soil Testing with Monthly Gardening Tasks
Use a simple month-by-month rhythm in Zone 6 to set seeds, manage beds, and time lab submissions so results arrive before spring planting. This approach pairs seed starting, watering, and mulch work with clear tasks that fit local frost and rain patterns.
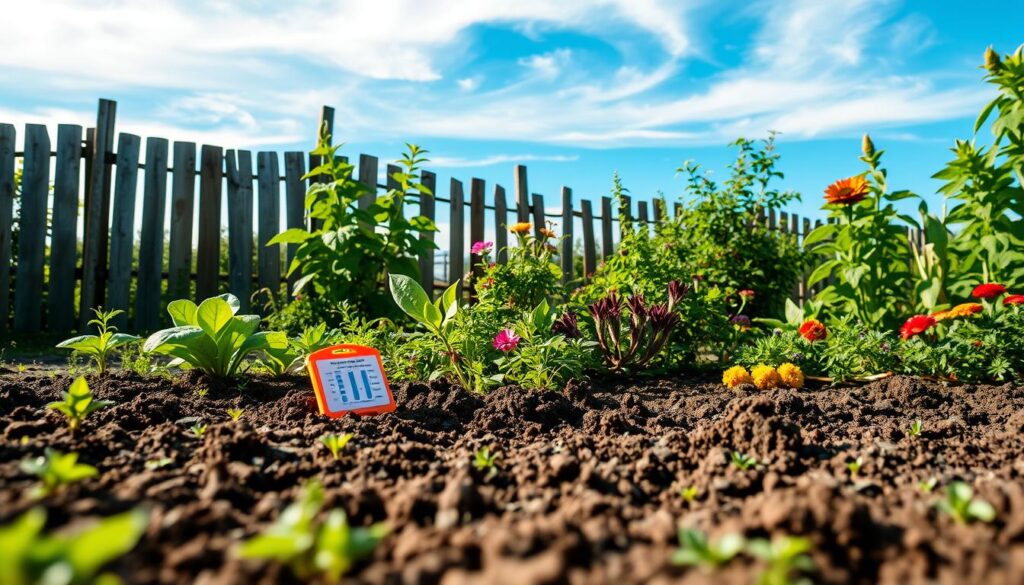
January–March
Plan rotations and order seed catalogs early. Start cool seeds indoors, then sow tomatoes, peppers, and eggplant in late February–March. Submit lab samples by March so recommendations arrive before planting.
April–June
Avoid working beds while saturated; wait a few days after heavy rain. Track water to average about an inch per week and harden off seedlings after frost risk passes.
Plant successions of beans and quick greens. Watch cabbage and lettuce and side-dress as the soil warms.
July–September
Harvest often to keep production going and monitor fertility during heat spells. Mulch in June to retain water, scout squash and beans, and sow carrots, lettuce, and late beans for fall.
October–December
Clear finished beds, test again, add compost, and apply mulch. Consider cover crops for open ground and record frost dates, planting logs, and lab notes in a simple garden log.
| Month Range | Key Tasks | Crop Focus |
|---|---|---|
| Jan–Mar | Order seed catalogs, start indoor seed, submit lab samples | Tomatoes, peppers, cool greens |
| Apr–Jun | Avoid wet beds, water ~1″ per week, harden off | Beans, cabbage, lettuce, squash |
| Jul–Sep | Frequent harvests, monitor fertility, mulch | Beans, carrots, potatoes, onions |
| Oct–Dec | Clear beds, add compost, mulch, sow cover crops | Fall greens, cover crop mixes |
Leverage Your Extension Office: Test Kits, Submission, and Local Recommendations
County extension offices are a practical guide to local sampling kits, lab choices, and timing tied to real weather patterns. They connect lab forms to planting plans and help you prioritize beds based on crop goals and past issues.

Call or email your county extension office to pick up a sampling kit and current submission form. Staff can confirm lab fees, turnaround time, and whether a rush option exists.
How can extension calendars and bulletins fine-tune timing?
Use local calendars and bulletins to match sampling with real weather, not just averages. Many offices send newsletters that flag ideal sampling weeks and planting windows.
- Ask which lab fits home garden needs and note crop goals on forms for targeted recommendations.
- Bring a list of beds; agents help prioritize areas and suggest field pH checks if you need a quick lime decision.
- Save reports each year to track changes from compost, mulch, and cover crops.
| Service | What they provide | Best time to get it |
|---|---|---|
| Sampling kit | Boxes, instructions, submission form | 4–8 weeks before planting |
| Lab referral | Recommended labs and fee info | Before mailing samples |
| Local bulletins | Monthly notes on frost and planting | Seasonal planning |
| Troubleshooting | Tissue testing and targeted checks | As problems arise |
Tap extension knowledge to make sampling simple and to time planting with local weather cues for better gardening results.
How to Collect a Reliable Soil Sample from Beds and Lawn Areas
Collect many small cores across each area so lab results show average conditions, not a single lucky or poor spot. Use clean tools, consistent depth, and clear labels to keep results honest and actionable.
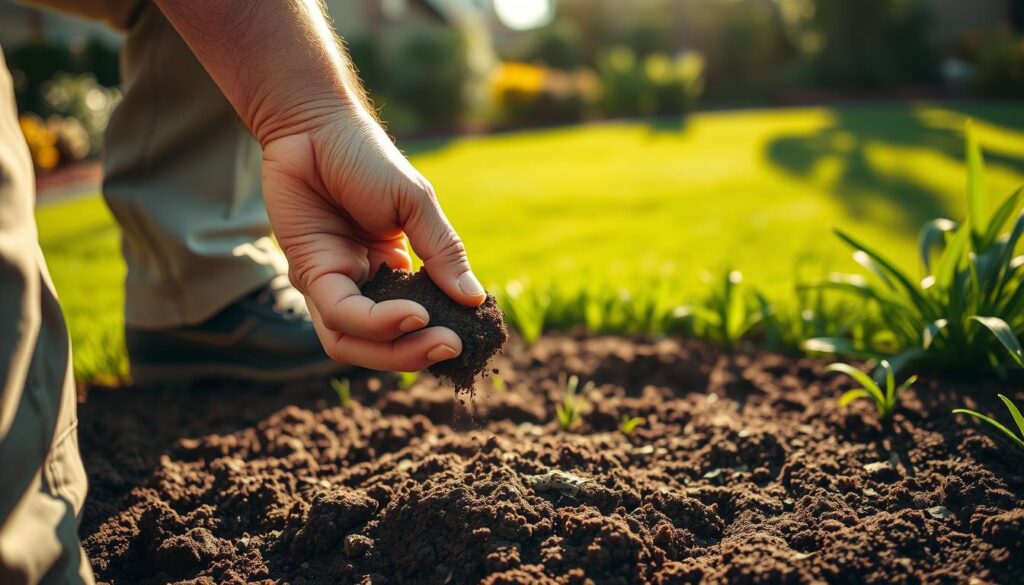
Tools, depth, and pattern: composite samples from multiple spots
Use a clean trowel or probe and a clean bucket. Take 10–12 cores across a uniform bed or lawn zone.
For vegetable beds, sample at 6–8 inches where roots feed. For lawns take shallower cores, about 3–4 inches.
Mix cores into one composite sample per area so the lab sees the average, not a single hot or low spot.
Timing tips: avoid shortly after fertilizing, liming, or heavy rain
Avoid sampling for several days after heavy rain, irrigation, fertilizing, liming, or adding fresh compost. These events can skew results.
Wait a few days to let the ground settle and surface salts dilute. Note recent changes on the submission form so recommendations fit the real situation.
Labeling, drying, and mailing: preventing contamination
Scrape away surface mulch or leaves before taking each core so debris does not change readings.
Air-dry the mixed sample on clean paper for about a day—do not bake or heat it. Put the dried sample in the lab bag and label it with bed name, planned crops, and contact info.
- Do not include material from a compost pile in the sample; test compost separately if you plan to use it widely.
- Mail samples early in the week to avoid weekend delays and keep a copy of the submission for records.
Reading Your Soil Test: pH, Organic Matter, N-P-K, and Micronutrients
Read the report in order: pH first, organic matter next, then N-P-K and trace elements. That order helps you prioritize fixes that will actually improve bed performance before planting.
Reading your lab results lets you match amendments to actual needs instead of guessing.
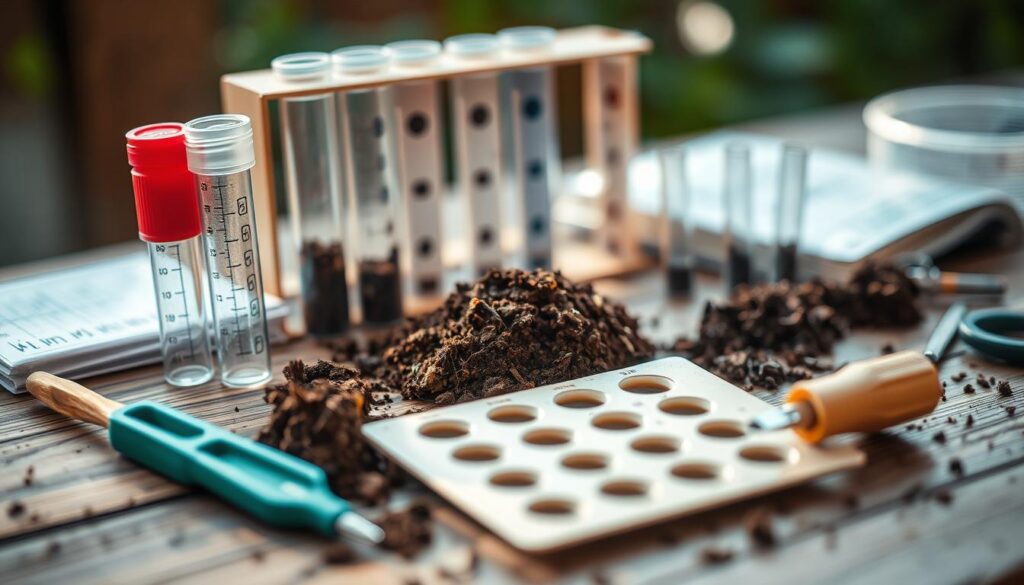
What pH and organic matter numbers mean
pH targets: most vegetables and flowers prefer 6.0–6.8. Blueberries need acid soil and lawn care often sits slightly different.
Tip: If pH is low, apply calcitic or dolomitic lime per the lab rate; if high, use elemental sulfur slowly.
Organic matter: Aim near 4–6% for steady water retention and nutrient exchange. Add compost modestly to build OM without shocking young plants.
Using N-P-K and micronutrient results
N-P-K tells how much fertilizer to apply. Follow the lab’s recommendation per 1,000 sq ft or per row length. Split nitrogen applications for heavy feeders and plan less for beans.
Micronutrient issues like iron chlorosis often trace back to pH. Fix pH first before adding trace elements.
Matching amendments to common crops
Match changes to goals. For cabbage, lettuce, carrots, onions, and potatoes, follow the report’s target ranges and lime in fall for best effect.
| Reading | What it means | Action |
|---|---|---|
| pH 6.0–6.8 | Optimal for most vegetables and flowers | Maintain; lime or sulfur only if outside range |
| OM 4–6% | Good structure and water retention | Add compost yearly, avoid burying unfinished material |
| Low P or K | Deficit limits root and fruit development | Apply lab-recommended fertilizer rates per area |
| Micronutrient low | Leaf symptoms or slow growth | Check pH first; use targeted foliar or soil amendments |
- Planting note: adjust pH first, then apply balanced fertilizer for sensitive beds.
- Keep plants evenly watered after amendments to move nutrients into roots without leaching.
- Record what you applied and when so the next report shows true change.
Build Soil Health Year-Round: Compost, Mulch, and Fall/Winter Cover Crops
Combine modest compost layers, mulch, and winter cover crops to protect beds and build fertility for next year. These practices reduce erosion, feed microbes, and keep water and nutrients working for the planting season ahead.
Let leaves and a managed compost pile do steady work over fall and winter.
Using compost piles, leaves, and wood ashes wisely
Add finished compost in thin layers so plants get steady nutrition without smothering roots.
Keep a balanced compost pile—about three parts browns like leaves to one part greens—to speed breakdown and avoid odors.
Use wood ashes sparingly as a fall top dressing; they add potassium and calcium and slightly raise pH. Avoid heavy use on already alkaline beds.
Cover crops over winter to add organic matter and reduce erosion
Sow cover crops in fall—rye, oats, or crimson clover—to hold soil through winter and add biomass for spring incorporation.
In cold areas choose hardy mixes; in milder zones pick blends that also support pollinators over winter.
Terminate covers 2–4 weeks before planting so residues begin to break down and the ground warms for seedlings.
- Mulch after plants are set: conserve water, moderate temperature, and suppress weeds through the season.
- Rake or shred leaves: use them as a gentle winter blanket or add to the compost pile for faster decomposition.
“Cover crops improve soil structure, suppress weeds, reduce erosion, and support pollinators over winter.”
| Action | Best timing | Benefit |
|---|---|---|
| Add finished compost | Fall or early spring | Boosts organic matter and structure |
| Sow cover crops (rye, oats, clover) | Late fall | Holds soil, adds biomass, supports pollinators |
| Apply wood ashes | Fall, sparingly | Adds K and Ca; raises pH slightly |
Cycle compost, mulch, and covers each season to build fertility with less reliance on synthetic inputs. Water the ground—not just foliage—after applying amendments to help materials settle and feed soil life for strong growth next year.
Common Timing Mistakes and Myths to Avoid
Timing mistakes often come from rushed work or advice that ignores local weather and extension research. Simple changes—like waiting for drier ground and following seasonal guidance—protect beds and plants.
Watch the signs of a bad time to work:
- Don’t dig saturated beds. If a handful of dirt stays muddy when squeezed, wait for a dry weather window.
- Avoid heavy fertilizing late in the season. Tender growth may not harden before winter and can suffer cold damage.
- Keep fall checks on the list. Skipping fall means missing the best window to lime and build organic matter for spring.
- Watering matters: Morning watering reduces disease risk compared with wet nights.
Myths vs. research-based practices
Extension research from OSU and UGA debunks several common beliefs. More fertilizer does not always equal more yield. Overapplication can harm pH balance and soil life.
Specific notes:
- Beans and squash often show leaf symptoms that look like nutrient issues; confirm with a lab rather than guessing.
- Not every bed needs the same mix; a universal fertilizer is rarely the best choice.
- If time gets away, prioritize high-use beds first and set a reminder to handle the rest next week.
| Mistake | Why it harms | Quick fix |
|---|---|---|
| Working wet ground | Compacts structure, stresses roots | Wait for dry weather; use a moisture squeeze test |
| Late heavy fertilizing | Promotes tender growth that freezes | Finish feeding by early fall; follow extension rates |
| Skipping fall action | Missed lime and OM build time | Collect samples in fall and plan amendments |
“Avoid pushing late-season growth; amendments need time to work before hard freezes.”
Conclusion
Plan two anchor windows—late winter/early spring and post-harvest in fall—to give amendments time to work and crops a better start. Build a simple yearly rhythm with lab turnaround in mind so seeds and seedlings get clear guidance before planting.
Use your USDA zone, local frost patterns, and Extension advice to set those days. In many regions, March is a useful spring check; UGA notes lime in fall helps the next year.
Match results to crop families: tomatoes and beans need steady nitrogen, roots like carrots, onions, and potatoes want balanced feeding, and cabbage or lettuce prefer steady pH. Keep seed catalogs and a short bed log to plan rotations and watering.
Finish beds with a light layer of mulch or leaves, sow a quick cover if fall arrives early, and note which flowers and vegetables thrived. With calm planning and Extension guidance, the garden improves year after year.