![How to Fix Uneven Drip Flow in 4×8 Beds [Troubleshooting]](https://thegardenhaven.com/wp-content/uploads/2026/02/how-to-fix-uneven-drip-flow-in-4x8-beds-troubleshooting.jpeg)
I know the sting of finding half your raised garden thriving while the far side looks wilted. That tug in the chest comes from caring for plants and feeling like something unseen is stealing their chance.
This short guide walks you through a calm, step-by-step path to restore even water delivery across a standard 4×8 bed. You’ll learn simple tests, common causes, and quick remedies that don’t need fancy tools.
Start ready: bring a cup, a marker flag, a phone or timer, and optionally a garden hose for mapping output. Expect to check pressure, clear clogs, tidy layout mistakes, and inspect slope or leaks.
Picture this: the first few feet soak well while the last 8 feet stay dry, even when you run the system the same way every time. That exact scene is what this guide targets.
Key Takeaways
- Simple tests reveal where pressure or clog issues start.
- Small layout fixes often rebalance water to the whole bed.
- Raised garden beds dry faster, so timely checks matter.
- Bring basic tools and a calm, observational approach.
- By the end, you’ll know how to measure output and keep moisture steady.
Uneven Drip Flow in a 4×8 Bed: What It Looks Like and Why It Matters
Uneven watering shows up as uneven growth—one end of the bed looks lush while the other stalls. In raised beds, that contrast appears faster because the soil profile dries more quickly, especially at the surface.
A quick scan of the bed often reveals the exact spots where watering is uneven. Look for visual clues before making changes.
Plant signs to watch
Wilting, pale leaves, blossom drop, or one row maturing days earlier are classic signals. Walk the garden slowly and note which plants struggle most.
Weak plants near the tail of a run often point to reduced delivery or blocked outlets.
Soil, moisture, and mulch clues
Top soil that looks crusty in one zone but dark and damp nearby shows variable moisture. A simple finger test at the same depth along the 8-foot span confirms this.
Mulch that is dusty-light in one corner but darker near the header gives an immediate visual map of wet and dry areas.
| Visible Sign | Likely Cause | Quick Check | Next Step |
|---|---|---|---|
| One row wilting | Lower output at tail | Run a timed cup test | Compare emitters, then adjust |
| Crusty topsoil | Surface drying faster | Finger test at 2–4 inches | Check run time and mulch depth |
| Patchy dark mulch | Local leak or heavy wetting | Lift mulch and feel root zone | Inspect fittings and line |
| Wet surface, dry roots | Leak or shallow wetting | Probe root zone with a stick | Repair leak or reroute emitters |
Uneven root-zone water reduces nutrient uptake and raises stress on weak plants. The goal is a consistent wetting pattern across the entire bed, so every plant gets similar water access.
Before changing hardware, confirm simple setup variables so you do not chase the wrong problem. For a clear primer on system basics, see this drip irrigation setup guide.

Quick Safety and Setup Checks Before You Troubleshoot
Most “uneven drip” problems come from simple setup mismatches—wrong run time, inconsistent source pressure, or mixed component types. A five-minute check saves you from re-laying lines that are not actually the issue.
Confirm your water source, spigot position, and run time
Safety first: turn the spigot off before disconnecting fittings and relieve pressure so tubing cannot whip or spray soil into eyes.
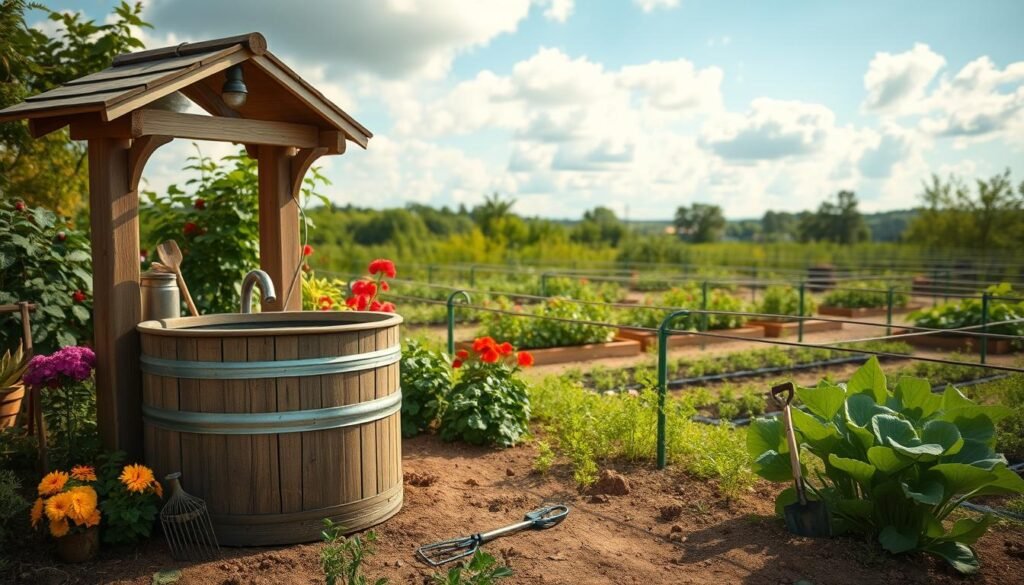
Check the water source details: city supply or a well, plus any filter or regulator on the line. Note if household use occurs during irrigation; shared demand can drop pressure and shorten run time effectiveness.
Verify the spigot is fully open and the timer shows the intended run time. Many timers ramp or shorten cycles; ensure the cycle length lets water soak rather than puddle at the surface.
Identify whether you’re using drip line, emitters, or a soaker hose
Confirm the delivery type: built-in dripline, individual emitters on 1/4″ line, or a soaker hose. Each behaves differently with distance, bends, and pressure.
Choice mistake to watch: mixing soaker sections and emitter sections on the same irrigation zone often causes unpredictable distribution.
Do a quick component inventory: count beds and branches sharing the system. Once you know your source, what runs, and how long, you can map routing and spot restrictions fast.
Map Your System in the Bed for Fast Diagnosis
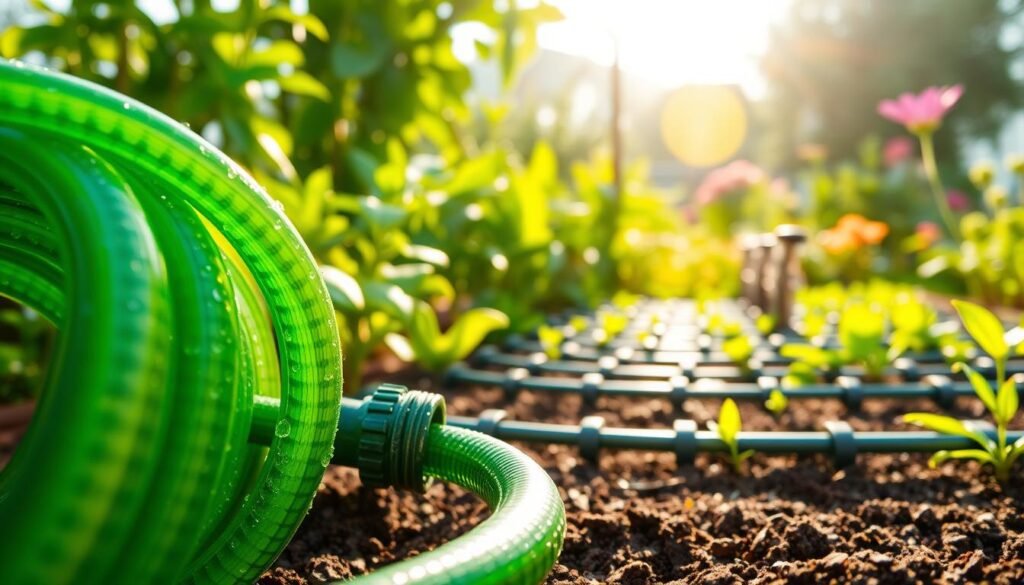
A fast map turns “mystery dry spots” into a clear pattern you can fix. Using a garden hose to mock the routing helps you see kinks, tight corners, and uneven spacing before you pull lines out of mulch.
Lay out a test path on the ground with a soft, flexible hose. Pull back mulch, trace the existing line, and place the garden hose where the final tubing will sit.
Watch for tight bends and crowded rows that could throttle delivery along the run. Mark corners, tees, and sharp turns with small flags so you can return with tools.
Note which plants dry first and whether that always happens on the same side or the same final feet of the run. Over eight feet, small restrictions add up; the tail often shows stress first.
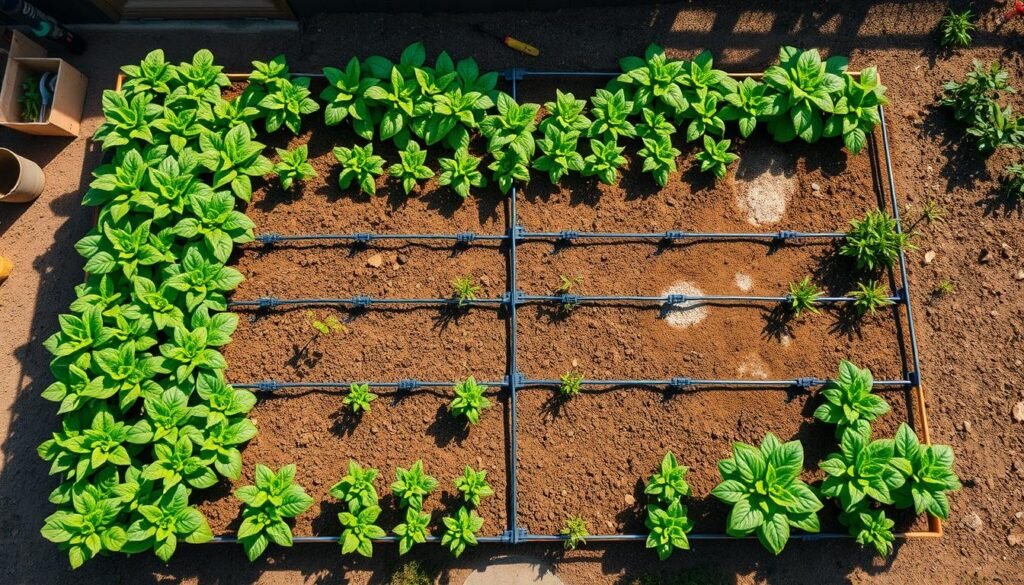
Document the shape of the layout — serpentine, straight runs, or a loop — and record where the supply enters the bed. Check spacing consistency: denser emitter spacing looks greener even if the system is healthy.
“A clean mock-up saves work later and reveals the weak points your eyes might miss.”
Pressure Problems: The Most Common Cause of Uneven Water Distribution
Pressure is the engine behind every drip setup—too low and the tail end starves, too high and the system behaves erratically. Once pressure is stable and matched to your components, even watering becomes much easier to achieve.
Pressure often hides behind normal-looking lines, quietly starving the farthest plants.
What low pressure looks like
Low pressure shows as strong output near the header and weak or no output at the end of the line. Runs take much longer to wet the same root zone. Plants nearest the supply look lush while the last few feet lag behind.
What high pressure causes
Too much PSI makes parts fail. Fittings pop, micro-tubing whips, and emitters spray instead of metering drops. Output becomes inconsistent from one run to the next, and wear on parts accelerates.
Regulators and matching PSI
A pressure regulator keeps inlet PSI in the range your drip irrigation parts expect. That stabilizes output across the bed and reduces surprise blowouts.
Long runs, split zones, and routing loss
Splitting a single supply across many beds or long runs drops pressure at the far end. Every fitting and extra foot of tubing adds loss; even a few tight turns cut useful pressure on the last feet.
- Decision path: stabilize inlet pressure, trim branching, then consider looping or splitting runs.
- Longevity: steady PSI reduces leaks and helps parts last years.
If inlet pressure checks out, the next likely culprit is clogging from sediment and debris.
For a practical example of a compact setup that holds pressure well, see this compact drip system guide.
Clogs and Sediment: Fixing Blocked Emitters and Drip Line
Clogs often build quietly until one section of the bed starts drying out. A quick flush and a simple filter check can restore even delivery without changing your layout.
Small grit and old scale often hide near fittings until one corner of the garden goes thirsty.
Dirty source water and missing filtration
Dirty source water shows up as strong output near the inlet and weak drops downstream. Look for grit in end caps, cloudy water on first start, or the same emitters failing across the system.
Flushing the line and clearing end-of-line blockages
- Shut off the supply and relieve pressure.
- Open the end of the line and run water to purge debris.
- Capture flush water in a bucket or on a path so sediment does not return to the soil.
- Recap the line and test output along the run.
Cleaning or replacing emitters without redesign
Swap clogged emitters first rather than rebuilding the layout. Keep spares on hand for mid-season fixes. If blockages repeat, you may need a finer filter; small upgrades can add years to parts life.
Simply add a monthly filter check during hot months. If the line runs clear but patches still dry, layout mistakes inside a 4×8 are often the next place to look.
Layout Mistakes in 4×8 Beds That Create Dry Spots and Flooded Spots
Small placement errors in tubing and emitters create big differences across an eight-foot run. Even with perfect pressure, a lopsided layout can overwater one area and underdeliver to another.
Uneven spacing between rows and plants
Uneven spacing and plant clusters
When spacing favors one side, that zone gets more water per square foot. Re-center lines or move emitters so coverage is uniform across the bed.
Clustered heavy feeders near the header can hide delivery problems. Spread thirsty plants evenly so the whole garden receives fair service.
Header-heavy emitter placement
Too many emitters near the supply starve the tail. Balance emitter count and meter rates along the run for steady output across the bed.
Line shape, sharp turns, and kinks
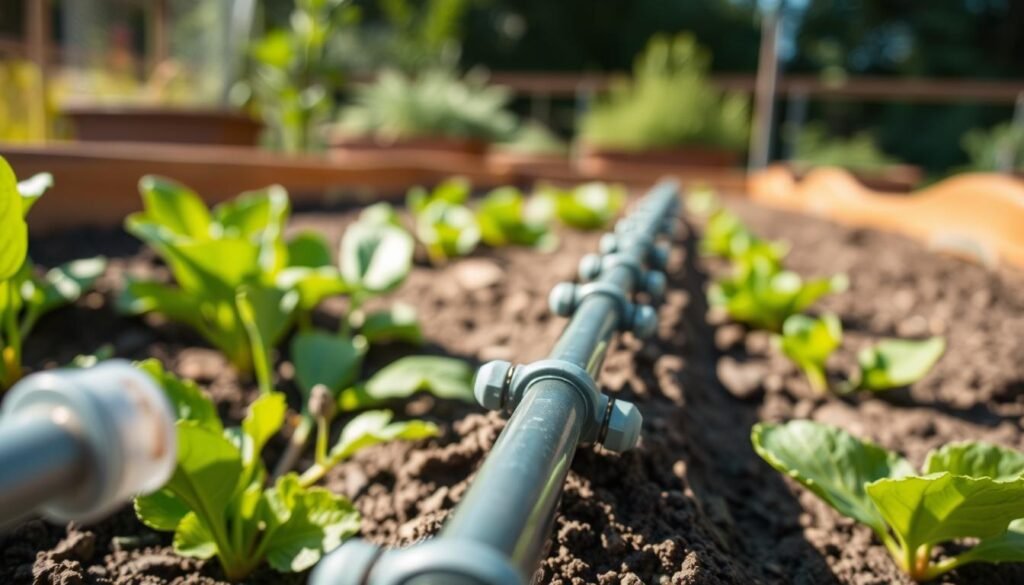
Tight U-turns and pinched tubing cut flow like a bent straw. Look for flattened line under mulch, pinches at corners, and tubing forced around stakes or stones.
Keep runs parallel to rows and make turns gradual. That alignment protects consistent delivery and matches irrigation geometry with planting geometry.
| Problem | Visual Clue | Likely Cause | Quick Fix |
|---|---|---|---|
| Side overwatered | Darker soil one side | Closer spacing of emitters | Re-space emitters, recenter lines |
| Far end dry | Wilting near tail | Too many emitters at header | Rebalance emitters along run |
| Poor output | Flattened or kinked tubing | Sharp turns, pinches | Straighten line, add gentle curves |
| Masked problem | Thirsty plants grouped | Plant clustering near supply | Redistribute plants by need |
“Match your tubing geometry to planting rows and the system will reward you with steady coverage.”
Now that you can spot layout faults, move on to the hands-on tests and adjustments that confirm improvement.
How to Fix Uneven Drip Flow in 4×8 Beds [Troubleshooting]
You fix uneven drip flow by measuring what’s actually happening, then making one targeted adjustment at a time. A simple cup test and a few smart layout tweaks can dramatically improve water distribution across an 8-foot bed.
Measure before you mend: a quick collection test reveals where the system actually falls short. Start small, change one variable, and re-test. That clear loop of measure-adjust-test saves time and parts.
Run a simple “cup test”
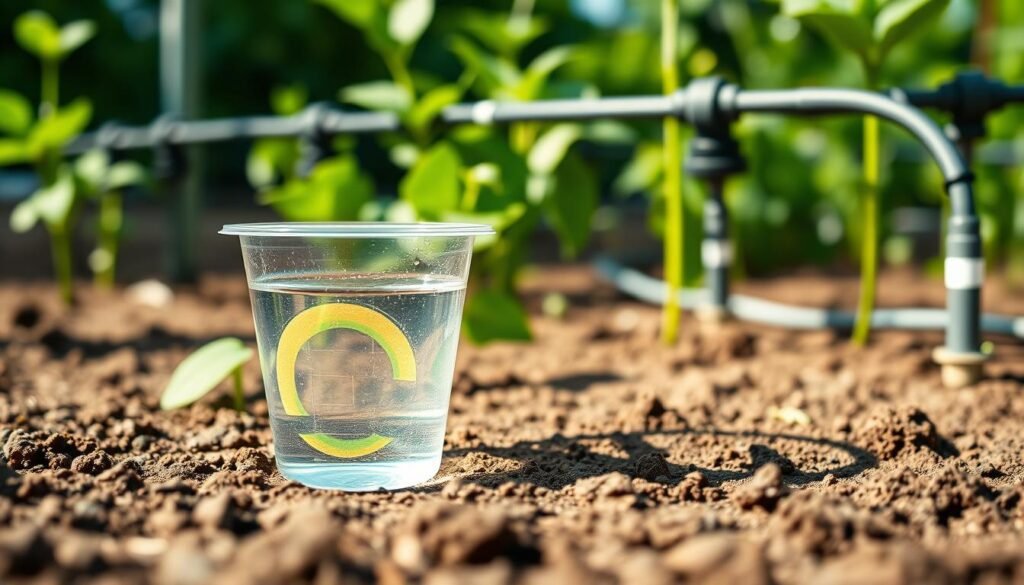
Place identical cups at the start, middle, and end of the run, and add a cup across rows if coverage varies. Run the system for a fixed time and compare volumes.
If the tail collects less, suspect pressure loss or a restriction; if one side over-collects, look at spacing or a leak feeding that zone.
Rebalance spacing and swap emitter rates
Move emitters to even out coverage. Use lower-rate heads near the header and higher-rate units toward the tail rather than just adding runtime. That keeps the soil uniformly moist without puddling.
Add a loop or split the run
Reroute the line into a loop so water feeds from two directions across the 8 feet. If a long serpentine still lags, split it into two shorter runs fed from a tee for steadier pressure.
Rebuild connections and seal leaks
Reseat barbed fittings, replace cracked couplers, and cap open ends. Small leaks steal pressure and upset water distribution — fixing them often restores balance fast.
Keep changes simple: simply add one improvement, run the cup test again, and confirm results before the next tweak. The right way is the one that creates consistent moisture for every plant, not the fanciest setup.
Leaks, Loose Fittings, and Hidden Line Breaks in Mulch or Soil
Hidden leaks can make one area soggy while the rest of the bed stays dry. Once you find and seal the break, your system’s flow usually evens out immediately.
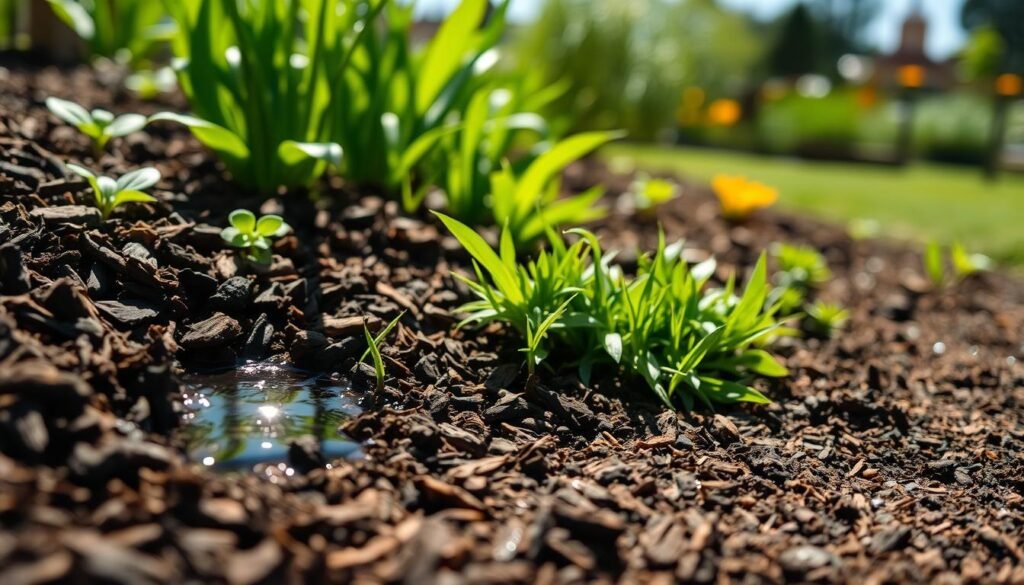
A soggy island in an otherwise dry bed usually points to a damaged tube beneath the mulch. Walk the garden while the system runs and watch for bubbling or unusually fast-wetting zones under the mulch.
Can you feel a slow leak?
Gently press the ground. A soft spot under dry mulch often signals a slow leak soaking the soil below. Follow that spot to the nearest length of line and expose the tubing.
“A single tiny puncture can steal pressure and shorten the reach of every emitter downstream.”
| Symptom | Detection | Repair | Follow-up |
|---|---|---|---|
| Soggy patch | Press ground under mulch | Expose line, cut damaged piece, add coupler | Run system and re-check for wet spots |
| Wet surface only | Probe root zone for moisture | Reseat fittings, replace cracked couplers | Confirm downstream output improves |
| Recurring punctures | Inspect edging and stones | Move tubing, add protective barrier | Reapply mulch with care |
Repair steps: expose the line, remove the damaged segment, insert a coupler, and re-bury with a clear path so the tubing does not rub on sharp edges.
Restore the barrier: keep tubing away from stakes and stones and add a thin protective strip where it crosses hard edges. Reapply a 2–3 inch layer organic mulch but keep mulch a couple inches from plant stems to prevent rot.
After repairs, run the system and confirm no new wet spots appear and downstream output improves.
For guidance on components that help prevent repeats, see choosing the right parts.
Elevation, Slopes, and Bed Position: When Gravity Is the Culprit
Even a slight slope can shift how water moves through a bed and along your tubing. When gravity is involved, contour-friendly routing keeps irrigation steady and prevents runoff.
A slight tilt across the planting area often changes where water collects and where it runs off.
Why a small grade matters
Plain physics: water follows gravity. Downhill sections may saturate faster while uphill spots receive less pressure and less wetting. Identical emitters can show different output along the same run, creating an uneven flow across the garden.
Quick grade check and routing tips
Lay a straight board across the bed and place a small level or phone level on it. If one side sits lower, note how many feet drop and where.
- Run tubing along the contour when possible so each segment stays near the same elevation.
- Use gentle curves rather than long downhill runs that concentrate wetting.
When terracing or reshaping helps
If the surrounding ground slopes, build small level zones or steps. Terracing slows runoff, holds moisture, and stabilizes seedlings.
| Issue | Simple test | Practical fix |
|---|---|---|
| Wet lower edge | Board + level shows drop | Route along contour; add short terrace |
| Dry upper zone | Measure drop across feet | Loop line or split run uphill |
| Runoff after rain | Observe water path | Install small berms or steps |
Soil, Compost, and Drainage: When the Water Is Fine but the Moisture Isn’t
Sometimes irrigation is delivering water evenly, but the soil doesn’t hold or spread that moisture evenly. Improving soil structure with compost helps water move through the root zone more predictably.
Feel the soil with a finger after a run; it often tells a different story than the surface does.
Texture and surface effects on spread
Sandy soil sheds water quickly and may need closer emitter spacing so roots get enough. Clay-heavy mixes can cause surface runoff or create narrow channels where water bypasses roots.
Wet spot, dry root — a common trap
The surface can look damp while the root zone stays dry. Compacted patches stop lateral movement and leave nearby plants thirsty.
Quick root-zone check
Dig a small hole after irrigation and note how deep and wide moisture reaches. Do this at several spots along the bed to map trouble points.
Compost stabilizes structure. Adding quality compost improves aggregation, boosts drainage where needed, and increases water retention where it’s too fast.
In a raised garden, wind and warmth speed drying, so soil quality is part of irrigation troubleshooting. Stressed plants often point out mix faults faster than any gauge.
Action plan: amend in thin layers across the season, avoid heavy mid-season mixing near roots, and retest the root zone after each tweak.
“Better soil spreads the benefit of every drop — and keeps plants steady through heat and wind.”
| Issue | Sign | Simple check | Fix |
|---|---|---|---|
| Too sandy | Fast drain, dry roots | Probe root zone | Add compost, increase emitter density |
| Too clayey | Surface pooling, channeling | Observe lateral spread | Lighten mix with compost, break crusts |
| Compacted patches | Dry near roots, damp surface | Dig inspection hole | Loosen gently, top-dress with compost |
Mulch Strategy to Even Out Moisture After You Fix the Drip
Once your drip output is even, mulch helps you keep it that way by slowing evaporation and smoothing out day-to-day swings. The right mulch depth protects soil moisture without smothering stems.
Apply mulch only after you confirm the system is working—this prevents hiding leaks or kinks under fresh material.
Exact depth and placement
Maintain a 2–3 inch layer organic mulch across the bed. This depth reduces evaporation and keeps the top soil from crusting while letting water reach roots.
Pull the mulch back a couple inches from plant crowns. That small gap prevents rot and discourages pests that like damp bases.
Material choices and timing
Use shredded leaves, straw, or bark—materials that break down cleanly into the soil. Match the choice to your garden style and what’s locally available.
Apply after you’ve run tests and repairs. That way you won’t conceal a problem and you’ll get accurate moisture reads under the cover.
Why mulch helps evenness and water efficiency
Mulch evens out windy or hot spots so one side of the garden won’t dry faster than another. With a steady surface blanket, you may water less often and still keep root-zone moisture steady for healthy plants.
| Action | Why it helps | Quick tip |
|---|---|---|
| 2–3 inch mulch | Slows evaporation, prevents crusting | Measure depth with a hand trowel |
| Keep clearance at stems | Reduces rot, lowers pest shelter | Leave 2 inches around crowns |
| Use natural materials | Feeds soil as it breaks down | Choose shredded leaves, straw, or bark |
“Watch moisture beneath the mulch, not just the surface, for the real picture of how your bed holds water.”
For seasonal soil-building tips that pair well with mulch, read about building healthy soil.
When to Upgrade Parts of Your Irrigation System for Consistent Results
If you keep repairing the same spots, it’s usually time for a small, smart upgrade. Better regulators, filtration, and the right delivery type can give you consistent watering for years to come.
When repeated patches fail despite repairs, a selective upgrade often ends the cycle.
Choosing components that last for years
Upgrade realistically: swap one regulator, add a filter, or change a short section of line rather than rebuild the whole system.
Select UV-stable tubing and heavy-duty fittings designed for sun and seasonal use. These parts resist cracking and last for years.
When a soaker hose is the better choice
Use a soaker hose for tight spacing, dense plantings, or where broad wetting works best. It spreads water more evenly across closely spaced rows and reduces emitter counts.
Flexible routing for easier future changes
Lay out a garden hose first to mock routes. This avoids tight turns and makes later moves simple.
Leave easy-access endpoints for flushing and a little slack so you can reroute without tearing up the bed.
| Upgrade | Best use | Impact |
|---|---|---|
| Pressure regulator | Long runs, mixed zones | Stabilizes output across the system |
| Finer filter | Dirty source water | Reduces clogs and saves emitters |
| Soaker hose | Tight spacing, broad wetting | Simplifies coverage and lowers maintenance |
| UV-stable tubing | Hot landscape exposure | Fewer mid-season failures |
“A small, durable upgrade often gives more consistent results than repeated patchwork.”
For an efficient water-saving setup that complements upgrades, see this greenhouse rain barrel system.
Maintenance Schedule to Prevent Uneven Flow Over Time
A simple maintenance rhythm prevents most uneven-flow problems before they start. Regular flushing, quick pressure checks, and seasonal shutdown steps protect your system and extend its life.
Routine attention every few weeks keeps pressure steady and lines clear. A small checklist at season start, mid-season, and year end saves time and parts. Treat your raised garden like a living system—regular care keeps it reliable for years.
Seasonal flushing, filter checks, and pressure verification
- Start-of-season: confirm source water is clean, verify the regulator, and run the zone while watching for weak spots.
- Flush the line at season open and again mid-season if you see reduced flow or new dry patches.
- Check filters on a set time interval and confirm stable pressure so end-of-line output stays steady.
Mid-season walkthroughs to catch changes as plants fill in
Do a short walk every couple weeks. Plants, stakes, and mulch move with growth; lines kink or hide leaks quickly. Keep a garden hose handy for spot checks, rinsing filters, or briefly re-routing a run for testing.
End-of-season winterizing tips for U.S. climates
Before freezes, drain and disconnect lines and timers where needed. Store sensitive parts indoors and cap open ends to block insects and debris. Maintain the tubing-to-bed barrier so edges do not rub and cause punctures next season.
“A small schedule now is the easiest way to keep steady performance for years and years come.”
For guidance on matching regulator settings and PSI to your layout, see this garden grid PSI guide.
Conclusion
Even drip flow is absolutely achievable in a 4×8 bed when you test, map, and adjust with intention. Small fixes—pressure control, clean lines, and smart layout—create healthier plants and calmer watering all season.
Quick recap: confirm setup and source → map the line path → check pressure → flush clogs → fix layout → repair leaks → consider slope and soil behavior → lock results with mulch.
Measure first. Run the cup test, make one change, then watch how the garden responds. Healthier plants and steadier soil moisture are your proof that the drip and flow are balanced.
For long-term stability, keep a sensible routing shape, maintain a 2–3 inch mulch layer, and simply add a monthly check of pressure and visible leaks. If you rebuild a border, pick durable material like treated wood that won’t pinch tubing as the ground settles and makes service easier.