
I remember the first summer my garden looked tired. Morning visits revealed weak emitters and brown edges where lush growth had once been. I felt the worry every gardener knows: you care, but the system seems to fail you.
Flushing is a simple preventive step for a healthy drip irrigation system. It means pushing a stronger stream of water through tubing to clear sediment before it clogs emitters. Many homeowners avoid frequent disassembly by adding a dedicated flush point or using a flush-style cap.
This guide is written for U.S. home gardeners who want clear, calm fixes for low flow, dry far ends, and weak drippers. We’ll check pressure (commonly ≤ 40 PSI), add an accessible flush point, and verify filtration. Gather a pressure gauge, spare washers, a clean bucket, and a replacement filter screen.
Stay steady and methodical: most clogs clear with a calm, step-by-step approach. You’ll know it’s working when flow evens out along the line.
Key Takeaways
- You can often purge debris by adding a flush point or using a flush-style cap.
- Flushing moves a higher-volume stream of water through tubing to carry out sediment.
- This guide targets U.S. home gardeners fixing low flow and weak emitters.
- Check pressure first—home systems usually run at ≤ 40 PSI.
- Bring a pressure gauge, spare washers, a bucket, and a filter screen.
- Follow a calm, stepwise flow: spot symptoms → pre-checks → no-end-cap flushing → verify filtration.
Why drip irrigation lines clog and how to spot the symptoms fast
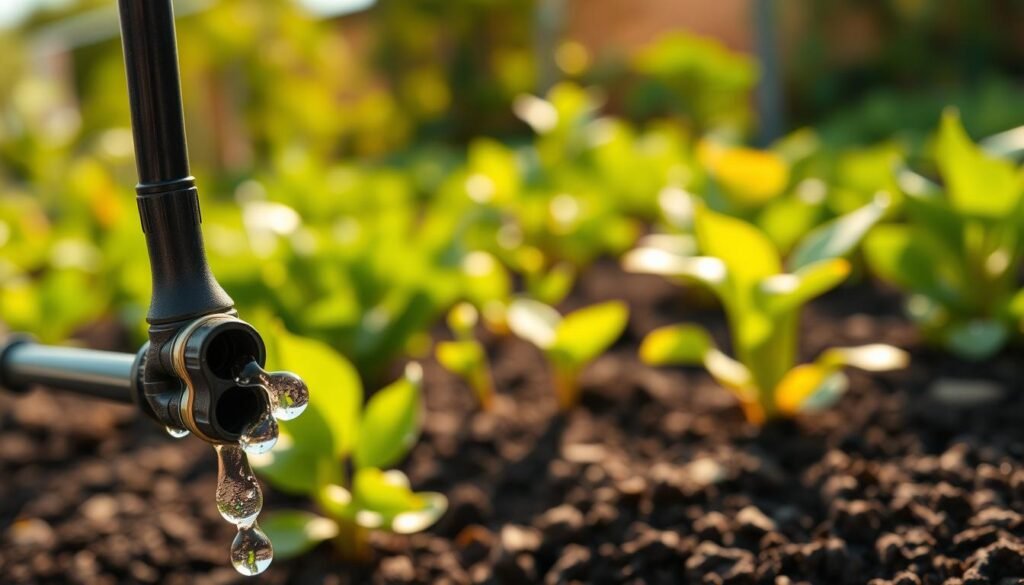
Tiny clogs in tubing can turn a thriving bed into a patch of thirsty plants overnight. If you watch one emitter bubble while the next stays dry, your system is telling a clear story.
Common causes hide in plain sight:
- Sediment that slips past a tired filter and settles in small passages.
- Algae and biofilm that grow inside tubing in warm, sunlit runs.
- Mineral buildup from hard water and fertilizers that narrows emitter openings.
Quick garden-walk checks
Look for green plants near the supply and stressed ones at the end of a long line. That classic “dry at the end” pattern points to tube clogs or trapped debris.
Red flags you can spot in minutes: uneven flow, drippers that spurt rather than drip, puddles at one point while other spots stay dry, and sections that seem under-watered.
When clogs mimic pressure problems
Partial blockages make output random; low pressure reduces watering everywhere. If the whole irrigation system runs weak, suspect the filter, regulator, or supply. If only one run falters, check emitters, debris pockets, or a kink.
Remember: issues often stack. A dirty filter lowers velocity, which lets more sediment settle in tubing and worsens clogs over time.
Pre-checks before you open a service point (avoid blowoffs and leaks)
Before opening any service point, take a quick safety check so a sudden surge doesn’t send tubing flying. This keeps the job controlled and prevents messy leaks.
Verify pressure and regulation
Start by reading supply pressure with a gauge at a convenient test port. Many home systems must stay at or below ≤ 40 PSI for safe operation.
Confirm the pressure regulator is working and set correctly. If drippers pop out or flow is erratic, place the gauge at the far end and compare numbers.
If water issues appear at the regulator’s relief hole, rinse debris from under the washer, check installation order around timers and valves, and consider replacement if output still drifts.
Inspect the head assembly components
Remove and rinse filter screens first — a clogged filter can mimic a blocked tube by creating a pressure drop.
Replace rubber washers yearly on female hose-threaded connections and hand-tighten only. Dried washers are the most common cause of persistent leaks.
Do not mix hose thread with pipe thread; mismatched fittings will leak and tape won’t fix the problem.
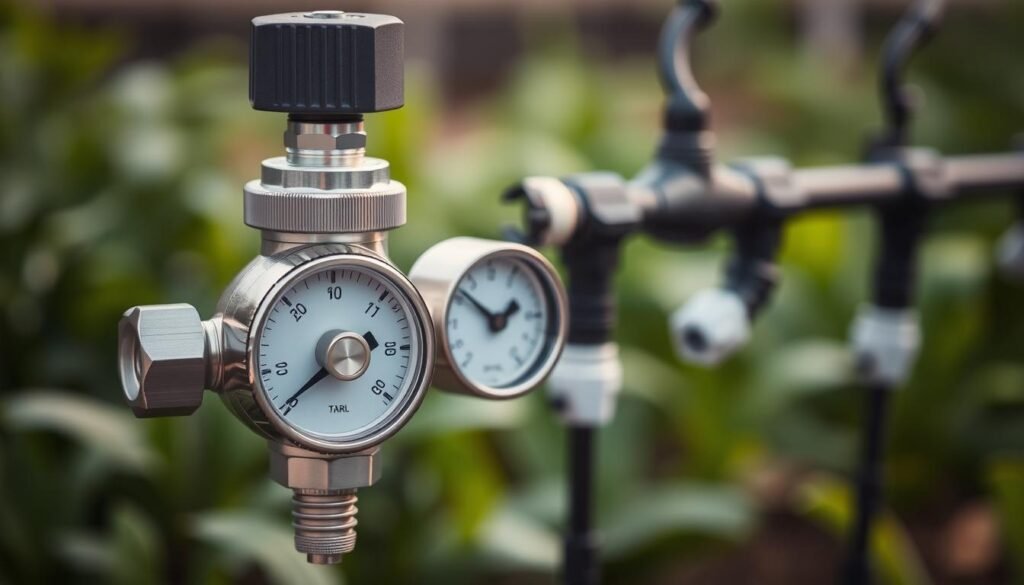
- Make sure pressure, regulator, and components are stable before any flush step.
- For extra reading on maintenance, see a quick maintenance FAQ.
- For DIY ideas on service points and seasonal checks, try this practical project guide.
how to flush drip lines without removing end caps [troubleshooting]
A simple swap at a run’s outward point saves time and keeps grit from settling in your tubing. This section shows repeatable, safe steps that restore steady flow along each run while protecting the system.
Use flush-valve caps for quick purges
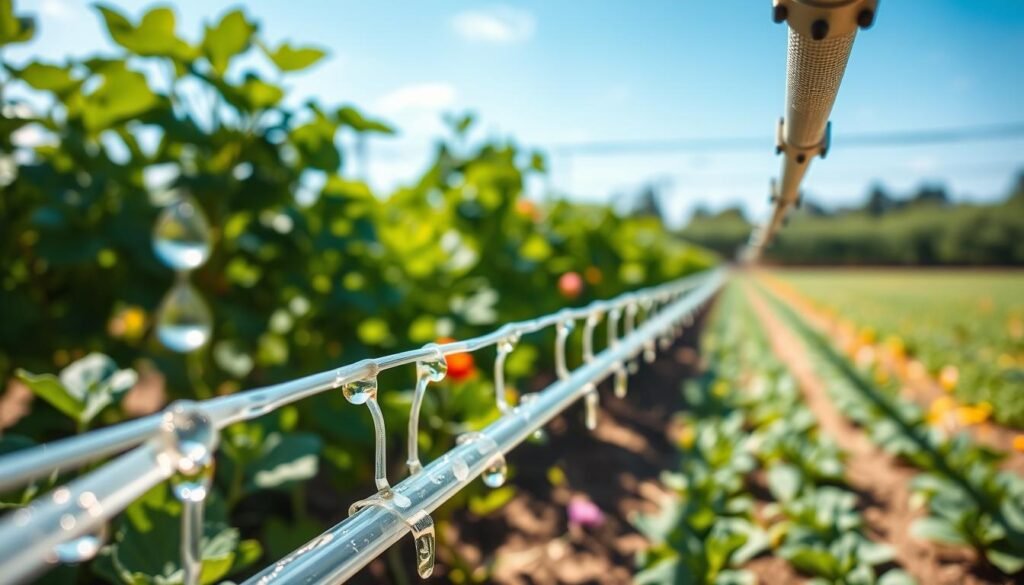
Swap a plain cap for a flush-style cap and open it briefly to purge sediment. The cap closes fast, so you avoid wrestling fittings during seasonal work.
Install an in-line service valve
Place a small valve at the run’s lowest point or far end. Gravity and velocity help carry debris out, making long beds easier to maintain.
Upstream service-point method
If the far end is buried, disconnect a coupler near the head. Run water until it clears, then reconnect. This saves digging and keeps pressure steady.
Quick zone-by-zone routine
Work one line at a time. Isolate a zone so pressure stays consistent and sediment exits the targeted tubing instead of shifting across the network.
Order and tricks that work
Clean the filter first, then purge the run. For partial blockages, backflush a suspect dripper by briefly blocking its outlet while water runs.
Hard-water recovery and timing
For calcium, use a manufacturer-approved injector solution or soak removable emitters up to 24 hours per label. Run each purge until discharge runs clear and emitters show steady output.
“Filter first, purge second — that order saves time and prevents false alarms.”
- Mini-checklist: filter cleaned → pressure stable → service point opened → run clear → spot-check emitters → log the time.
Troubleshooting low flow after flushing: filters, pressure regulators, and overloaded lines
If steady water still fails at the farthest emitters, the bottleneck often sits upstream. Check filtration, the regulator setting, and zone loading before more invasive work.
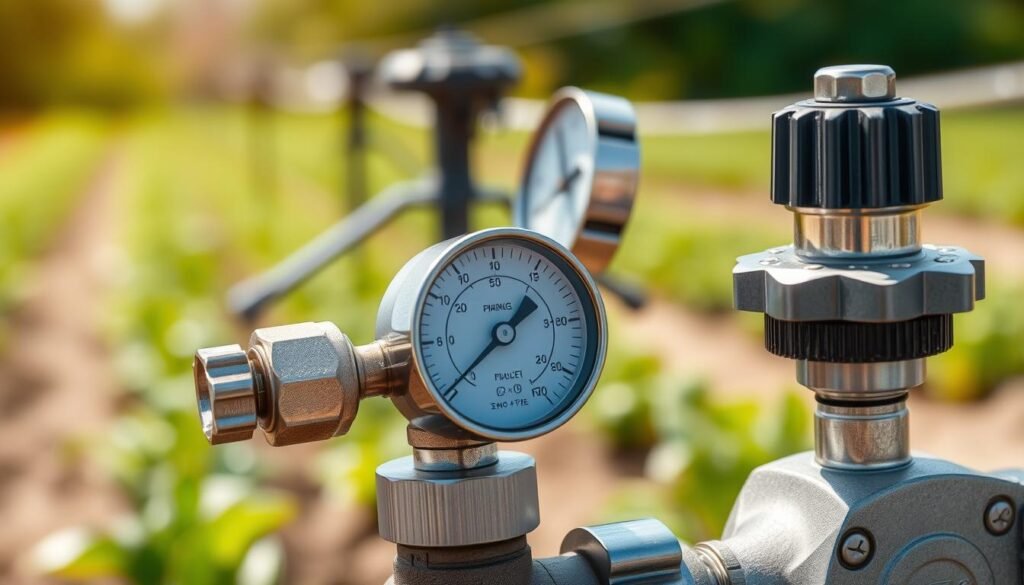
Match the mesh to the component: for an emitter system aim near 120 mesh, while tape performs better with roughly 155 mesh. If clogs repeat, move up to a practical minimum of 150 mesh.
Spotting a filter restriction
If the spigot shows strong pressure but the emitters run weak, a dirty filter or an under-sized set of filters often causes the drop. Rinse screens, then test downstream PSI with a gauge.
Audit overloaded zones
Count the GPH for all drippers and micro-sprays on one line. Many runs max out near 220 GPH; exceeding that starves the far side. Compare the total to what your irrigation supply and regulator can deliver.
Confirm the regulator
Inspect the pressure regulator for leaks at the relief hole. Clean debris under the washer, confirm the regulator holds steady while running, and verify stable pressure at operating flow. Stable flow across the run makes every emitter behave predictably across your systems.
If filtration and regulation check out but a weak far end remains, move next into emitter-level service and tubing inspection. For deeper reference, see the irrigation troubleshooting guide.
Fix the real clog points: emitters, micro tubing, and drip line restrictions
Rather than guessing, inspect emitters, micro tubing, and the main line where physical damage often stops flow. These spots are the usual culprits when purges leave output uneven. A short hands-on check will often find the exact cause and a quick fix.
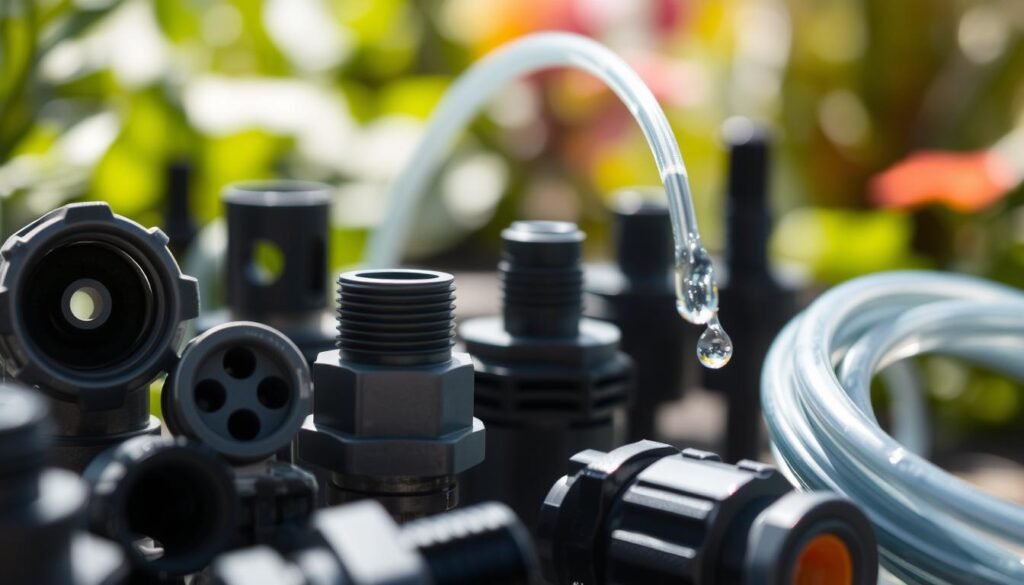
Service cleanable emitters
Shut off water, unscrew the cap, and rinse internal parts. Remove grit and keep the tiny diaphragm safe while you work. Reassemble carefully so the emitter seals and flows evenly.
Replace non-cleanable drippers and seal old holes
For 1/4″ micro tubing, trim the line and push in a fresh dripper. For 1/2″ or larger drip tubing, pull the old dripper, seal the hole with a goof plug, then punch a new hole and install the replacement.
Tip: if you need guidance on replacement parts, see a useful replacement parts guide for selection and fit.
Find and correct kinks, crushed sections, and UV cracking in runs
Inspect the main line and branches for kinks, punctures, or sun-brittle spots. Cut out damaged segments and reconnect with couplers, or bandage small nicks with poly tubing repair tape until you can splice cleanly.
Prevent slow leaks and mis-watering: rushy swaps leave tiny gaps that soak the wrong area while the intended plant stays thirsty. Tight fits at fittings and clean holes make a big difference.
“Restore a smooth pathway and downstream components stop competing for water — your garden waters evenly again.”
Finish with a quick check: run the zone, confirm the first and last emitters flow, and scan fittings for drips before you walk away. For system-wide ideas on saving water while you repair, consider this rain-barrel savings project.
Prevent repeat clogs: maintenance schedule for drip irrigation systems in the U.S.
Regular care keeps plants steady and systems reliable. A simple maintenance plan turns surprise failures into normal checks and protects beds through the season.
Peak-season cadence:
Peak-season cadence: clean filters every few weeks and walk the lines monthly
During active growth season, clean filters every 2–4 weeks. Spend minutes each visit rinsing screens and scanning tubing for kinks or UV cracking.
Walk runs monthly and note weak spots. Most checks take only a few minutes and save hours later.
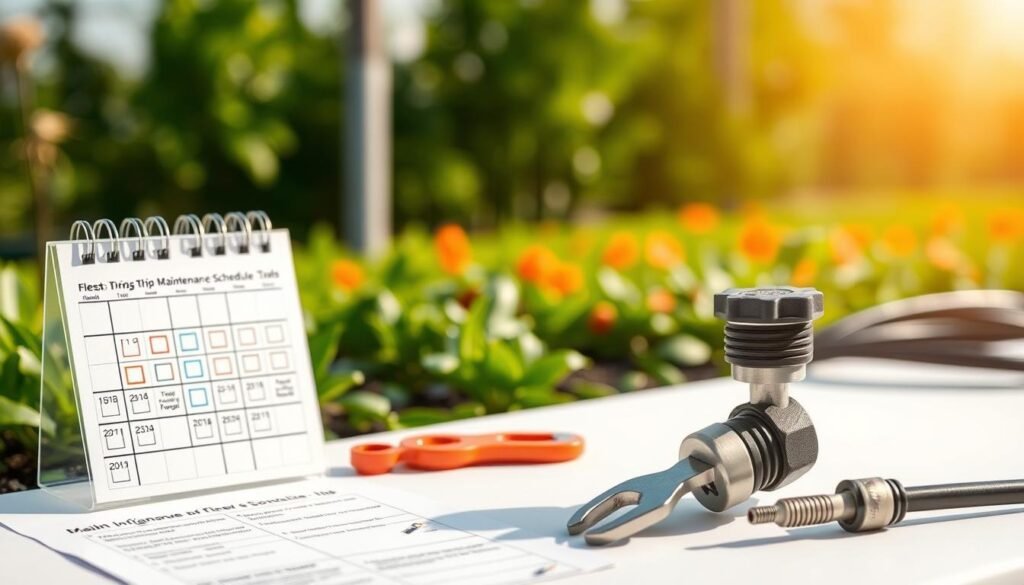
Keep spares on hand: emitters, couplers, washers, and repair tape for fast fixes
Build a small kit with extra emitters, couplers, rubber washers, and repair tape. When a part fails, a quick swap restores flow and keeps plants comfortable within a day.
Thread and tightening best practices to stop leaks at fittings
Make sure hose-thread connections use a fresh rubber washer and are hand-tightened only. Over-tightening cracks fittings and causes slow leaks.
Make sure you never mix hose thread with pipe thread; mismatched threads leak even with tape.
“Treat maintenance as plant care: a steady schedule keeps watering quiet and reliable.”
| Task | Frequency | Typical minutes |
|---|---|---|
| Clean filters / rinse screens | Every 2–4 weeks (peak season) | 10–15 |
| Walk lines and inspect tubing | Monthly | 15–30 |
| Seasonal flushing and cap check | At least once per season | 20–30 |
| Replace rubber washers (female hose-thread) | Yearly | 5 per connection |
| Winterize / drain system | Before temperatures drop below 37°F | 20–40 |
Quick checklist: flush each season, clean filters on a steady cadence, keep spares ready, and follow proper thread and tightening practice. Small minutes of care give big seasonal confidence in your drip systems.
Conclusion
Reliable watering comes from steady pressure, clean filtration, and quick spot repairs. ,
Keep pressure steady with a working regulator, clean the filter, then clear a run using a no-end-cap method that fits your layout.
That simple chain works because steady water, clear pathways, and healthy emitters carry flow from the first dripper to the last. If symptoms come back, repeat the same steps—pressure check, screen rinse, and a targeted purge—until the system behaves.
Pick one area of the yard, install a flush point, and time how long it takes to clear. Keep a few spare drippers, a short coil of tubing, and an extra washer on hand so small faults stay small.
For deeper reading on common fixes, this guide on weak drip irrigation fixes is a useful next step.