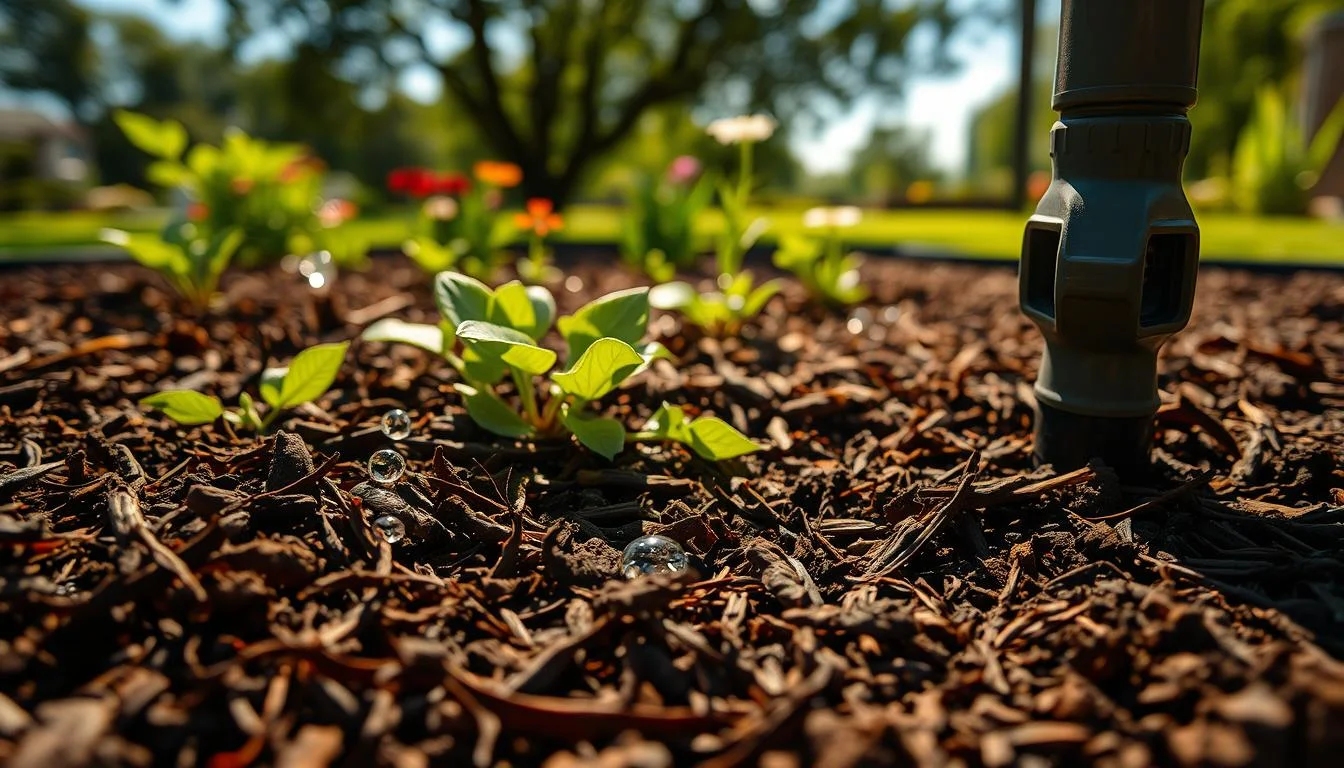
I still remember topping up the beds one spring and wondering why one corner stayed soggy no matter how much sun it got. That soft spot felt like a small mystery at first. Then I found a tiny breach in a copper line. It had been feeding water quietly for months.
This intro gives a simple flow for confirming a problem, narrowing the zone, and spotting likely pipe faults before heavy digging. You’ll get practical meter checks and listening tricks first, with pro tools as a next step.
The stakes are real: steady water can rot roots, warp floors, and raise bills. Early action often means fixing the homeowner side of the meter rather than costly repairs inside the house. Remember to call 811 before any digging and avoid disturbing big roots until you’re sure of the spot.
For a related green solution and cost-saving inspiration see greenhouse rain barrel system.
Key Takeaways
- Watch for persistently damp, “mushy” patches in beds as a first clue.
- Start with basic meter and listening tests before digging.
- Common causes include aged copper, corrosion, pressure spikes, and weak joints.
- Quick confirmation can limit landscape and indoor damage.
- Use thermal or acoustic tools if DIY steps stall; call 811 before you dig.
Why Finding a Leak Under Mulch Fast Matters
A quiet drip beneath a flower bed can cost more than you expect over a season. Small, steady water loss often shows up first on your water bill and then in ruined soil or soft spots near hardscapes.
Silent wetting usually isn’t dramatic. A slow leak soaks mulch and soil, then creeps toward foundations and slab edges. Over time that seepage raises monthly usage and invites real damage to landscaping and property.
Left alone, damp spots can start mold growth within 24–48 hours in warm, enclosed pockets near exterior walls. That quick onset risks musty odors, allergy flare-ups, and trouble if moisture reaches crawl spaces or HVAC intakes.
Concrete and slabs are vulnerable. Saturated soil can wick under edges, then cause settling, hairline cracks, or worse foundation movement. Early fixes are often simple spot repairs; delays can mean major restoration and insurance headaches.

- Paper trail: a rising water bill is often the first clue.
- Garden clue: a single extra-green strip can signal steady seepage.
- Next step: if the bill climbs and beds stay wet in dry weather, run the meter test in Section 5.
What Pinhole Leaks Are and Why They Happen in Pipes
Small holes in service lines often start unseen and widen from chemical and physical stress. Knowing the root causes helps you pick the right repair and avoid repeat work.
What happens inside matters as much as the wet soil outside.
Pitting corrosion and aggressive water chemistry
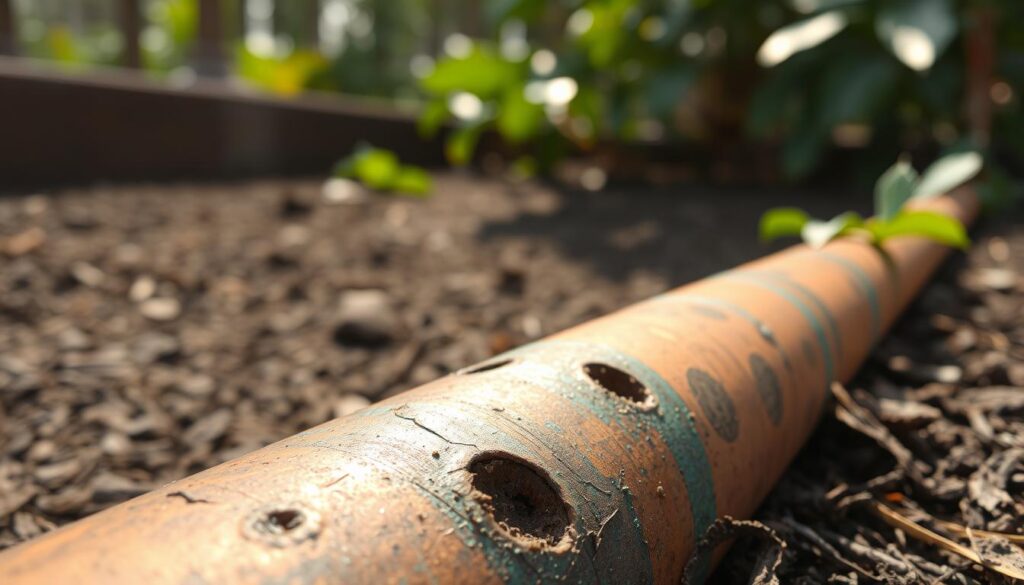
Pitting corrosion creates tiny pits in copper that eat through a pipe over months. Low pH, dissolved chlorine, and poor water quality speed this attack. The result is a slow wet spot that keeps mulch damp.
Galvanic action where dissimilar materials meet
When copper touches steel or iron with water as the electrolyte, the junction corrodes faster. These contact points at fittings and transitions often fail first.
Pressure, age, and poor installation
High steady pressure and sudden transients strain metal and joints. Time, soil movement, stray electrical currents, and weak installation practices raise failure risk. Outdoor tie-ins for irrigation or hose bibbs are common trouble spots.
For a deeper primer on slab and line damage, see this slab leaks basics.
Signs of Hidden Water Leaks You Can Spot Outdoors
Your yard often “tells on” a leak before your house does. Watch for wet spots that don’t match the weather and pair those clues with indoor changes like low pressure or rusty water.
Small visual cues make big differences.
Unusually wet spots and persistent moisture: Dark, cool mulch that stays soggy, a sour smell, or a sudden rise in fungus gnats are classic signs. Feel the soil—if the top looks dry but the lower layer is damp, water is moving below the surface.
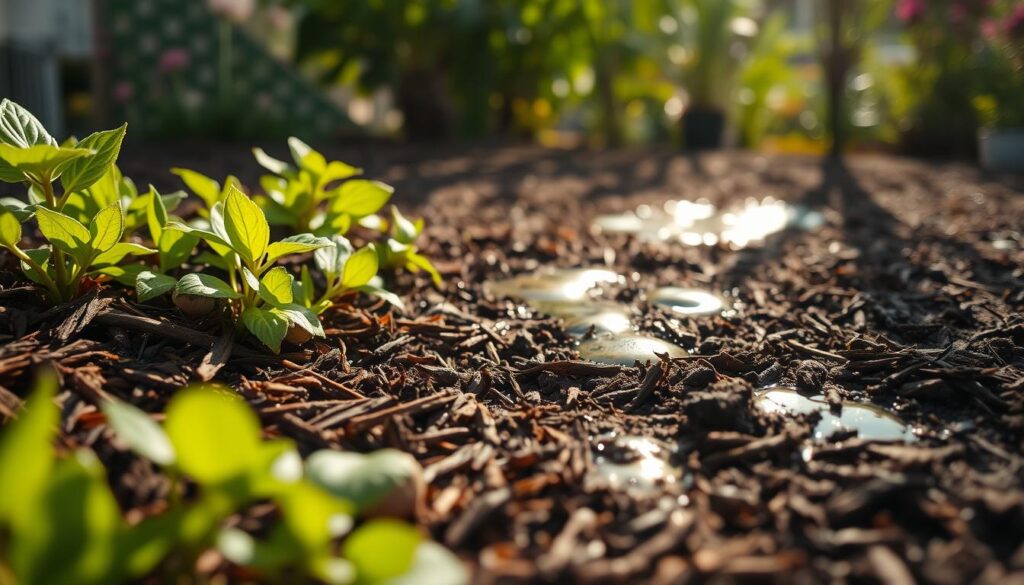
- Pooling and saturation: Water follows low points and can keep the bottom mulch layer soaked even after the top dries.
- Greener stripes: One lush strip of lawn or an overgrown shrub patch may be getting fed from a slow pipe flow.
- Ground failure: Potholes, sinkholes, or soft spots form where soil washes away around a pipe run.
- Hardscape cracks: New cracks in walkways, driveways, or near a slab often mean ongoing saturation and movement.
- Indoor clues: Reduced pressure at fixtures or rusty, dirty water can point back to a corroding pipe or a line issue near the home.
Quick checklist: note any odd spots, mark them, then compare with your next water bill and fixture pressure. If you want a garden-focused recovery tip after damage from too much water, see this emergency recovery guide.
how to find hidden pinhole leaks under mulch [troubleshooting]
Begin with a clear confirmation step and then narrow the search in small stages. Move from a whole-home check to gentle bed-level inspection so you protect roots and limit digging.
Start with the water meter test
Begin with a quiet test that proves whether water is moving when everything is off.
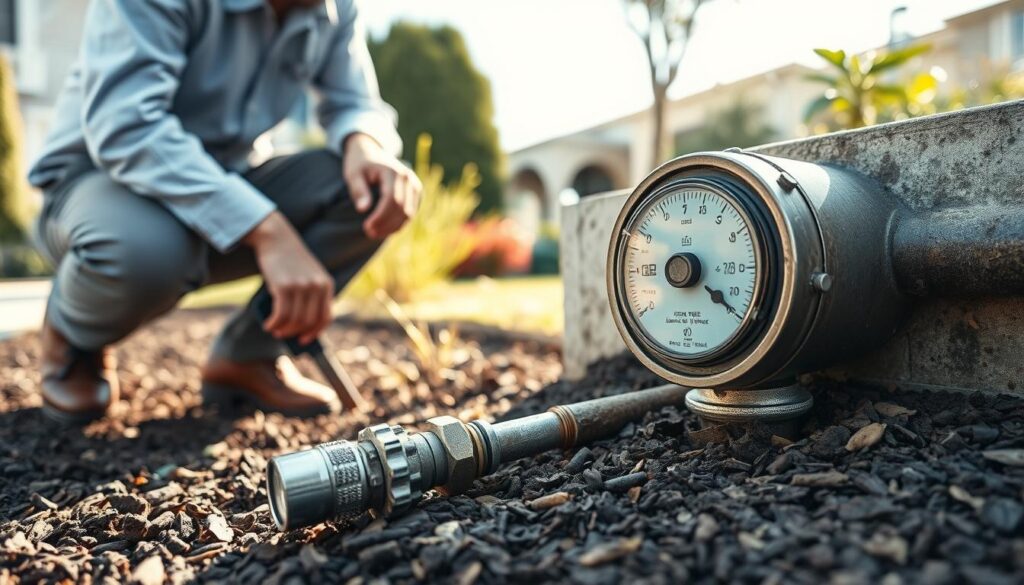
Shut off all indoor and outdoor taps and irrigation. Watch the water meter for movement over 10–20 minutes. If the dial spins, you have a confirmed leak somewhere on the service.
Shutoff and isolation checks
Close the main valve, then reopen branch valves one at a time. This tells you if the issue sits on an irrigation line, a hose bibb, or the main feed to the home.
Use temperature tracking and gentle probing
Early mornings reveal cool, damp bands; warm patches can hint at hot-line failures near a slab or wall. Pull back small mulch sections with a trowel edge and check the lower layer without tearing roots.
Listening and marking
Choose a quiet time and press an ear or a simple stethoscope near suspect spots and exterior walls. If you hear steady hissing or dripping, mark the band with flags and follow confirmation steps later. For garden water management ideas, read this garden water guide and a practical DIY drip system.
DIY Leak Detection Tools That Help Pinpoint Moisture
Small, affordable gear can map wet zones and guide careful repairs. Use the right tools to compare spots rather than to deliver absolute proof.
A handheld moisture meter is the fastest way to map damp areas across a bed. Take readings in a grid, record higher numbers, and sketch a simple map. These relative readings reveal patterns that match where pipes usually run.

Using a handheld meter to map damp areas
Work in morning coolness for best contrast. Measure each square in a grid and note readings beside flags.
Compare numbers rather than relying on a single spot. Meters differ by depth and material, so use them for relative moisture detection, not final proof.
Simple inspection tools for beds and fixtures
- Basic kit: gloves, headlamp, trowel, small rake, flags, and a bucket for mulch.
- Check hose bibbs and vacuum breakers at the wall for wet soil just below the connection.
- Inspect irrigation valve boxes and backflow devices; transition fittings often show leaks first.
- Try a dry-day test: skip watering for 48 hours. If the same areas stay wet, that strengthens the leak hypothesis.
Once you outline the wettest zone, you’re ready for focused confirmation and a repair plan. Mark flagged areas and move on to confirm location tools in the next sections.
Advanced Leak Detection Methods Pros Use (Thermal Imaging and More)
Professionals use layered tools to pinpoint a problem with minimal digging and plant damage. Combining thermal imaging, acoustic gear, video cameras, and pressure testing gives clear, confirmable results before any trenching begins.

Thermal imaging cameras and surface temperature clues
Infrared imaging reveals cold bands where moisture cools the soil surface. Pros scan beds and hardscapes with thermal cameras to map likely wet zones quickly. Cold spots often match wet paths along pipe runs and around foundations.
Acoustic listening devices and ground probes
Sensitive listening devices amplify water noise beneath soil. Ground probes help technicians move along the line and note the loudest point. These devices work well for buried pipes under patios or deep beds.
Video inspection cameras for inside the pipe
Small, flexible cameras feed live images from inside a pipe. They reveal corrosion, cracks, and pinhole damage without guessing. When access exists at a cleanout or valve box, a camera cut inspection time and excavation.
Pressure testing for isolated segments
Technicians isolate a section, raise system pressure, and watch for drops. A sustained pressure loss pinpoints which segment holds the problem. Combining this with imaging and listening confirms the exact spot.
| Method | What it detects | Best use |
|---|---|---|
| Thermal imaging | Surface cold/wet patterns | Wide-area scans near slabs and beds |
| Acoustic devices | Sound of water escaping | Buried lines under hardscapes |
| Video cameras | Corrosion, cracks, pinhole damage | Accessible interior pipe inspection |
| Pressure testing | Section pressure loss | Confirming and isolating leak segments |
Why hire pros? Accurate methods protect roots, limit excavation, and speed repair. If moisture keeps returning near a slab edge or a walkway, professional imaging and acoustic testing will usually save time and landscape health.
How to Confirm the Leak Location Before You Dig or Repair
Before you dig, confirm the exact spot with careful marking and steady observation. Use simple checks that link meter motion and visible damp areas so you fix the right stretch of pipe the first time.
Start a mark-and-monitor routine: flag the wettest bands and photograph each flag. Check the same areas at the same time daily and log any change.
Mark suspect spots and correlate with the water meter over time
With all water off, watch the water meter for movement. If the dial moves while flagged areas stay damp on dry days, the odds of a buried leak rise sharply.
If you isolate the irrigation branch and the water meter stops, the problem likely sits in outdoor lines. Photograph meter readings and the flagged areas for a clear record.
Check nearby walls, floors, and slab edges for secondary signs
Look at exterior walls, baseboards, and slab edges for stains, warm or wet patches, and musty odors. Soft flooring or peeling paint inside the home often signals migration from a slab problem.
Warm, wet spots on a slab suggest a pressurized line near the foundation. Note these areas on your photo log before any trenching.
Rule out toilets, faucets, and appliances that mimic outdoor leaks
Test toilets with a food-coloring trick and inspect appliance supply lines and the water heater for slow drips. Dripping fixtures inside the home can mimic yard wetness and confuse your checks.
When you need an extra reference for yard repairs, use this yard repair guide for practical next steps and documentation tips.
Repair Options for Pinhole Leaks Found Under Mulch
A measured approach—expose the line, then pick the right repair—saves plants and money. Temporary patches stop immediate water loss; permanent repairs protect your plumbing system long term.
Temporary fixes serve as stabilizers when you need time, parts, or a licensed pro.
- Pipe repair clamps: quick, mechanical seals that halt most steady drips. Use stainless or quality-specified clamps and tighten per instructions.
- Epoxy putty and emergency patches: useful for small breaches. Knead and press firmly, then allow full cure before pressurizing the line.
- When to use temporary options: after-hours failures, protecting roots while you source parts, or as a stopgap before a scheduled permanent repair.
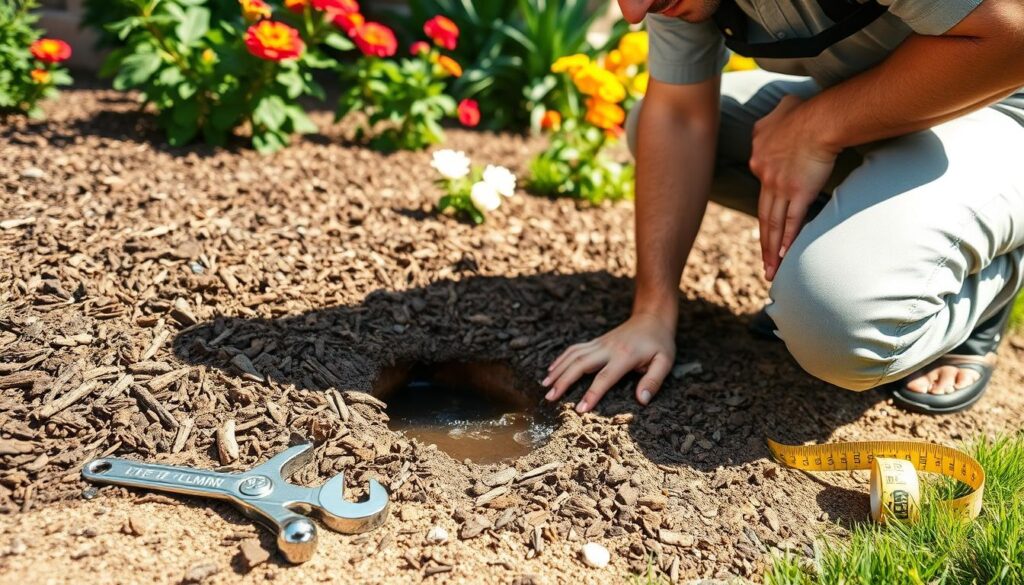
- Cut out the compromised pipe section and replace with matching materials and fittings. For copper, clean, measure, and sweat or use approved compression fittings.
- Ensure joints are correctly made; poor connections can recreate leaks and corrosion.
- If skills or tools are limited, hire a licensed plumber for soldering, couplings, or pressure testing.
When corrosion appears across multiple spots, consider broader repairs. Widespread corrosion often signals aging materials or aggressive water chemistry. At that point, repiping or larger plumbing repairs can be more cost-effective than repeated patches.
Prevent future problems: keep system pressure in check with a pressure-reducing valve, consider filtration that balances pH and removes corrosive elements, and schedule periodic inspections.
Finish and monitor: backfill gently, re-level soil, replace mulch, and watch the area for a week. For soil-health guidance after repair, see why fall is the most important season for building healthy.
Conclusion
A single cool, unusually green strip in a bed can mark a quiet problem that costs money over time. Combine careful observation with simple confirmation steps before you dig so repairs stay focused and plants stay safe.
Key takeaway: mulch often hides steady moisture, so note wet spots and greener growth, then confirm with a meter test and map the damp bands. These simple steps cut needless digging and speed repair.
If the area sits near a slab or walkway or keeps re-wetting, consider professional leak detection. Early action limits mold risk, protects landscaping, and reduces wasted water and higher bills from ongoing leaks.
Next step: mark the wet zone today, run the meter test tonight, and plan the repair once the leak location is confirmed. Small steps now save big time later.