Our Top 3 Tools for Minimizing Transplant Shock in Seedlings

Have you ever wondered why some young plants race ahead while others stall after moving to the garden? That gap often comes from early stress, not bad luck. With simple gear and timing, you can help seedlings reroute energy into steady growth instead of recovery.

Table of contents

Start with clear checks: pick starts with white, firm roots and the right pot size. Harden off greenhouse plants for 4–5 days in a sheltered spot, and choose an overcast, calm day to move them.

Soak transplants before planting, avoid exposing roots to air, and water slowly to a 3–4 inch depth. A seaweed or seaweed-fish drench helps minimize stress and absorb nutrients fast. Cover plants if wind or hot sun threatens, and monitor daily until new roots settle.

Key Takeaways

  • Pick healthy starts with white roots and proper pot sizing.
  • Harden off greenhouse-grown plants for several days before planting.
  • Soak and water slowly to a 3–4 inch depth to support new root growth.
  • Use seaweed drench after planting to help plants recover quickly.
  • Protect young plants from sun and wind and check them daily until roots establish.

What is transplant shock and why do seedlings suffer it?

When a young plant slows after moving to new soil, it’s often a sign the root system is trying to catch up. Transplant shock is that temporary growth setback after you move a plant from a pot to garden soil or a different container.

Roots are the first to feel the change. Bruised or torn roots, a compacted root ball, or circling roots in small pots can all limit water and nutrient uptake. That disruption shows quickly in leaves and stems.

Common symptoms and root-level causes to watch for

  • Wilting, discolored leaves, flower drop, or stalled growth in the first week.
  • Dieback in sensitive plants and some houseplants when roots fail to recover.
  • Root injuries, tight root balls, and sudden exposure to dry air, brighter light, or temperature swings.

“Check roots and moisture first: healthy white roots and steady soil moisture cut recovery time.”

Cause Visible symptom Quick fix
Injured roots Drooping or dark leaves Pre-water, plant gently, keep shaded
Tight root ball Slow or no new growth Loosen roots, choose correct pot size
Environmental shift Rapid wilting in a day Harden off 4–5 days, protect from wind
Dry soil near warm roots Leaves curl, flowers drop Soak root ball, water to 3–4 inch depth

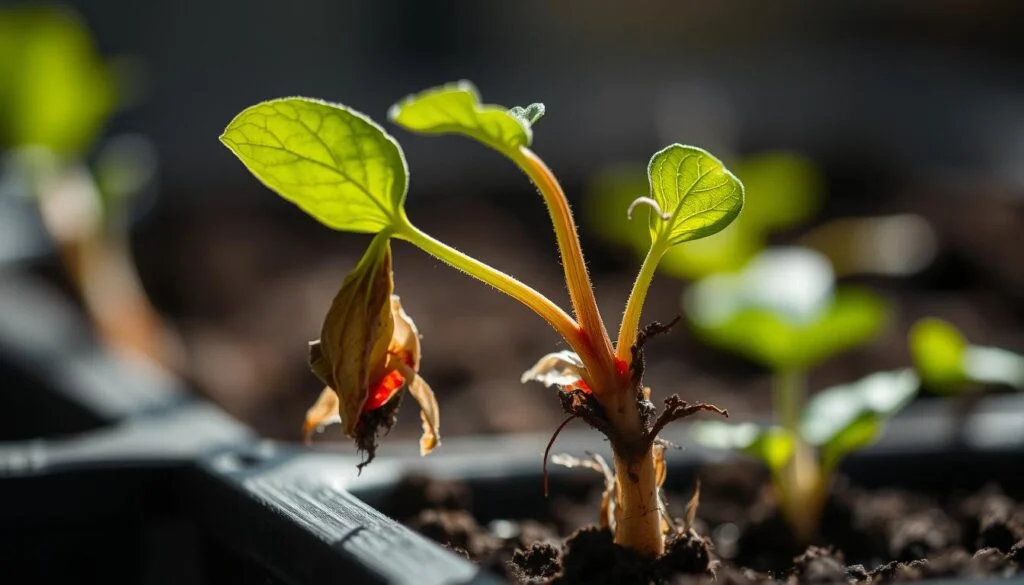
A close-up view of a wilted, discolored seedling struggling to adapt to its new environment after transplantation. The leaves are drooping, the stem is bent, and the roots appear damaged. The background is blurred, with hints of soil and potting mix, conveying a sense of the seedling's distress. The lighting is soft and moody, casting shadows that accentuate the plant's fragile state. A shallow depth of field draws the viewer's attention to the seedling's plight, captured with a DSLR camera lens set to a wide aperture. The overall tone is one of concern and empathy, reflecting the challenges faced by the young plant during the critical transplant process.

Watch plants daily for the first 1–2 weeks. Water gently, buffer light with shade for a few days, and choose starts that have had some outdoor exposure or were hardened off. Small steps at planting time save a lot of time later.

What are the top 3 tools for minimizing transplant shock in seedlings?

A simple kit of covers, a wand or drip line, and a gentle fertilizer keeps young plants on track after a move. These items buffer light and air, deliver steady water, and feed roots so recovery is faster and less stressful.
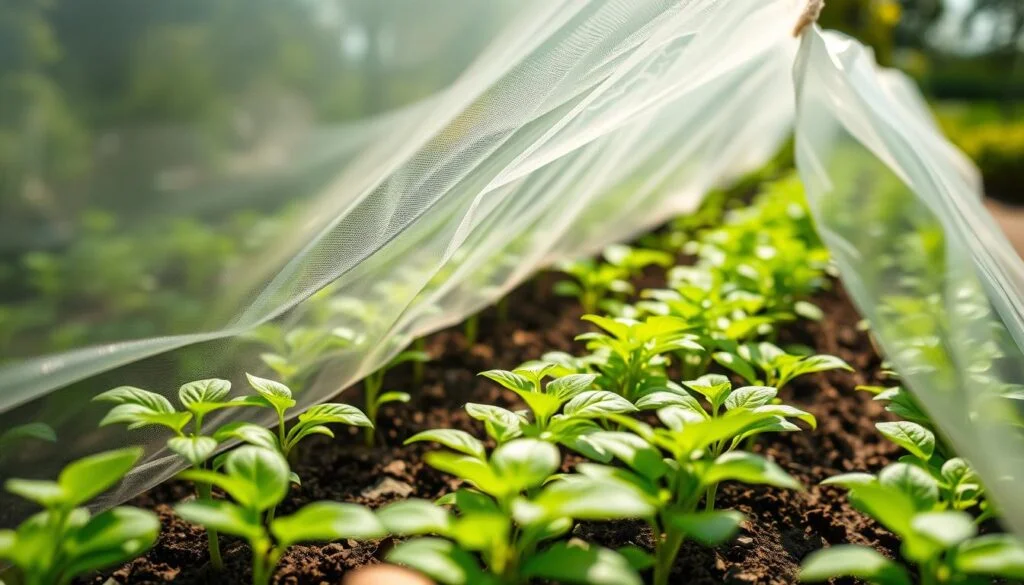
A close-up of protective covers shielding delicate seedlings in a lush, verdant garden. The covers are made of a lightweight, transparent material that allows sunlight to filter through while providing a sheltered environment. The seedlings are neatly arranged in rows, their vibrant green leaves gently swaying in a soft breeze. Diffused natural lighting casts a warm, soft glow, creating a serene and nurturing atmosphere. The camera angle is slightly low, emphasizing the delicate nature of the seedlings and the care taken to protect them. The background is blurred, keeping the focus on the protective covers and the thriving seedlings they envelop.

Protective covers that soften light and wind

Use garden fabric, shade cloth, or row covers to cut sun and wind exposure. On hot or windy days, cover immediately to prevent sunburn and windburn. Lightweight fabric can stay on for weeks while plants harden to full light and temperatures.

Moisture management for steady soil hydration

Set a drip line or use a watering wand to water slowly until the soil is moist to 3–4 inches. Pre-water holes, place emitters near the crown, and check a moisture meter before adding more water. Consistent moisture around the root ball helps roots branch outward instead of curling.

Root and nutrient support

Handle starts gently by the leaves, tease circling roots, and use a diluted seaweed or seaweed‑fish fertilizer after planting. These nutrients absorb quickly and help reduce stress as roots reestablish in new soil.

Combining gear for garden, greenhouse, and houseplants

For greenhouse starts, pair shade cloth with venting and a wand for gentle water-in. For houseplants, shield from harsh light after repotting and use a moisture meter to avoid overwatering. A small accessories kit—cover, wand, moisture meter, and clip—covers most needs and often goes on sale midseason.

Which timing, technique, and soil prep actually reduce stress?

Planting on an overcast, windless day reduces stress and helps roots establish quickly. Aim for early morning or late afternoon during the growing season so temperatures stay gentle and moisture lasts longer.

Harden off outdoor-bound plants for 7–10 days; greenhouse starts can move with 4–5 days sheltered. Pre-water seedlings 2–3 hours before moving and pre-soak each planting hole so the root ball meets moist soil immediately.

Soil mix and pots

Use a loose, well-draining soil with compost to feed roots and improve aeration. In containers, up-pot only about 10% larger than the current pot to avoid soggy mix and slow root growth.

Depth and handling

Plant at the same soil line as the pot unless a crop (like tomato) benefits from deeper planting after removing lower leaves. Support the root ball and handle by the leaves to avoid damage.

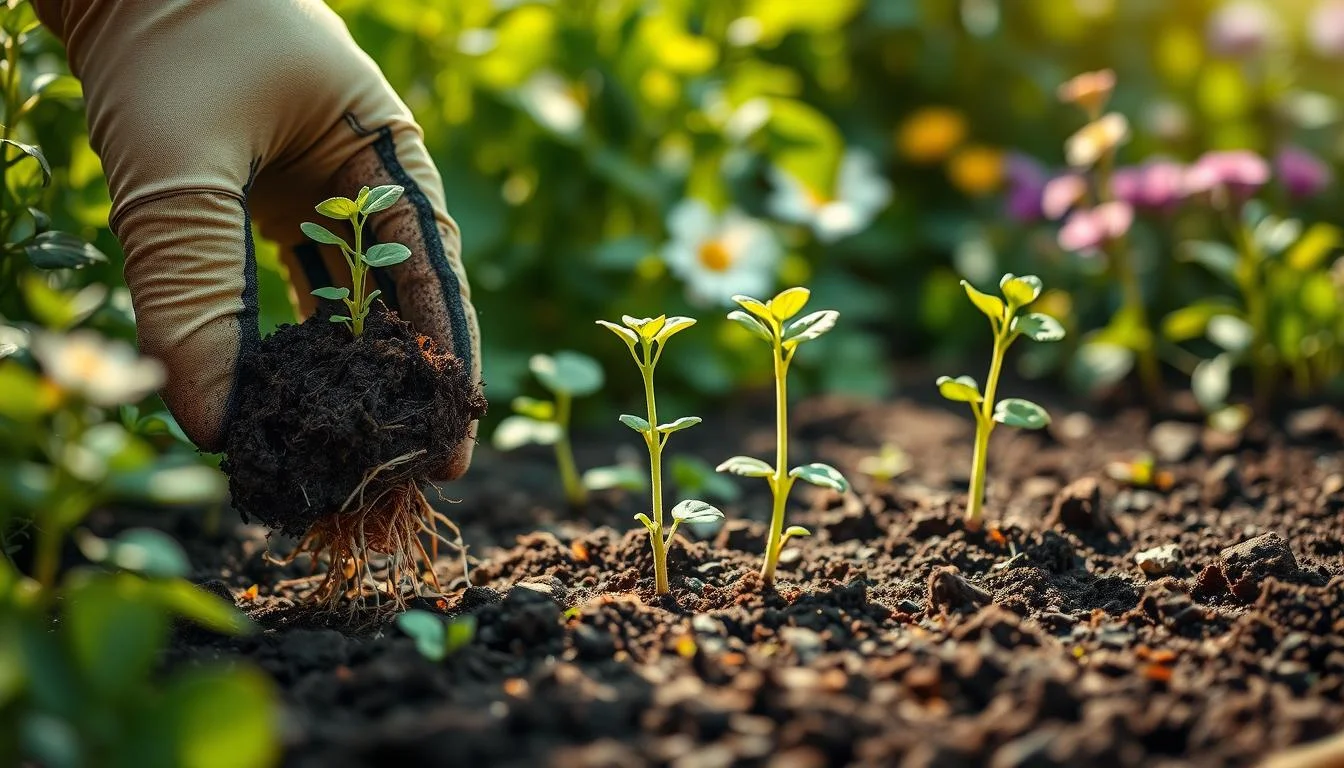
Tease compacted or circling roots gently. Minimize time the roots sit in open air. Water slowly until the soil is moist to 3–4 inches and check drainage before finishing the hole.

“Quick checks—crumbly soil, good drainage, correct depth—save plants days of recovery.”

Step Why it helps Quick action
Timing Less heat and wind stress Early morning/late afternoon on overcast days
Soil mix Better aeration and root growth Loose mix + compost; loosen garden soil
Pot fit & drainage Prevents soggy roots and disease Choose slightly larger pots; ensure free drainage
Root handling Encourages outward roots Tease circling roots; avoid long air exposure

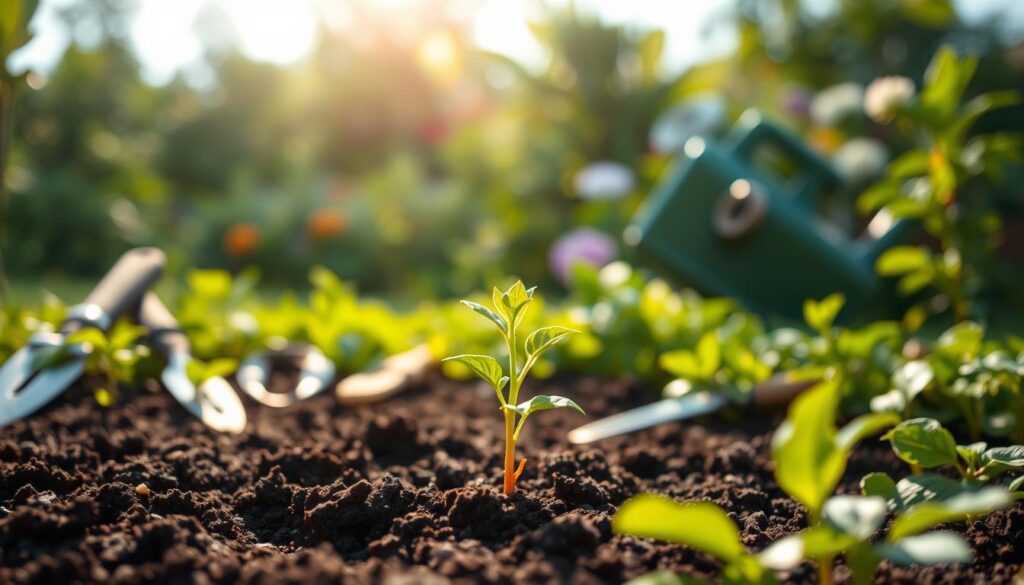
A lush, verdant garden scene with a central focus on a thriving seedling transplant. The foreground features the seedling emerging from nutrient-rich, dark soil, its tender leaves reaching towards the soft, diffused sunlight filtering through a canopy of greenery. The middle ground showcases a selection of gardening tools - trowels, pruners, and a watering can - arranged neatly, conveying a sense of careful preparation. In the background, a blurred landscape of flourishing plants and flowers creates a harmonious, calming atmosphere. The lighting is natural and warm, casting gentle shadows that accentuate the textures of the soil and foliage. The overall composition evokes a sense of tranquility and the careful balance required for a successful seedling transplant.

For a step-by-step transplanting process, check this nitty-gritty transplanting guide for extra detail on timing and technique.

What aftercare do greenhouse and indoor seedlings need?

Good aftercare creates a calm, steady environment so young plants resume active growth quickly. Simple routines for climate, watering, airflow, and pest checks protect roots and leaves until plants are established.

Once plants move into a greenhouse or a home space, monitor conditions closely. Target daytime temperatures near 65–75°F and nights around 55–65°F. Keep humidity balanced so media drains but leaves stay turgid.
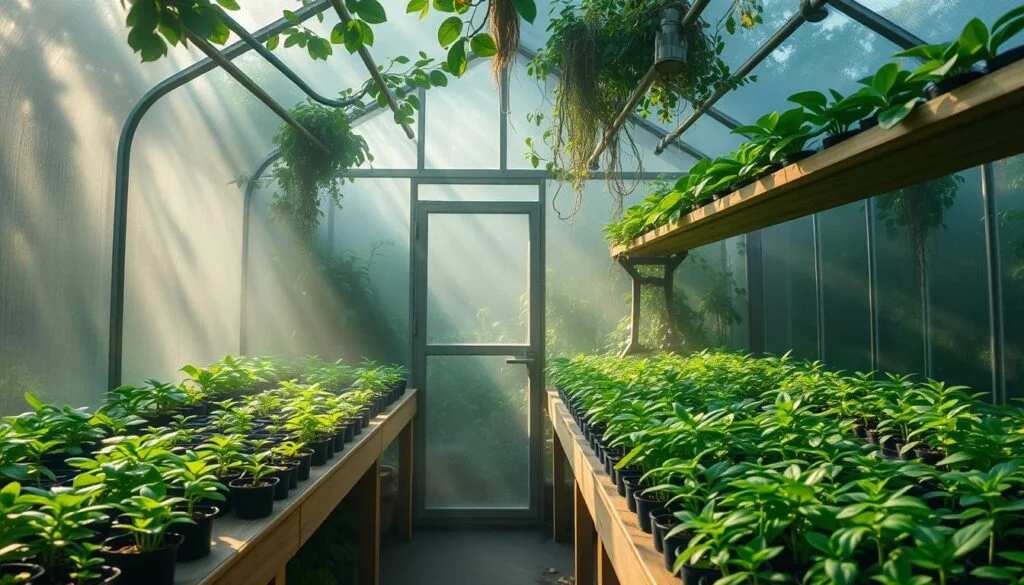
A lush, verdant greenhouse interior bathed in soft, diffused natural light. The air is heavy with the scent of thriving plants, the atmosphere humid and enveloping. Delicate tendrils of mist drift through the space, creating an ethereal, almost magical ambiance. Rows of seedlings and young plants sit upon sturdy wooden shelves, their leaves gently swaying in the gentle airflow. Condensation beads on the glass walls, refracting the light in mesmerizing patterns. The overall scene conveys a sense of nurturing, tranquility, and the perfect conditions for tender seedlings to thrive after transplantation.

Stabilize climate and air movement

Use vents, fans, or shade cloth to avoid hot spikes and to keep fresh air flowing. A small fan dries leaf surfaces and strengthens stems without stressing plants.

Smart watering and drainage

Avoid overhead watering; instead water at the base with a wand or drip until the soil is moist 3–4 inches. Check soil by hand or meter and never let trays hold standing water—good drainage prevents fungus gnats.

Ventilation, mulch, and humidity control

Apply a thin mulch to slow evaporation, but watch humidity under cover. Automatic vent openers and monitoring kits help keep conditions steady and reduce the need for daily tweaks.

Pest vigilance and hygiene

Scout twice weekly for aphids, fungus gnats, and whiteflies. Use yellow sticky traps, beneficial insects, or spot-treat with neem. Clear debris, sanitize tools, and quarantine new starts as part of your simple process to protect growth.

About the Author

Garden Expert (Ethan Green) is your green-thumbed guide at The Garden Haven. With years of hands-on experience in home gardening, greenhouse care, and sustainable planting, Garden Expert shares practical tips and expert advice to help you grow healthier, happier gardens—season after season.

Editorial Process Note

Just like a healthy garden, our content is carefully nurtured. Every tip and technique shared on The Garden Haven comes from years of hands-on experience. Before we publish an article, our team "weeds out" any inaccuracies by checking facts against trusted horticultural sources. We regularly revisit our articles to keep them fresh and up-to-date, ensuring you always have the best information for a thriving garden.

Conclusion

Small, steady actions pay off: protect young plants from harsh light and wind, water so roots meet moist soil down to 3–4 inches, and give a gentle seaweed or seaweed‑fish fertilizer after planting. These steps cut transplant shock and help plants resume growth faster through the season.

Handle the root ball with care, limit air exposure, and plant at the correct depth to encourage strong roots in healthy soil. Harden off outdoors when possible and keep greenhouse temps steady (65–75°F days; 55–65°F nights).

Watch for pests like aphids and fungus gnats and use IPM fixes—sticky traps or beneficial insects. Put together a few go‑to accessories while they’re on sale so you’re ready for the next wave of transplanting without scrambling.

For a quick project idea that pairs well with this process, try an outdoor herb planter to practice these steps at home.

FAQ

What exactly is transplant shock and why do young plants often experience it?

Transplant shock is the stress response seedlings show after being moved. Roots get disturbed, water uptake drops, and the plant redirects energy from growth to recovery. Symptoms include wilting, yellowing leaves, slowed growth, and leaf drop. Cooler or hotter temperatures, dry air, and rough handling make it worse.

What signs should I watch for that indicate root-level problems after moving a plant?

Watch for limp or scorched leaves, browning at the root collar, stunted shoots, and poor new growth. Gently check the root ball—roots that are brown and mushy or tightly circling the pot suggest damage or compaction. Early detection helps you act before decline becomes severe.

Which protective covers work best to buffer light, wind, and temperature for young plants?

Use lightweight floating row covers, horticultural fleece, or shade cloth rated for 30–50% shade. These materials cut wind desiccation and sudden light spikes while keeping plants warm on cool nights. Secure edges to prevent flapping and allow air circulation to reduce disease risk.

How can I manage moisture consistently to prevent drying or waterlogging?

Combine a drip irrigation line or soaker hose with a watering wand for spot checks and hand watering. Add a handheld moisture meter to confirm soil is evenly damp 1–3 inches deep. Water slowly until moisture reaches the root zone; avoid repeated shallow wettings that encourage weak roots.

What root and nutrient supports help plants recover faster after moving?

Apply a diluted seaweed or seaweed‑fish fertilizer to boost root growth and stress tolerance. Use gentle tools—root hooks or a dull fork—to loosen circling roots before planting. Avoid high-nitrogen feeds right after moving; focus instead on low-dose root stimulants and steady, balanced nutrition.

How do I combine protective covers, watering tools, and root aids for seedlings, houseplants, and greenhouse starts?

For seedlings and greenhouse starts, cover during bright or windy days, keep drip or micro-sprinklers tuned to light output, and add seaweed foliar sprays weekly for a few weeks. For houseplants, keep them in bright indirect light, water with a wand or soak method, and use diluted seaweed at transplant to speed root reestablishment.

When is the best time of day and season to move seedlings to reduce stress?

Transplant on overcast days or during early morning/late afternoon to avoid midday heat and intense sun. Aim for the active growing season—spring or early fall for most temperate plants—so roots can reestablish in moderate temperatures and ample daylight.

What soil and pot features promote healthier roots and less post-move stress?

Choose a loose, well-draining potting mix with good aeration—add perlite or coarse sand if needed. Match pot size to root mass: avoid oversized pots that hold excess moisture. Ensure containers have strong drainage holes to prevent root rot and encourage deeper root searching.

How deep should I plant and how should I handle compacted root balls?

Plant at the same depth the plant grew previously; burying crowns can cause rot, while planting too shallow exposes roots. Tease compacted roots gently with a root tool or fingers to encourage outward growth. Trim only circling roots that will strangle future growth.

What climate targets should I maintain in greenhouses or indoors after transplanting?

Stabilize daytime temperatures around 65–75°F and nights near 55–65°F for most vegetable and flower seedlings. Keep relative humidity balanced—too low dries plants, too high invites disease. Use vents, shade, and thermostatic heaters to maintain steady conditions.

How should I water newly moved greenhouse or indoor plants to prevent stress?

Pre-water planting holes or pots, then water thoroughly to moisten the root zone 2–4 inches deep. Use a soak-and-drain approach rather than frequent light sprinkles. Avoid overhead watering early on; a watering wand or bottom-water method reduces leaf wetness and disease risk.

How do ventilation and mulch help after moving plants indoors or under cover?

Gentle air movement from fans or vents strengthens stems and reduces fungal growth by lowering humidity near leaves. Light organic mulch around outdoor transplants conserves soil moisture and moderates temperature swings without smothering crowns. Keep mulch a few inches from stems.

Which pests and diseases pose the biggest threats after transplanting, and how do I watch for them?

Aphids, fungus gnats, whiteflies, and damping-off pathogens flourish in stressed, crowded, or overwatered conditions. Inspect undersides of leaves, check soil surface, and look for sticky residue or stunted growth. Use integrated pest management: cultural controls, sticky traps, and biologicals before chemical treatments.

How long does recovery usually take, and when can I resume full feeding and pruning?

Most seedlings show recovery within 1–3 weeks; slower for larger transplants. Resume regular fertilizing once you see steady new growth—typically after two or three true leaves appear. Prune only dead or damaged foliage early on; heavy pruning delays recovery.

Are there any commercial products you recommend for easing plant stress that are widely available?

Reputable brands like Espoma and FoxFarm offer seaweed-based root stimulants, and Dramm and Rain Bird make reliable watering wands and drip components. For covers, look for Agribon floating row cover and DeWitt shade cloth. Choose products with clear application rates and follow label instructions.