
Converting a grass lawn to native plants does not have to mean renting a tiller, stripping the whole yard, or starting over in one weekend. A gradual no-till method works by choosing one manageable section, weakening the grass by blocking light, then planting native species that fit the site.
This is a slower approach, but that is also why it works for many home gardeners. You can learn from one bed before committing more lawn, keep the rest of the yard usable, and avoid turning soil that may bring buried weed seeds closer to the surface.
Quick answer
The simplest no-till method is to mow the chosen lawn area low, cover the grass with overlapping plain cardboard or biodegradable paper, add mulch or compost over the top, and give the area time to settle before planting native plugs, seedlings, or well-chosen seed.
Start small. A border, corner, island bed, fence line, or hard-to-mow strip is easier to water, weed, edge, and adjust than a full-yard conversion.
The main tradeoff is patience. Grass suppression and native plant establishment take time, and the first season may look more like a work in progress than a finished native planting.
Key takeaways
- Start with one section instead of converting the whole lawn at once.
- Use light-blocking layers such as plain cardboard or biodegradable garden paper to weaken grass without tilling.
- Choose native plants by site conditions, including sun, moisture, mature size, and your region.
- Expect first-season maintenance. New native plantings still need watering, weed checks, and edge cleanup.
- Keep supplies optional. The method matters more than buying a long list of products.
A good no-till lawn conversion is less about doing everything at once and more about making one section easy enough to care for well.
Why a gradual no-till method makes sense
No-till lawn conversion keeps soil disturbance lower than digging or rototilling. That can help preserve the existing soil structure and avoid stirring up more buried weed seeds.
It also keeps the project realistic. A small native bed gives you room to learn how the grass responds, where weeds return, how quickly the mulch settles, and which plants handle the spot best.
| Conversion method | Best fit | Main tradeoff |
|---|---|---|
| No-till sheet mulching | Small to medium areas where you want less soil disturbance | Takes time for grass to weaken |
| Sod removal | Fast bed creation when you can handle the labor | More digging, hauling, and exposed soil |
| Tilling | Situations where the soil is already being fully reworked | Can disturb soil structure and bring up weed seeds |
| Gradual bed expansion | Home gardeners who want a manageable native planting project | Requires patience and repeat maintenance |
Start with one manageable section
Choose a section that already makes sense in the yard. Good starter areas include a sunny fence line, a difficult-to-mow slope, a corner where grass struggles, or a strip along an existing garden bed.
Before covering grass, check how much sun the area receives, whether water sits after rain, how people or pets move through the space, and how the new bed will meet the remaining lawn.
For a gradual conversion, simple edging can help the new native bed look intentional while giving you a clearer line to maintain against the remaining lawn.

Edging is not required, and it will not stop every weed or grass runner. It is most useful when the new bed sits directly beside lawn that will stay in place for another season.
Mark the shape before you cover anything
Use a hose, string, or landscape paint to test the bed shape first. Curved edges often look natural, but tight curves can make mowing and edging harder later.
If you are unsure about size, make the bed smaller than your first idea. You can always expand the planting next season after you see how much watering and weeding it needs.
Suppress the grass without tilling
A no-till conversion usually starts by mowing the grass low. Then the grass is covered with overlapping light-blocking material, followed by mulch or compost to hold the layer down and protect the surface.
Plain cardboard is often used when it is clean and available. Remove tape, labels, staples, glossy coatings, and plastic pieces before placing it in the bed.
If you do not have enough clean cardboard, a biodegradable garden paper roll can be a practical way to cover a small conversion area while keeping the project no-till. You can also see this sheet-mulching paper option on Amazon and compare the current listing details before buying.
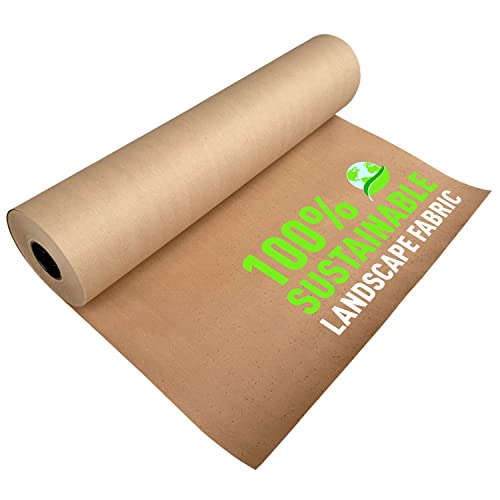
Overlap seams well so grass does not find thin gaps. Around existing shrubs or trees, keep material and mulch away from trunks and crowns rather than piling it tightly against bark.
Grass suppression timing depends on the season, moisture, grass type, and how thickly the area is covered. Some areas may be ready to plant sooner than others, while stubborn grass can push back through weak spots.
What to place over the light-blocking layer
Mulch helps hold the paper or cardboard down, shades the surface, and makes the bed look cleaner while the grass underneath weakens. Keep the layer even, but avoid burying future planting crowns too deeply when you add plants.
Compost can be useful in some beds, but it should not be treated as a cure for every soil issue. If your soil has drainage problems, compaction, or a history of chemical treatment, handle those concerns before assuming new plants will settle in easily.
Choose native plants for the actual site
Native plants should be chosen for your conditions, not just for a pretty photo. Sun exposure, soil moisture, mature width, bloom time, and local region all matter.
A plant that belongs in one region may not be appropriate in another. When possible, check with local native plant societies, extension resources, or reputable local nurseries before buying seed or plugs.
A mix of heights, root habits, and bloom periods can make the bed look more planned. It can also give pollinators more value across the season, as long as the plants are suited to your area.
| Site condition | What it means for plant choice | Practical check before planting |
|---|---|---|
| Full sun | Choose natives that tolerate stronger heat and brighter exposure | Watch the area through the day, not just at noon |
| Part shade | Look for plants that handle reduced light without stretching or thinning | Check shade from fences, trees, and buildings |
| Dry soil | Select plants that can handle dry spells after establishment | Water new plants while roots settle in |
| Wet or slow-draining soil | Choose plants suited to moisture rather than forcing dry-site species | Check where water stands after heavy rain |
| Remaining lawn nearby | Plan for edge maintenance and grass pressure | Inspect bed edges regularly during the first season |
What you may need before you start
You do not need a full shopping cart to convert a small lawn section. The useful supplies are the ones that solve a practical problem: blocking light, defining the bed edge, holding mulch in place, or watering new plants gently.
For blocking light over the grass
Clean cardboard is often enough for a small area. If you need a roll-style material for a longer strip or a cleaner layout, biodegradable garden paper may be easier to handle than piecing together many small boxes.
- ECO FRIENDLY (100% BIODEGRADABLE): Made from cardboard, zero plastics were used in production of Sandbaggy Garden Paper. They're made right here in the USA!
- PAPER WEED MAT ALLOWS AIR TO FLOW THROUGH TO PLANTS: Blocks out the sun and creates a barrier to prevent unwanted seeds from germinating and growing. This paper landscaping fabric is breathable, allowing air to get through to the soil, allowing your plants to grow in a healthy environment.
- ORGANIC PAPER MULCH THAT'S GREAT FOR YOUR SOIL! As garden paper decomposes, it adds organic material back into your soil, giving the soil nutrients and helping to promote the growth of your plants. It also natrually retains soil moisture by reducing water evaporation from the soil's surface, and the brown color helps keep the soil warm.
- MADE IN AMERICA - Support American jobs, American infrastructure and American FAMILIES - While everyone else has outsourced to China, we are one of the ONLY companies that still makes our fabric in America.
For defining the new bed edge
Flexible edging can help separate the new native planting area from the remaining lawn. It is most useful when the bed has a clear border and you want the conversion to look tidy while plants are still filling in.
The Amazon Basics flexible landscape edging is listed as a 5-inch by 40-foot coil with 10 matching stakes. It may suit curved borders or simple lawn-to-bed separation, though plastic edging will not match every garden style or soil condition. You can check price for Amazon Basics flexible landscape edging on Amazon if that type of border fits your layout.
- SHIPMENT CONTAINS: One 5 inch x 40 foot brown flexible landscape edging coil with 10 matching stakes for securing garden borders
- RECYCLED MATERIAL CONSTRUCTION: Recycled plastic landscape edging coil designed for gardens, lawns, flower beds and pathways
- NATURAL APPEARANCE: Faux woodgrain texture and color creates a natural look that blends seamlessly with outdoor landscaping
- VERSATILE BORDER CREATION: Build clean, crisp borders for grass, raised garden beds, shrubbery, pathways and more, flexible enough to create custom curves as well as structured boxes
Plant through the prepared bed carefully
Once the grass has weakened enough for your plan, create planting holes only where needed. Keep disturbance limited to the plant location instead of turning the whole bed.
For plugs or small transplants, move mulch aside, cut or open the sheet layer only where the plant will go, set the root ball at the right depth, then settle mulch back around the plant without burying the crown.
For seed, the process depends more on the species, season, and seed needs. Generic wildflower mixes are risky if they are not regionally appropriate or if they include aggressive non-native species.
Space plants for mature size, not first-day fullness
New native plantings can look sparse at first. That is normal. Crowding plants too tightly may create problems later when mature plants spread, lean, or compete.
If the bed looks bare, use mulch and clear edges to keep it neat while plants establish. Filling every open spot immediately is not always the best move.
Water and weed during establishment
Native plants may become lower-maintenance once established, but new plantings still need attention. During the first season, check soil moisture, water during dry stretches, and pull weeds before they set seed.
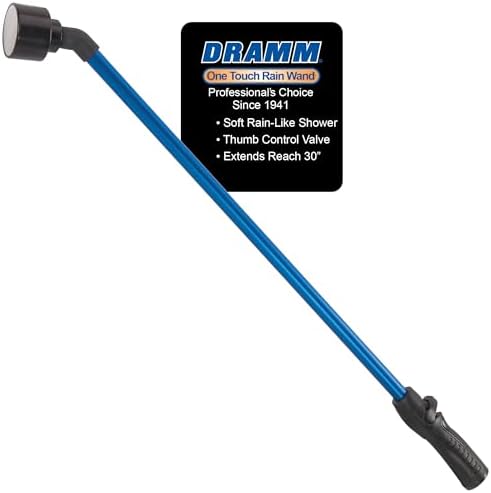
Once native plants are in the bed, a gentle watering wand can make early establishment care easier without blasting mulch or soil away from young roots.
Watering needs will vary by plant type, weather, soil, and planting time. Even drought-tolerant native plants usually need help while their roots are still shallow.
Weeding is part of the first-year work. Watch seams in the sheet-mulch layer, bed edges, and any disturbed planting holes where grass or weed seedlings may return.
A watering wand is not necessary if you already have a gentle hose nozzle or irrigation setup. If you want a softer shower pattern for young plants, you can view Dramm One Touch Rain Wand on Amazon and compare the current details with what you already own.
- Gentle Rain Shower Watering – Delivers a soft, full-flow shower that waters plants thoroughly without damaging delicate flowers, seedlings, or soil.
- One Touch Thumb Control Valve – Easily start, stop, and adjust water flow using the convenient thumb valve without squeezing a trigger.
- 30 Inch Extended Reach – Long wand design helps you comfortably water flower beds, containers, and hanging baskets without bending or straining.
- Lightweight Durable Aluminum Construction – Built with durable aluminum for strength and long-lasting outdoor use while remaining easy to handle.
Common mistakes to avoid
- Converting too much lawn at once: A large project can become hard to water, weed, and finish.
- Using coated or plastic-lined materials: Avoid glossy cardboard, tape, labels, and synthetic barriers that do not fit the bed’s long-term goal.
- Planting before the grass is weak enough: Grass can push back through thin spots and compete with new plants.
- Buying random wildflower mixes: Choose regionally appropriate native plants instead of assuming every mix is suitable.
- Expecting no maintenance: A new native bed still needs water, weed checks, and edge care during establishment.
First-season expectations
The first year is mostly about establishment. Some plants may focus on roots before they show much top growth. Some gaps may need filling. Some grass may return around the edges.
That does not mean the method failed. A gradual no-till conversion is meant to be adjusted. You can widen the bed, add more plants, improve the edge, or change the spacing after seeing how the first section behaves.
Keep the goal realistic: one healthier, better-planned native planting section is more useful than a large unfinished area that becomes difficult to maintain.
FAQ
Can I convert a lawn to native plants without removing the sod?
Yes, you can convert a small lawn area without removing sod by using a no-till sheet-mulching method. The grass is weakened by blocking light, then the area is planted after the bed is ready.
How long does it take to kill grass with cardboard or garden paper?
Timing varies by grass type, season, moisture, and mulch coverage. Some areas weaken faster than others, so check the bed before planting instead of relying on one fixed timeline.
Should I use cardboard or biodegradable garden paper?
Clean plain cardboard can work well for small areas. Biodegradable garden paper may be easier for longer strips or larger sections where you want a roll-style layer.
Can I plant native seeds directly into a no-till lawn conversion area?
You can, but it depends on the seed type, timing, and site preparation. Native plugs or small transplants are often easier for beginners because placement and early care are more controlled.
Will native plants need watering after they are planted?
Yes, new native plants usually need watering while they establish. After that, water needs depend on the plant, soil, weather, and how well the species fits the site.
Final verdict
A gradual no-till method is a practical way to convert grass lawn to native plants without turning the whole yard into a major renovation. Start with one area, suppress the grass carefully, choose plants for the actual site, and expect some first-season maintenance.
Optional supplies such as biodegradable garden paper, simple edging, and a gentle watering wand can make parts of the process easier, but they do not replace good planning. The real success comes from matching the method, plants, and maintenance level to the yard you actually have.