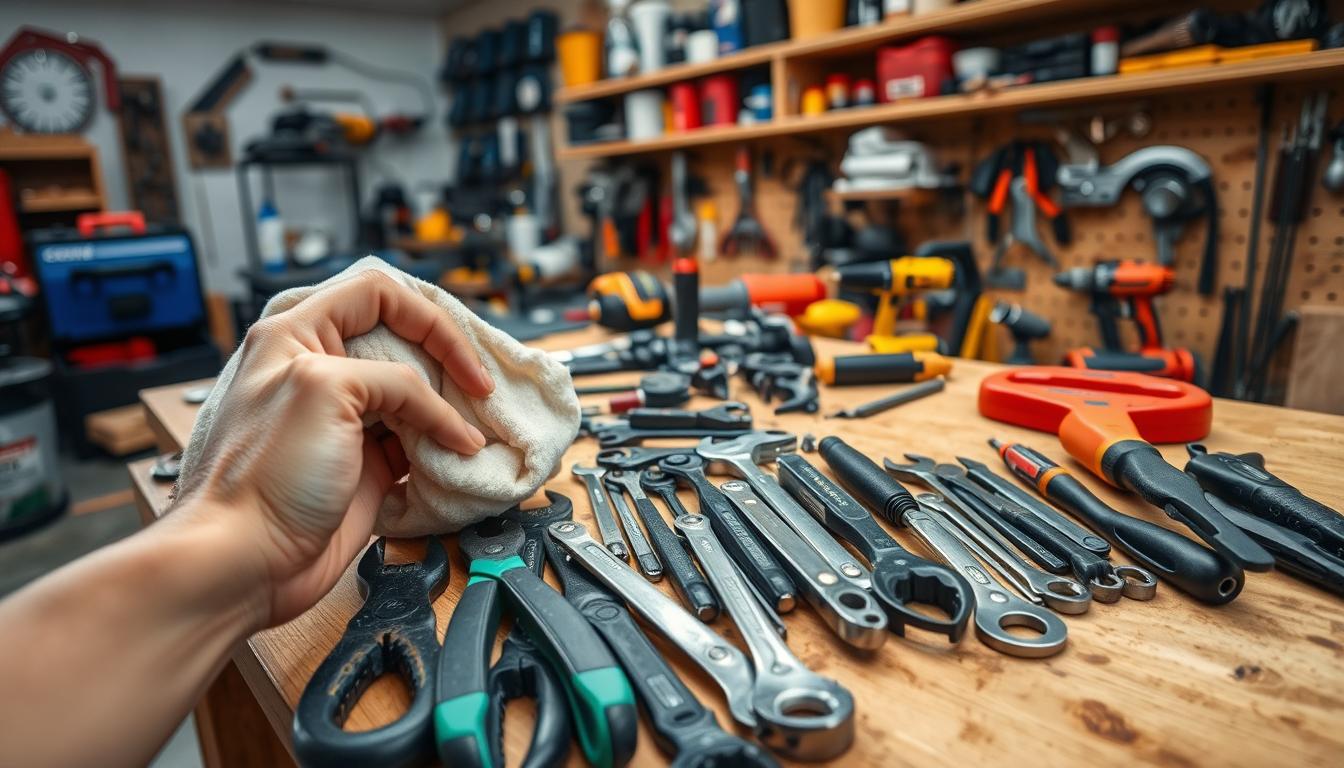
Ready to protect your health and make your gear last? This gentle, two-step practice helps you remove grit and then target microbes with proven solutions.
Start with soap and water or an all-purpose spray to lift dirt. Then use an EPA-registered disinfectant, 70% isopropyl alcohol, or a labeled bleach mix for high-risk surfaces and proper dwell time.
We’ll show simple room-by-room steps, what supplies to gather, and how to dry and store items so metal won’t rust and edges stay sharp.
Small mindful touches—short breaths, a bell, or sunlight on a shelf—make this feel restorative, not onerous. Learn when eco-friendly options work and when stronger methods are needed by following practical decision points and examples.
Key Takeaways
- Two-step method: remove debris first, then apply a disinfectant where needed.
- Use 70% isopropyl alcohol or a proper bleach solution for high-risk surfaces and follow dwell time.
- Dry items completely and store them to prevent rust and damage.
- Steam can disinfect many surfaces when you prefer chemical-free options.
- Simple rituals and a checklist keep this process calm, quick, and repeatable.
- For detailed disinfecting guidance, see a trusted cleaning expert’s tips here.
Set the Stage: Safety, Space, and Supplies for a Health-First Clean
Quick overview: Create a ventilated, organized area and gather core supplies before you begin. Set clear zones, wear gloves, and plan to clean first, then apply a labeled disinfectant or 70% alcohol to hard, nonporous surfaces, observing contact time.
Start by carving out a calm workspace. Open windows or run a fan to pull air outward. Mark separate zones for kitchen, bathroom, and workshop to limit cross-contamination in the same area.
Put on disposable or dedicated reusable gloves before handling anything wet or soiled. Lay out trays for small parts and a drying rack so items do not touch each other while they air dry.
Stock these essentials: soap and water, a mild all-purpose cleaner, an EPA-registered disinfectant (listed above), 70% alcohol for hard surfaces, a measured bleach mix (4 tsp per quart of cool water), microfiber cloths, and a vinegar spray for mineral film or deodorizing.
Label color-coded cloths and buckets, and keep kitchen and bathroom tools separate to lower cross-contamination risk. Read product labels before you use them and never mix bleach with vinegar or ammonia—only dilute bleach with water and use within 24 hours for best potency.
Small habits—good airflow, staged trays, and separate cloths—protect gear and make the process faster and kinder to your hands and workspace.

Our end-of-season ritual cleaning disinfecting every tool own
Quick answer:Tackle dirt in one pass, then let targeted disinfectants do their work only where needed.This two-step approach saves time and protects health while keeping gear in good shape.
The two-step method: clean first, then disinfect with proper dwell time in minutes
Start by removing visible dirt with soap or an all-purpose solution. Wipe away grit so a product can contact the surface.
Apply a labeled disinfectant only to high-risk spots and keep them wet for the listed contact minutes—typically 3–5 minutes for many household formulas.
When to disinfect vs. just clean: high-touch areas, health risk, and use frequency
Disinfect after raw-meat prep, in bathrooms, or if someone is ill. Focus on high-touch areas like knobs, switches, and faucet handles.
For porous grips or fabric, thorough cleaning is usually the safer, low-risk choice.
Intentionality matters: pairing practical steps with a cleansing mindset
“A short breath before a new room and a pause after a drawer makes the job calm and repeatable.”
That small ritual turns chores into mindful practices that feel kinder and stay consistent.
Room-by-room flow to save time: garage, kitchen tools, hobby room, and outdoor gear
Work in a single direction: garage bench, drawers, kitchen, hobby shelves, then outdoor gear. This way reduces backtracking and saves time.
Step-by-Step: The Best Way to Clean, Disinfect, and Dry Tools by Type
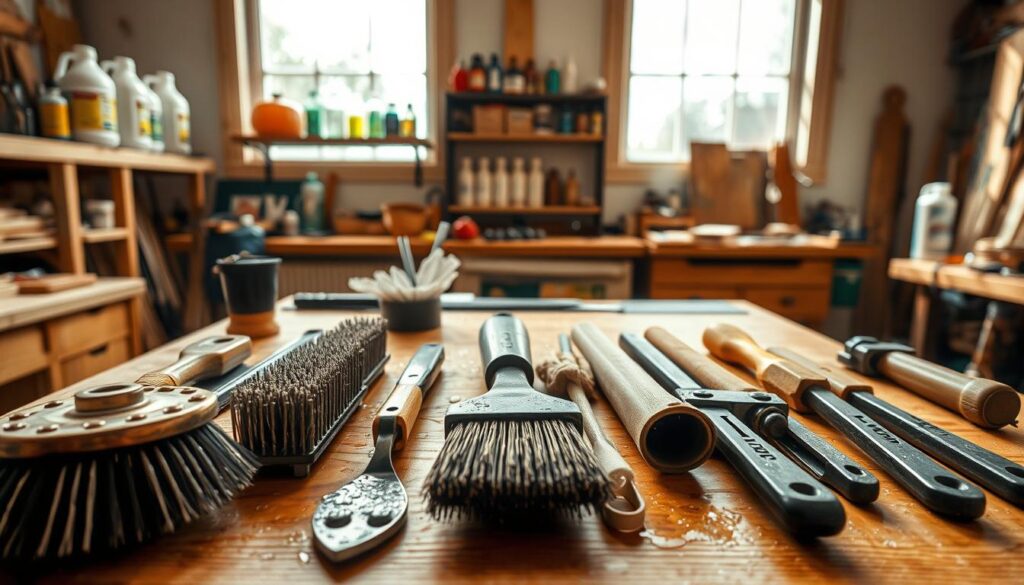
AI-Overview: Tackle items by material type so each piece gets the right care and time. Wash with soap and water first, then apply 70% alcohol or a labeled disinfectant on hard, nonporous surfaces, keeping them wet for the full contact minutes.
Hand tools and hardware: what to do
Scrub metal and plastic handles with soap and water. Use a toothbrush on threads and crevices.
Rinse, towel-dry, then air-dry fully. If you need to disinfect, apply the product and honor the listed contact time.
Finish with a light oil to prevent rust and protect small parts.
Cutting tools and blades: edge care
Degrease blades with a mild cleaner and wipe residue away. Use a disinfectant sparingly on metal faces only.
Dry immediately and coat with a thin oil film. Store with guards to keep edges sharp and safe.
Electronics and sensitive items: safe approach
Put 70% isopropyl alcohol on a microfiber — do not spray directly. Wipe hard, nonporous shells, keys, and knobs.
Keep liquids out of ports and openings. For monitors, use a damp microfiber instead of alcohol.
Kitchen and food-contact tools: rinse and safety
Mix a bleach solution at 4 teaspoons per quart of water. Apply, allow labeled contact time, then rinse with clean water before food contact.
Air-dry on a rack to avoid trapped moisture.
Soft parts and accessories: heat and laundry
Launder straps and cloths on the hottest safe cycle or use a sanitize setting. For non-washables, steam at 212°F in slow passes.
Allow items to dry fully before storing to reduce moisture uptake.
Wipes the right way
Always clean first. Then keep the surfaces wet for 3–5 minutes by re-wiping. When dry, buff with a damp microfiber to remove residue and restore sheen.
“Work by material, not by room — it saves time and protects what you love.”

- Finish: Dry thoroughly, oil metal, and store with desiccant for long-term care.
- For salon-style procedures and deeper sanitizing steps, see guidance on how to sanitize salon tools.
Eco-Friendly and Energetic Add-Ons to Elevate Your Ritual
AI-Overview: Add green cleaners and small energetic practices to keep your space fresh and supportive of health. Use plant-based mixes and simple habits to care for items and storage areas without harsh products.
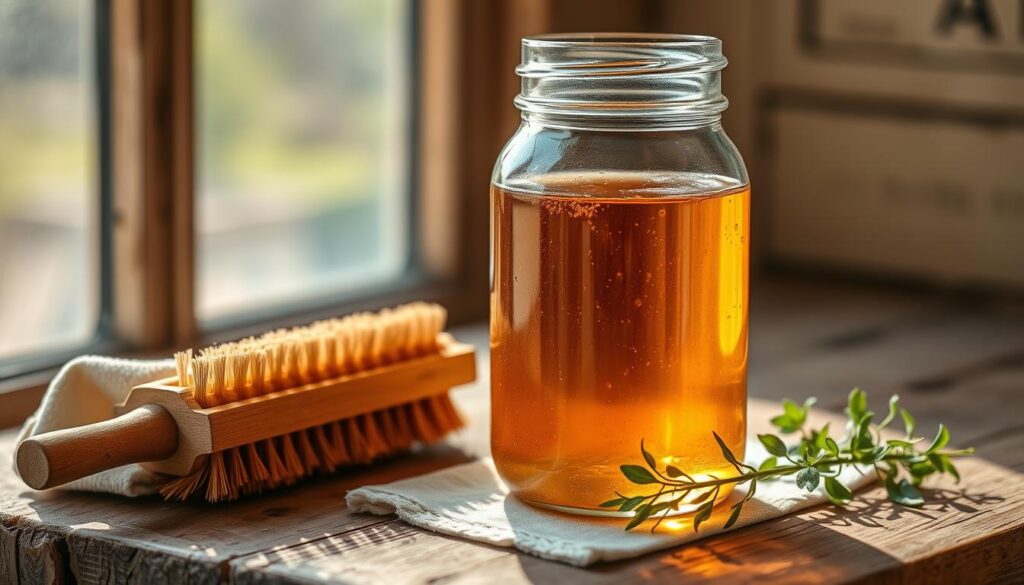
Vinegar and water make a reliable deodorizing spray for many hard surfaces. Mix 1:1 for appliance interiors and mineral film; avoid natural stone. A baking soda paste lifts grease on stovetops and oven doors—apply, wait, scrub, then rinse with water.
Castile soap is a gentle all-purpose cleaner. Use it diluted for light soil and finish with a fresh cloth to remove fine dust. Keep refillable bottles and small eco concentrates in a caddy so greener choices are the easy default.
How can sound, herbs, sun, and scent help?
Ring a bell or hang a chime at the door to shift stagnant energy. Light sage or rosemary briefly while a window is open; keep pets and sensitive people in another room.
Sunlight can cleanse but may fade colored quartz. Place non-fading items in morning sun; use the waning moon to clear energy and the waxing to charge pieces in storage.
Diffuse eucalyptus or rosemary, or burn unscented beeswax candles for a clean aroma without synthetic fragrances. Add a snake plant or peace lily to refresh the air in a reading nook.
“Small, green steps lift the mood and protect both gear and health.”
- Quick tip: Keep a small caddy of eco concentrates and refillables near the workbench for fast, greener care.
- For a visual routine and extra inspiration, consult this quick visual guide.
Conclusion
Close the loop with simple, repeatable steps that keep items ready and safe.
Remove dirt first, then apply a targeted disinfectant with the full contact time listed on the label. Use 70% isopropyl alcohol for hard, nonporous electronics. For food-contact items, mix bleach at 4 teaspoons per quart of water, apply, then rinse with clean water.
Steam at 212°F for fabrics and non-washables when safe. Never mix bleach with vinegar or ammonia; that creates harmful fumes.
Dry every tool fully, oil metal parts, and stage storage so air can circulate—small blocks or racks stop trapped dust and moisture. Keep zones separate and color-code cloths to avoid cross-contamination across areas and rooms.
Final care tip: build a short checklist that moves from garage to kitchen to hobby shelves. Quick mid-season wipes and light oiling preserve edges and function. Celebrate the finish: label bins, note replacements, and set the next cleaning block so future you has less to do.