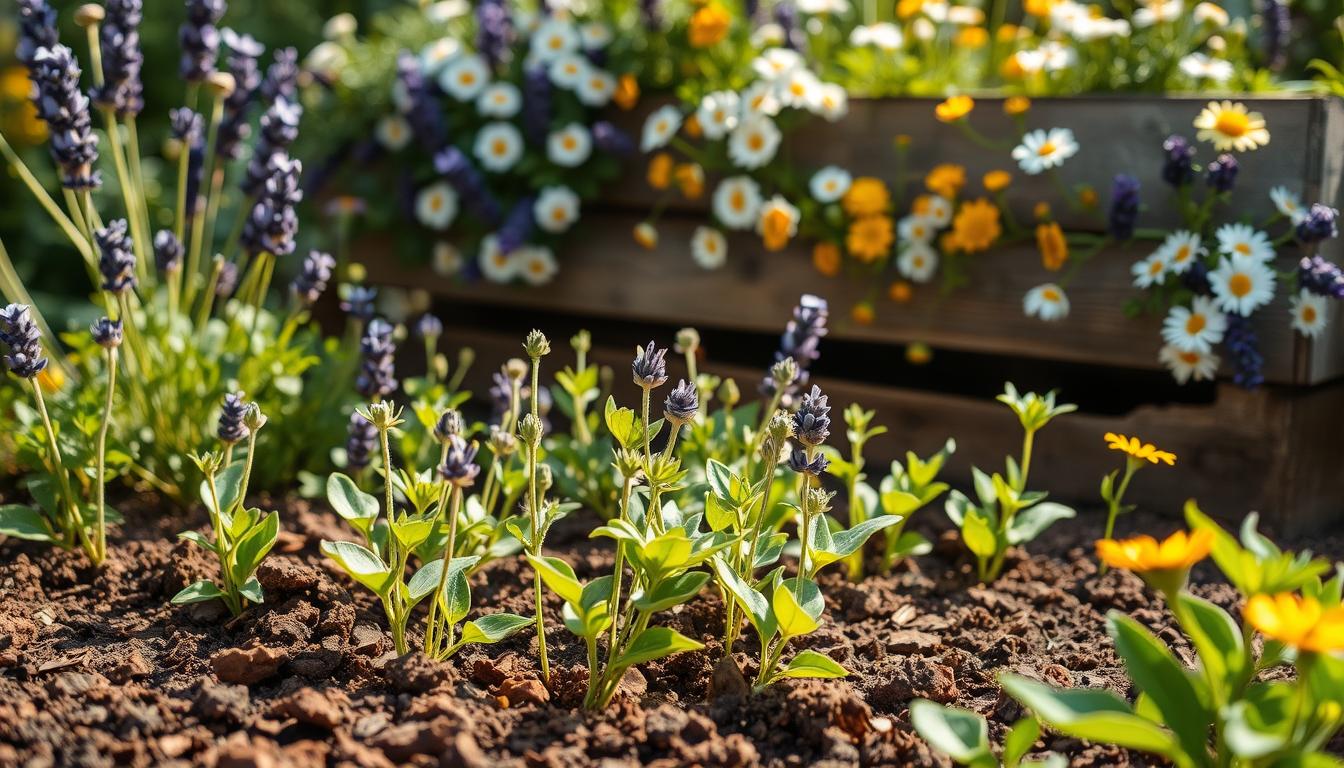
Can three simple trays and a sunny sill really give you fragrant tea, soothing salves, and healing flower petals all season?
This practical how-to guide walks you through easy, step-by-step ways to start three beloved plants in your garden. You’ll learn why beginning with seeds is budget-friendly, opens up more variety options, and gives you control over the growing environment for steady results.
Expect clear essentials: strong light, steady temperature, well-draining seed-starting soil, proper moisture, and timing tied to your local last frost date. The article moves logically from germination to transplanting, care through the season, containers for small spaces, and harvesting and drying for a home apothecary.
We’ll cover seed-specific tips like cold stratification and shallow sowing for lavender, pinching for calendula, and light needs for chamomile. Beginners find the steps approachable—small, daily actions add up to thriving beds and pots.
For deeper calendula notes, see a practical guide on indoor starts at calendula seed care, and for broader medicinal plant ideas check medicinal plant techniques.
Key Takeaways
- Starting seeds saves money and expands variety choices.
- Light, temperature, soil, moisture, and timing are universal essentials.
- Small daily routines build consistent, healthy plants.
- Use clean tools, label trays, and track dates for reliable results.
- Adapt techniques to windowsills, patios, or backyard beds with confidence.
Why Start Herbal Favorites from Seed Today
Starting seeds gives you lower cost, wider variety, and precise control over early care.Smart timing and small weekly sowings keep blooms and leaves coming through the season.
Sowing your own seeds puts variety, timing, and cost control back into your hands. The main benefits are simple: a lower cost per plant, access to dozens of varieties, and stronger adaptation to your specific garden conditions.
Seed-starting lets you manage the key ways plants get what they need: light, temperature, and water. That control helps seedlings develop sturdy roots and transplant faster.
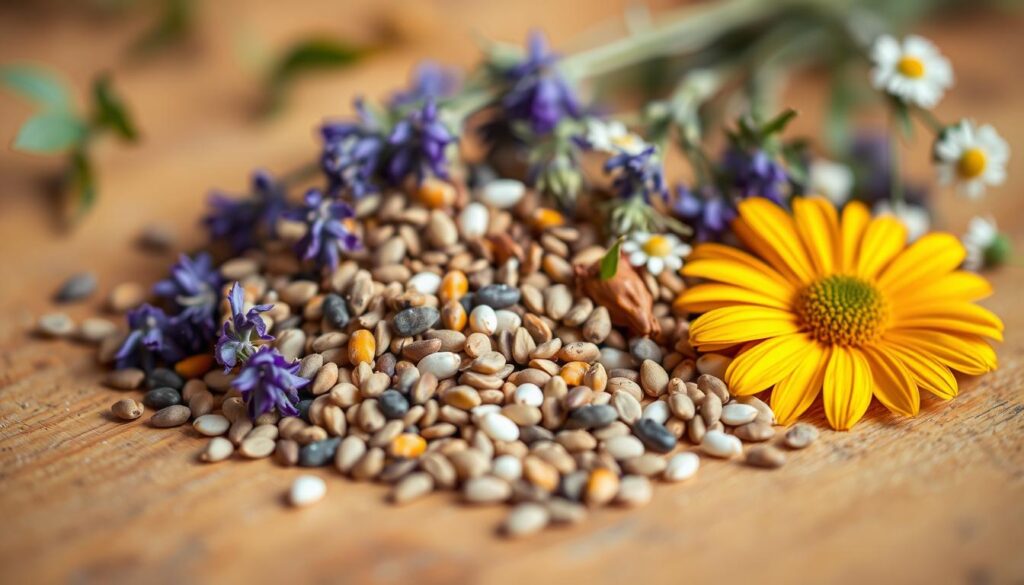
Plan timing around your last frost date to save time later and encourage earlier blooms. Sow a few seeds each week to stagger maturity and extend the season for kitchen use and apothecary jars.
- Compare costs: one packet can equal dozens of nursery pots for the same price.
- Check your location—sun, wind, and microclimate—to choose indoor starts, protected beds, or containers.
- Label trays, track sow dates, and note germination to build confidence and repeat success.
Seed-Starting Essentials: Light, Temperature, Soil, and Timing
Bright, steady light and a warm, humid room give seeds the friendly start they need. Combine airy soil, correct depth, and simple routines to avoid common problems like leggy seedlings and damping-off.
Position grow lights just a few inches above trays and run the lights 14–16 hours daily. Raise fixtures as seedlings stretch to keep stems compact.
Keep the room temperature in the mid-60s to low 70s °F. Use a humidity dome to hold moisture without over-watering the soil surface.
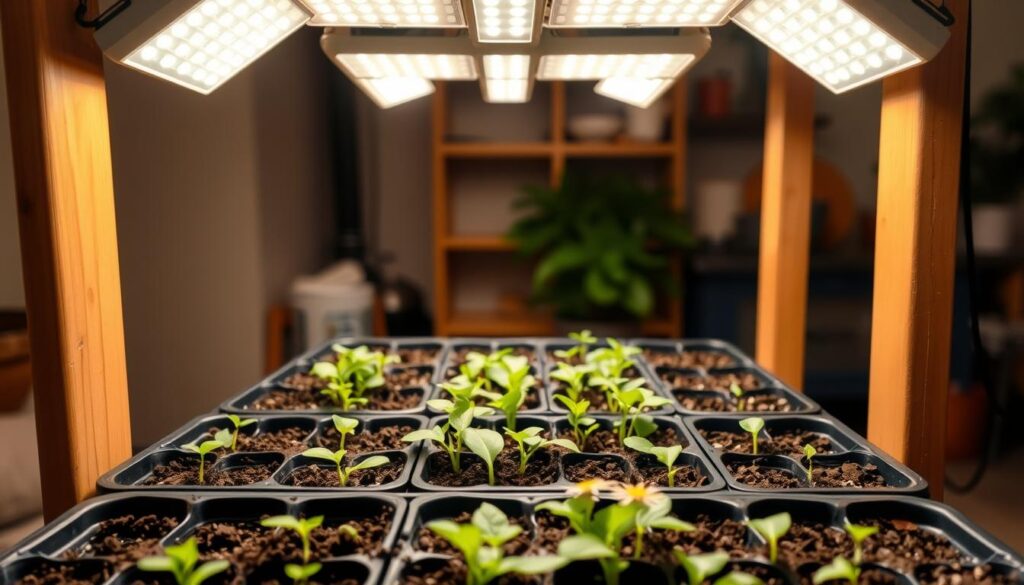
Use a well-draining seed-starting soil that stays airy when moist. Avoid heavy garden soil so young roots can move easily.
Sow tiny seeds very shallow or press them into the surface if they need light. When unsure, sow shallower and keep the mix evenly moist.
- Bottom water by adding water to the tray and letting the mix wick up moisture; never let trays sit soggy.
- Run a small fan on low for gentle airflow to strengthen stems and reduce excess humidity.
- Start seeds in waves, a few weeks apart, and feed with a diluted starter fertilizer after true leaves appear.
Place trays in the same spot and check daily. A consistent routine helps you catch drying mix or stretched seedlings early and correct fast.
Lavender from Seed: Cold Stratification, Light, and Patience
Mimic winter, then give steady warmth and close light. This two-step rhythm helps tiny seeds break dormancy and sprout with fewer setbacks.
Cold stratify by sprinkling seeds on a damp paper towel, folding it, sealing it in a zip bag, and refrigerating for 3–4 weeks. Keep the towel lightly moist, not soggy. This reliably mimics winter so dormancy eases.
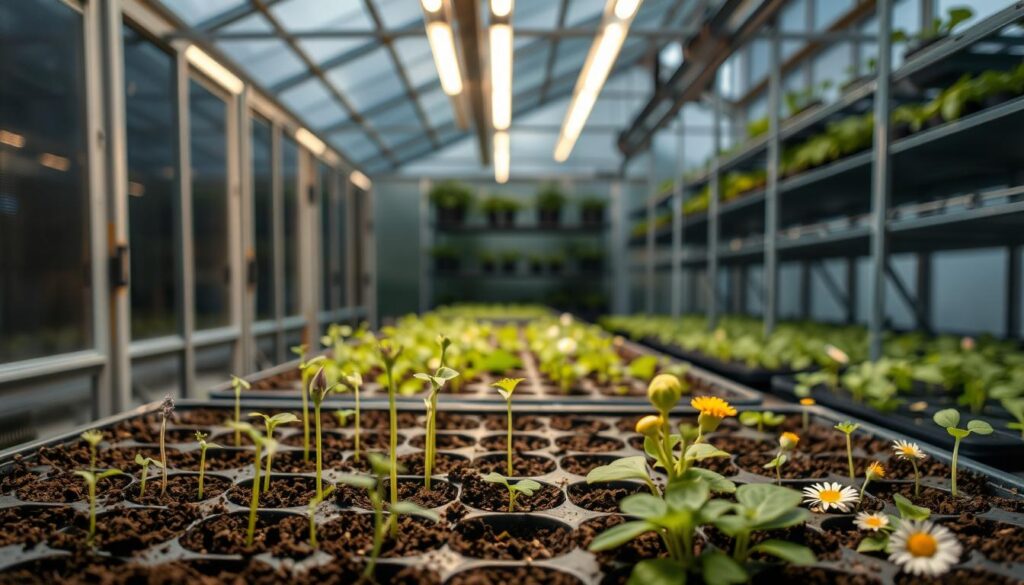
Two post-chill paths
You can let sprouts show on the towel, then transplant gently to potting mix, or sow the chilled seeds directly into trays. Both work—handle tiny sprouts carefully and press contact with soil firmly.
Sowing depth, light, and warm soil
Sow very shallow—about 1/8 inches—or simply press seeds into the surface. They need light to germinate. Expect 18–28 days for emergence and uneven popping in waves.
| Step | Method | Key condition |
|---|---|---|
| Stratify | Wet towel, sealed bag, fridge 3–4 weeks | Consistent coolness |
| Post-chill A | Sprout on towel, then transplant | Gentle handling |
| Post-chill B | Sow chilled seeds directly into soil | Firm soil contact |
| Early care | Heat mat, close grow lights a few inches above, dome | 70–80°F soil, steady humidity |
Keep soil warm at about 70–80°F; a heat mat helps. Place grow lights a few inches above seedlings to keep stems compact. Use a clear dome to hold moisture and check daily. Water at tray level or mist so seeds don’t float, and watch for early root development before you up-pot.
Transplanting and Hardening Off Lavender Seedlings
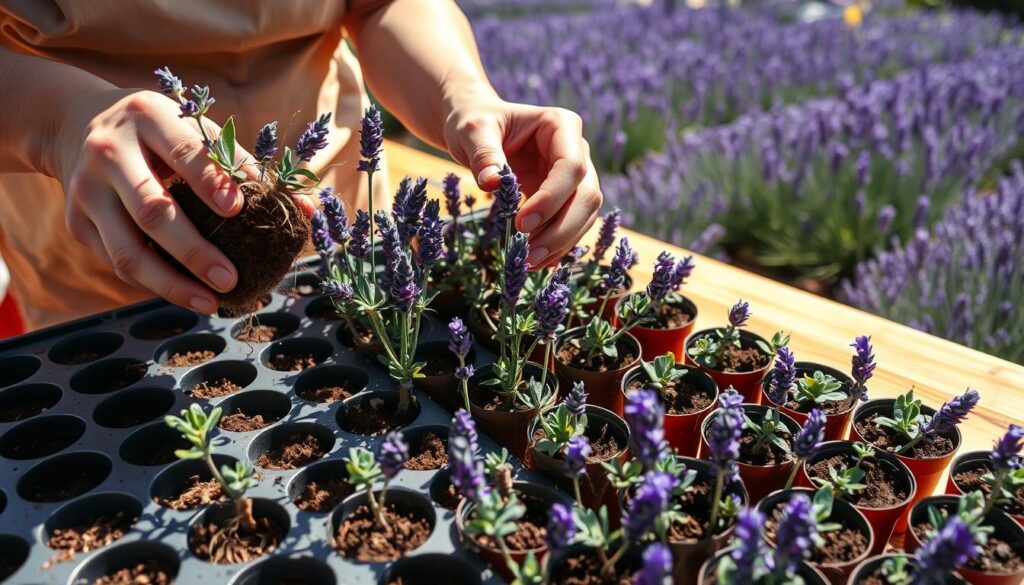
Move seedlings outdoors only after they stand sturdy at about 3 inches tall and frost danger is past. Start a gradual hardening off period so they acclimate to sun, wind, and night changes without shock.
When to begin
Confirm seedlings reach roughly 3 inches before any outdoor move. Wait until local frost risk is fully past; a week of steady warm nights is ideal.
Where and how to plant
Choose a sunny spot with very fast-draining soil to protect young roots. Lay out plants about 18 inches apart so each has ample room and air circulation.
Planting depth and first water
Set each plant at the same depth it grew in its container. Firm the soil gently to remove air pockets around the root ball.
Water in thoroughly after planting to settle soil around developing roots, then let the surface dry before watering again.
- Harden off over 7–10 days: increase outdoor time daily and reduce cover at night.
- Avoid fertilizer at planting; lean, well-drained ground helps establish strong, long-lived plants.
- Shield young transplants from strong wind and cold snaps during the first week.
Begin light shaping only after you see new growth. Early, careful care sets the stage for healthy plants that fit naturally into your garden layout.
Calendula Indoors to Garden Beds: Fast Blooms and Easy Care
Start inside six to eight weeks before your last frost so seedlings arrive sturdy and ready to bloom outdoors. Early starts give you more bright blooms and reliable harvests for teas, salves, or fresh bouquets.
Begin in a shallow tray with well-draining soil. Sow seeds thinly, press them lightly, and cover with just a dusting of mix. Keep the surface moist but never soggy and aim for cool room temps around 60–70°F.
Indoor care and shaping
When true leaves appear, pinch the main tip to encourage branching. This simple pinch makes bushier plants and more blooms across the season.
Transplanting and light
Move seedlings when they reach about 2 inches tall with several true leaves. Set them in full sun to partial shade in garden soil pH 6.0–7.0 and ensure fast drainage so roots never sit wet.
- Deadhead spent flowers to keep new buds coming.
- Watch for aphids and slugs; rinse insects off, handpick pests, or use organic controls if needed.
- Feed with light fertilizer only if growth slows; most plants do well on modest fertility.
| Stage | Action | Key detail |
|---|---|---|
| Sowing | 6–8 weeks indoors | Thin sowing, light cover |
| Seedling | Pinch after true leaves | Promotes branching |
| Transplant | At ~2 inches tall | pH 6.0–7.0, good drainage |
| Harvest | Pick open blooms | Don’t remove over one-third at once |
Chamomile Basics from Seed for Soothing Tea
Surface-sow tiny chamomile seeds, press gently for firm contact, and keep the soil evenly moist to encourage light-driven germination. Use a fine-textured, well-draining mix and keep trays bright but cool so seedlings stay compact and healthy.
Surface-sow the seeds and press them lightly into the mix; do not bury them deep. Light helps most varieties wake up, so keep trays where they get steady bright light without heat spikes.
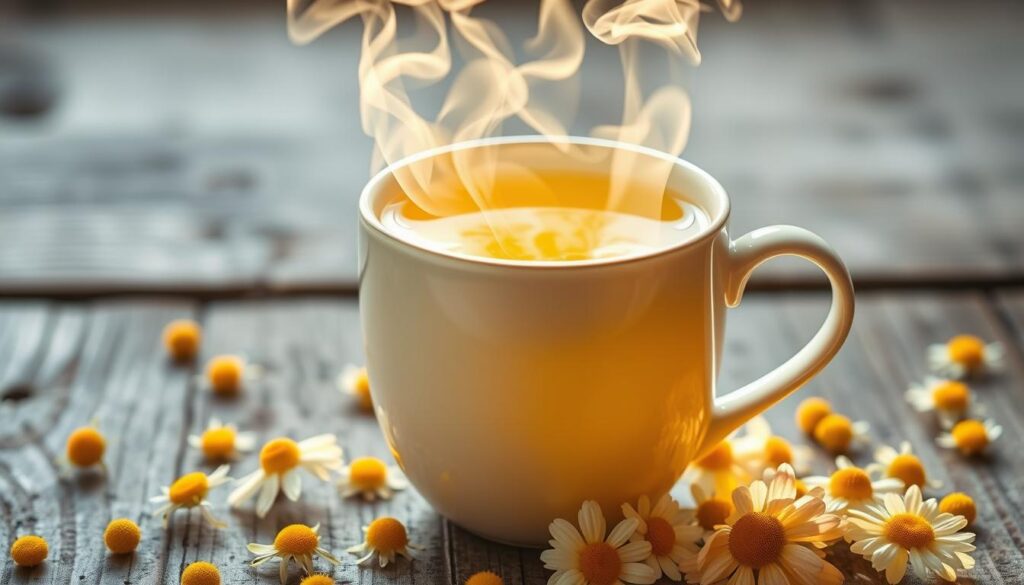
Choose a fine, airy potting mix so roots can push through without compaction. Keep moisture even—never soggy—and aim for cool to moderate temperatures while seedlings form true leaves.
Transplant when seedlings have several true leaves. Handle by the leaves, not the fragile stems, and set each plant in a sunny spot that drains well. Chamomile tolerates lean soil and rewards modest care.
Harvest flower heads when petals sit horizontal and look fresh; that is peak flavor for tea. Dry blooms in a warm, dark, airy place until crisp, then store in airtight jars away from light to protect aroma.
| Action | How | Why it matters |
|---|---|---|
| Surface sow | Press seeds onto soil | Light aids germination |
| Soil choice | Fine, well-draining mix | Prevents compaction; eases root growth |
| Transplant | By leaves, at true-leaf stage | Reduces stem damage |
| Harvest & dry | Pick horizontal petals; dry in dark airy spot | Preserves aroma for tea |
Tip: Gentle, regular harvesting encourages more flowers over time so you enjoy a steady supply for cups and small apothecary uses in your garden.
Containers and Small Spaces: Growing Lavender, Chamomile, and Calendula in Pots
Containers let you tailor soil, sun, and water for each plant—ideal for balconies and tight spots. A few well-chosen containers transform tight spots into productive, fragrant corners.
Pick breathable pots like terracotta or clay with ample drainage holes. For larger shrubs, aim for at least 12 inches deep and roughly 16 inches wide to give roots room and steady soil moisture.
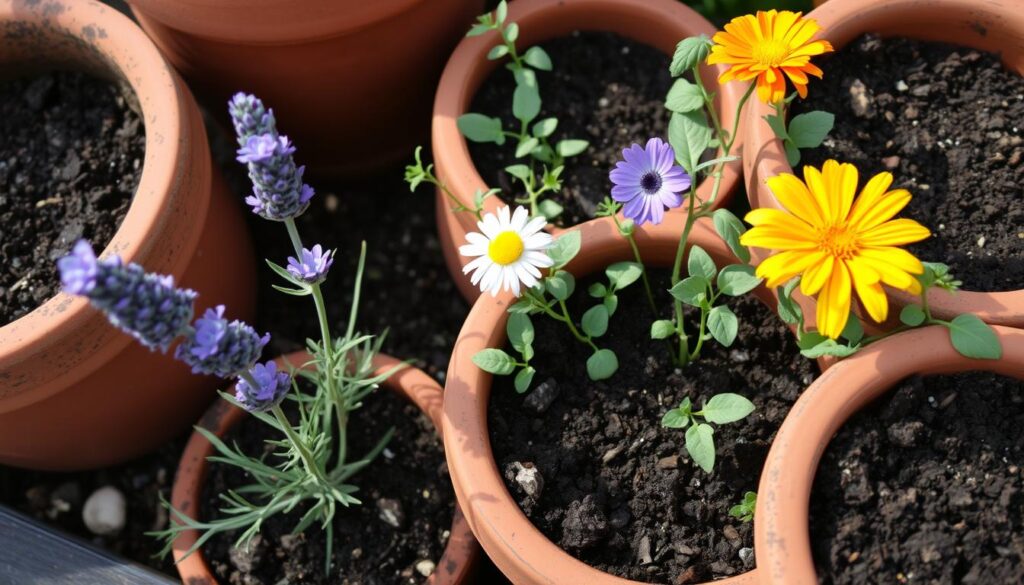
What soil and pot choices help roots thrive?
Use a well-draining mix: quality potting soil plus perlite or coarse sand. Avoid gravel layers; they create a perched water table that keeps roots too wet.
Practical tips for growing lavender pots and container mobility
Choose breathable containers and place them in the sunniest spot you have. Use pot caddies or moveable saucers so you can shift heavy pots to shelter during storms or to chase full sun.
Watering, fertilizer, and lights for balcony plantings
Water deeply but less often; allow the top inch of soil to dry between waterings. Feed lightly during the main growth period with a balanced, diluted fertilizer only if growth slows.
- Rotate pots to equalize light and keep canopies even.
- Prune annually and deadhead spent flowers to maintain shape without cutting into old wood.
- Check roots each year by easing the plant out; up-pot when roots circle tightly to avoid stalled growth.
For more full-size outdoor container ideas, try this practical guide on an ideal herb garden best outdoor herb garden.
Growing Lavender, Chamomile, Calendula from Seed Herbal: Care Through the Season
Keep care simple as plants move through stages: more root depth, less frequent surface water, and routine light shaping. These steps help plants set deep roots, make steady growth, and reward you with reliable blooms across the season.
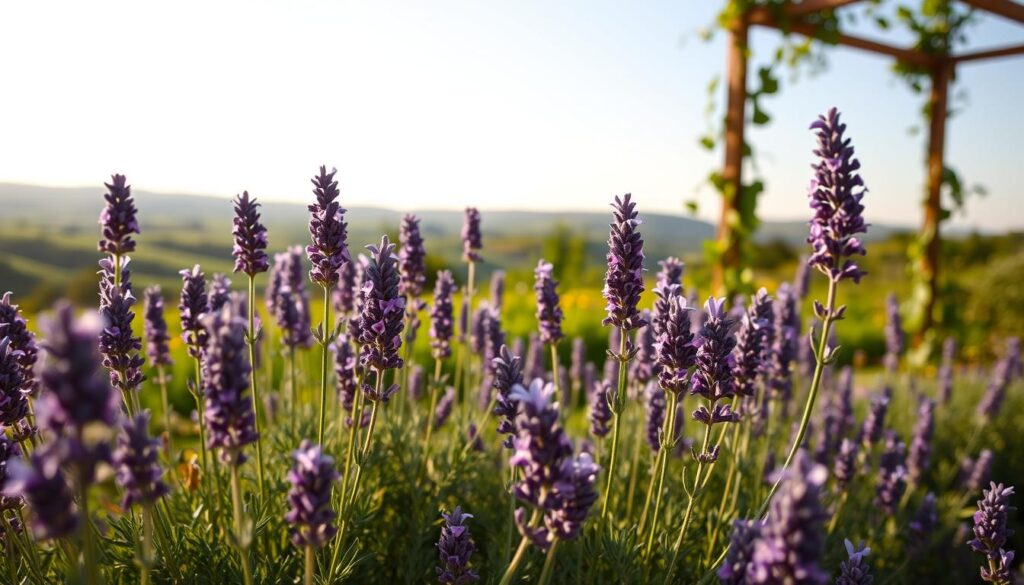
How sun, soil, and watering change with maturity
Young transplants need regular, light waterings to settle roots. As they mature, water deeply and less often to encourage strong root growth.
Soil should stay lean and fast-draining. In humid areas, give extra spacing to improve air flow and lower disease risk in gardens.
When and how to prune for long-term shape
Prune after the first big flush of flowers. Use scissors pruning shears to cut just above the woody line so new shoots can emerge from green growth.
Avoid cutting into old wood that won’t resprout. Light, regular shaping keeps energy aimed at fresh growth and more blooms.
Watch pests and protect plant health
“Check foliage often; a quick rinse removes many early aphids and spittlebugs before they build up.”
Monitor for common pests and use a targeted rinse or mild insecticidal soap when needed. Good air circulation and careful watering lower fungal pressure.
- Match care to maturity: deeper, less frequent waterings as roots deepen.
- Feed sparingly: light fertilizer only if growth slows—too much fertilizer softens growth and reduces aroma.
- Deadhead: remove spent flowers to encourage continuous blooms and tidier growth.
- Containers: watch for root stress—wilting plus stalled growth often signals overwatering or poor drainage.
| Stage | Action | Why it matters |
|---|---|---|
| Establishment | Frequent light waterings, check soil contact | Helps roots anchor and reduces transplant shock |
| Mature | Deep, infrequent water; lean soil | Encourages root depth and concentrated oils |
| Maintenance | Prune with scissors pruning shears; deadhead regularly | Promotes fresh growth and more blooms |
| Pest response | Rinse or use mild soap; increase airflow | Controls aphids and spittlebugs, limits disease |
Annual rhythm: spring shaping and soil checks, summer water management and deadheading, early fall cleanup to set tidy growth for the next year.
For more detailed pruning and seasonal tips, see a focused guide on caring lavender plants and practical outdoor strategies at a garden care resource.
Harvesting, Drying, and Using Your Herbal Flowers
Plan your final harvest with the sun high and buds just shy of full bloom to lock in the best aroma and potency. Pick on a dry, bright day so moisture is low and oils stay concentrated.
When is the best time to cut?
Cut stems just before blooms open for peak scent and flavor. Gather stalks into loose bundles and tie with twine. Work quickly to move cut material to a cool, dry place.
How should I dry and store flowers and seed?
Hang bundles upside down in a warm, dark, airy place until crisp. Use a paper bag over bundles to collect any falling seed. For flat flowers, spread them thinly on screens to avoid browning.
Store thoroughly dried blooms in airtight jars away from light and heat. Label jars with plant name and harvest date to track quality year to year.
What can I make with the harvest?
Turn dried flowers into tea blends, infuse oils for salves, or add petals to syrups and baked goods. Use leaves and petals sparingly so flavors stay balanced.
| Crop | Best harvest time | Drying method | Storage tip |
|---|---|---|---|
| Lavender-style | Just before bloom | Hang upside down in paper bag | Airtight jar, dark shelf |
| Calendula-style | Open, vibrant heads | Spread on screens or trays | Label with date; airtight |
| Chamomile-style | Petals horizontal | Gentle air-dry; low heat if needed | Keep dry; avoid sunlight |
Conclusion
Finish with a simple routine: start seeds under steady light and warmth, transplant on schedule, then tailor care to each plant’s conditions. Small, consistent habits—good labels, regular checks, and proper soil preparation—turn trial into skill from one year to the next.
Use observation to guide adjustments: shift watering, tweak light, and add airflow as plants grow to prevent problems early. Keep a short log so you learn what works in your garden and under local conditions.
Expand slowly—try a new variety or refine drying and storage over time. Share your results and questions so this article becomes a living resource that supports confident, joyful plant care.