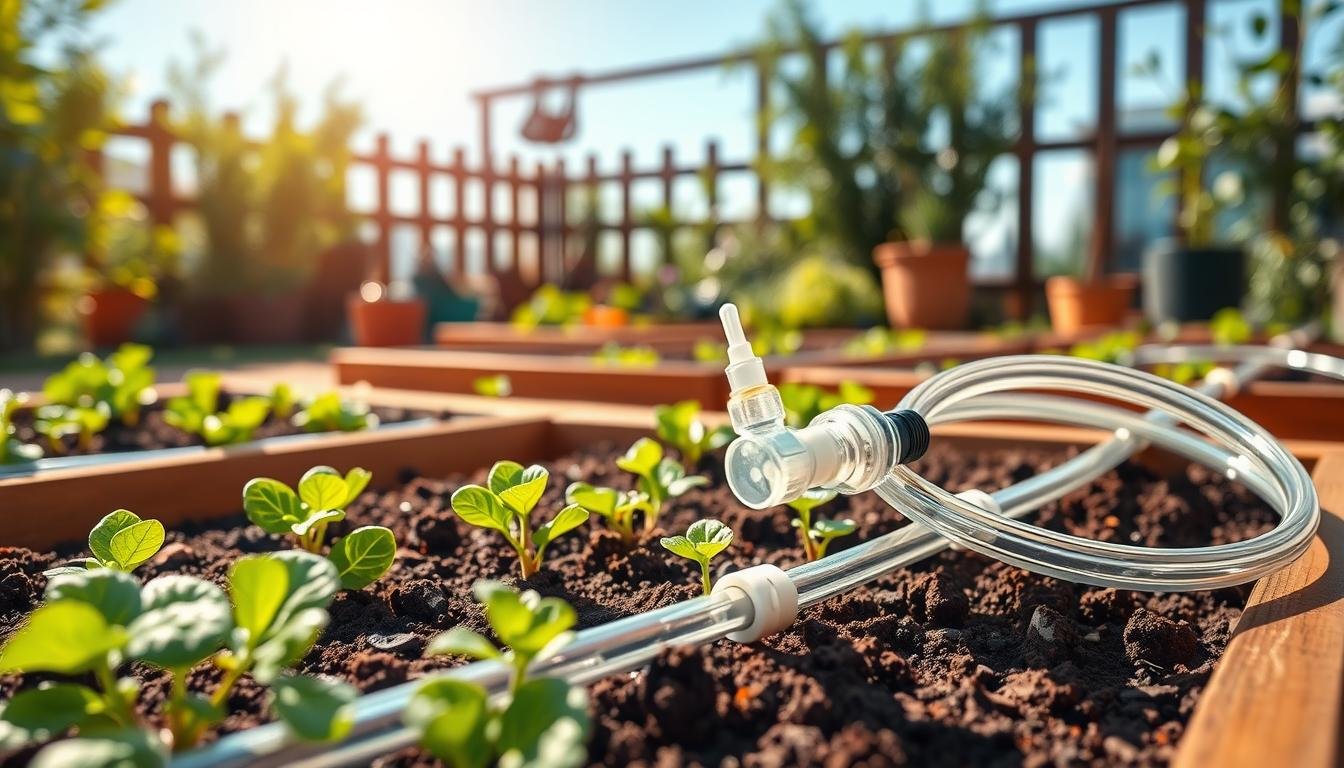
Raised beds dry out faster than in-ground garden soil, especially during hot, windy, or high-sun weeks. A simple drip irrigation setup can make watering more consistent, but the system should also be easy to disconnect before freezing weather arrives.
The best setup uses a faucet or hose source, backflow protection, filtration, pressure regulation, main tubing, drip lines or emitter tubing, shutoff points, and removable quick connects placed where seasonal disconnection makes sense.
To set up raised-bed drip irrigation with removable winter quick connects, run a controlled water line from your faucet to the raised beds, reduce the pressure for drip tubing, connect each bed with tubing or emitter line, then place quick connects at the hose-end or bed-entry points so removable sections can be disconnected, drained, and stored before a freeze.
The key is planning the disconnect points before cutting tubing. If the quick connects are placed only at the faucet, the bed lines may still trap water. If they are placed at each bed entry, winter removal and repairs become easier.
Do not treat quick connects as freeze protection by themselves. They make disconnection easier, but the lines and fittings still need to be drained, opened, or removed before freezing weather.
Key takeaways
- Use pressure regulation. Most drip setups work best when water pressure is reduced before it reaches the tubing.
- Plan the layout before cutting tubing. Measure each raised bed, the faucet distance, and the route between beds.
- Place quick connects where they solve a real problem. Good locations include the faucet end, hose-to-mainline point, or each bed-entry point.
- Keep compatibility in mind. Hose-thread fittings, drip tubing sizes, adapters, and quick-connect systems are not always interchangeable.
- Drain before winter. Quick connects help with removal, but water left inside fittings can still freeze and damage parts.
Helpful products at a glance
These are practical support products for readers who want examples of common parts used in a raised-bed drip setup. They should support the layout, not replace careful measuring and installation.
Best for a simple raised-bed drip starting point because it is listed for a 4-foot by 8-foot raised bed
- Convenient Drip irrigation kit has everything needed to water up to a 4’ x 8’ raised bed garden
- Ideal for all types of raised garden beds with professional-grade components that are built to last

Best for removable hose-end connections because it uses 3/4-inch GHT quick-connect fittings
- Gorilla Easy Connect garden hose quick connect products only work with other Gorilla Easy Connect products and should be purchased as a set
- Standard 3/4 inch durable solid brass counstruction GHT fittings fit all types of garden hoses faucets and watering devices pressure washers and spray nozzles

Best for faucet-end drip connection because it combines pressure regulation, filtration, backflow prevention, and a 1/2-inch tubing adapter
- Ensure accurate and reliable drip system performance with this all-in-one faucet to drip irrigation connection kit. Connect your drip irrigation system to your water supply, keep out debris with a filter, maintain optimally low flow water pressure, and prevent backflow all with a single pre-assembled unit.
- Connect ½” tubing to any standard ¾” male outside faucet, hose bibb, spigot, garden hose or sprinkler manifold in seconds for an easy fit. Leakproof connector is compatible with any 1/2" tubing sizes .520 to .620 ID (inner diameter) including Rain Bird and Dig.

What you need before starting
A raised-bed drip system is easier to build when each part has a clear job. The water source side controls pressure and debris. The bed side delivers water slowly near the plant roots. The quick-connect points make seasonal removal easier.
For most small raised-bed gardens, the basic setup includes:
- Outdoor faucet or hose connection
- Backflow preventer
- Filter or mesh screen
- Pressure regulator made for drip irrigation
- Adapter from faucet or hose thread to drip tubing
- Mainline tubing or distribution tubing
- Emitter tubing, dripline, or individual emitters
- Tees, elbows, couplers, end caps, and goof plugs
- Shutoff valves for bed-by-bed control
- Quick-connect fittings for removable sections
- Landscape staples or clips to hold tubing in place
A good raised-bed drip setup is not just about watering. It is about making the system easy to test, adjust, disconnect, and repair.
Parts table for a winter-friendly raised-bed drip setup
| Part | Where it usually goes | Why it matters | Winter note |
|---|---|---|---|
| Backflow preventer | Near the faucet or hose source | Helps protect the water source from reverse flow | Remove or protect it before freezing weather if the product instructions require it |
| Filter | Before the drip tubing | Helps reduce debris that can clog emitters | Open and clean it before storage |
| Pressure regulator | Before drip tubing or mainline | Reduces pressure so drip parts are less stressed | Do not leave water trapped inside it during freezes |
| Mainline tubing | From the water source toward the beds | Carries water to each bed or branch line | Drain low spots before winter |
| Emitter tubing or dripline | Inside each raised bed | Delivers slow watering near plant rows | Disconnect, drain, or leave open depending on your setup and climate |
| Quick connects | At hose ends, bed entries, or removable sections | Make seasonal disconnection and repairs easier | Disconnect and drain; do not rely on them as freeze protection |
Plan the layout before cutting tubing
Start with a simple sketch of your garden. Mark the faucet, the path to the raised beds, each bed size, and the side where water should enter. This step prevents awkward tubing runs and makes it easier to decide where quick connects belong.
For one raised bed, the setup may be as simple as a faucet-end adapter, one supply line, and several emitter lines across the bed. For multiple beds, it is usually cleaner to run one mainline past the beds and branch off to each bed with a shutoff valve.
Good quick-connect locations
Quick connects work best at places where you know you will disconnect the system. Common locations include:
- At the faucet or hose end: useful if the whole garden line is removed in winter.
- Before the mainline: useful when the faucet parts stay separate from the bed tubing.
- At each raised bed entry: useful when beds need separate maintenance or winter removal.
- Before a removable hose section: useful when a walkway or mower path should stay clear.
For readers starting with one standard raised bed, a raised-bed drip kit like the Rain Bird GARDENKIT can make the parts list simpler, but the tubing layout and winter disconnect points still need to be planned carefully. You can see this raised-bed drip kit on Amazon if you want a kit-based starting point rather than buying every small part separately.
Pay attention to the listing guidance for any kit you choose. For example, the Rain Bird GARDENKIT is listed for a 4-foot by 8-foot raised bed and includes emitter tubing and distribution tubing, but the listing also warns against extending it with extra 1/4-inch tubing because reduced water flow may result.
Build the faucet-end connection first
The faucet end is where many drip problems start. If the system gets too much pressure, too much debris, or the wrong adapter size, leaks and uneven watering become more likely.
A common order is:
- Faucet or hose bib
- Timer, if you use one
- Backflow preventer
- Filter
- Pressure regulator
- Adapter to mainline or drip tubing
- Mainline tubing toward the beds
Always follow the instructions for the parts you are using, because some timers, filters, and regulator kits may require a different order.
A faucet adapter with pressure regulation, filtration, and backflow prevention can simplify the water-source side of a drip setup, but tubing size and installation order still need to be checked before final assembly. One example is the Habitech Drip Irrigation Faucet Adapter Kit, which is listed with a backflow preventer, mesh filter, 25 PSI pressure regulator, and a 1/2-inch tubing adapter. You can check this faucet-to-drip adapter on Amazon.
Check tubing size carefully. “1/2-inch tubing” is not always the same across brands. Some fittings work only within a specific inside-diameter range, so do not assume every adapter will fit every roll of tubing.
Install the mainline and bed tubing
Once the faucet side is assembled, run the mainline toward the raised beds. Keep it along a bed edge, fence line, or low-traffic path when possible. Exposed tubing across walkways can become a tripping hazard and may get damaged by carts, tools, or mowers.
For one raised bed
Bring the water line to one corner or side of the bed. From there, run emitter tubing or dripline across the planting area. Space the lines based on the crop layout, soil mix, and how evenly the bed dries.
A single bed usually does not need a complicated system. The main goal is even coverage without overwatering one side and leaving the other side dry.
For multiple raised beds
Run a mainline past the beds, then branch into each bed. Add a small shutoff valve for each bed if you grow different crops or want to water one bed less often.
This is especially useful when one bed holds herbs, another holds tomatoes, and another holds seedlings. They may not need the same watering schedule.
Add removable winter quick connects
Quick connects make the system easier to take apart, but they need to match your thread type, tubing adapters, and seasonal plan. A quick connect at the wrong point may look convenient in summer but still leave water trapped in the bed tubing before winter.
A hose-thread quick connect can make seasonal disconnection easier, but readers should keep the same quick-connect system together instead of mixing brands or fitting styles. The Gorilla Easy Connect fittings are listed as 3/4-inch GHT solid brass quick-connect fittings, but the listing notes they work only with other Gorilla Easy Connect products. You can view Gorilla Easy Connect fittings on Amazon if you need a hose-end quick-connect example.
How to place quick connects for winter removal
Use quick connects where you want the system to separate cleanly:
- Install one set between the hose and the drip-system faucet adapter if you remove the whole drip setup each winter.
- Install a set before each raised bed if you want to disconnect individual beds.
- Use shutoff valves near bed branches so one bed can be turned off without stopping the whole system.
- Keep fittings accessible. Do not bury quick connects under mulch where they are hard to inspect.
Labeling each removable line may sound unnecessary in spring, but it can save time when you reconnect everything later. A simple tag such as “Bed 1,” “Tomato bed,” or “North bed” is enough.
Test the system before covering tubing
Turn the water on slowly and watch every connection. Check the faucet-end assembly, quick connects, bed-entry fittings, elbows, tees, end caps, and emitter lines.
Small leaks often come from loose fittings, missing washers, mismatched thread types, or tubing that was not pushed fully into the connector. Fix these before mulch, plants, or trellises make the lines harder to reach.
What to check during the first test
- Water reaches the far end of each bed.
- Emitter lines are not kinked or folded.
- End caps are secure but still removable for flushing.
- Quick connects do not drip under normal use.
- Soil moisture looks even after a full watering cycle.
- No line is spraying directly onto stems, paths, wood siding, or a foundation.
After the first test, run the system again the next day and check the soil by hand. Raised-bed soil can look damp on top while staying dry in deeper zones, especially in loose mixes.
Winter disconnect steps
Winter preparation matters because trapped water expands when it freezes. Quick connects help you open the system, but they do not remove the need to drain lines and protect small fittings.
Use this basic winter routine before hard freezes:
- Turn off the water at the faucet.
- Disconnect the hose or faucet-end drip assembly.
- Open end caps or low points so water can drain.
- Separate quick-connect sections that should be removed.
- Shake or drain removable tubing sections gently.
- Clean filters and check washers or gaskets.
- Store small adapters, regulators, filters, and quick-connect pieces in a dry place.
- Leave bed lines open if they remain outside and your setup allows it.
In colder areas, the safest approach is usually to remove the most delicate faucet-end parts rather than leaving them attached all winter. That includes filters, pressure regulators, timers, and adapters that can trap water.
Troubleshooting common drip irrigation problems
Most raised-bed drip issues come from pressure, debris, blocked emitters, poor layout, or trapped water. The table below gives a quick way to narrow down the problem before replacing parts.
| Problem | Likely cause | Practical fix |
|---|---|---|
| Water sprays from a fitting | Loose connector, missing washer, or mismatched fitting | Turn off water, reseat the fitting, check the washer, and confirm thread compatibility |
| Far end of the bed gets little water | Line too long, pressure too low, clog, or too many branches | Flush the line, reduce extra branches, or split the bed into shorter runs |
| Emitters clog | Debris in the water or soil entering open ends | Clean the filter and flush lines through removable end caps |
| Quick connect drips | Worn gasket, poor fit, or mixed connector systems | Inspect the gasket and keep compatible quick-connect parts together |
| Raised bed stays too wet | Watering time is too long or soil drains slowly | Shorten the watering cycle and check soil moisture below the surface |
| Fittings crack after winter | Water was left trapped inside | Disconnect, drain, and store removable parts before freezing weather |
Common mistakes to avoid
Skipping the pressure regulator
Drip tubing and small fittings are not designed for uncontrolled pressure in every setup. A pressure regulator can reduce stress on the system and make watering more predictable.
Mixing quick-connect brands without checking compatibility
Quick connects may look similar but use different locking shapes, gaskets, or tolerances. If a listing says the fittings work only within the same system, follow that guidance.
Putting all disconnect points at the faucet
A faucet-end disconnect is useful, but it may not drain the bed tubing. Raised beds can still hold low spots where water sits in tubing or fittings.
Forgetting to flush the lines
Flush drip lines before the main growing season and again before storage. It is easier to clear debris before emitters clog fully.
Assuming drip irrigation means no checking
Drip systems still need attention. Soil moisture, weather, plant size, mulch, and bed drainage all change how much water the bed needs.
FAQ
Do raised beds need drip irrigation?
No, raised beds do not require drip irrigation, but drip lines can make watering more consistent and less time-consuming. They are especially useful for gardeners who have several beds or struggle to keep soil moisture even.
Where should quick connects go on a raised-bed drip system?
Place quick connects where you actually plan to separate the system. Common spots include the faucet end, the hose-to-mainline connection, and each raised-bed entry point.
Can quick connects stop freeze damage?
No. Quick connects make disconnection easier, but they do not stop water from freezing inside tubing, filters, regulators, or fittings. The system still needs to be drained or partly removed before freezing weather.
Do I need a pressure regulator for raised-bed drip irrigation?
In most drip setups, yes, a pressure regulator is a smart part of the system. It helps reduce pressure before water reaches drip tubing and small fittings.
Can I use one drip line for several raised beds?
You can run one mainline to several beds, but each bed should be planned as its own branch. Shutoff valves can help if different beds need different watering times.
Should drip tubing be buried in raised beds?
It is usually easier to keep tubing near the soil surface and cover it lightly with mulch. Deep burial can make leaks, clogs, and seasonal removal harder to manage.
Final verdict
A raised-bed drip irrigation system works best when the layout is planned around both watering and maintenance. The faucet-end parts help control pressure and debris, the bed tubing delivers water where plants need it, and the quick connects make seasonal disconnection more practical.
For a winter-friendly setup, focus on accessible connection points, compatible fittings, clean drainage, and simple bed-by-bed control. That approach is more reliable than building a complicated system that looks neat in summer but becomes difficult to drain before the first hard freeze.