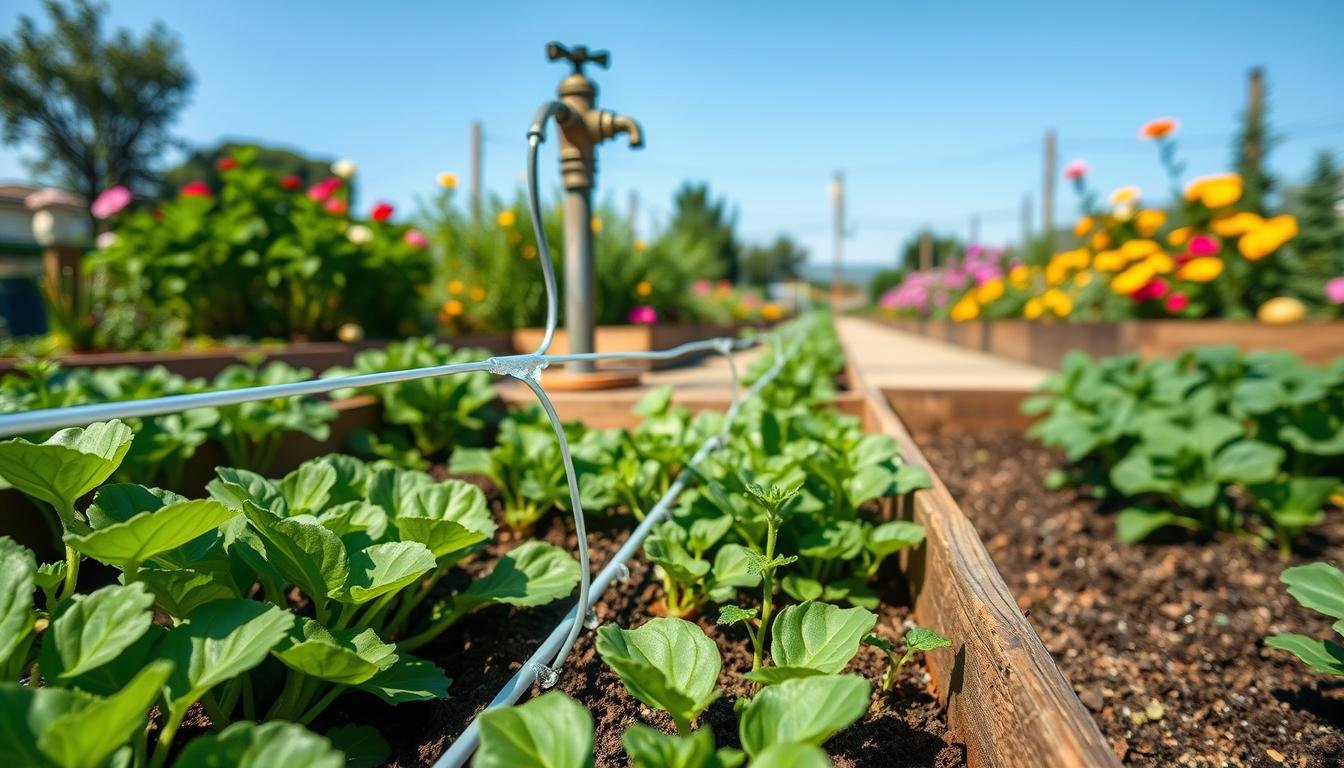
I still remember the first summer I tended a plot that wasn’t mine. I worried about leaving seedlings thirsty while juggling work and family. That worry led me to build a simple, low-cost irrigation plan that kept beds healthy and neighbors happy.
This guide shows a reliable layout that connects a nearby spigot to multiple raised beds without plumbing skills. You’ll learn to plan a run, assemble a 1/2-inch main line, add risers at each plot, and run short 1/4-inch rows into each bed.
A few safety notes up front: use backflow prevention and a pressure regulator so parts stay safe and the shared supply stays clean. Aim to pick a spigot within about 50 feet to keep pressure steady.
Expect shared-access realities: limited faucet windows, long hose paths, neat labeling, and quick-disconnects so each gardener can control their area. The system stays semi-temporary — easy to flush, fix, and winterize — and it supplies slow water near roots so plants thrive when you can’t be there daily.
Key Takeaways
- Connect a 1/2-inch main line from a nearby spigot to multiple beds for steady irrigation.
- Install backflow prevention and pressure regulation for safety and compatibility.
- Plan runs, risers, and 1/4-inch rows; pick a spigot within ~50 feet to keep pressure.
- Target about 1 inch of water per week as a starting baseline; adjust by climate.
- Respect garden etiquette: label runs, keep paths clear, and use shut-offs per bed.
- Build a semi-temporary setup that’s easy to flush, repair, and store each season.
Why Drip Irrigation Works So Well in a Community Garden Space
Drip irrigation fits community gardens because it delivers water slowly, right where plants use it, without wasting it on paths. Once set up, it reduces daily labor and makes watering more consistent—especially when you share a spigot and can’t always be there.
Delivering water where plants need it most saves effort and keeps paths tidy.
Save time and water compared to hand watering and hoses
Hand-held hoses often spray paths and beds, causing overspray and runoff. That wastes water and makes walkways muddy.
Low-flow lines aim at the soil, which cuts overall use and reduces manual watering time. Use a timer and those longer sessions become true hands-off time.
Healthier plants with consistent root-zone watering
Roots get steady moisture rather than quick, uneven wetting. That reduces stress that makes greens bitter or tomatoes crack.
Consistent routines help if you visit only a few times each week; staggered runs keep soil evenly moist between visits.
Fewer weeds and less evaporation in raised garden beds
Targeted rows wet planted zones only, leaving pathways drier and less inviting to weeds.
In elevated soil, evaporation is quicker; adding mulch plus a low-flow system keeps moisture where plants need it most.
“Slow, steady watering builds stronger roots and frees up time to enjoy growing.”
| Method | Water use | Hands-off time |
|---|---|---|
| Hand watering with hose | High (overspray, runoff) | Low (manual) |
| Sprinkler | Medium–High (evaporation) | Medium (timers help) |
| Drip system | Low (root-targeted) | High (best with timer) |
To learn layout tips and parts lists, see our short guide to drip irrigation basics. The next step is planning runs and risers so the system stays tidy and fair for all users.
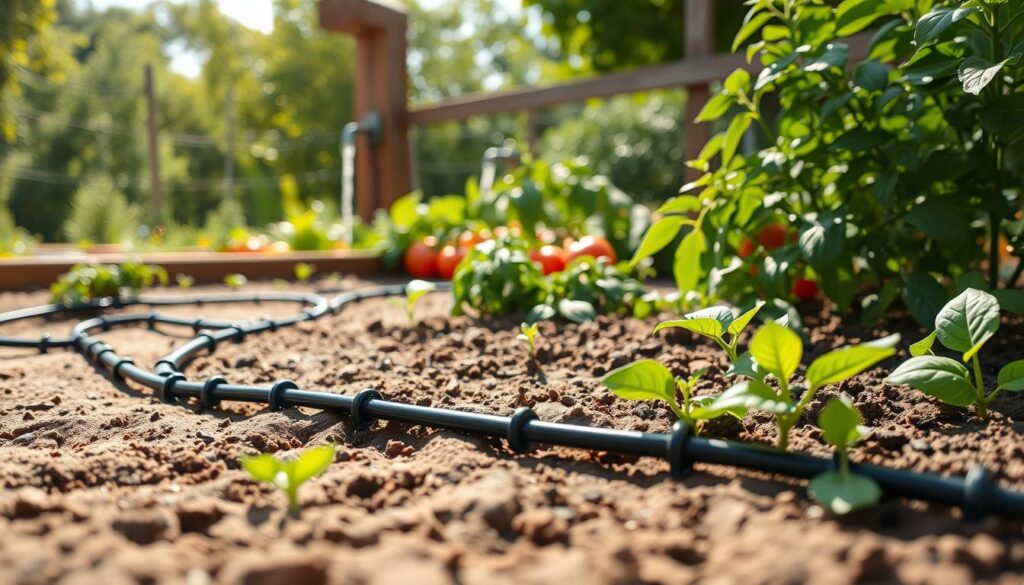
Plan Your Layout Around the Shared Spigot Before You Buy Parts
A clean plan prevents the most common community-garden headache: a spaghetti layout that kinks, leaks, and blocks paths. Measure first, sketch second, then buy parts once you know your main line route, riser locations, and how many beds you’ll water.
Measure the real walking routes first; the shortest line on paper may kink around a fence. Walk the path from the faucet to each bed and note obstacles: fences, benches, and steep slopes. Mark where the tubing will run along bed edges and paths so the line stays neat and accessible.
Draw a quick map on paper. Mark the faucet, the main run, riser points, and where each bed header will connect—usually at the short end. This sketch helps you estimate the number of fittings and the total length of tubing before you buy parts.
Think about zones and pressure
Zones group beds with similar needs so the system keeps solid pressure. One zone might run thirsty greens and cucumbers; another handles drought-tolerant peppers. Add a valve or timer to each zone so they run at different times.
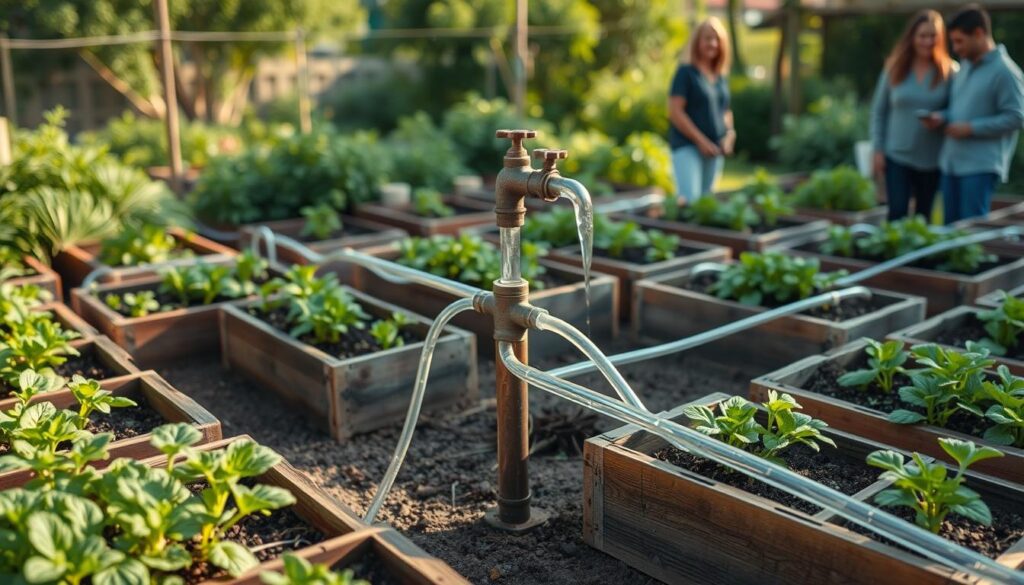
- Long straight runs use fewer tees and elbows; grid layouts need more fittings.
- Keep main runs within ~100–200 feet of 1/2-inch line; split larger areas into zones.
- Leave the faucet area clear so other gardeners can still use it without stepping over tubing.
Next: translate this sketch into a supplies checklist that matches the exact tubing lengths, fittings, and parts you need. See a planning guide at planning and set-up tips and a compact system example at a small DIY layout.
Supplies Checklist for Raised Bed Drip Irrigation (Spigot-Connected)
Think in layers: protection at the faucet, a sturdy 1/2-inch main line, then 1/4-inch dripline inside each bed. Buying the right adapter, tubing sizes, and a few small tools up front prevents leaks and clogs later.
Start with the faucet connection essentials. A 4-in-1 adapter gives you a filter, a backflow preventer, a pressure regulator (20–30 PSI is ideal), and a coupler to snap on 1/2-inch tubing.
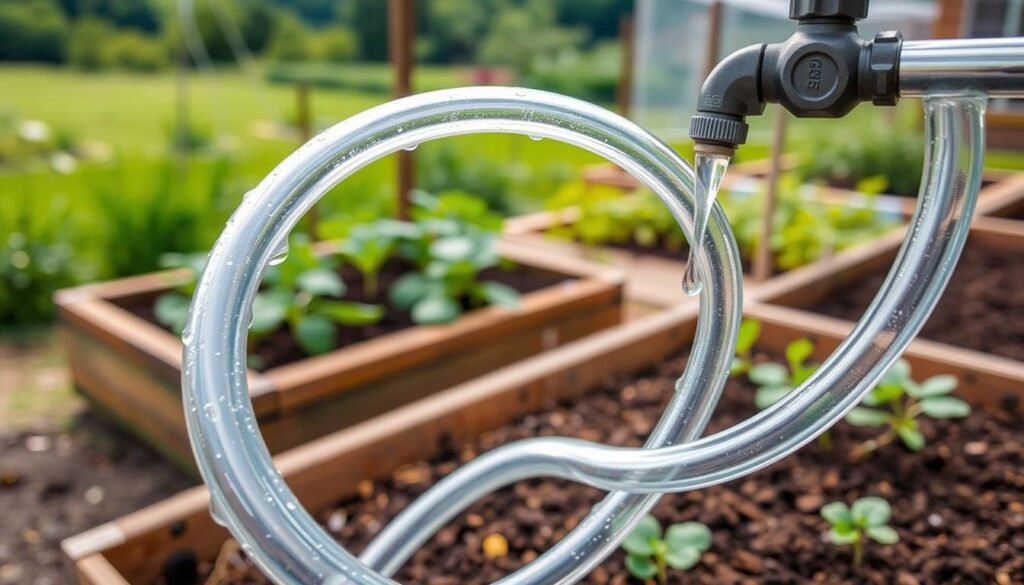
Key tubing and fittings
- Main line: 1/2-inch irrigation tubing serves as the highway from faucet to beds.
- Plant lines: 1/4-inch dripline with built-in emitters acts as the neighborhood streets that water plants evenly.
- Fittings: Tees for branching, elbows for corners, and couplers to repair or extend a line.
Tools, end caps, and hold-downs
- Punch tool — makes clean holes in the 1/2-inch tubing so 1/4-inch barbed fittings seal without leaks.
- Figure 8 clamps for header ends and goof plugs to cap rows or fix stray holes.
- Landscape staples, scissors, and pliers to keep lines neat and secure.
“Match your parts list to the sketch — it saves time and avoids extra trips to the store.”
Optional upgrades and shopping sanity check
Consider a hose timer, a Y-splitter so others can still use the faucet, and shut-off valves at each bed for easy control. Before you buy, count lengths and fittings against your map to get the right number of parts and avoid returns.
Spigot Safety and Pressure Basics for a Reliable Drip System
Start by treating the faucet like the heart of the system — protect it and match pressure to your parts. In a community setting, this keeps the supply safe and the lines predictable each time you run irrigation.
PSI is simply the “push” behind the flow. Most drip components run best at about 20–30 PSI. Household pressure can hit ~80 PSI. Without a regulator, fittings can pop, emitters can spray, and leaks can waste a lot of water before anyone notices.
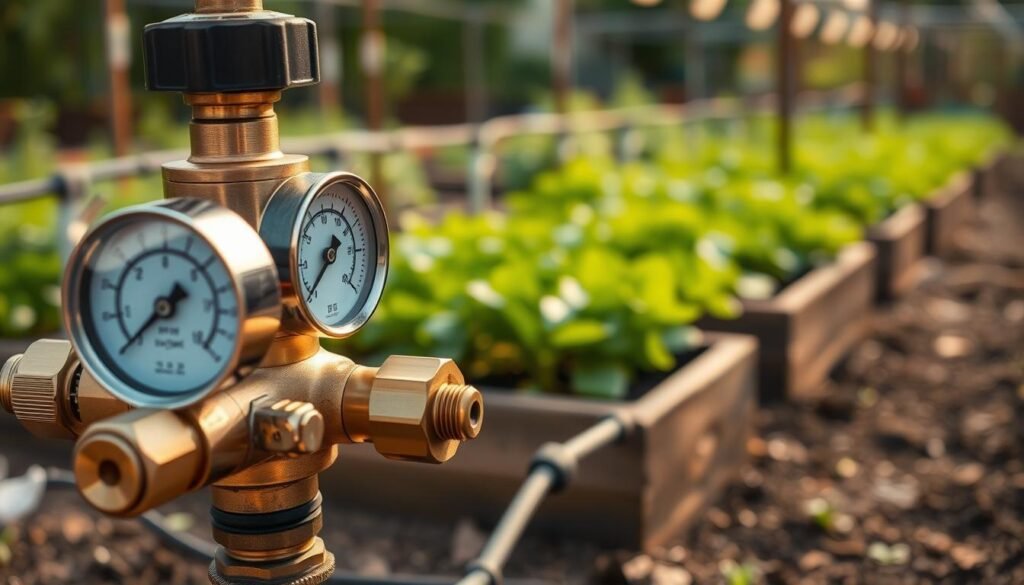
Why a regulator matters
Many gardeners use the regulator built into a 4‑in‑1 faucet adapter. It keeps the system within safe inches of pressure so parts last. If pressure seems low at the far end, troubleshoot fittings and routing rather than removing protective parts.
Protect the supply with backflow prevention
A backflow preventer is a one-way valve that stops soil or soapy runoff from siphoning back into the potable source. Install one at the faucet and keep hoses and filters clean.
Distance and practical tips
Keep lines within about 50 feet when possible. Shorter runs hold pressure better; run the main line along bed edges to avoid kinks and long detours.
- Label your connection and keep it tidy so coordinators can inspect it.
- If something leaks, shut the valve and fix the fitting—don’t bypass safety parts.
“A reliable drip setup starts at the faucet: safe connections, protected water supply, and pressure that matches drip parts.”
Once the faucet connection is safe and pressure is set, you’re ready to run the main supply line. For planning details, see a clear guide to planning and set-up tips.
Build the Main Supply Line From the Spigot to Your Raised Beds
The 1/2-inch main line is your system’s backbone, carrying water from the shared spigot to every bed connection. When you keep runs efficient and within recommended lengths, you protect pressure and make the whole setup easier to maintain.
Begin at the faucet and assemble the control stack so the rest of the layout flows cleanly.
Order the connections: Y-splitter (optional) → timer (optional) → 4‑in‑1 adapter → 1/2-inch tubing. A timer prevents “oops, I forgot” moments and keeps schedules steady when members change plans.
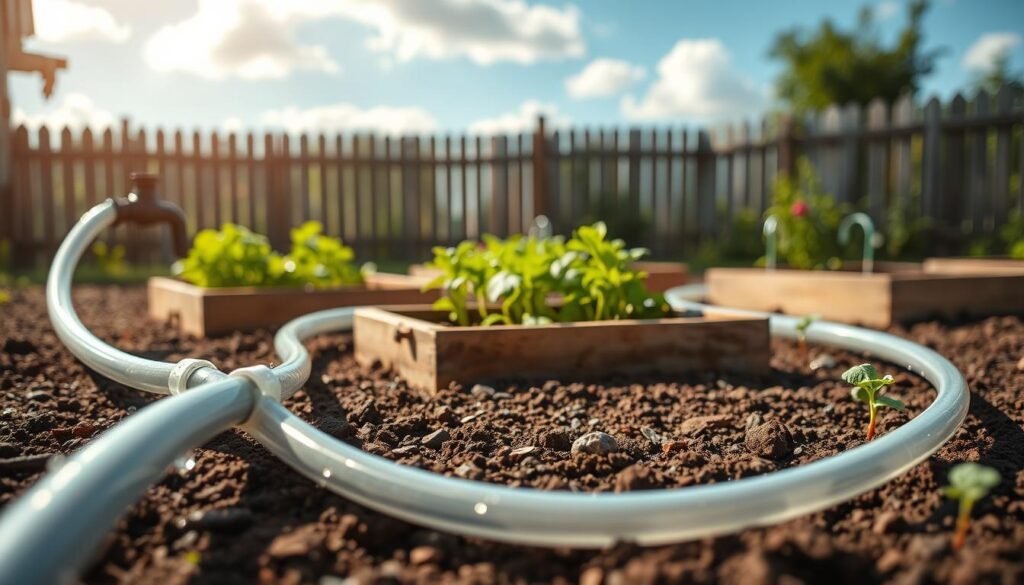
Run the 1/2-inch main line along the outside edge of beds or a single path to keep walkways clear. Use tees to branch to risers and elbows to turn corners without kinks.
Leave a little slack and add couplers so you can extend lines as beds expand. Keep each 1/2-inch run roughly 100–200 feet; split long runs into zones to protect pressure and keep the system reliable.
Checkpoint: do not cap the far end yet — leave it open to flush debris before attaching headers.
Create a Riser and Connection Point at Each Raised Bed
Risers turn your main line into a flexible network by bringing water up to each bed exactly where you need it. Adding a simple shut-off at each bed is one of the most garden-friendly upgrades you can make.
A simple riser turns the main line into a local connection point right where you plant. A riser is just a short vertical piece of 1/2-inch tubing that brings flow from the main run up to a bed header.
Placement options matter. Put the riser outside the bed for easy access and quick repairs. Hide it under mulch for a tidy look, but expect slightly harder access. Tuck it inside when paths are tight to keep walkways clear.
Best-practice tip: place risers near a short end of the bed so header rows run the long direction and stay neat.
- Cut the main line near the bed and insert a tee for straight runs or an elbow at the end of a run.
- Add a small shut-off valve at each connection to turn off empty beds, throttle thirsty crops, or isolate leaks.
- Label valves by plot number or name so any gardener can identify controls.
“A local shut-off saves water and keeps the whole system usable when plots change hands.”
| Placement | Pros | Best use |
|---|---|---|
| Outside bed | Easy access, quick repairs | High-traffic plots |
| Under mulch | Tidy look, hides tubing | Aesthetic rows |
| Inside bed | Saves path space, protected | Narrow walkways |
Once risers and valves are set, you’re ready to build a header inside each bed for even distribution. For a practical installation checklist, see this short guide on installing drip irrigation in raised beds.
Assemble a Header Inside Each Bed for Even Water Distribution
A header is the clean “manifold” that feeds multiple dripline rows evenly across a raised bed. When you build one good prototype and repeat it, every bed waters predictably and maintenance gets much easier.
Measure the short side of the bed, then cut 1/2-inch tubing to length. Leave an extra 3–4 inches so you can fold and seal the end with a figure 8 clamp.
Place the header along the inside short end so the small lines run straight down the long side. Use a marker to score evenly spaced hole locations. Keep all marks on the same face so the lines lie flat and do not twist.
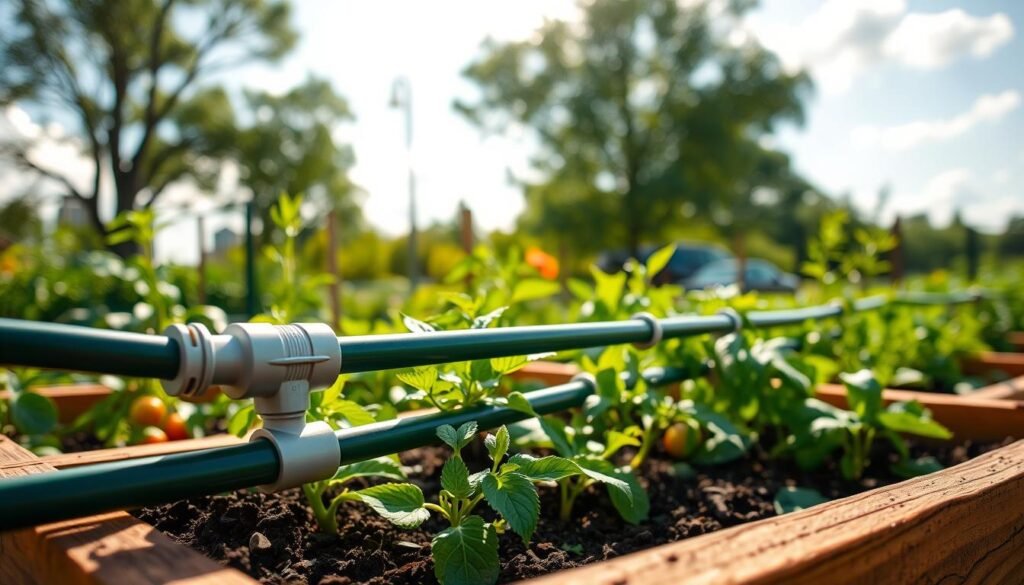
Punch, insert, and cap
Punch a clean hole at each mark, push in a 1/4-inch barbed coupler, then push the 1/4-inch line onto the barb. Cap the header end with the figure 8 clamp.
Cap each line end with a goof plug; these plugs also repair accidental holes. Build one prototype header first, test it, then batch-build matching assemblies on a table to keep parts clean and avoid soil clogs.
- Size it: measure the short side, cut tubing, leave extra for the clamp fold.
- Orientation: locate the header on the short inside edge so lines run straight.
- Standardize: identical headers across beds simplify fixes and handoffs.
For a step-by-step install checklist and a clear visual guide to installing drip systems in raised garden beds, see this short guide on installing drip irrigation in raised beds.
Emitter Spacing and Line Placement for Raised Beds
Emitter spacing and row placement determine whether your whole bed gets evenly moist or only narrow wet stripes. A simple 6-12 inch row spacing rule makes raised beds easier to plant, easier to weed, and easier to water consistently.
Start with the planting density you expect. Closer lines (about 6 inches apart) suit dense greens and carrots. Wider spacing (up to 12 inches) works when large plants spread roots and soil conducts moisture well.
For practical layouts, aim for balanced rows. In a 4×8 bed, place four lines spaced roughly 8–9 inches apart. In a 2-foot-wide bed, two rows at about 8–9 inches give even coverage.
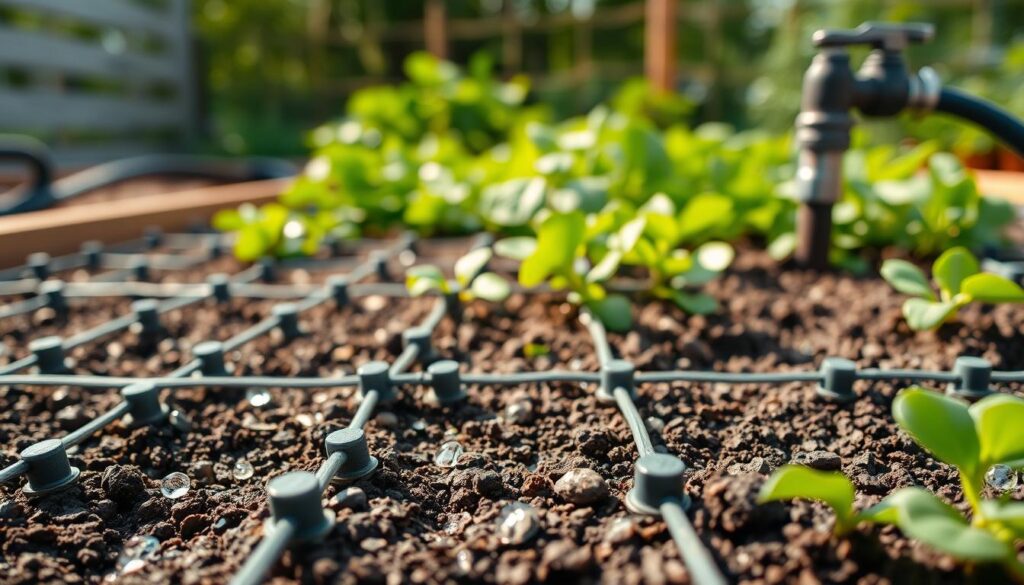
Choosing emitter specs
GPH means gallons per hour per emitter. A 0.5 GPH emitter with 6-inch spacing gives steady, low-flow delivery that soaks soil without flooding roots.
With 6-inch emitters you can plant along lines or between them and still get consistent moisture. That flexibility helps volunteers rotate crops without changing layout each season.
- Dense plantings: use tighter rows so young roots find moisture quickly.
- Large plants: wider spacing encourages roots to explore the soil and builds resilience in heat and wind.
- Coordination tip: keep the same layout across plots so multiple gardeners can swap crops without reworking tubing. See a useful irrigation spacing guide.
“Even emitter spacing helps roots spread and keeps beds productive with less fuss.”
Flush, Test, and Pin Everything Down
Testing is where a drip system becomes dependable—especially in a community setting where you might not see problems right away. Flush debris first, then secure the layout, and only mulch after you know every connection is tight.
A short flush and a careful check make the whole installation reliable and easy to maintain.
How to flush the main line
Leave the open end of the 1/2-inch main line uncapped. Turn on the supply and run water for about one minute.
This blasts out grit and loose debris so emitters do not clog when you attach sensitive parts.
Pin tubing so it won’t move
Use landscape staples every 2–3 feet on straight runs and at every turn. Anchor headers at each coupling and staple 1/4-inch rows near plant rows so tubing stays flat during watering.
Leak-check checklist
- Inspect each tee, elbow, and coupler for spray or drips.
- Check every riser connection and header coupling.
- Verify ends sealed with figure 8 clamps and goof plugs hold tight.
Fix leaks before you mulch or bury the line. Small leaks waste resource and make mystery dry spots that stress plants. Repair a barb or tighten a clamp while parts are visible.
Run a short test cycle when other members are nearby so you confirm the system doesn’t reduce faucet flow unexpectedly. This keeps trust high and makes shared upkeep easier.
“Flush first, pin down next, and cover last—those simple steps save hours of troubleshooting.”
| Step | Action | Why it matters |
|---|---|---|
| Flush main line | Open end, run ~1 minute | Removes grit that clogs emitters |
| Pin tubing | Staples every 2–3 ft and at turns | Prevents movement and kinks during watering |
| Leak check | Inspect tees, risers, clamps | Find and fix leaks before mulching |
Before you move on to schedule and flow calculations, see a clear installation checklist at installing drip irrigation in raised beds. That short guide complements these final steps.
Set Your Watering Schedule and Learn How Long to Run the System
A good drip schedule is consistent, adjustable, and based on what your soil and plants are doing—not just a number on a timer. Start with the “about 1 inch per week” rule, then fine-tune run time by watching moisture depth and plant response through the season.
Start by aiming for a weekly moisture goal, then let plant needs refine the plan. One inch per week is a practical target in many U.S. climates, but local heat, soil type, and mulch change that number.
The goal is to wet the active root zone, not just damp the surface. Fewer, longer sessions encourage roots to go deeper and build drought resilience.
Simple example schedules you can copy
- About 45 minutes, two times each week — a good starting point with 0.5 GPH emitters.
- Or split into 15–45 minute runs several days per week when you need more frequent topsoil moisture.
- Lower-flow emitters (0.25 GPH) often require longer total minutes per week — expect hours per week in some setups.
Adjust the schedule when conditions change. Increase run time during heat waves, reduce it after heavy rain, and cut back if you add 2–4 inches of mulch.
Seed-starting needs a different touch: keep the topsoil consistently moist with light hand watering until seedlings emerge. Once roots are established, return to scheduled runs.
Practical habit: post the weekly days and times on a stake or a shared board so members know when the system will run. A visible timer schedule helps everyone plan planting and maintenance.
“Consistency and observation beat a fixed routine; let soil and plants guide the adjustments.”
Calculate Flow Rate and Water Use to Avoid Underwatering or Overwatering
Flow math turns guesswork into confidence: you’ll know what each bed receives and whether your spigot can support the whole system. A quick bucket test plus a simple emitter calculation helps you avoid slow, silent underwatering—or soggy overwatering.
A short calculation and a bucket test tell you whether your supply will keep up. Use the math to set run times and split zones if needed.
Estimate gallons per hour from emitter count and rating
Count emitters on a single row and then across rows. Multiply the total emitter count by the emitter rating in GPH.
Example: 28 emitters × 0.5 GPH = 14 gallons per hour delivered to that bed. Match that number to your planned run time to get gallons per session and per week.
Quick faucet output check using a bucket-fill timing method
Fill a 5-gallon bucket and time the fill in seconds. Convert that to gallons per minute and then to gallons per hour.
If the bucket takes 30 seconds, that is 10 gallons per minute (5 gal ÷ 0.5 min) or 600 GPH. Compare this supply number to total demand and split zones if demand approaches supply.
Practical note: do the bucket test during peak park use, since pressure can drop when many people run hoses at once. Adjust zones, run time, or parts to match real conditions.
“When supply and demand line up, plants get steady moisture and volunteers spend less time troubleshooting.”
| Item | How to calculate | Why it matters |
|---|---|---|
| Bed demand | Emitters × GPH = GPH per bed | Sets run time and session gallons |
| Spigot output | Bucket gallons ÷ fill minutes = GPM → ×60 = GPH | Shows max simultaneous supply |
| Action | Compare demand vs supply | Split zones or shorten runs if needed |
Maintenance, Troubleshooting, and Winterizing in the United States
A short inspection every few weeks keeps lines flowing and parts healthy. In much of the United States, winterizing is the difference between reusing your system next spring and replacing cracked parts.
Simple routines make a system nearly set-and-forget. Check the filter at the faucet, flush the open end of the main line occasionally, and scan beds for dry streaks that hint at a clog.
Prevent clogs: sediment from outdoor taps can block tiny emitters. Use a fine filter at the connection and flush the main line periodically to clear grit before it reaches the small tubing.
What to do when pressure drops at the far end
Low pressure at the far end often signals kinks, hidden leaks, or runs that exceed recommended lengths. Keep 1/2-inch mains within about 100–200 feet or split the layout into zones.
Scan the route for sharp bends and check soil near the line for wet spots that hide leaks. If too many beds run on one zone, move some to a separate valve or use a multi-outlet timer to stagger runs.
Seasonal shutdown: drain, protect, and store
Before the first freeze, turn off the supply, disconnect timers and adapters, and open low points to drain lines fully.
Remove small parts—timers, filters, and pressure regulators—and store them indoors to avoid cracking. Leave tubing loose and stored in a dry shed if possible.
- Quick spring restart: reconnect, flush, and run a short test cycle before planting.
- Wear-and-tear tip: pin tubing to bed edges and protect exposed runs from foot traffic and tools.
- Zone solution: split long runs to keep pressure steady and simplify repairs.
“Small checkups and seasonal care keep a low-flow system reliable and reuse-ready each year.”
For budget-friendly tools and replacement parts, see this useful post on essential tools under $25.
Conclusion
A raised bed drip irrigation system from a shared spigot is one of the most practical upgrades a community garden can make. When you plan the layout, protect the faucet, and dial in run times with simple flow math, your beds stay consistently watered with far less effort.
Finish with a clear plan, a safe faucet connection, and one tested prototype before you scale. Build one complete header and test it end-to-end; then copy the same measurements to other beds.
Quick recap: plan → connect safely at the faucet → run the 1/2-inch main line → add risers and shut-offs → assemble headers → place driplines → flush, test, and staple → schedule and adjust.
Do not skip backflow prevention and pressure regulation so the system stays safe and parts last. Label valves, keep tubing tidy, and post the schedule so everyone knows run times.
Ready to expand? Pick a weekend, bring your checklist and sketch, and flush the line before mulching. Learn layout ideas in this herb garden designs post.