![Raised Beds with Drip Tape and Fertilizer Injector Bypass Loop [How-To]](https://thegardenhaven.com/wp-content/uploads/2026/02/raised-beds-drip-tape-with-fertilizer-injector-bypass-loop-how-to.jpeg)
I remember the first summer my patch nearly wilted from missed water and messy overhead spray. The guilt of forgetting a hose felt heavy. That season taught me one clear truth: a simple, steady irrigation plan can change everything.
This guide breaks the project into calm, practical steps you can finish in an afternoon. You’ll map zones, pick parts, fit filters and backflow protection, build a header and run flat tubing laterals across garden beds. The finished setup looked like a main supply feeding a manifold, each bed served by consistent emitters, and an option to automate when life got busy.
I’ll also show adding a small bypass so fertigation stays safe and service is easy. Expect simple math examples (like a 4×8 run), clear pressure tips, and tests to avoid clogs and blowouts. If drip irrigation once felt complex, this layout turns it into calm, repeatable work.
For a related, practical DIY example, see this compact system that waters many pots automatically at The Garden Haven.
Key Takeaways
- Plan zones, install backflow and filtration, then build a header to feed each bed.
- Flat tubing with built-in emitters saves water and reduces wet foliage problems.
- Add a bypass to the fertigation line for easy maintenance and non-feeding cycles.
- Use pressure control to protect tape runs and avoid blowouts.
- Simple examples and math help size runs, spacing, and runtime with confidence.
Why drip irrigation is ideal for raised garden beds
A focused watering method keeps moisture where plants need it most—down in the root zone. This cuts runoff and evaporation, and helps soil stay evenly damp from edge to center.
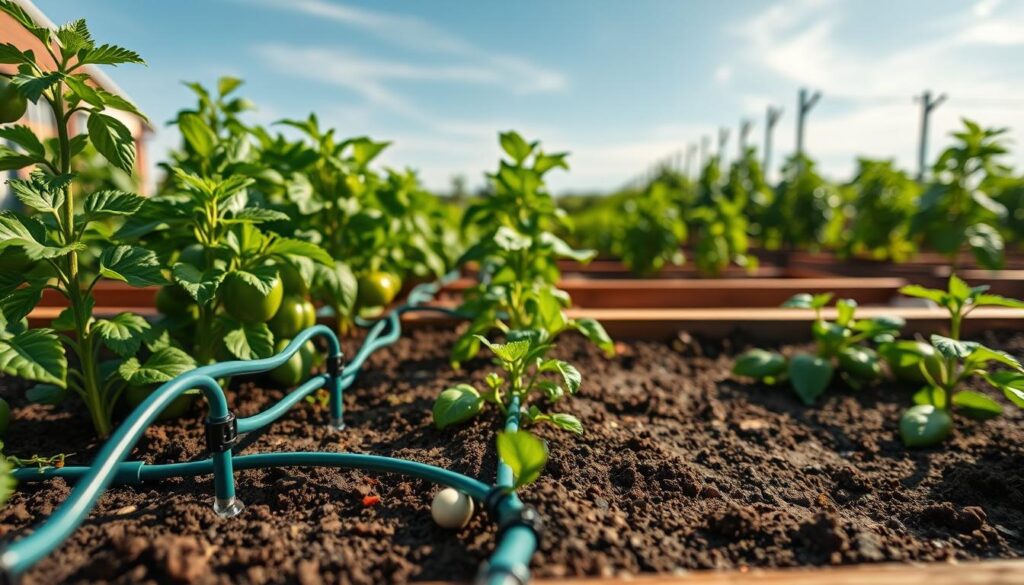
Targeted watering at the root zone reduces runoff and evaporation
Drip irrigation delivers water at the base of each plant, not into the air. That precision reduces waste and stops pathways from turning into soggy channels.
Deep, even moisture builds healthier, more resilient roots
Raised plots often drain faster than in-ground soil, so a steady pattern prevents the soak-and-dry cycle that stresses tomatoes and greens.
- Roots grow deeper when moisture reaches lower layers, making plants tougher in heat spells.
- Lower leaf wetness cuts disease risk from splashing and overnight dampness.
- Pairing a drip irrigation system with timers keeps your routine steady even on busy weekends.
Mulch over moist soil holds water longer, so you can run the system less often while keeping beds evenly damp. For a practical garden example see the best raised herb garden.
How drip tape works in a raised bed drip irrigation system
Flat tubing puffs under pressure and hands out water through tiny, regular outlets. This design gives even moisture across a row and cuts the work of placing individual emitters.
Under pressure, flat tubing expands and releases water through tiny, evenly spaced holes into the root zone. The most common spacing runs from 6 to 24 inches. Output typically ranges about 0.25 to 1.0 GPH, so you can tune runtime for shallow or deep soaking.
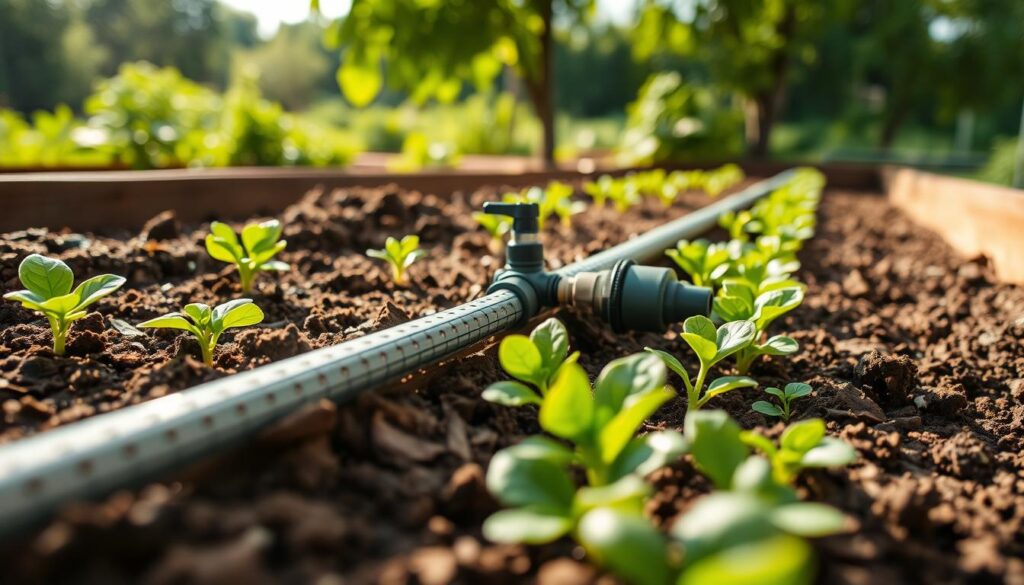
Choosing spacing and flow for close plantings
Use 6″ or 9″ spacing for tight rows of carrots, beets, and salad greens. Wider spacing suits larger vegetables.
Thickness and lifespan for seasonal use
Thin material (about 8 mil) is fine for one season. Heavier 15 mil lines last multiple seasons and resist damage.
Clogging and placement basics
- Emitters should face up to reduce clog risk.
- Pair the line with a filter to keep grit out of outlets.
- Run the line on the surface or shallow-bury under mulch for protection.
| Emitter Spacing | Typical GPH | Best Crops | Recommended Thickness |
|---|---|---|---|
| 6–9 in | 0.25–0.5 | Salad greens, carrots | 8–12 mil |
| 12 in | 0.5–0.75 | Beans, herbs | 10–15 mil |
| 18–24 in | 0.75–1.0 | Tomatoes, squash | 12–15 mil |
Once you grasp how the line behaves, planning layout and total footage for irrigation becomes a quick measure-and-map task for your garden.
Plan your layout before you buy supplies
Start by sketching a clear map of your garden so you can see zones, water paths, and part sizes at a glance. A short plan turns guesswork into a checklist and prevents wasted trips to the store.
Map zones, bed count, and the main water route
Count beds and mark dimensions. Draw the route from the hose bib or main water supply to each area. Label sunny versus shady zones so you can set separate run times.
Place the header at the short end for clean line runs
Position the header along the short side so tape runs lengthwise. Straight runs mean fewer bends, easier flushing, and faster service access.
Calculate tape length per bed and total footage
Example: a 4×8 garden bed with four drip tape runs equals about 32 feet (4 × 8 ft). Multiply by bed count, then add 10–15% for cuts and mistakes.
Check tubing and fitting sizes early. Decide on a 1/2″ header or another diameter before buying so fittings match and leaks stay rare.
For an easy planning reference, consult the drip planning guide as you finalize zones and lengths.
Supplies checklist for raised beds drip tape with fertilizer injector bypass loop [how-to]
Start by gathering the core parts so installation goes fast and stays tidy. This keeps the build organized and helps you spot missing pieces before you start.
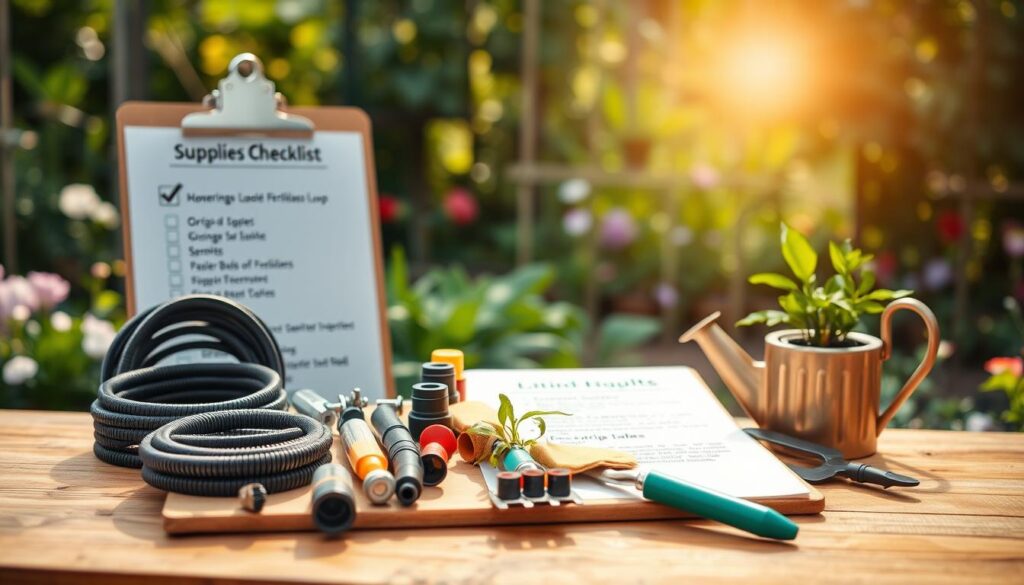
Core components you’ll need
Mainline tubing: 1/2″ irrigation tubing for headers makes tidy manifolds and matches common fittings.
Fittings and small tools: tees, elbows, barbed adapters for drip tape, a punch tool, end caps/clamps, and stakes to pin lines.
Tip: the small parts matter—good barbs and clamps stop leaks and keep lines neat during harvest.
Protection parts and best practice
Filter: reduces grit and prevents emitter clogs.
Backflow preventer: protects your household water and often meets local plumbing codes.
For a hose bib connection, an all-in-one adapter can combine filter, pressure regulation, and the tubing port for easier installation.
Automation and control options
A simple hose bib timer works well for single-zone setups. A controller with zone valves scales for larger plots and gives precise scheduling.
Plan thread compatibility (hose bib thread vs pipe thread) and match barb sizes so fittings seal on first try.
Fertilizer injector extras: unions or quick disconnects, extra straight pipe for mounting, and a bypass path so you can run water without feeding when needed.
| Category | Key Items | Why it matters |
|---|---|---|
| Core | 1/2″ tubing, barbed adapters, punch tool, end clamps, stakes | Creates a tidy header and secure tape connections for clean runs |
| Protection | Screen filter, backflow preventer, pressure regulator | Prevents clogs, protects potable water, and reduces blowouts |
| Automation | Hose bib timer or controller + zone valves | Simplifies schedules; valves let you isolate beds for repair |
| Fertigation | Unions, quick-disconnects, straight pipe, bypass hardware | Keeps feeding optional and serviceable without dismantling lines |
Set up the connection at the faucet or mainline
A tidy faucet hookup sets the tone—clean water and correct pressure protect tiny emitters downstream. Secure the right stack at the hose bib so the entire irrigation system runs reliably from day one.
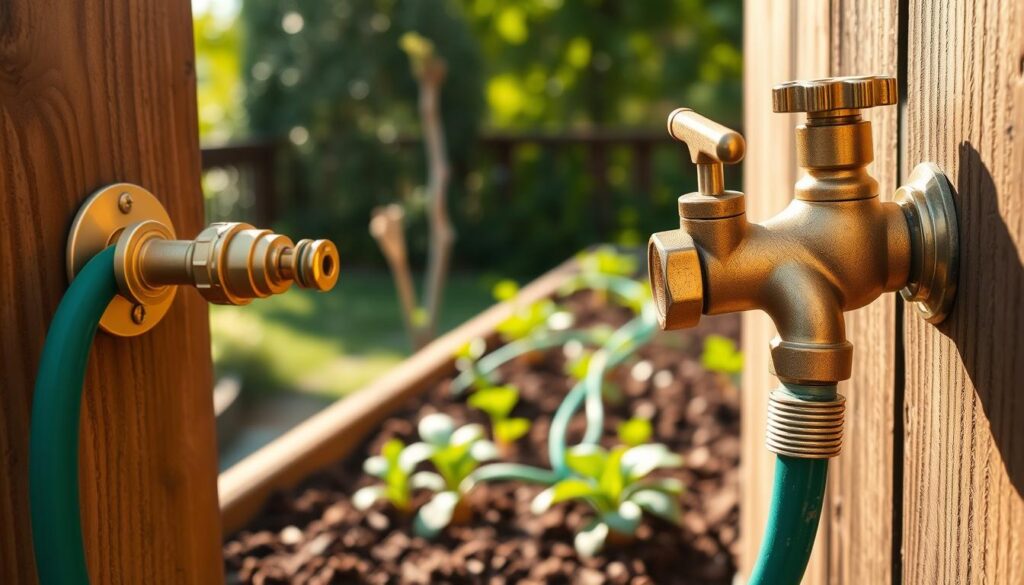
Start by assembling components in order. The common sequence is: timer (optional) → backflow prevention → filter → pressure regulator → tubing adapter to the mainline or header.
Connecting to a hose bib with an all-in-one adapter
All-in-one adapters combine a screen filter, backflow device, and pressure reducer into one fitting. That means beginners rarely miss a safety part while they install drip. Use the adapter at the hose bib to save space and simplify the setup.
Flushing lines to clear debris before installing components
Open the line and run water for a few minutes before attaching any small emitters or lines. This flush clears grit and construction shavings that cause clogs.
Flush again after cutting or repairing any section. Tiny plastic or PVC bits travel fast and will reach the smallest openings if not flushed out first.
| Task | Why it matters | When to do it |
|---|---|---|
| Backflow + filter + regulator | Protects potable water and prevents clogs | At initial hookup (hose bib) |
| Flushing | Removes debris that blocks emitters | Before final connections and after repairs |
| Optional timer | Automates run times and consistency | Before the backflow device or after, per product instructions |
Many gardeners follow a short video for this stage because seeing the stack order reduces install anxiety. Once the main supply connection feels solid, you can build headers and add valves to control each area with confidence.
Build the raised bed header and add shutoff control
Make a single, serviceable 1/2-inch tubing header the backbone of each garden bed. Add an inline valve so you can isolate one area for planting or repairs without stopping the whole system.
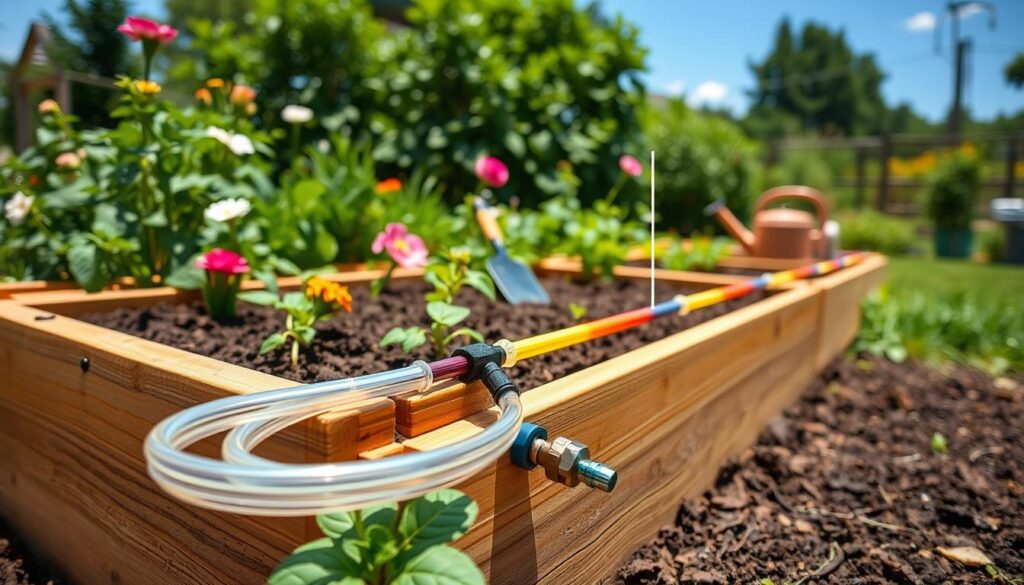
Place and assemble the header
Tuck the 1/2-inch tubing along the short end so laterals run straight down the length. Cut square, seat each fitting fully, and use tees and elbows to create a tidy manifold.
Add shutoff control per bed
Install one inline valve per bed to pause water to a single garden bed during soil work or repairs. Choose screw-on or reusable fittings to simplify future changes.
Serviceability and small planning notes
Leave slight slack so you can lift the header for inspection, but avoid kinks. Keep the header accessible—don’t bury it under hardscape—and prefer reusable connectors for quick swaps.
- Tip: Treat the header like the spine—sturdy, visible, and easy to work on.
- Next: once the header and valves are set, the install drip steps become a simple, repeatable pattern.
For a compact example of tidy, layerable systems, check my my DIY strawberry tower for ideas you can adapt here.
Install drip tape in each bed for even water distribution
Plan runs to wet the full root zone instead of creating narrow wet stripes. Even spacing and correct orientation of emitters keep soil moisture steady and predictable.
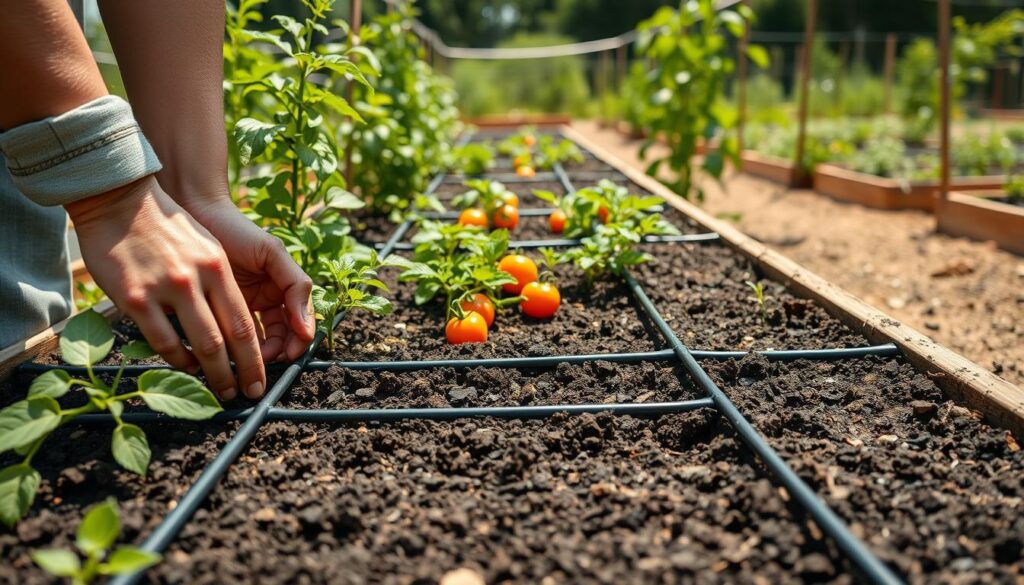
Place lines no wider than 12 inches apart to achieve uniform moisture across the planting area. Tighter spacing creates a continuous wetting layer that supports mixed plantings and healthy soil life.
Example layout for a 4×8 bed
Use four parallel runs spaced about 9 inches apart along the 8-foot length. Connect each run to the short-end header so pressure and distribution stay balanced.
Emitter orientation and protection
Keep emitter holes facing up to cut clog risk. Install the flat tubing on the soil surface or shallow-bury about an inch under soil or mulch for UV protection and stability.
Connections and finishing steps
Punch the header, insert barbed adapters, slide the tape onto the barb, and secure ends with figure-8 clamps or end caps. Stake each run and avoid sharp bends that steal pressure from the far end.
Flush every run before sealing ends to clear debris. The goal is even distribution across the root layer so plants grow uniformly rather than competing for the wettest strip.
Dial in water pressure for drip tape irrigation
Measure your tap first; household pressure often exceeds what the lines need. Keep the main water supply near 40 PSI, then step down to the low range that flat tubing prefers.
Typical household PSI vs system needs
Many U.S. homes supply about 40–60 PSI at the faucet. That range moves water across the property but it can harm thin lines and emitters.
Most flat tubing performs best around 8–15 PSI. Check the manufacturer, as some products list ~10 PSI as ideal.
Where to place a pressure regulator
Use a two-stage reduction: keep higher pressure in the main line, then install a pressure regulator just before the start of each run.
Place a filter upstream, then fit the psi pressure regulator before you attach the tubing so every run sees steady, safe pressure.
Signs and simple fixes
- Ballooning lines or popped fittings = too much pressure; tighten or lower setting.
- Weak flow at the far end = pressure loss or clogging; flush lines and check runs.
- Match regulator settings to specs rather than guessing to avoid uneven watering.
| Item | Common Range | Why it matters |
|---|---|---|
| Main water supply | 40–60 PSI | Moves water across property; too high for small emitters |
| Header level | ~40 PSI | Prevents long-run pressure loss, supports valves |
| Run/tape start | 8–15 PSI | Protects lines from blowouts and evens distribution |
Install a fertilizer injector with a bypass loop for safe, flexible fertigation
A feed device lets your watering routine also deliver nutrients, turning regular irrigation into gentle, steady feeding. Place it correctly and add a parallel path so you can run plain water when you need to service the unit or winterize the lines.
When fertigation makes sense
Fertigation suits heavy-feeding crops and intensive planters that lose nutrients fast. Use it for tomatoes, cucumbers, and other hungry vegetables to keep growth steady.
Where to place the device for even distribution
Install the feed unit after the backflow preventer and the upstream filter. Then place it before your zone valves or manifold so the mix flows evenly through the irrigation system.
Why a parallel service path helps
A simple parallel line with its own valves lets you route water around the unit. That design makes cleaning, repairs, and winterizing quick and safe.
Keep clogs and residue low
Fit a fine filter ahead of the feed assembly and flush the supply before adding concentrated solutions. This minimizes buildup and extends service intervals.
Which type to choose
| Type | Key trait | Best use | Notes |
|---|---|---|---|
| Proportional | Consistent ratio | Large plots that need steady dosing | Reliable at varied flows |
| Adjustable ratio | User control | Fine-tuning strength for different crops | Good balance of control and cost |
| Venturi | Simple, pressure-dependent | Budget installs with steady pressure | Performance varies with flow |
Start light and observe. Run a low-strength cycle, watch plant response, then adjust strength rather than guessing. For regulatory guidance on injecting soluble nutrients into irrigation, review this practical manual on chemigation procedures: chemigation manual.
Startup, testing, and tuning your irrigation system
Begin with a short, reliable startup routine that proves the system works before you rely on a timer. Small tests now save big headaches later: find leaks, clear debris, and confirm flow where it matters most.
Start by pressurizing the main and walking every run. Check fittings, feel for soggy spots, and look for weak streams at the far ends.
Leak checks, end-of-line flushing, and verifying flow
- Open ends and flush to clear construction grit before sealing lines.
- Close ends, pressurize, then walk all fittings to fix drips at barbs or clamps.
- Farthest-bed verification: confirm the last run shows steady flow; a weak far end means adjust pressure, remove kinks, or clean the filter.
Adjusting run time by emitter output, plant size, mulch, and season
Estimate run time from emitter GPH and plant needs. Calculate delivered gallons per hour, then match that to how much moisture your rooting zone needs.
Example: in a mild climate you might run about an hour twice per week. Increase the frequency or length in hot weather or for higher GPH lines.
- Mulch cuts evaporation: 2–4 inches often lets you water less often but deeper.
- Seedlings need gentler, shorter cycles until roots reach the wet zone; then switch to longer runs.
- Tune across the season: check soil 2–4 inches down and adjust time on heat waves or rainy stretches.
“Test first, trust later: a quick flush and a walk of the lines reveal most problems before plants suffer.”
Use an evidence-based approach: test, record the run time, observe plant response, and refine the schedule. For further technical guidance on pressure and distribution, consult practical irrigation guidance.
Conclusion
Finish clean: flush lines, set emitters facing up, and protect runs under a thin layer of mulch for steady root moisture. Place the feed unit after your backflow and filter and keep a parallel service path so you can run plain water when needed.
Start by planning, then connect at the hose bib or main water supply, build headers and valves, lay runs and secure ends, dial in safe pressure, add the feed path, and test each line.
Watch a short, reputable video for the hookup order, then use soil feel and plant posture to tune watering. A simple seasonal check—flush after changes and shorten or lengthen runs as plants grow—keeps systems reliable.
When it runs well, the system frees time for harvesting and pruning, while your plants stay steadier through summer stress.